So, as mentioned in the workbench, I've been building a comic shop to fill with zombies...
The first step I took was to devor Matakishi's site for tips on cork building (very useful, but stay away from Random Defence, it eats hours of your life), as well as drawing up various sketches and plans, and discussing scale questions here on the LAF. To help decide on which scale to use, I built a paper mockup of the ground floor of the comic shop, so that I could place minis 'in situ' and generally have a gander at how it would look.
Now, I'm no Matakishi, but things haven't gone disasterously wrong, which counts as a win to me...
And so, on to pics from the phone cam (it's the fiance's birthday next month, and she wants a new digital camera...)
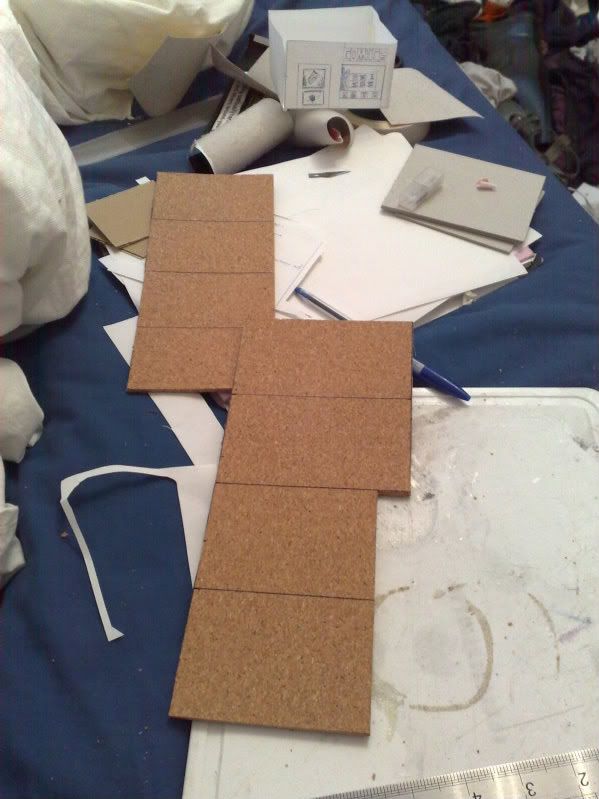
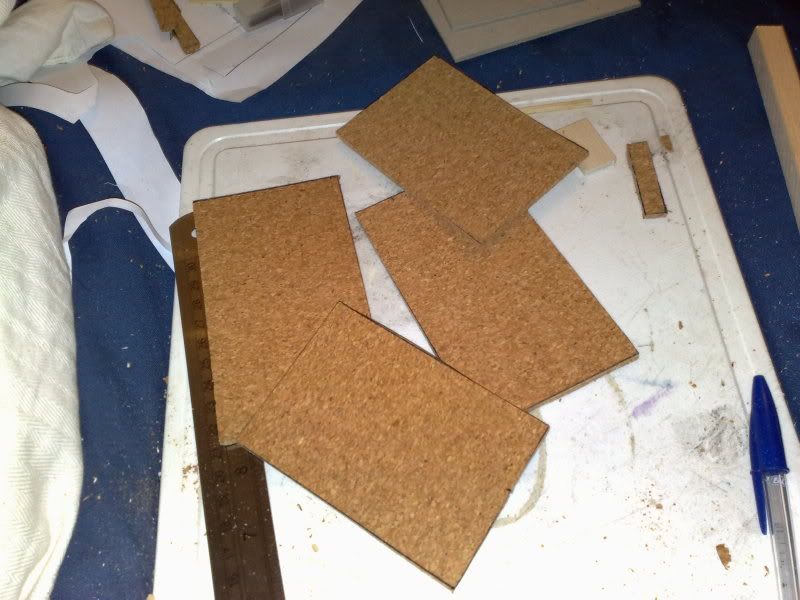
The cork walls, ready for some more cutting - the 'plans' I had at this point were my paper model and what amounts to a shopping list of how many of each different sized rectangle I needed...
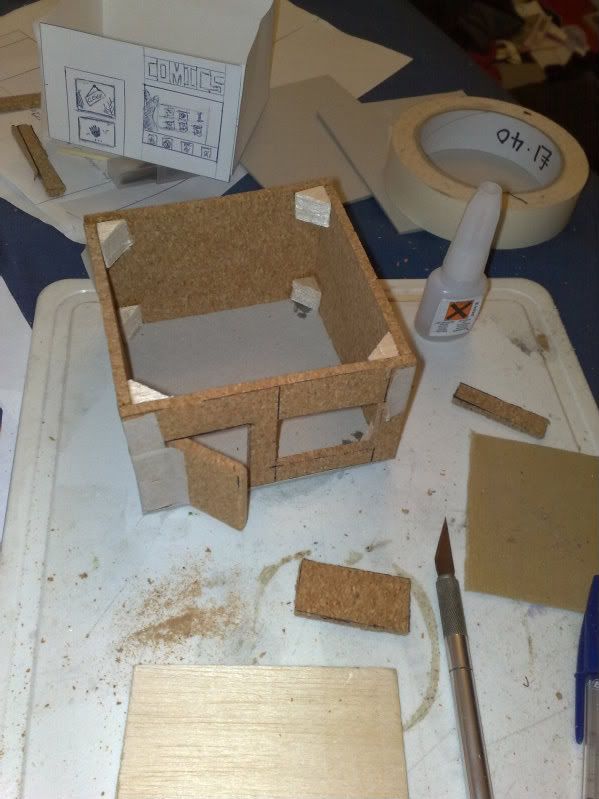
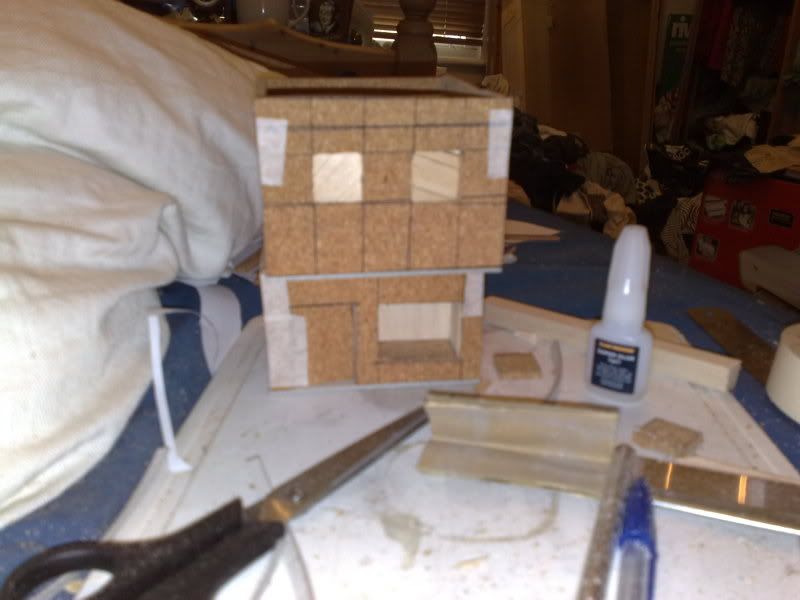
Due to being a little bit over-eager, I didn't take many in progress shots - here's the ground floor put together, with the paper model in the background; you can see the corner supports too, installed in the vain hope that the thing will turn out square... - and yes, we're in bed watching Gilmore Girls at this point...
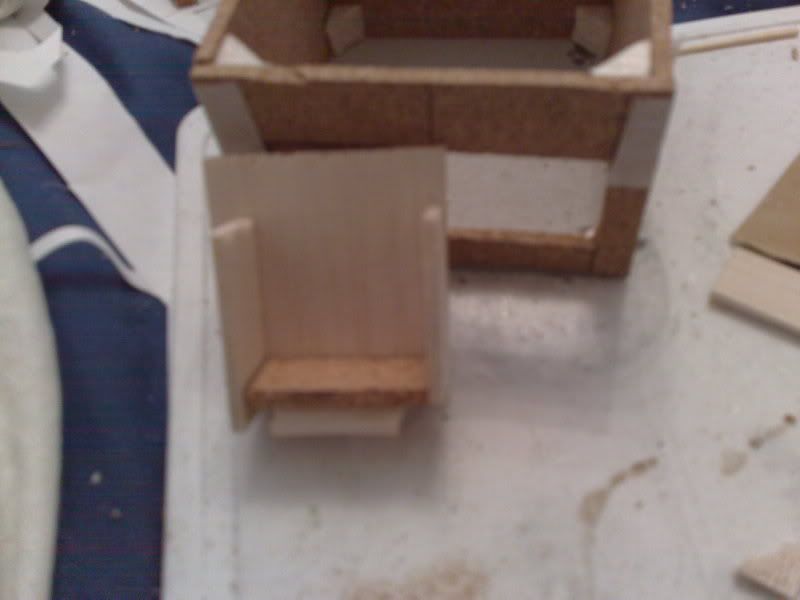
Having cut out the window, I wanted something to go in it - cue a display shelf, which slots neatly onto the corner support...
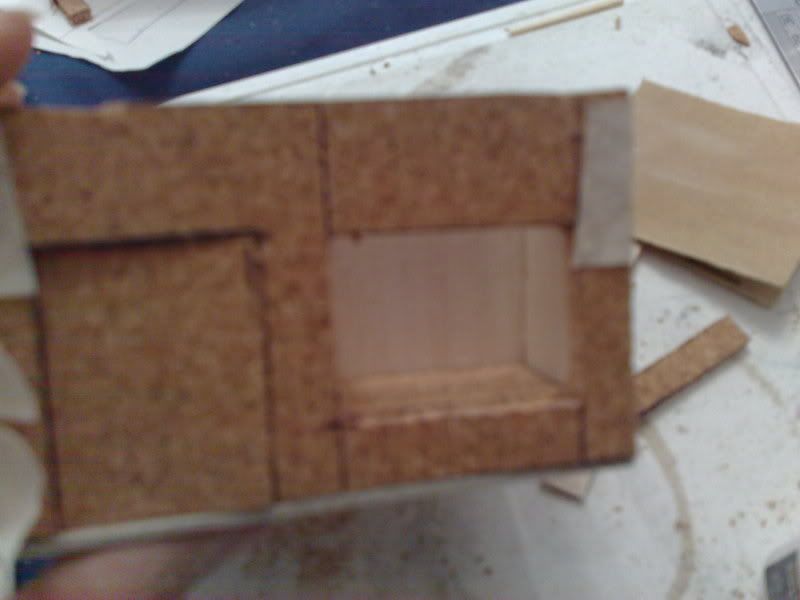
Said display in place...
The wall pieces for the upper floor - I wanted a slight overhang (I forget why), so it's 120x100 rather than 100x100 like the ground floor.
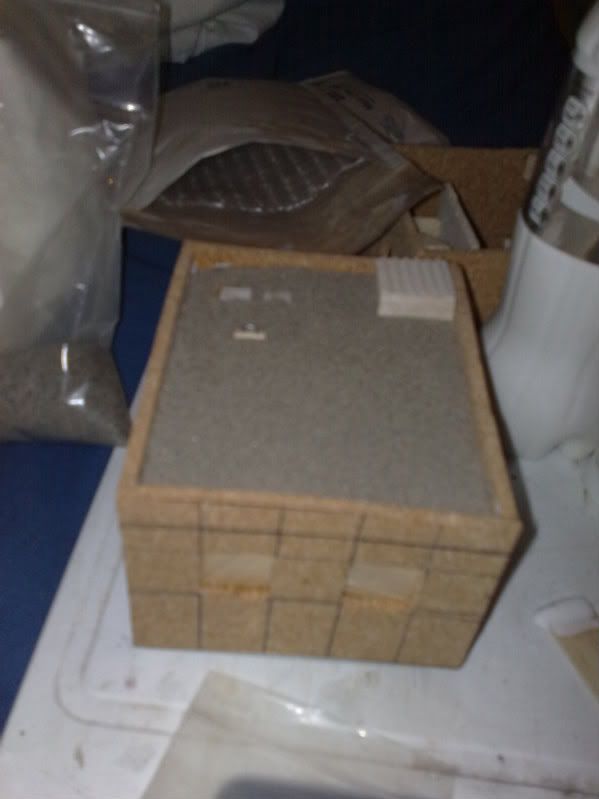
Again, a lack of in progress shots - here are the two floors together, complete with boarded up windows. The top floor also has matchstick locating lugs to keep the whole thing together should it get knocked during use.
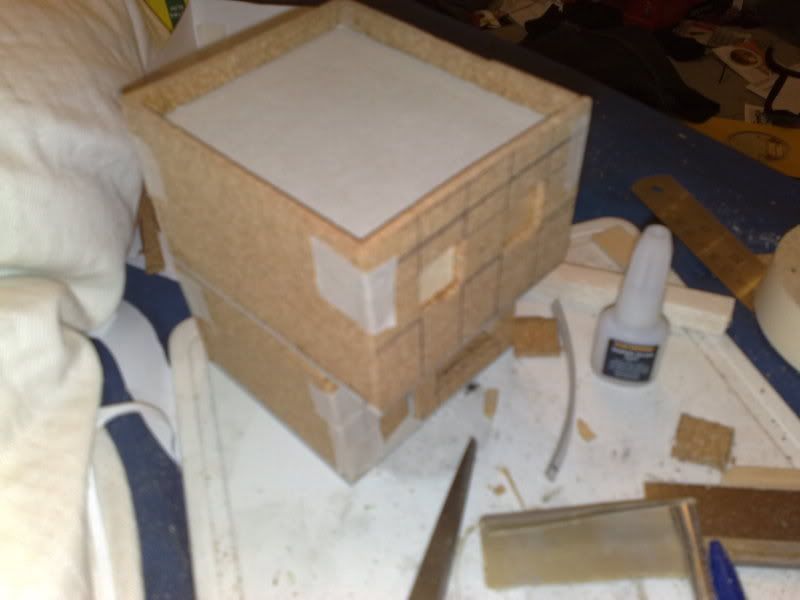
Angle shot to show the slightly recessed roof (it sits on the corner supports of the top floor, and is non-removeable for sturdiness).
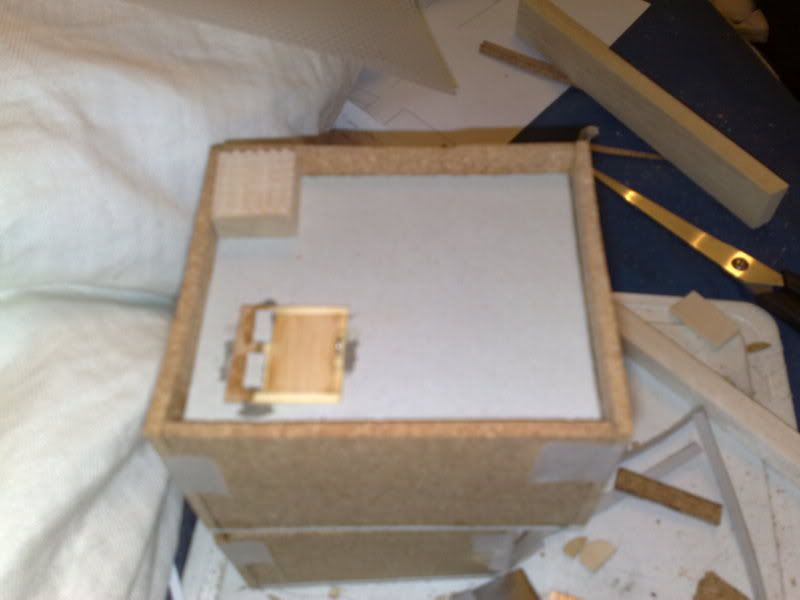
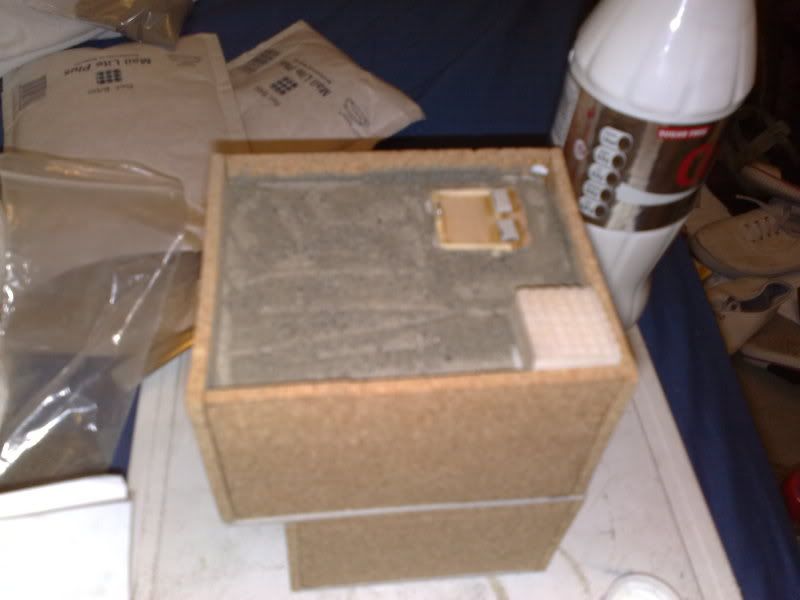
Roof detailing, consisting of a trapdoor for roof access made from various scrap wood, cork and card, and an air con unit made from balsa and granny mesh - with the air con unit, it was one of those classic moments where you turn to the person next to you and ask 'do you think it'd look better stood up on it's side?' only to find the glue's already dried... that's why I should plan in greater detail...
The roof getting a sanding - I used Mad Carew Snr's sand, which was absolutely perfect for this - I used the medium grade first to give patches of texture, followed by the fine grade to give an Asphalt/light gravel kinda feel to the roof...
Which gives us this - I used a scrap tongue depresser to spread the glue for the roof, which allowed me to give eddies and swirls, as if the material's been blown around and rained on for several years...
And that's where the photos end.
Since then, I've undercoated it black and painted on the base colours (painting terrain takes aaaages!), as well as cut out and installed perspex for the window and a door window. The roof was given a coat of grey, a wash of Vallejo Smoke, and then a couple of drybrushes of lighter greys to bring out the detail.
Still to do: Some more drybrushing, then making props! I plan to make some little comics for the window, as well as a standee of some sort. Then, the next obvious thing to make would be a batsignal for the roof (the current plan is to saw the end off of a small torch, and mount it on a stand on a 25mm round base, although as I'm typing this I suddenly realised that a screw-on wine bottle-cap would probably be perfect rather than using an actual torch...)
Then some more terrain (currently have plans for a billboard, bakery, bookshop, memorial garden, games shop, charity shop, Quick Stop complete with 'I assure you we're open' banner, amongst other things...)


 Welcome, Guest. Please
  April 26, 2024, 04:15:35 AM


