HOW I BASE MY FIGURES
I posted this here because the vast majority of my basing is done for the AWI and there are dozens of examples on this board to see.
Ive been asked, by Jim Purky of "Minden" and "Fife and Drum" figures, to write a tutorial on how I base my figures. Since the Thicket series was well received, I thought that I would do it. So, this is for you, Jim.
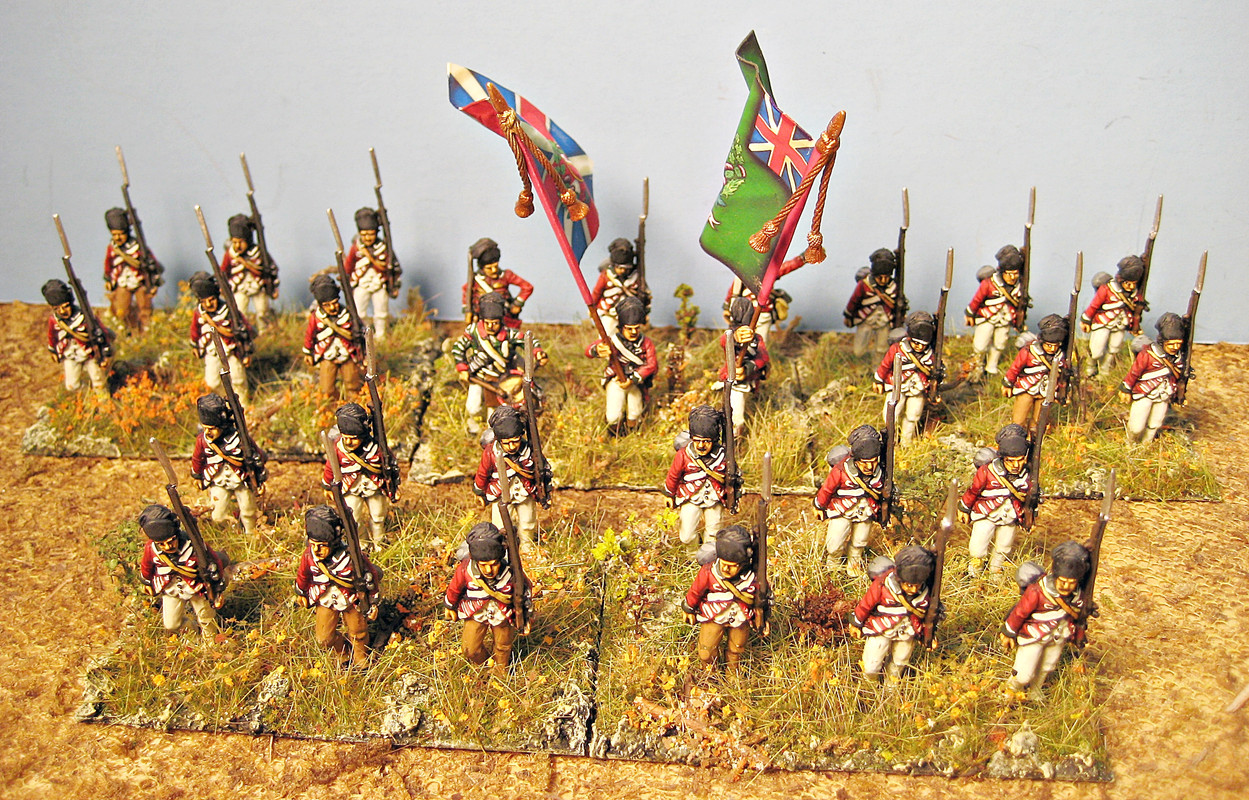
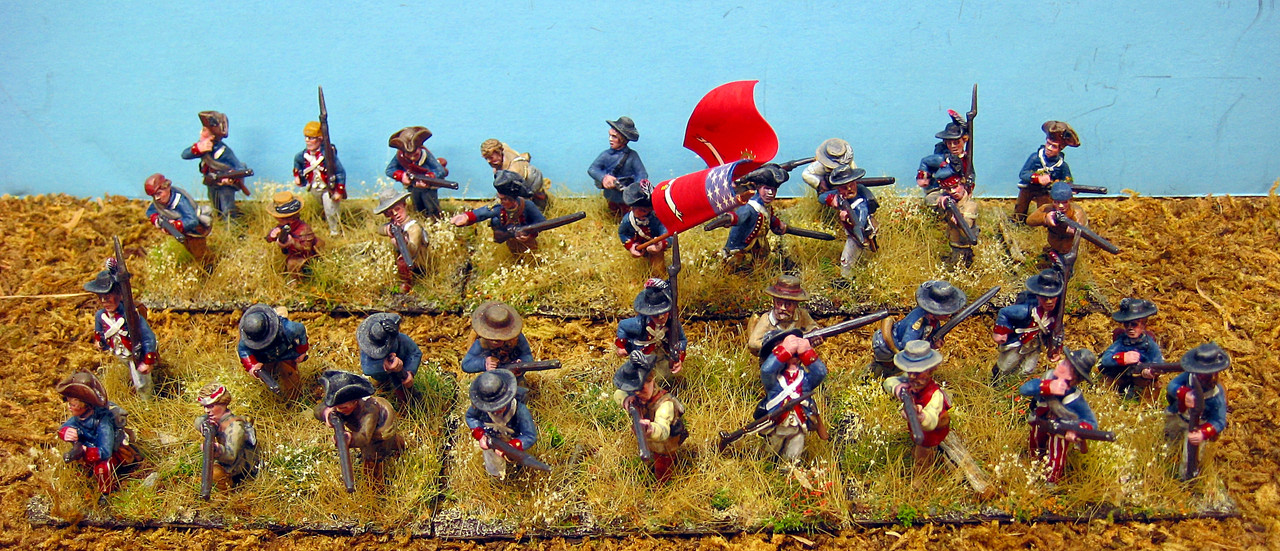
These are a few examples of how my figures are based.

If you want to take a shot at it, then follow along.
First off, this is not a quick process.
There are no short cuts and the work can be maddeningly dull at times. There are also times when a full day is necessary between the steps. Things need to properly dry.
Like all things worthwhile, it takes time and patience.
Fortunately for me, theres not a lot of skill is involved.
I tend to rattle on because I wish to be quite clear about the steps. Theres nothing worse than reading a tutorial that leaves you with twenty questions. So, if I explain too much then let me know.
This will be a multi part series, as it's too long for one post.
Before I begin, let me say that this is my method. If you wish to deviate from the instructions, that's fine. But then, it's no longer my method and the results may not be the same.
It's always your choice to modify or improve on how I do things. So, just use this as a guide. Adding your own personal touches will make things your own. Never be afraid to try something different or to experiment. That's how I got here.
None of these rules are hard and fast. Most measurements are done by eye, and only by trial and error, will you find the mixture that works best for you. You can make mini mixtures, with different ingredients, as test cases.
Most of my terrain work revolves around the Eastern half of the United States, but the basic mixture is good for almost anywhere you would find troops. You can easily adapt the mix for almost any type of ground.
To start off, I base my figures on thin, metal stands, because I like the fact that the base appears to blend into the ground. I'm not a fan of bases that sit on top of the groundwork. Just my personal opinion.
You may prefer a different material as your base. As long as your base won't warp, we should be okay.
I generally use 2 x 3 inch metal stands to base my units. I glue 6 figures to each stand and 6 stands comprise a finished Unit.
I use GOOP to attach the figures to the metal bases. It's thick and that allows the figures to have a long set up time. You have about 5 minutes to change your mind on the positioning of your figures. Once fully dry, the figures are well secured.
Additionally, it's easy to remove figures from the base after the GOOP has dried, if you wish to reposition troops. You can pop the figure off using an Exacto knife or razor blade under the figure. This is just personal preference. Feel free to use whatever adhesive works for you.

Okay, onto the basic ground mixture.
PARTS LIST
A base (DUH!!)
Modeling Paste
An empty jar, with an airtight, screw on lid.
A couple of Popsicle or Craft sticks.
A long handled plastic spoon.
2 Ounce bottle of Acrylic paint. Basic earth color, your choice.
Sand
PVA
Model RR Fine and Coarse Talus
H2O
Paper towels or a rag. Both are better.
Gather up all your parts and keep them within reach. Lay everything out on your work surface in the order you intend to use them. Let's begin.
For me, the one ingredient that you have to start with is Liquitex modeling paste. My number one choice, is Resin Sand. However, that's been out of stock at my local Michaels for a while now. If you can't find Resin Sand at the art supply store, you can substitute Liquitex Light Weight Matte Modeling Paste.
https://images-na.ssl-images-amazon.com/images/I/51AvxJQ79KL.jpg You can get modeling paste at any art supply store or from Michaels or Hobby Lobby. Price is around 12 dollars for an 8 ounce jar. I use those 50 % off Michaels coupons and I stock up. There are probably similar brand texture gels available, that will work just as well, but this is what I am familiar with.
STEP ONE
You need an empty jar of about the same size with a tight, screw on cap. A small mason jar works well.
First, Scoop out half the paste and place it into the empty jar.
A craft stick works well here. Aim to place half of the paste into each jar. Close enough is fine.
Once you've become hooked on this method, save the empty Liquitex jars and re-use them.
STEP TWO
Youll need a 2 ounce bottle of a dark brown acrylic paint. Popular brands like Folkart and Ceramcoat work perfectly. I use Bittersweet Chocolate, Chocolate Cherry or Dark Chocolate, but any dark brown will do just fine. Now, mix half the paint (1 ounce) into each jar. Again close enough is fine. Use the craft stick to mix it up.
Mix the paint into the gel until there is no more white color left in the jar. Keep stirring around the sides and bottom of the jars. Really mix it up until the entire mixture is dark.
Once you have a decent mix, switch to a plastic spoon. The curve of the spoon will allow you to scrape the sides and bottom of the jar and get all of the white out. We need the mixture to be totally dark.
Pour a small amount of water, just a few drops, into the almost empty, paint jar. Shake that up until the paint is thinned enough, to pour out. Pour half into each jar and repeat the process until all of the paint is gone.
Remember just a few drops of water at a time. More paint, less water. The water will allow the mixture to blend easier.
Keep stirring!!
By mixing in the Brown paint, we avoid two steps.
First, you don't have to paint the gel once it's applied to the metal stand.
And secondly, if cracks or breakage should occur, it will show dark brown underneath, not white, so there are no repairs or touch ups to do should disaster strike.
STEP THREE
If you model terrain, then you should have a coffee can full of sand in your workshop. I filled mine up from the sandbox at the local park. I chose this because its likely to have all sorts of interesting bits mixed into it, but if you're a germophobe, then Home Depot sand is just as good.
One note of caution. Anything that I bring in my home from the great outdoors, gets microwaved for a minute or so. This is in order to eliminate unwelcome visitors, like mites or small organisms. Keep an old plastic bowl around for this. Make sure that it has a cover and its probably best to do this while the significant other is out of the house. I have an old Microwave in my shed (workshop), just for this reason.
DO NOT WALK AWAY FROM THE MICROWAVE while it's on. Items like twigs and things can catch fire. Remember things cook from the inside, in a microwave, so wood can smolder and later burst in to flames.
You don't want to go through life known as the guy who burned down his house, while basing toy soldiers. Trust me on this, you just don't.
Moving right along.
Now mix ¾s of a shot glass full of sand into each jar. This will tighten up the mixture and give it a rough texture. It will also add grit and help turn the watery gel into a thicker paste. Stir well and really blend it in. If you want a tighter mixture, then add more sand.
Add a little bit at a time and really mix it in.
STEP FOUR
Mix about 1/2 to 3/4 of a shot glass full of Woodlands Scenic fine ballast (color doesn't matter) into each jar. These are your small rocks. Stir, stir stir!
If you want some larger rocks in your groundwork, now is the time to add in 1/2 to 3/4 of a shot glass worth of Woodlands Scenics coarse ballast into your mixture. I use these for New England type, rocky soil. Keep stirring.
What I do, is to keep one jar with coarse ballast in the mix and one jar without it. Remember to label which is which.
STEP FIVE
Add a dollop of white glue into the mixture. A good half ounce will do it. That's about 3 of those blobs you see in the picture above.
Again mix it up. Constant mixing is the key here. Once you are satisfied that it's thoroughly blended it's time to move on.
STEP SIX
At this point, the mixture should be fairly watery. If this is the case, let the mixture stand overnight WITHOUT the jar lid on. Letting it air dry will bring it back to paste. A "skin" will form over the surface of the mixture overnight. Break out your craft stick and commence stirring again. If it's too dry, you can always add a bit of water to thin things out again. Tap water will always return the mixture to life, no matter how dried out it gets.
Once you achieve the right consistency, cover the jars tightly.
Congratulations, you now have 2 full jars of basic ground cover to work with. You can add any type of terrain material on top of this.
OK, this is your basic ground cover. It will stick to almost anything and everything sticks to it. I've been using this recipe for over 20 years and it's a product of much trial and error.
I use it on my scratch-built pieces and on all of my bases.
That's the end of part one.
There are a few items that you will need to have before we begin Part Two
You will need a set of of artist's trowels to spread the mixture where you wish to place it. Michaels sells these for a couple of bucks, use a coupon for added savings. Don't be cheap, here. Spring for the metal set. Believe me, the plastic one will break, leaving either you or your beautifully painted figures, covered in a dark paste.
This is what our next step will look like:

END OF PART ONE.....


 Welcome, Guest. Please
  April 16, 2024, 06:29:14 PM
