So, after almost a year, I've finally come to document the miniatures I've done (and am doing) for my Star Trek RPG campaign. And also some of the game boards I've made especially for it.
I ended up creating an entire space combat system that fits within an RPG environment. In other words; all players are involved and have their tasks as bridge crew. But more on that later.
What triggered this thread is
nozza_uk's thread about a very nice 3D printed Trekkified shuttle he received. I was intrigued, because I desperately need a shuttle for my campaign, but hit a bit of a wall there.
I've sourced most of my models online, from a variety of manufacturers, such as Eaglemoss, Wizkids and even some Japanese collectibles, but all of those were on the space combat scale (I went with 1/5000), and I need this shuttle for surface encounters, which I play out in 28mm (or 30mm if you will; minis are WotC and Modiphius).
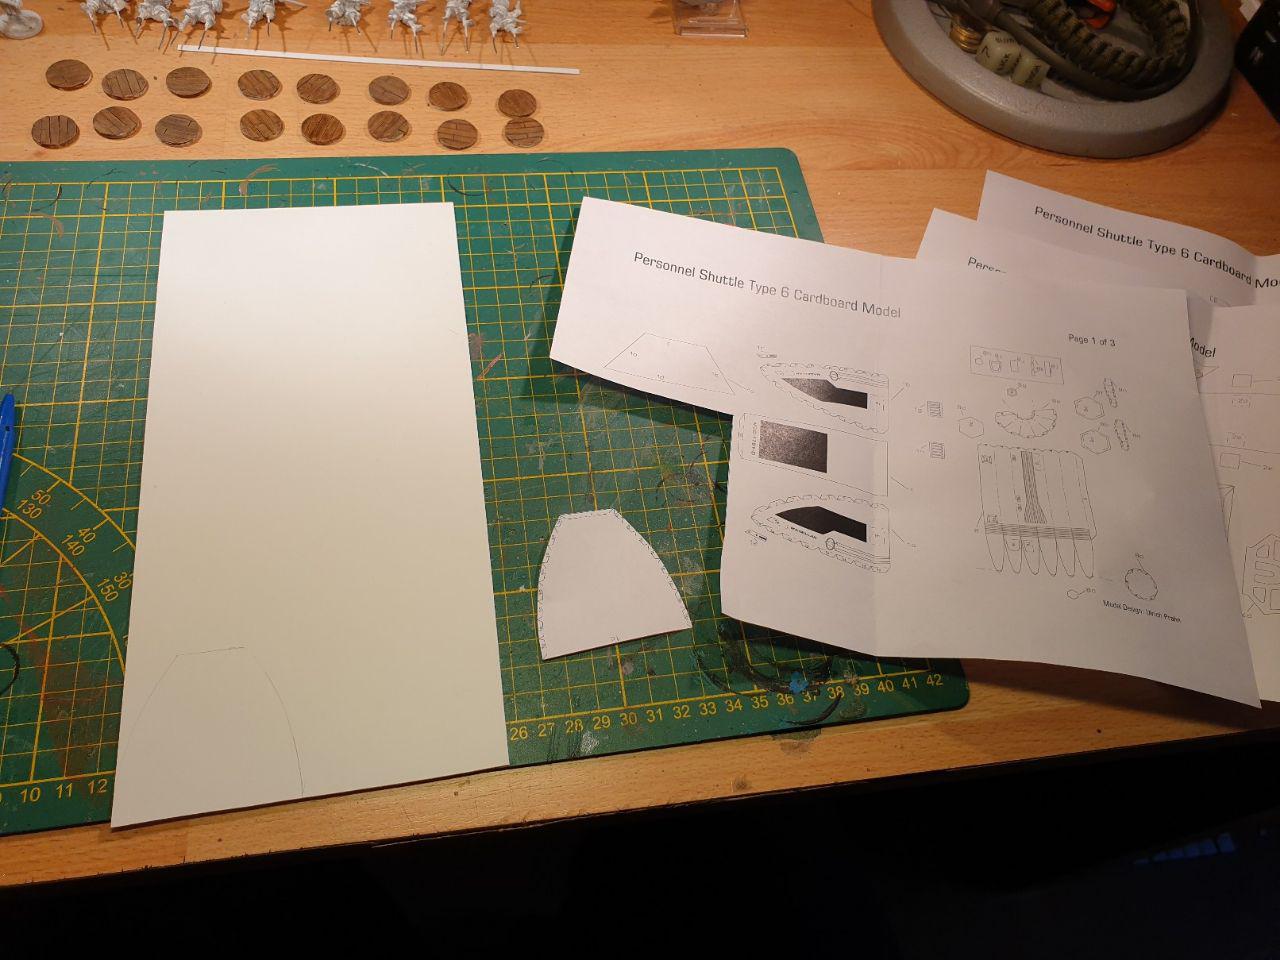
But no shuttles can be found in that scale bar one very obscure 1/50 resin garage kit from the early nineties and a papercraft template in the same scale, which I saved just in case.
And as it turns out, it's a good thing I did, because everything else is either too big or too small, and the pickings are very thin indeed. For the record; my campaign plays out somewhere in 2372, so a Type 6 shuttle I was after.
Then nozza_uk comes along and I was enthralled by his shuttle, but it was just too advanced looking for the backwater, second tier equipment my players are working with. Besides; it turns out there are a couple of closet trekkies in my group, who would immediately cry foul, so the templates it was...

I wanted the shuttle to have an interior, both because it can be a nice starting point for away missions, and also because I'm a pedantic modeler and big LOS-blocking lumps of terrain are just not done if it can be done differently

So I finally set about with different thicknesses of plasticard, a printed out copy of the templates and not enough time on my hands (as usual):
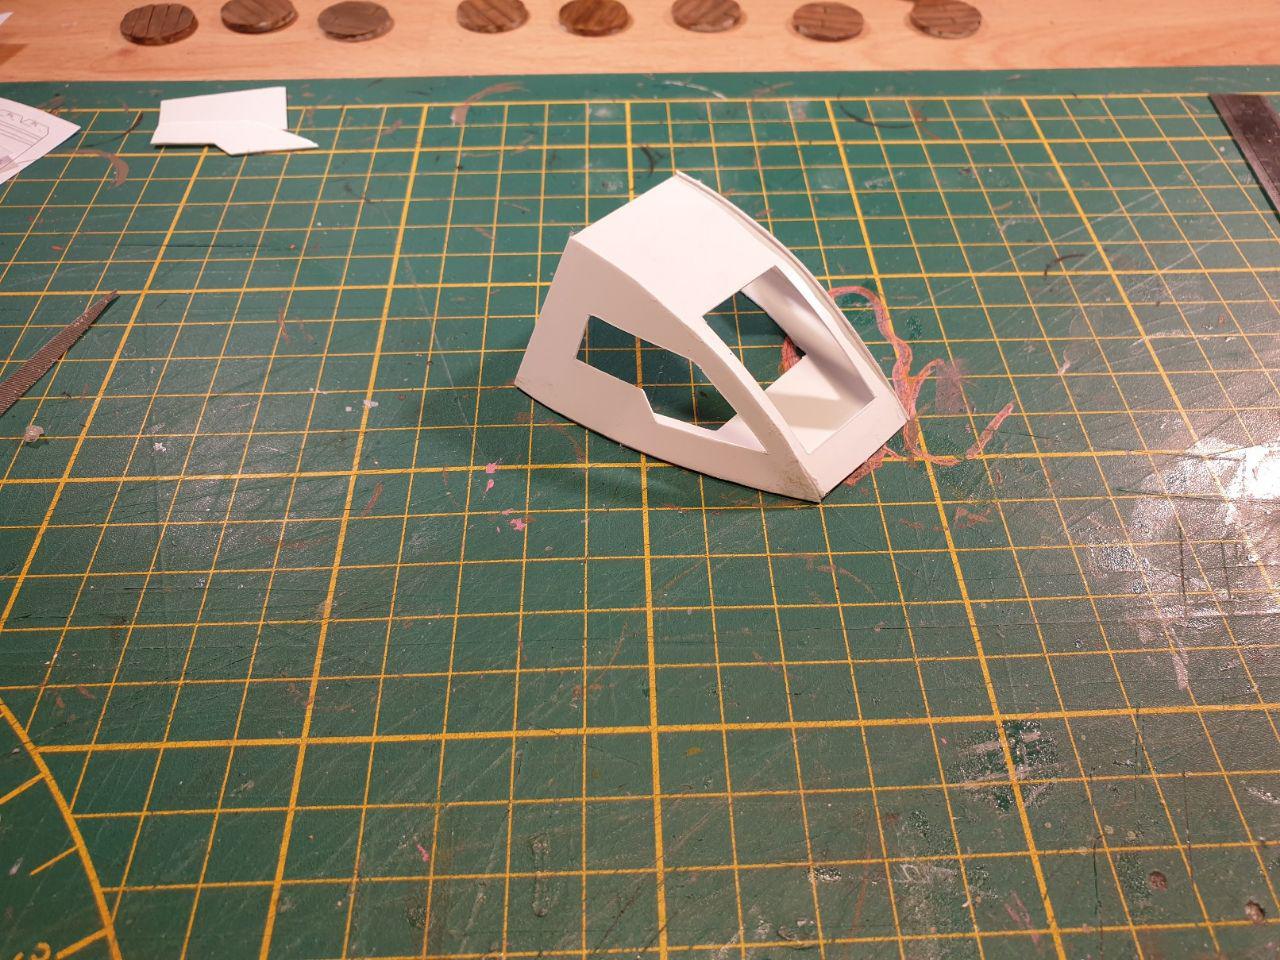
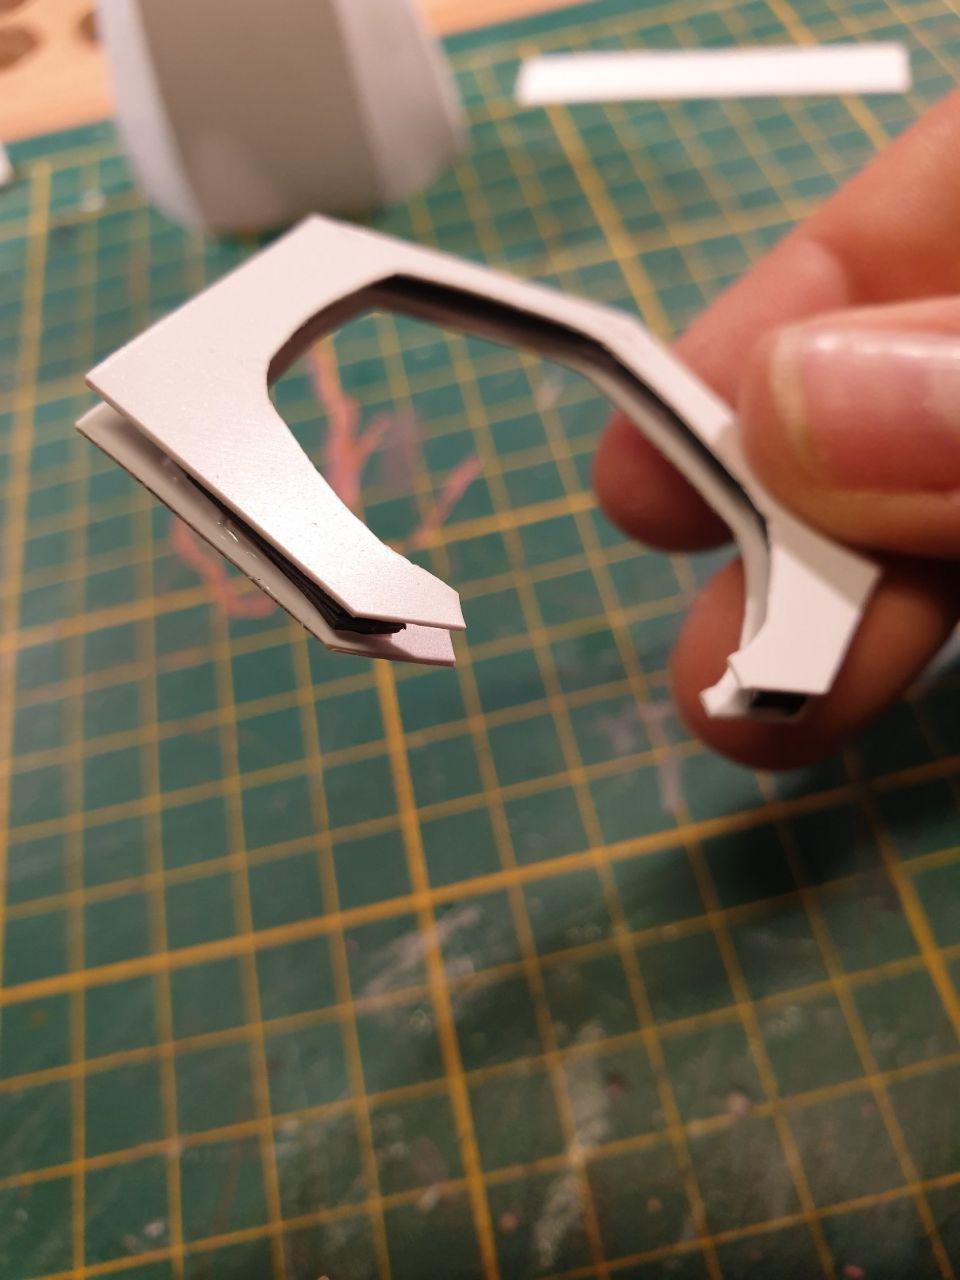
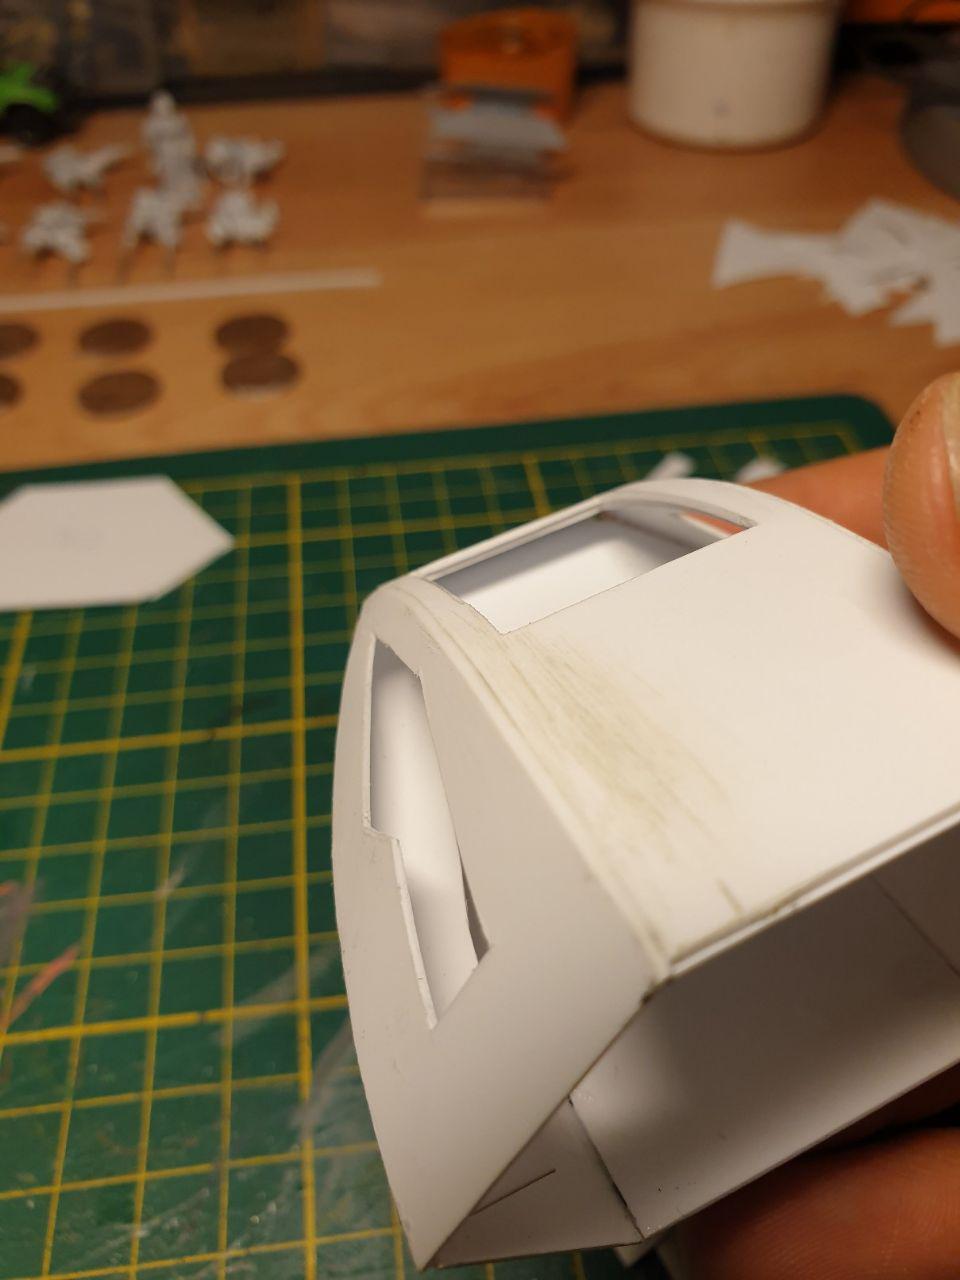
The most complex curves on the model were to be found on the cockpit area, so I tackled this first. I basically used the templates as is (sans the tabs), and I cut out the center area of the central horizontal piece (in the picture above). It is defining the curvature of the nose, and is also a major structural part of the construction. I ended up using it as the basis for the cockpit interior.
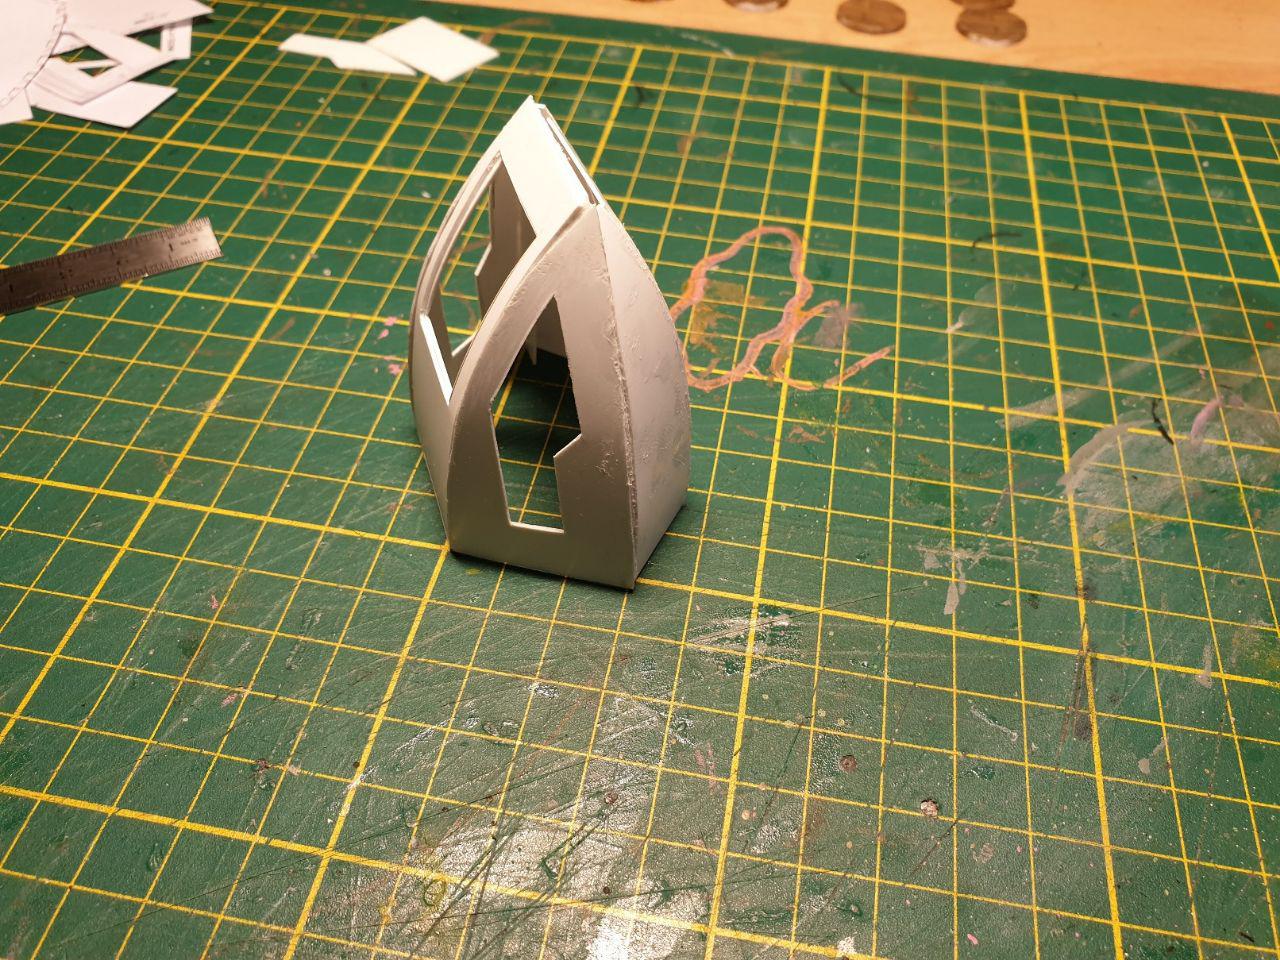
Here's the top half of the cockpit:
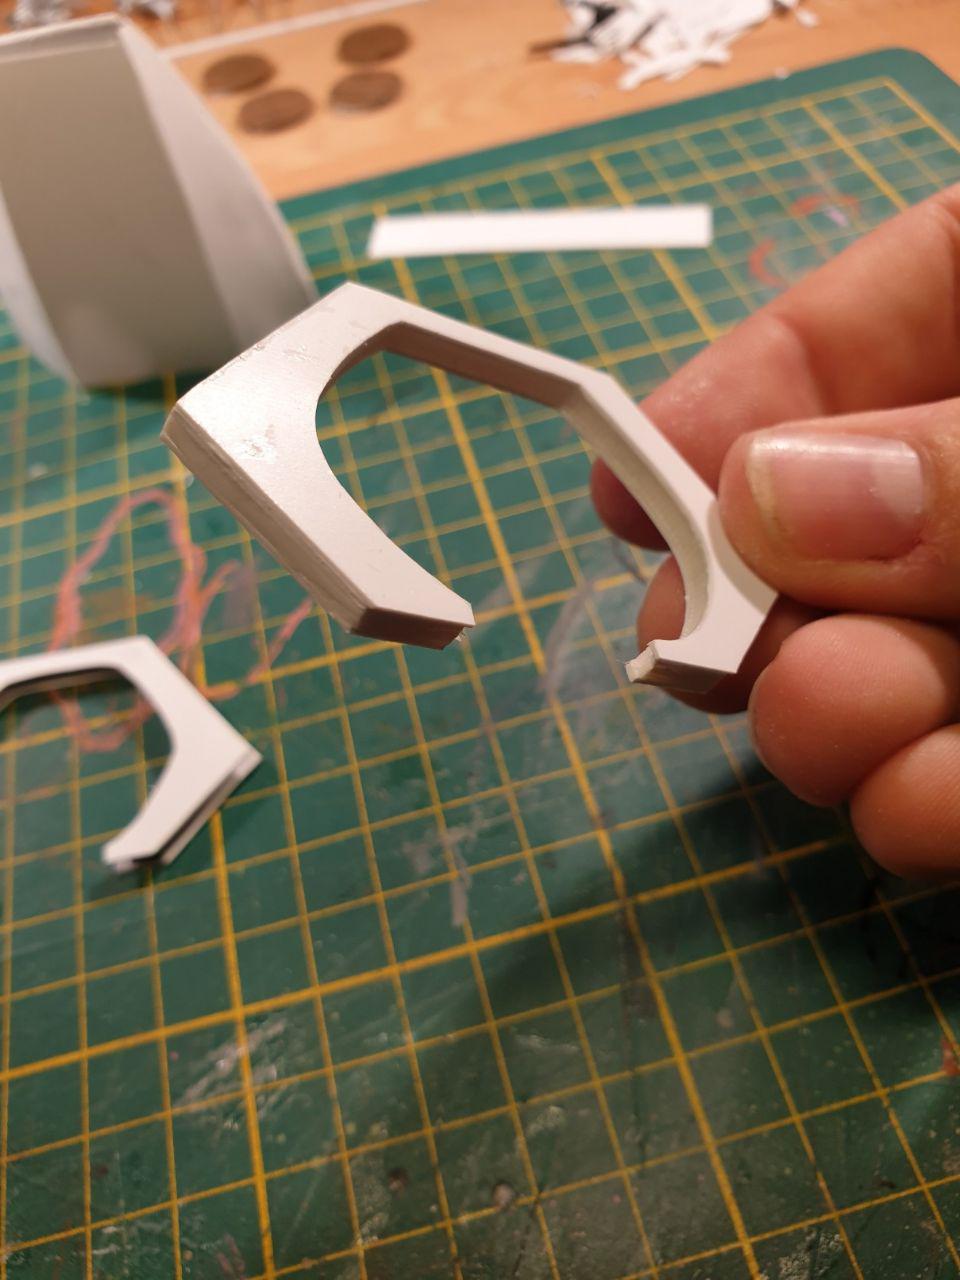
And here is the cockpit, very roughly glued together. It will require some copious amount of puttying and smoothing out later on, but I was pretty pleased with how it was coming along.
I then started roughing out the cockpit area. I decided early on I wanted it representative, but not an exact copy of the studio model, mostly because of time constraints and also because it's really just a gaming miniature, and something as small and obscured as a cockpit might actually be fudged a bit without even the trekkers throwing a hissy fit

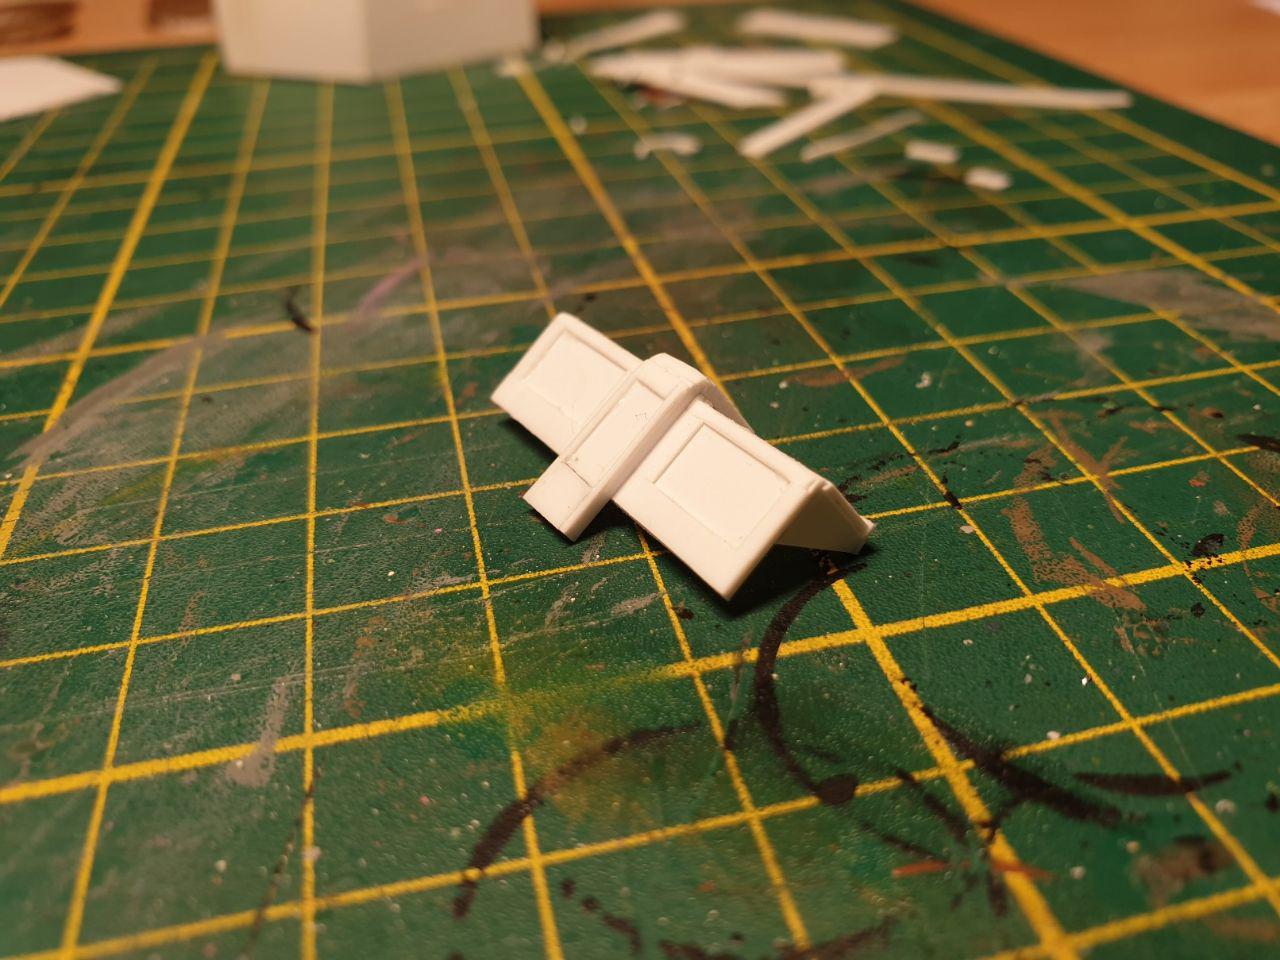
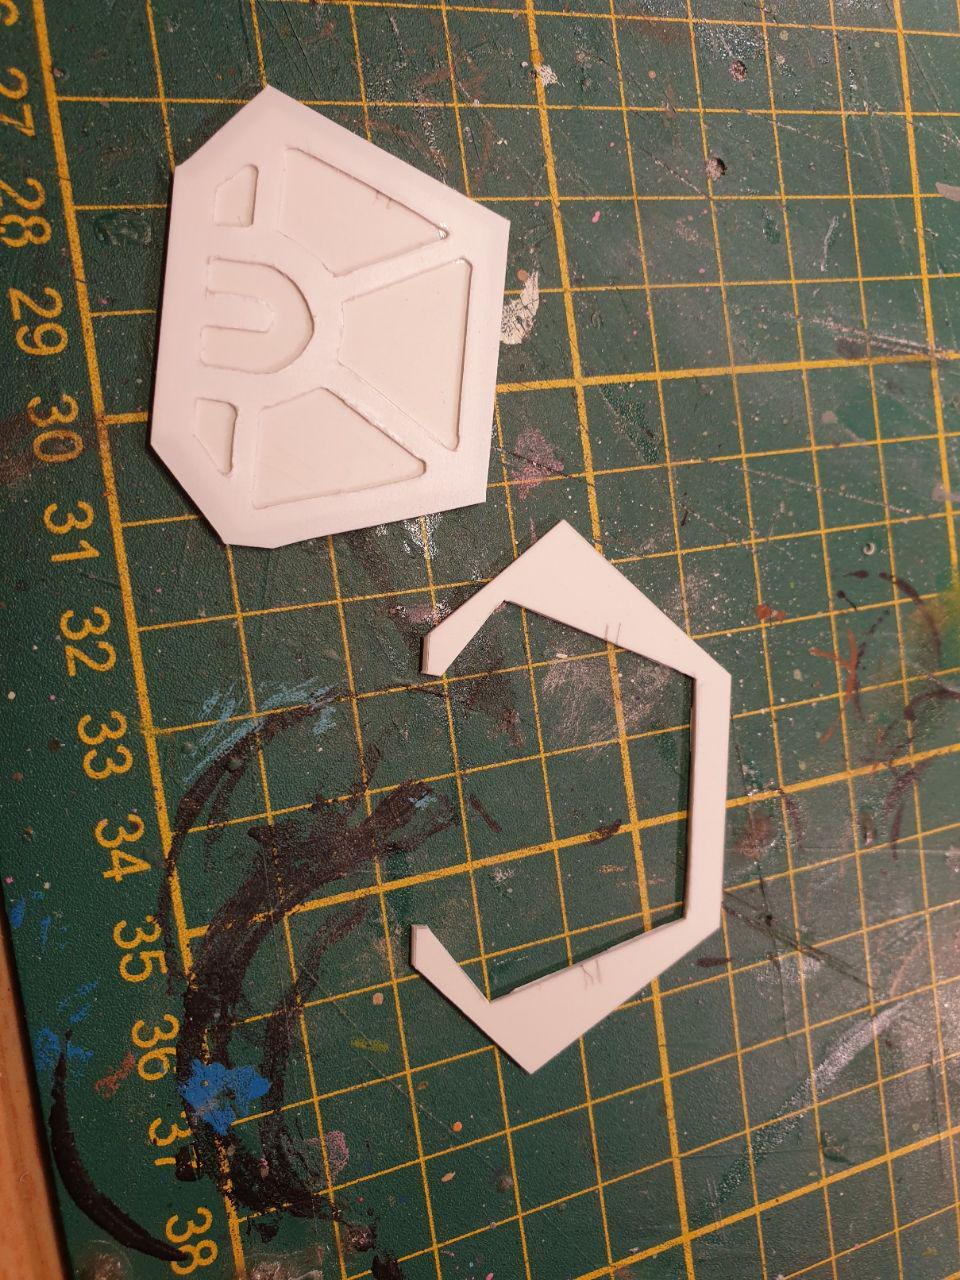
I then needed to create a bulkhead (I'm calling it that anyway) behind the cockpit, based on one of the few online pictures I could find of the interior of this shuttle:

(for the observant amongst you; have a laugh at the expense of the completely unattached warp nacelle; poor Scotty never knew what hit him when he took off
)
It's the ribbed thing behind Scotty. I had seen people using TieWraps for exactly such a purpose and I decided to do the same. But my first attempt was rather bad. I used off cuts as spacers between two identical bulkhead shapes, but the TieWraps proved too stiff to keep their shape when glued without support, so I made a second attempt, with thick plasticard spacers that fit exactly, with the thickness of the TieWraps spared out, sandwiched between two regularly shaped bulkheads. And this yielded the desired result:
Bad
Good
Next was the rear hatch. Obviously I want this hinged. I'm thinking magnets at this point. But I could still go with traditional hinges...
And while stuff was drying, I made a start smoothing out the cockpit area. It needed a lot of that, and it's still not done, but at least I've worked away the remaining wonkiness and what's left is just surface smoothing.
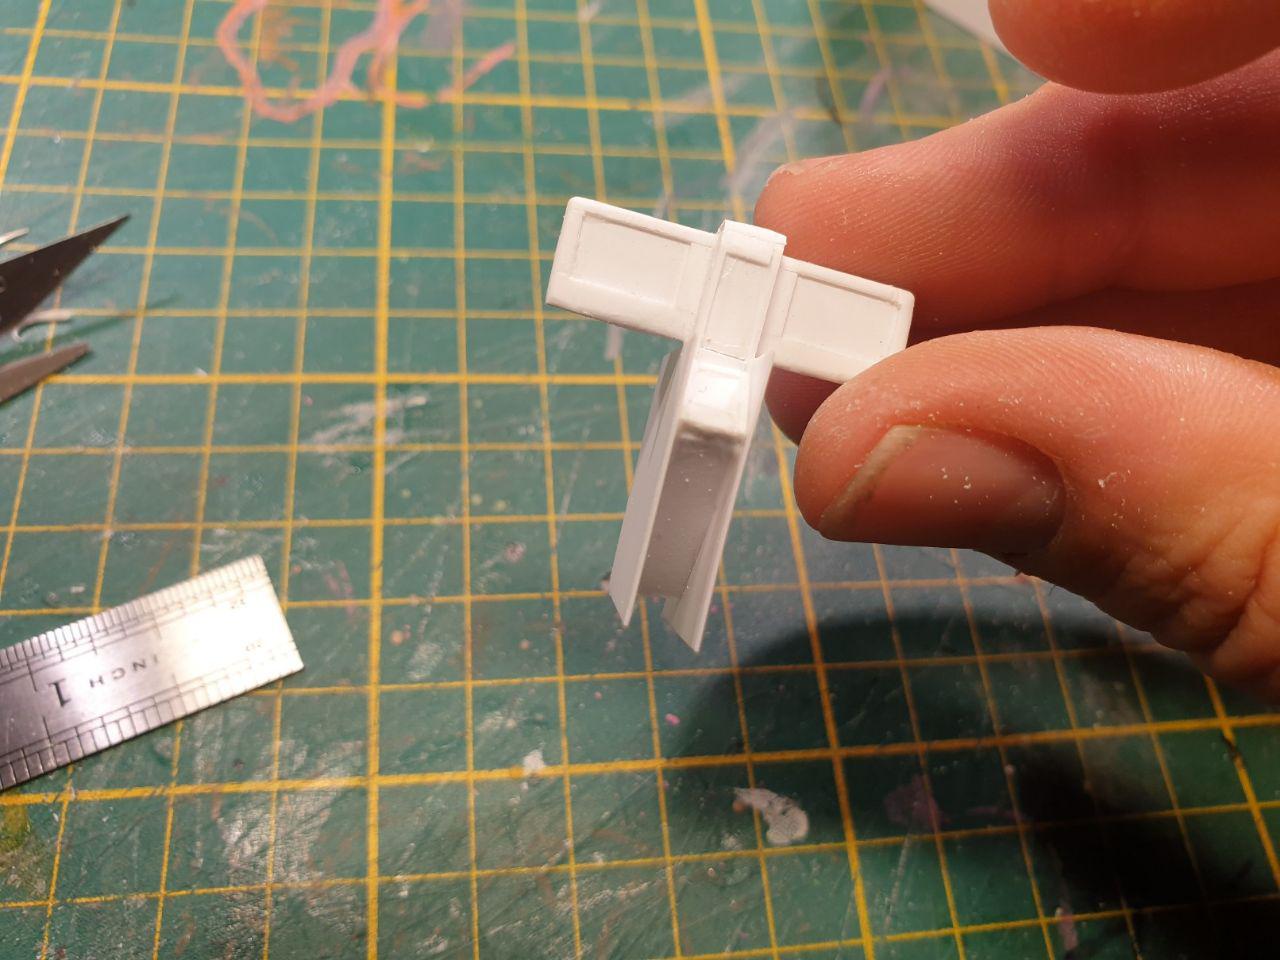
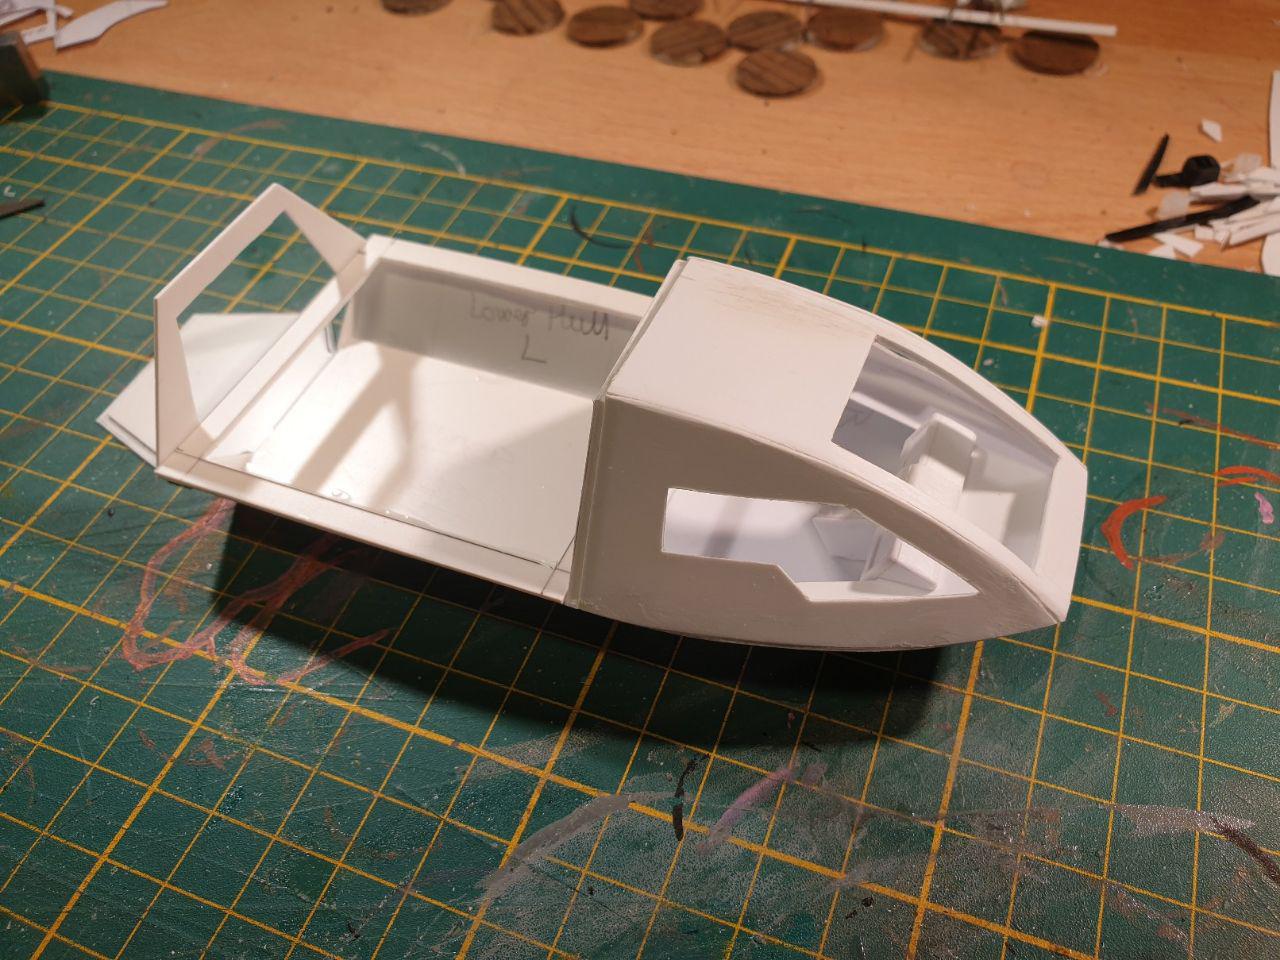
Also, I've progressed on the cockpit console, adding a center column with more screens (obviously). It fits inside of the cockpit perfectly, as can be seen in the final picture of this post, where I mocked up the elements I have done so far.
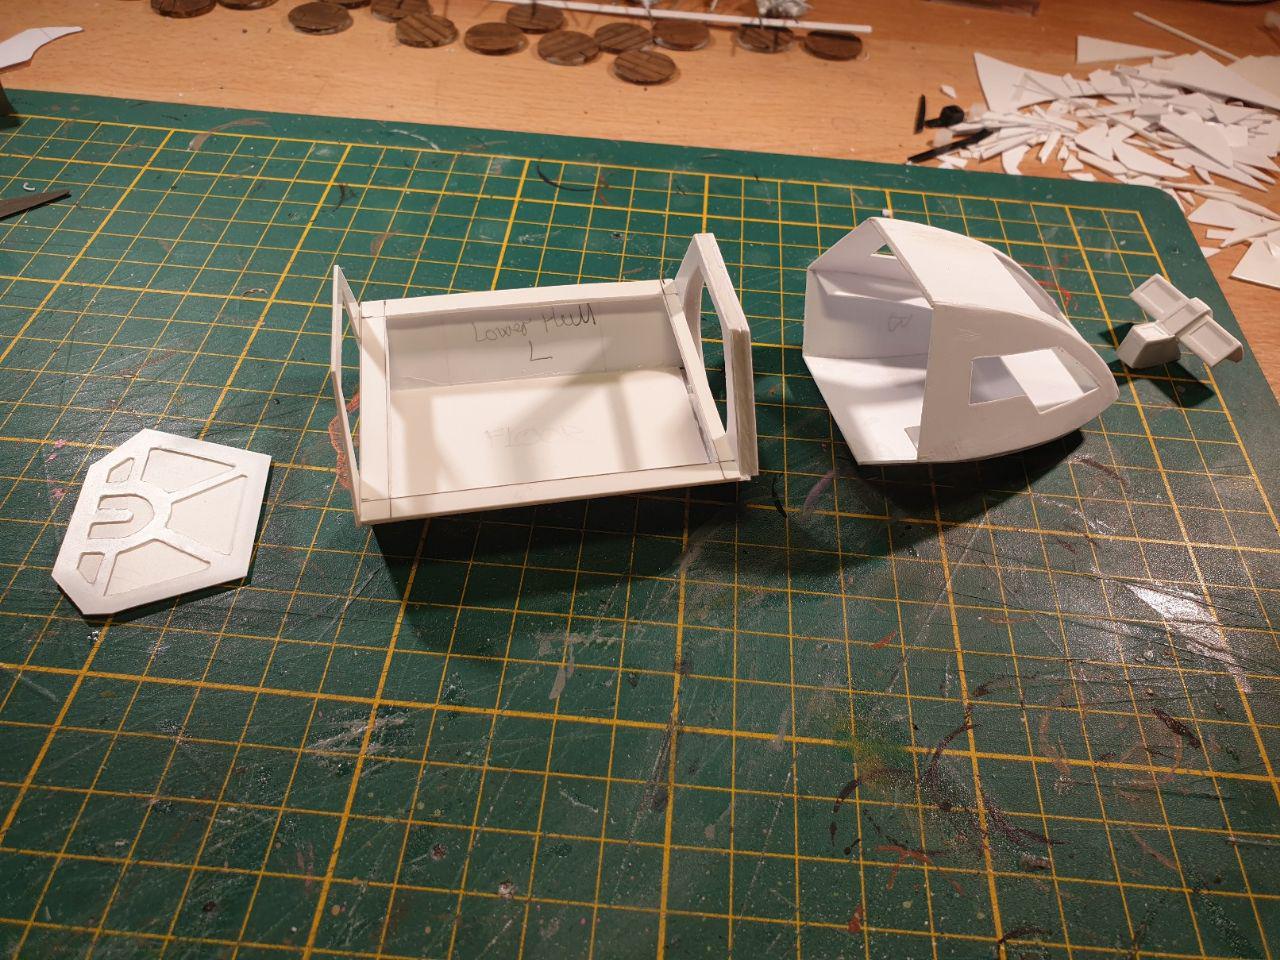
The more astute trekkies amongst you may have noticed in the last few pictures that the shuttle is a tad long for a type 6, and you'd be right. It's about this time that I decided to build a type 5 instead. As I came to find; it's exactly the same shuttle, but longer, and this suits my purpose a lot better.
The final product will not look as dinky, more miniatures will fit inside and storywise, it will simply give me more flexibility. And on the modeling front, it's a matter of just elongating the rear hull with 2 cm, which is ridiculously simple of course.
You'll notice I used the same trick with the center plate on the rear fuselage as I did on the cockpit section. Once everything is thoroughly dry, I will cut away the obstructing bars in front of the rear hatch and the bulkhead, and what remains can be used as a basis for the interior (seats along the walls). Also, it will serve as a base for the removable roof section, possibly with magnets embedded in it.
Anyway; this is where I'm at right now. It's a busy couple of weeks, with Sinterklaas and Christmas rapidly approaching, but progress is remarkably swift, so I'm confident I will be able to finish the shuttle before the end of the year...


 Welcome, Guest. Please
  April 23, 2024, 06:27:48 PM
