Sometime ago I saw one of these static grass applicators, a nifty tool which applies black magic to make static grass stand up straight, like the tufts we all pay so dearly for. "Nifty" thought I, until I saw the price tag. They will set you back about 40 to 50 euro. Shortly after that I came across a video on how to make one yourself for something less than a tenner. This is how I went about it:
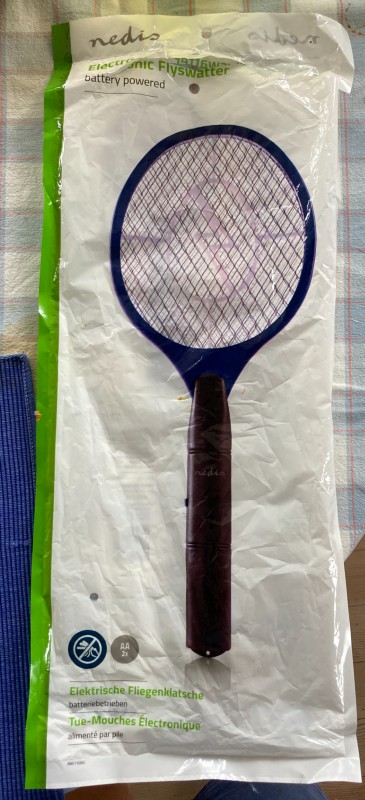
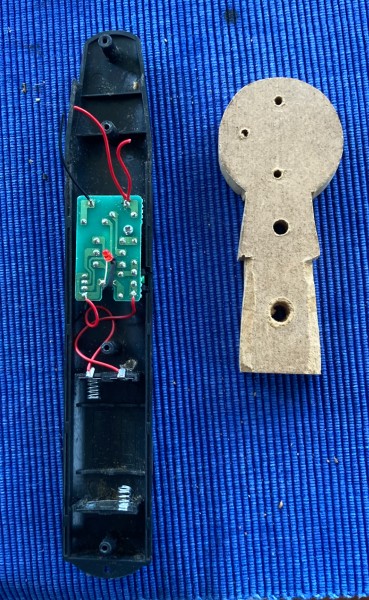
1) This fly zapper, which is the core of my applicator, was purchase for about 5 euro in a local electronics store (Kjell & Co, but you find them everywhere). This one runs on two triple-A batteries.
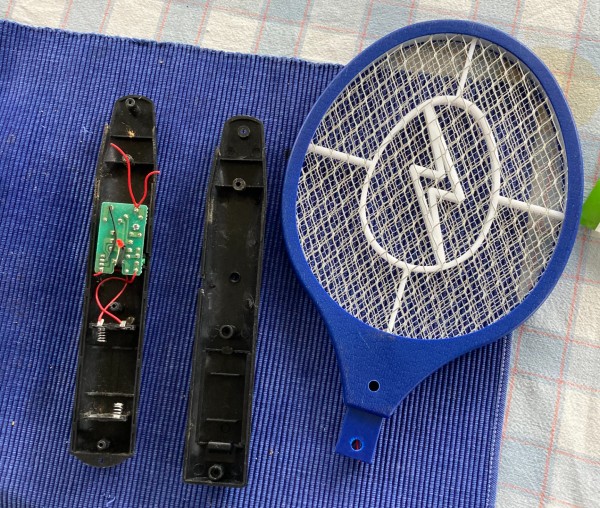
2) Taking apart the handle, you can snip the wires to the paddle and toss it.
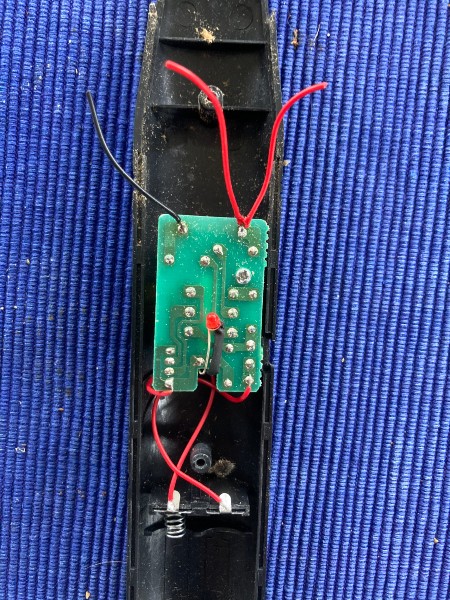
3) I'll tell you a secret: the power which makes the static grass stand up is not magic, it is caused by a static charge. On the low voltage side of the circuit board there is a transformer and on the high voltage side there is a filter capacitor, which stores and releases an electric charge. This one, if I read the markings correctly, releases 2000 V. Unfortunately I missed taking a pic of the reverse side of the circuit board, but take my word for it...
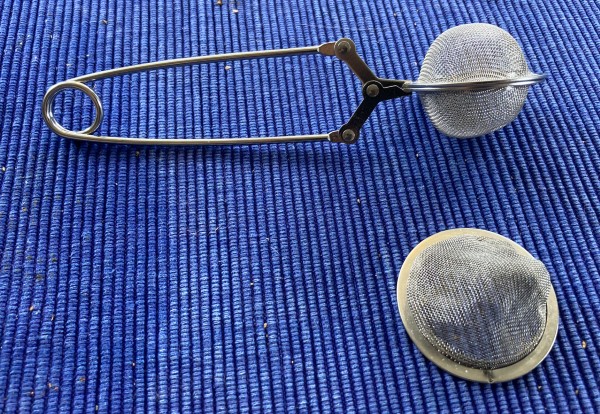
4) You need a tea strainer (cost about 2 euro) to use as a sieve for the static grass. Don't nick mum's, or she will scold you. As luck had it I had half a tea strainer laying about, looking pathetic. Perfect!
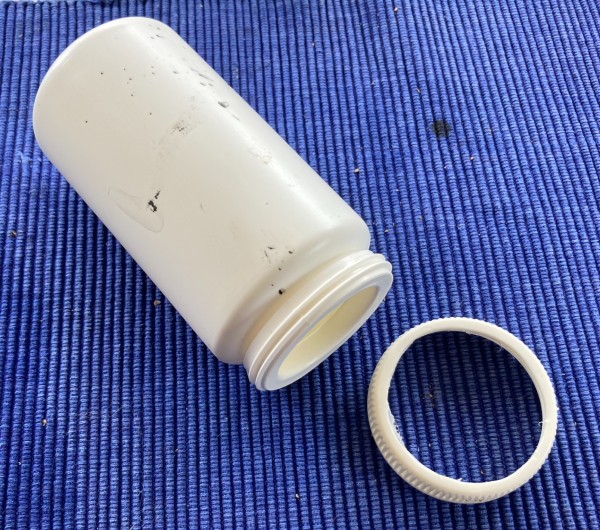
5) You also need a plastic receptacle with a lid in which the outer rim of the sieve will fit. I suppose a transparent one would be ideal but they tend to be less sturdy so I went with an jar laying about in a drawer, which previously had held chemicals, or so I believe.
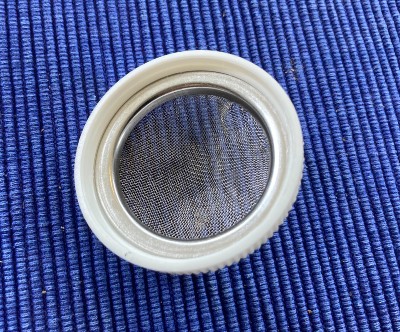
6) I cut a circle out of the plastic lid, making room for the tea strainer half.
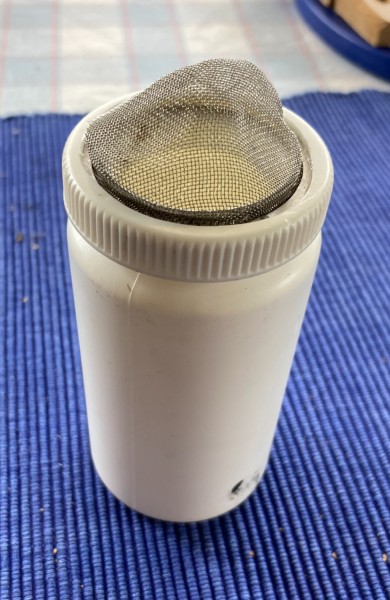
7) And there you go, a static grass shaker. Useful in its own right, I suppose...
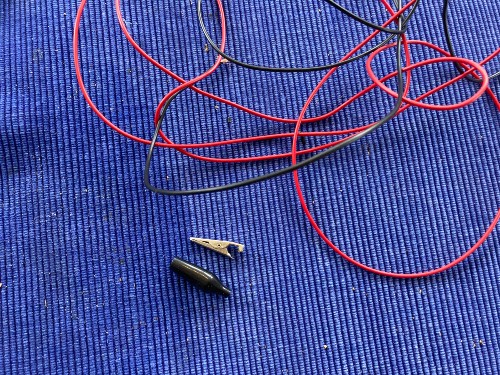

I got some 1,5 mm red and black wire, and a clamp. The red wire is for the hot charge, the black for grounding. Use a vinyl encased crocodile clamp; I learnt the hard way that you can get quite a jolt from 2000 V if you are not careful. These part set me back about 2 Euro.
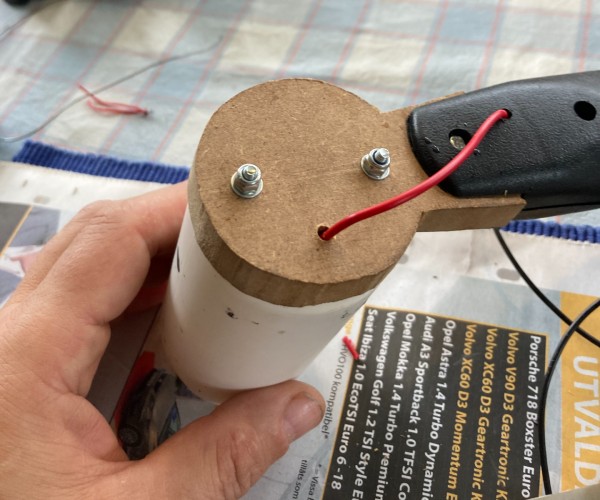
9) I took a piece a paper and traced the shape of the handle to make a mount for the static grass shaker. I transferred this to a 20 mm MDF board and cut out a piece that would fit into the handle. Three holes where then drilled for screws and the red wire. This was the trickiest bit to make during the whole procedure. Not overly so, but still.
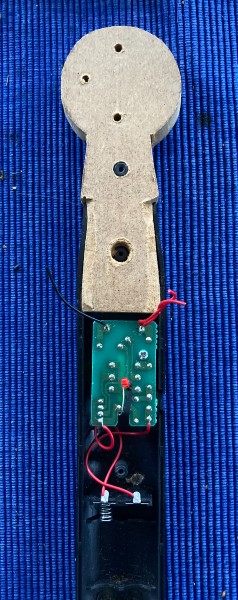
10) Thus fitted.
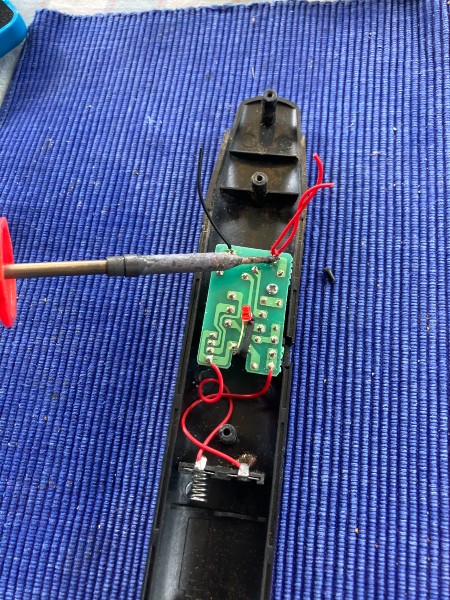
11) I then removed the wire ends from the circuit board....
12) ...and soldered about 25cm of black and red whire in their places. Red, for hot, on the high voltage side.
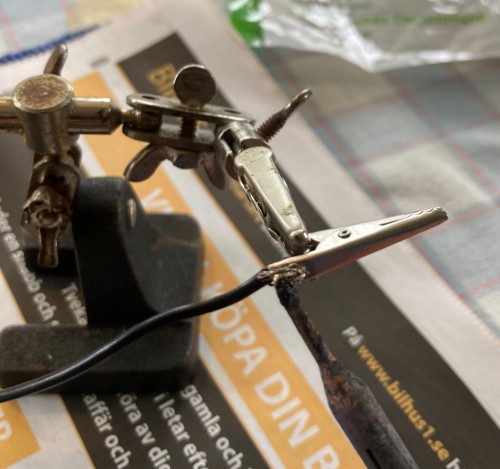
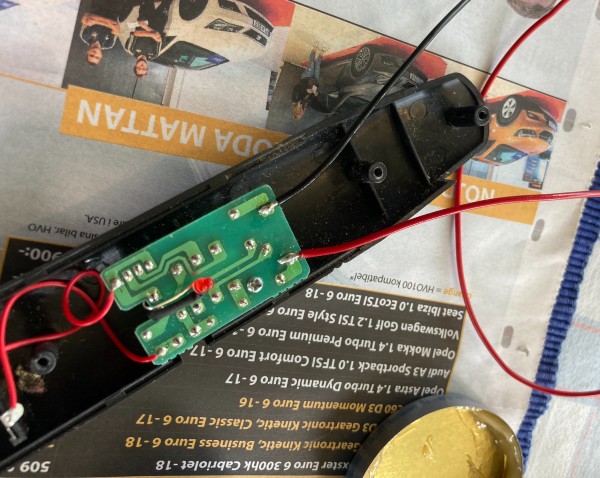
13) Onto the opposite end of the black wire I soldered the crocodile clamp, which will will be fastened to the base to be flocked. Don't forget to put back the vinyl insulation casing!
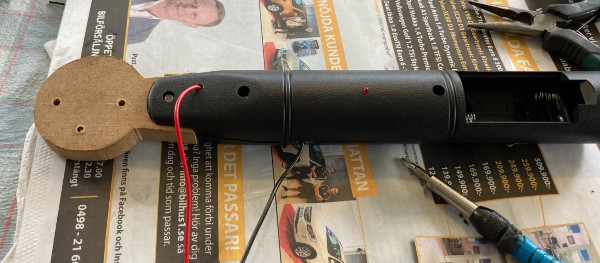
14) I drilled a hole in the handle casing and cut a notch in the side to let out the wires. While fucking about with the handle, make sure you, as I did, don't lose the trigger button on the side of the handle.
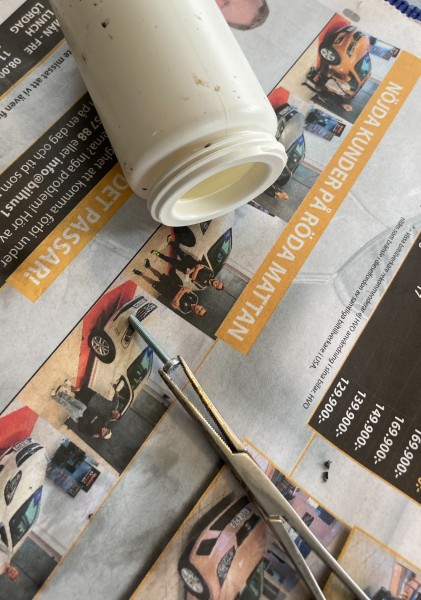
15) To mount the shaker on the MDF you need to drill a couple of holes in the bottom of the jar, corresponding to the holes in the MDF bit. The screws are a bit tricky to get in to the jar; a pair of forceps really help.
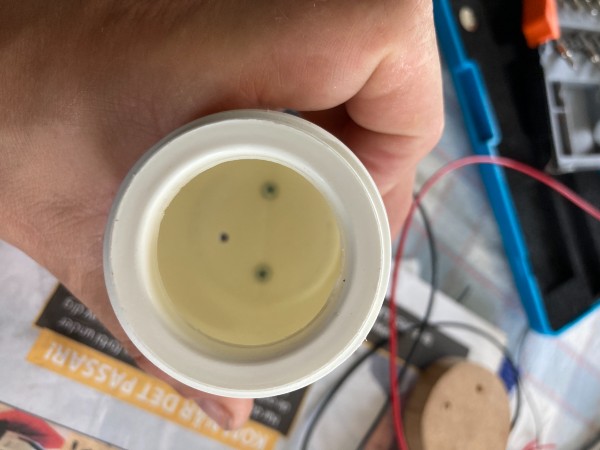
16)...like so.
17) A pair of washers and self locking nuts a-fixes the jar tightly to the MDF bit.
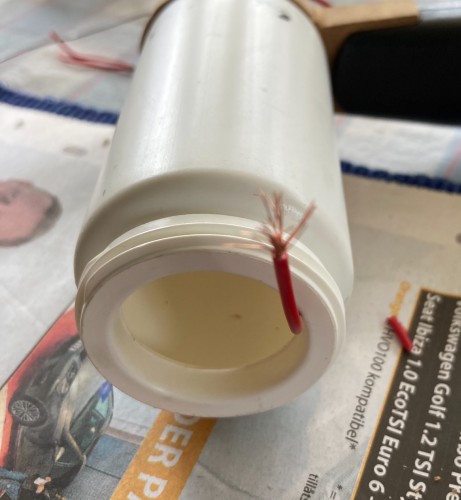
18) The red wire was lead through the hole in the bottom of the jar and through it's opening. The end of the red wire was shaved and frayed like so..
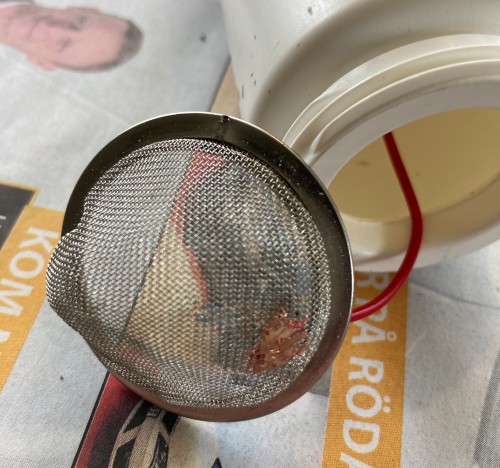
19) ...and soldered to the net of the tea strainer half. This is what will make the static grass to be charged and respond to the magnetic field caused by the sieve and clamped part.
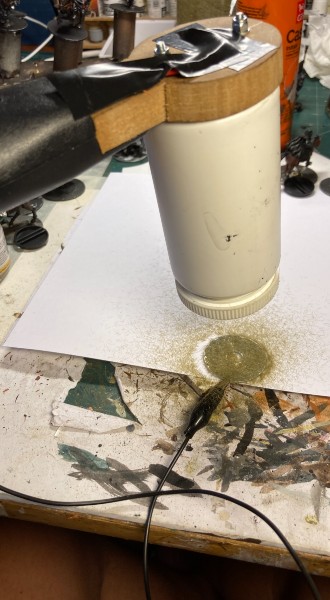
20) And voila!


 Welcome, Guest. Please
  April 19, 2024, 12:09:25 AM


