So, it finally happened...
Way back in 2006, I bought the house I currently still live in. When searching, my girlfriend at the time and I had two main criteria; she wanted a sizeable garden, and I wanted a dedicated hobby room, and this house ticked those two (and almost all other) boxes, so we went for it.
My intended room had been the laundry room previously, so it was partially tiled, had a kitchen block, and provisions for a washer and dryer, as well as shelving etc. So some extensive removing, redecorating etc. was in order first.
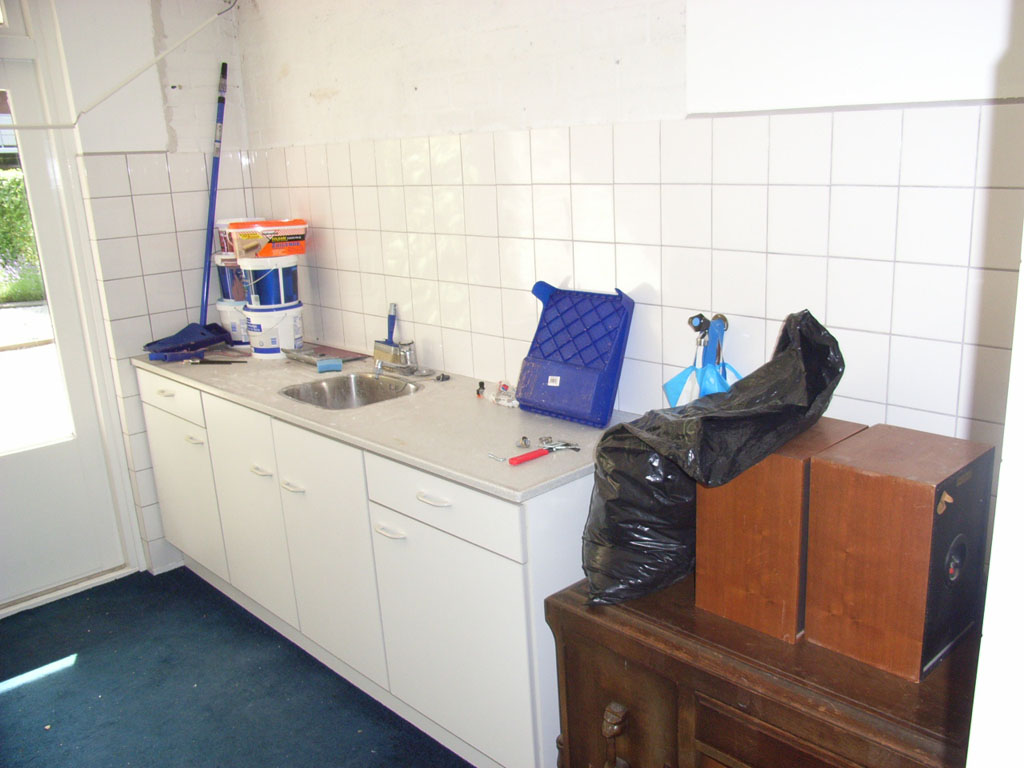
But as things go, this got postponed, as I ended up living there alone, lacking the funds to start that work. Then I met the girl who would eventually become my wife, she moved in, and all her stuff had to be stored somewhere too. And you guessed it, for years, stacks of boxes were stored in my room.
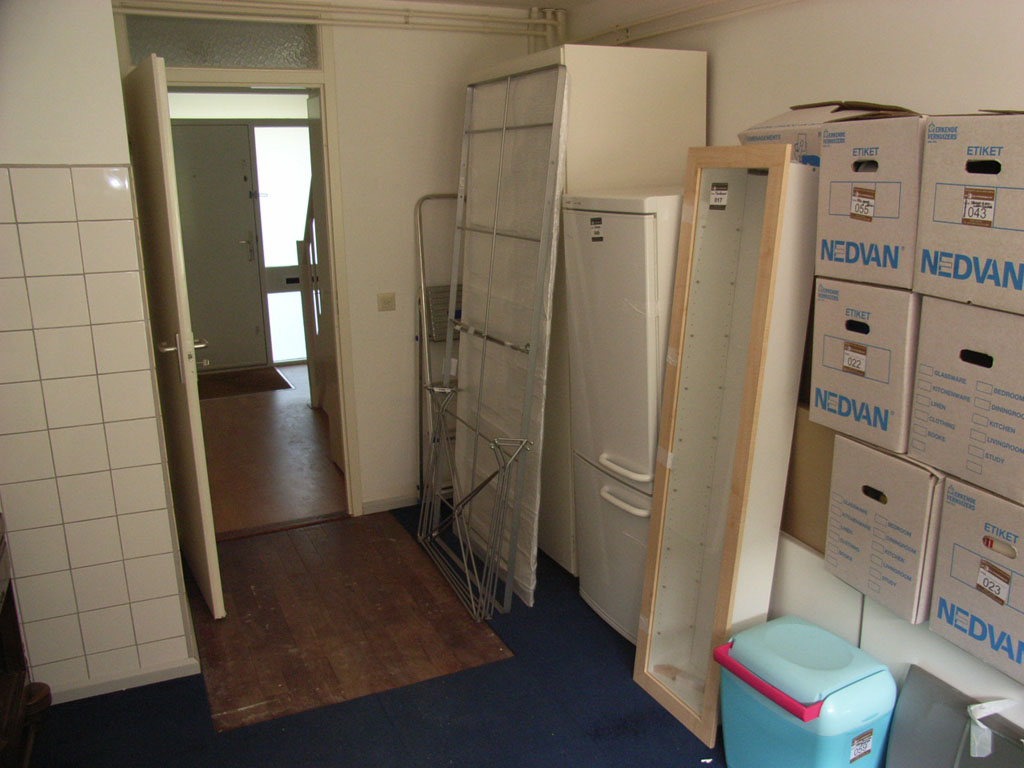
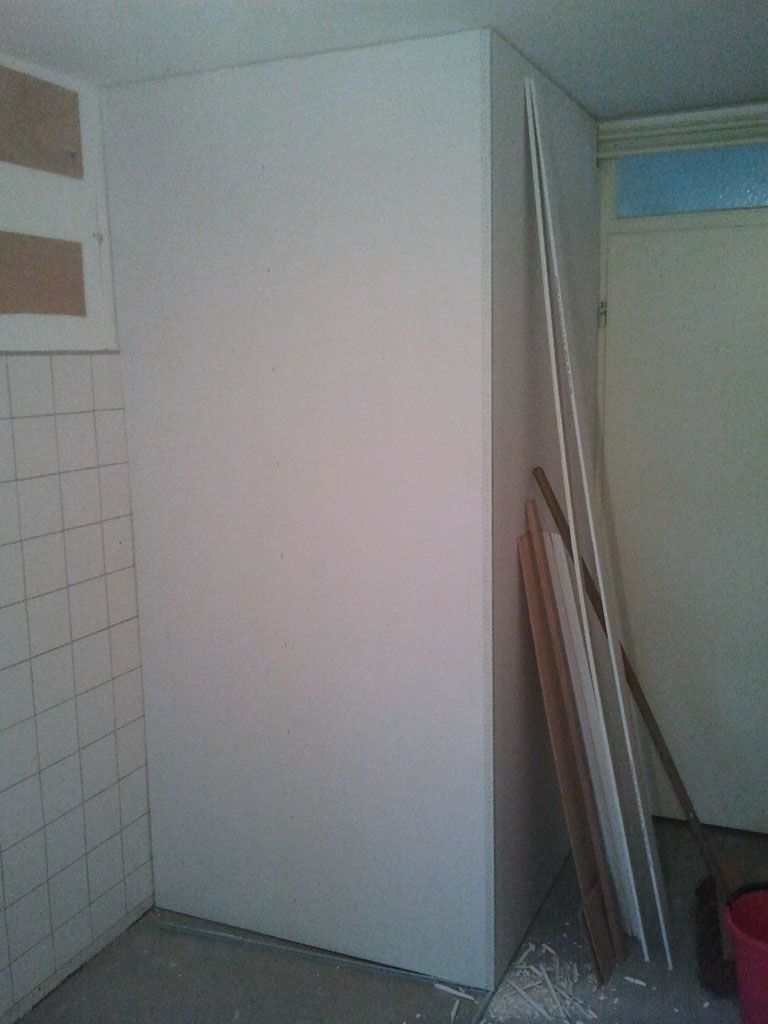
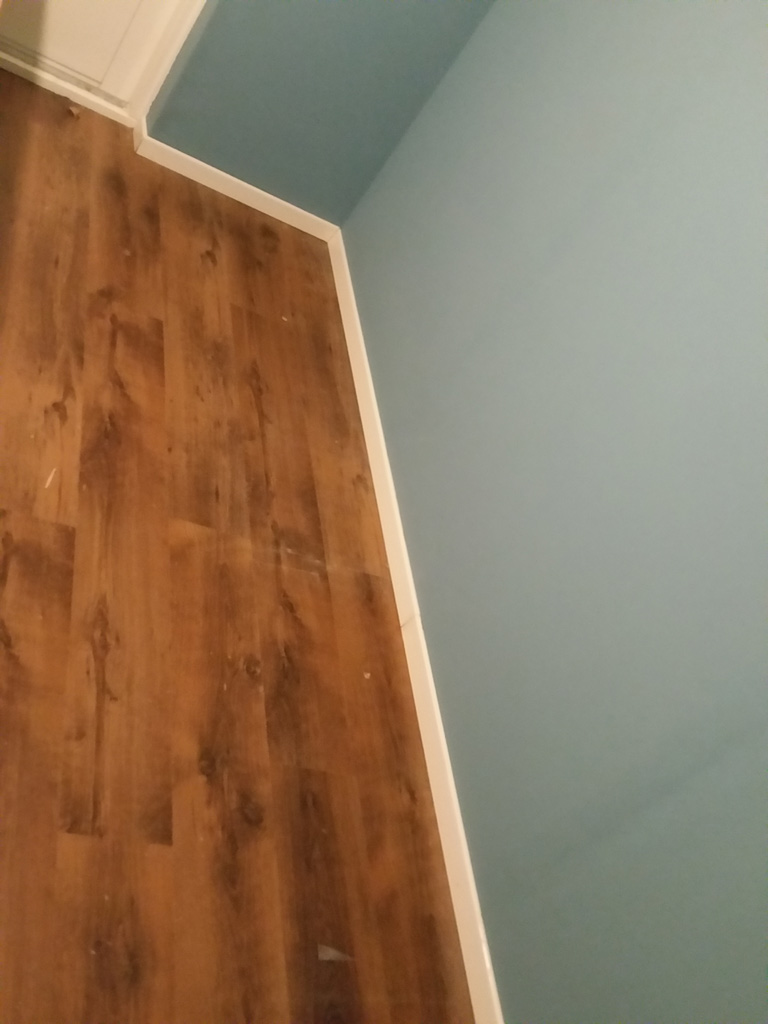
Over the years, I managed to get some stuff done, bit by tiny bit. I moved all the boxes to the garage. I removed the kitchen block. I re-plastered the walls. I painted the walls and ceiling. I laid a new floor. And I accumulated (antique) furniture for the room. All alongside all of the other real-life problems, challenges, distractions and projects that tend to come along.
It was slow going, also because I had a very clear and strict picture of how I wanted the room to look and feel. A mission plan, which I have managed to deviate very little from, and only then when there where new insights which resulted in improvements and/or refinements.
And, as you can tell, it had become a long game indeed.
In the meantime, I did use the room for its intended purpose, unfinished as it was. We gamed there for many years, amidst the clutter and work in progress walls, shelves etc. Oh; and boxes, always loads of boxes, obviously.
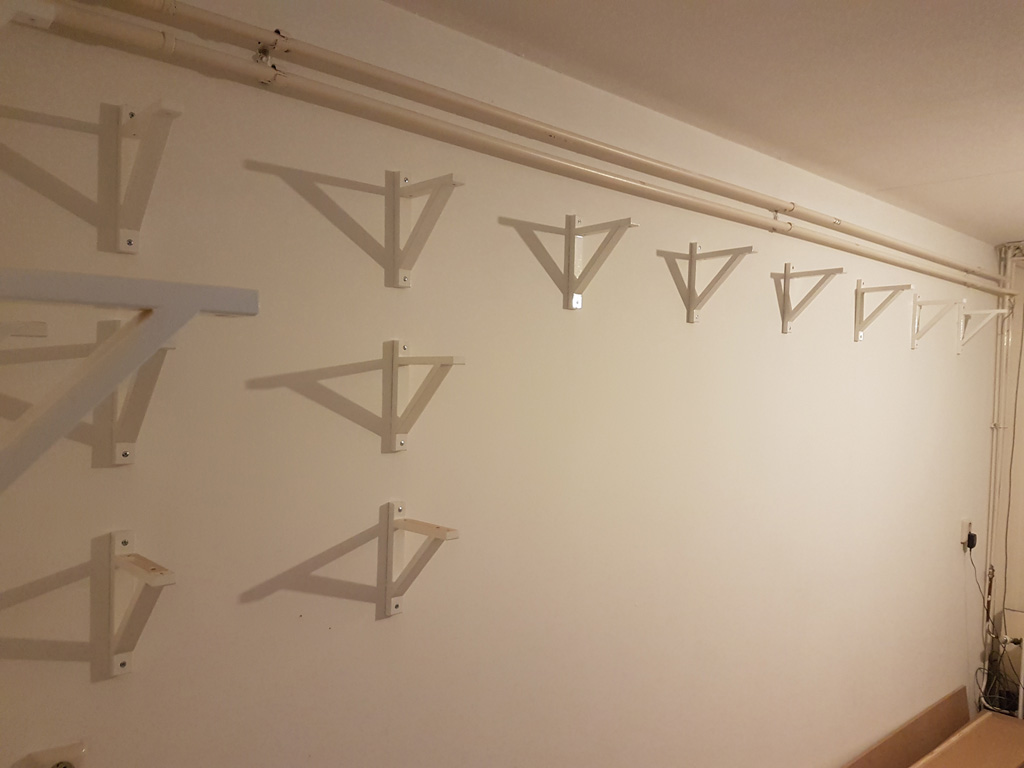
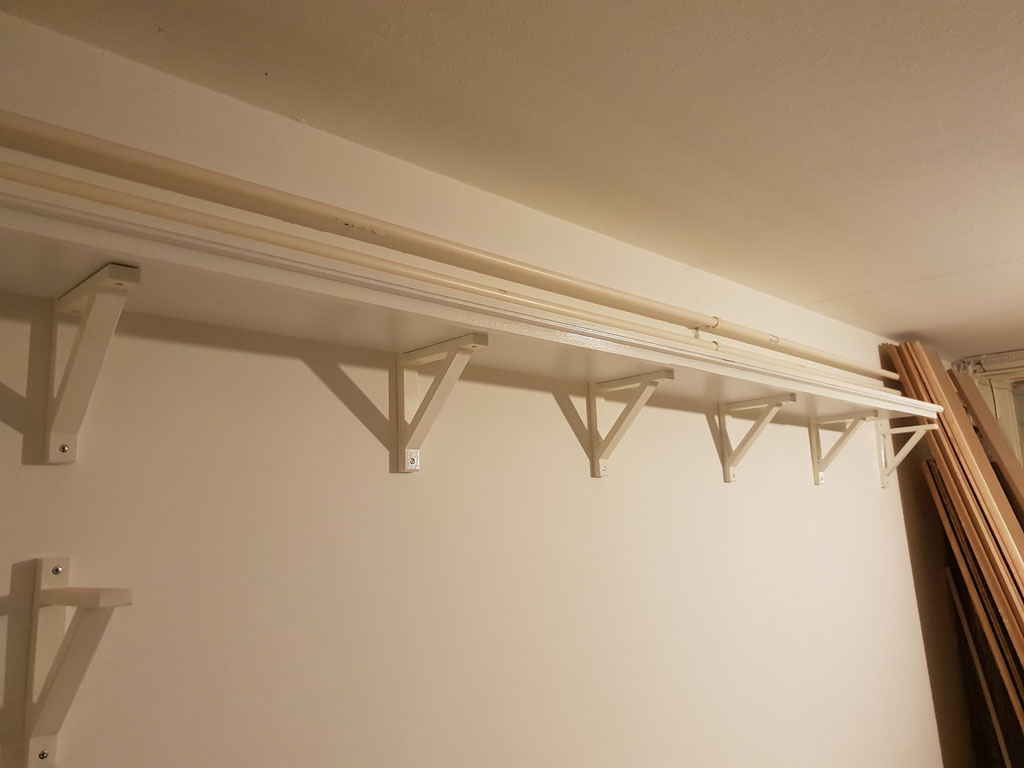
What turned out to take the longest, was the creation of the shelves. I wanted the room to mimic the feeling of a 1930s library or study, and a simple shelving system of laminated chipboard with metal supports (as I had in place over my painting desk upstairs) was out of the question.
So I took MDF boards, added wooden slats to the front and underside to create a classic, supported shelf look, and painted them white. Considering the MDF required a good primer coat (x2), and I ended up having to put 3 layers of lacquer on top of that, this took quite a while, including drying time.
Also, we're talking a good 16m of shelves in total, and considering I had to do all of this in that same room (painting them on both sides, obviously), you can imagine that for quite some time, the room was unavailable for gaming. Then I had to paint up a good 30 wooden supports/braces to attach the shelves to the walls too...
Yeah; I was really quite done with painting white at that stage...
The lockdown earlier this year, cancellation of our vacation plans, and a strong desire to finally see this thing through to the end got me in gear to make the final push to the finish line.
So I hung the shelves, cleared the room (yet again

), acquired a metric ton of Ikea boxes to populate the shelves, hung the curtains, put in LED lighting on the ceiling, and I built a painting desk.
Yes; because part of the process was the moving of my painting desk from upstairs to my hobby room. Up till then, I had a painting desk in what we called the study. I still have my PC there (which will also have to be moved downstairs soonish), my wife uses the room to work from right now, but eventually that room will be converted into a larger bedroom for my daughter, with my wife moving into the smaller room with her work stuffs.
I had a great setup up there though, which I built when I moved in. It's a good sized room of about 5x3m, into which I built a desk that wrapped around 3 of the 4 walls, with PC stations in the two corners, and the longer side partially dedicated to my hobby station.
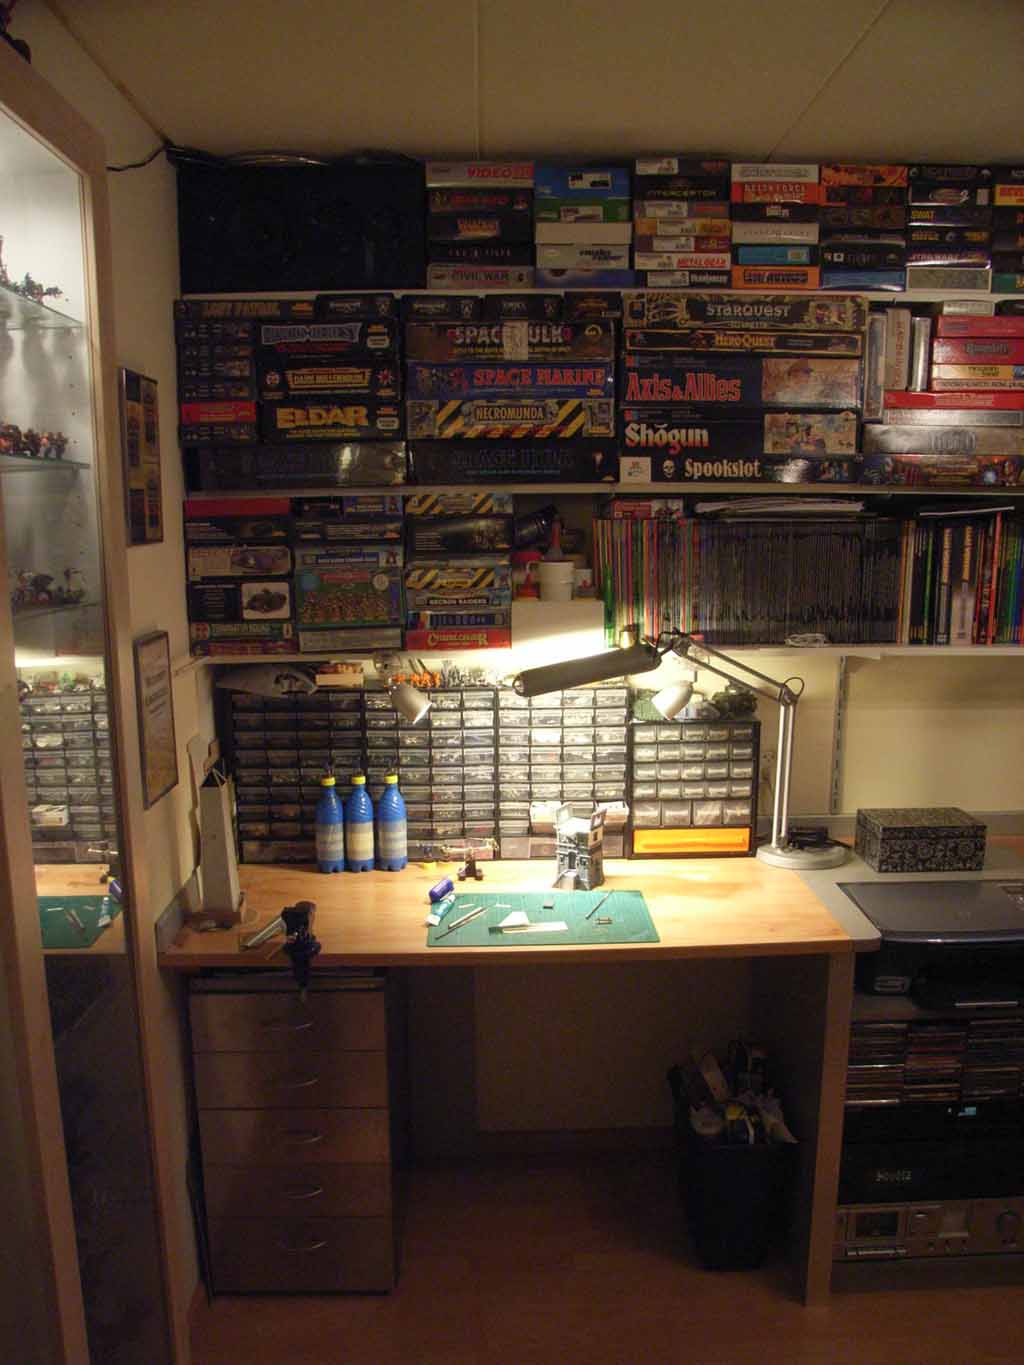
The entire wall above my side of the room was covered in shelves, onto which I slowly but surely accumulated more and more hobby related stuff. Miniatures, books, models, you name it. I ran out of room on the shelves, so I started to store underneath the desk as well; most of you know the drill; miniature purchases were Tetrissed into the existing space to the point where I became convinced that I had actually created a Room of Holding; I could always find a spot to store just this little extra thing.
But I'll get to the abundance of stuff in a bit...
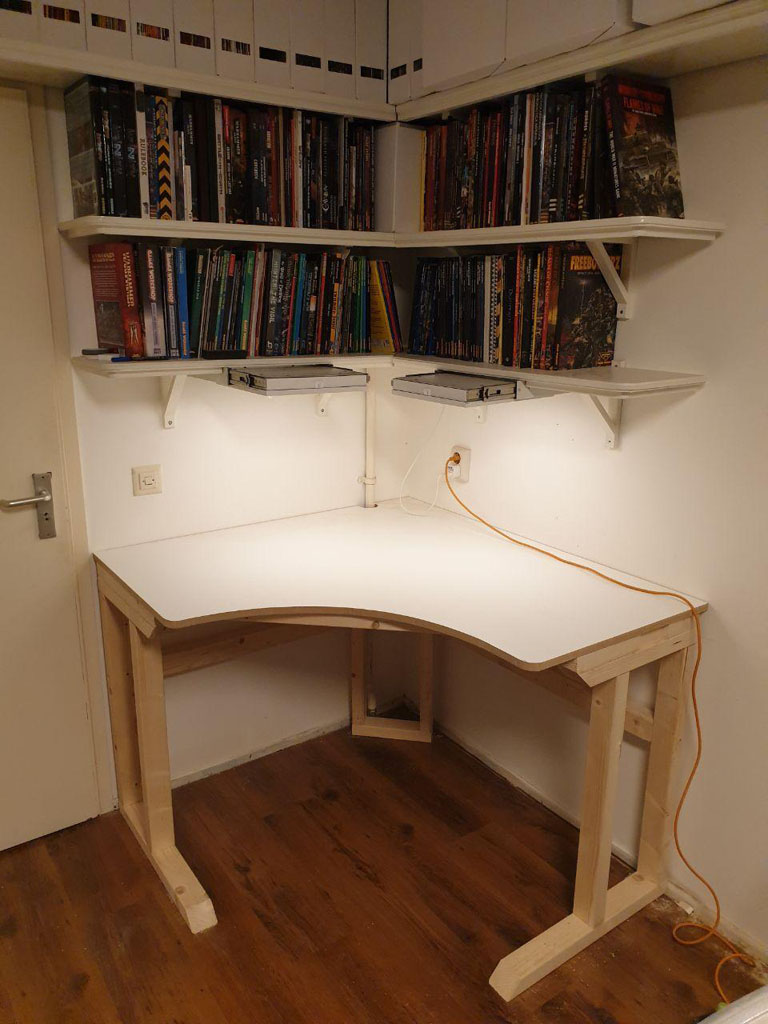
So, yeah; my painting desk. I had been planning a hard wood desk (probably oak, to fit in with the old furniture I had accumulated), with all the required features to combine a computer station with a hobby one, so it had to have a comfortable hobby height, a way to retract my keyboard and mouse, swivel the monitor out of the way, and store all of my bits and tools. Plus there had to be ample lighting, obviously.
I added some drawer slides of the appropriate length to two square Ikea LED light panels (same family as the large one on the ceiling). And with the addition of some sheet aluminum, I now have two bright lights over my desk that can be fully extended or neatly slid away under the lower shelves. A great solution to fit my needs, and a pretty cool Ikea hack, if I do say so myself

As a placeholder though, and proof of concept plus prototype, I built this desk version of cheap pine and a laminated MDF sheet for the surface. Mainly because it was quick (I built it in one afternoon), and to hone my woodworking skills before I started on the expensive hard wood. I really like the white surface though, so I am contemplating using a white surface in the eventual end product too.
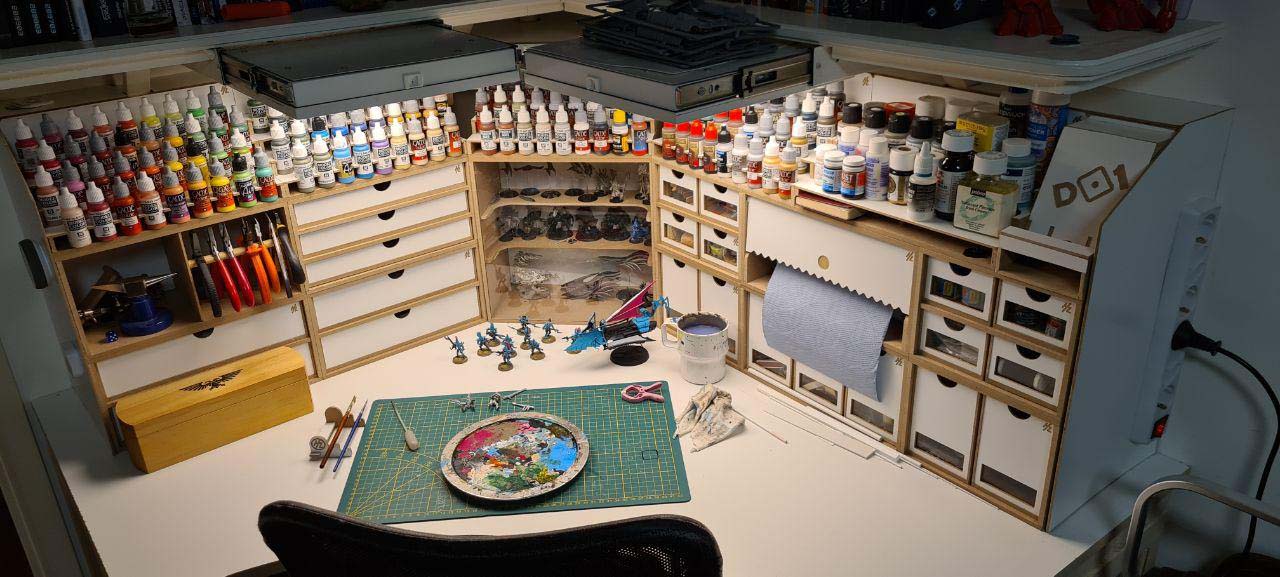
I then bit the bullet and bought a full layout of Hobbyzone elements for my desk. It arrived pretty quickly, but it still took me several days to completely build everything, and then I realized that there were some shortcomings to the range I would have to overcome myself. So I had to build a frame behind the elements, as they could not sit flush against the wall because of some pipes running in the corner. And because of that corner, I placed the WIP case at a 45 degree angle to the walls, and Hobbyzone do not cater for such a setup.
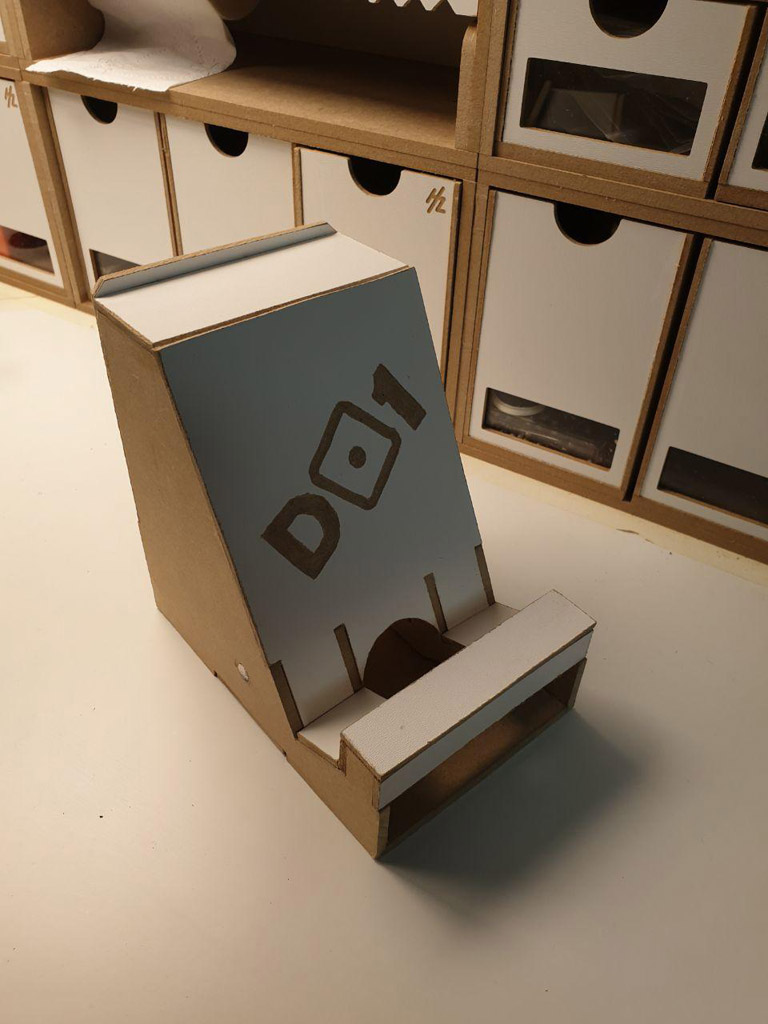
So I had to get creative myself. First I built a phone stand, to sit in the empty 10cm slot that was left after combining two 20cm and one 30cm stacks, since the paint racks on top only come in 30cm variants. this was a great success; I even magnetized it the same way as the Hobbyzone elements, so it is now completely integrated. And my logo, even though it's not as tight as it would have been, had it been CNCed, really does finish it off nicely
Still planned are two 45 degree slices of paint rack, to fit between the paint racks on top of the elements, with some more space for paint bottles (about 6 per piece I reckon).
I also added side walls to the completed setup, and a top cover on the frame, to prevent dust gathering and stuff falling behind the elements. On one of the side walls, I added the business end of an extension cord with plenty of sockets for all of the powered tools I tend to use in the hobby.
Eventually, I will add a drawer under the desk surface, to put my keyboard and mouse on, and the monitor will be on a wall mounted articulated arm, so I can move it around as needed. I reckon this arm will require some conversion too, to suit my (very specific) needs.
In the meantime, I had moved all of my hobby gear and supplies from the upstairs room down into the hobby room. And only then, when stuff kept pouring out, from every nook and cranny, did I realize just how much stuff I had accumulated over the years.
It was quite sobering...
When I had envisioned my downstairs room, I had been working on the assumption that I would have to transfer all of my (then) upstairs stuff down, with some ample extra space for expansion. But I never could have imagined the sheer walls of goods I would be acquiring over the following decade.
Well; I could have, obviously. I mean; the examples are all over the LAF; I should have been prepared, but like many nations in the past, I did not heed the warnings, the booing and wailing of the people, or the writing on the wall. And when the time came, I was woefully caught off guard...
So there will be some drastic reducing of my stores in the near future, as I want my room to look tidy and nice, instead of like an overflowing backroom storage of some dusty little pawn shop.
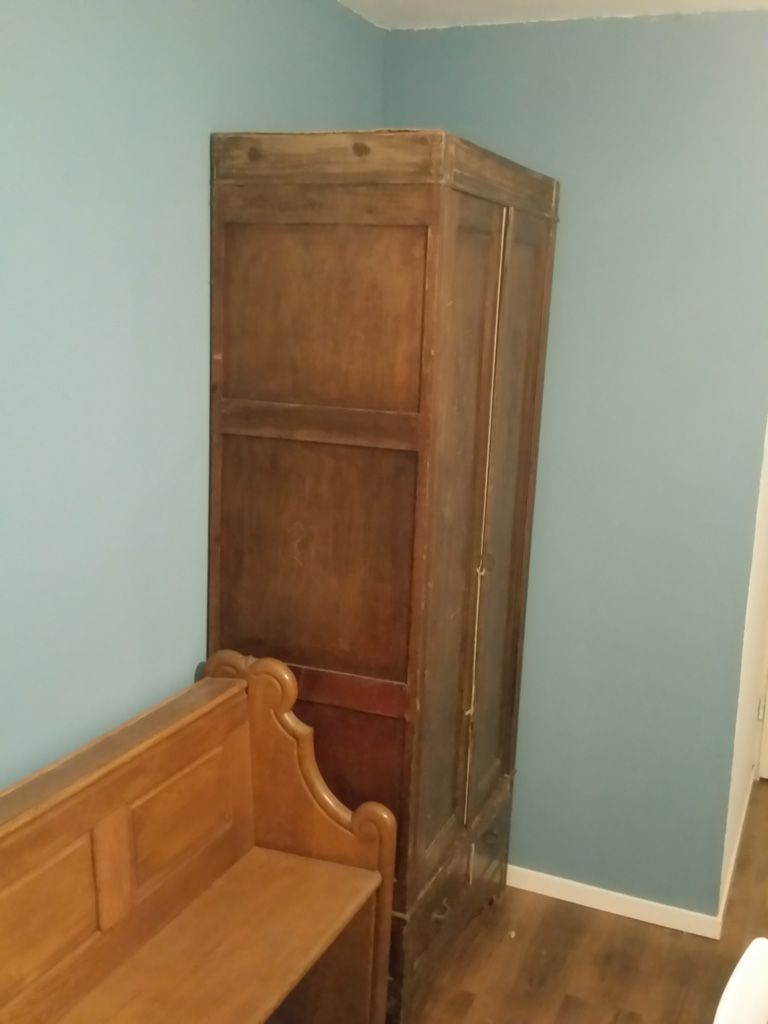
In the end, I managed to store everything in the planned boxes, plus the boxes I had been using upstairs. Eventually, the pew will have to be free of clutter, so it can be used to actually sit on, with sliding drawers underneath for large terrain pieces.
The cupboard next to the pew was originally bought to be converted into a display case, by adding shelves and replacing all the wooden boards with glass, adding lighting etc. But my display case upstairs is not much smaller, and is filled to overflowing (in some cases actually double stacking units), plus I have many painted miniatures in transport cases, foam etc. because they won't fit anymore.
So, this fact, combined with the obviously inflated storage requirement, made me decide that I will be using the cupboard as is for storage, and I will be adding a display case on the entire wall over the pew. I found nice ones that are 18cm deep, 90cm high and 60cm wide, of which I will be able to fit 4 on that wall. That should be ample display space for some time to come.
Also left to do is the building of my gaming table.
I have made some proof of concept elements for the gaming surface; 60x120cm, magnetized pieces I can swap around in different configurations as I see fit. I plan on building several more sets with different surfaces, to cover all types of environment. Think snow and rubble sets first. This desert one was built according to Luke's instructions on Luke's APS (YouTube channel), and while it is now the nicest gaming table I have ever owned, it's not at the level I want it to be. Yet.
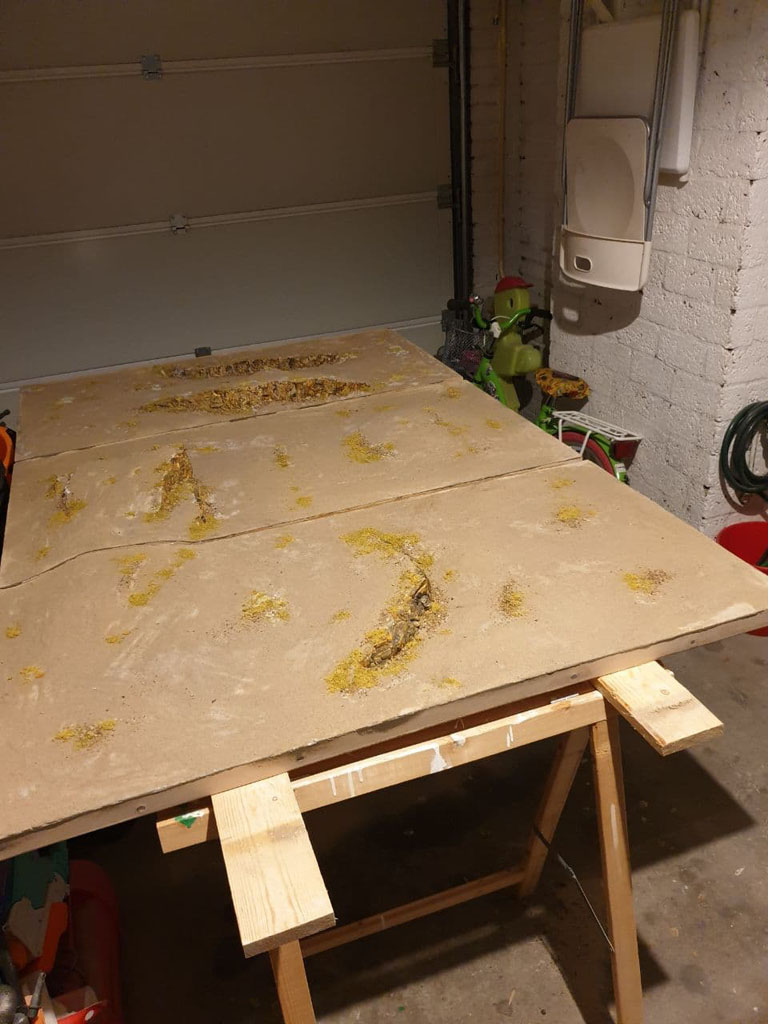
The table plans I have drawn up contain storage space for these elements underneath. As I am planning on making it movable, and foldable, and obviously also made of oak, in a pleasing, thirties style, this will take a while still, so I have converted my original wallpaper table to fit my new elements, and added some height extenders on the saw horses underneath to make the surface more comfortable to game on for the time being.
Yes; there is still plenty of work still to be done, but the room is now presentable and usable, which is quite the achievement, considering it only took 14 years to get to this point

Concluding; I'm really happy with where I'm at with this right now, and the room will only get nicer from here...


 Welcome, Guest. Please
  April 19, 2024, 04:14:49 AM


