So, here we go - I hope you don't need to wait too long since starting this topic.
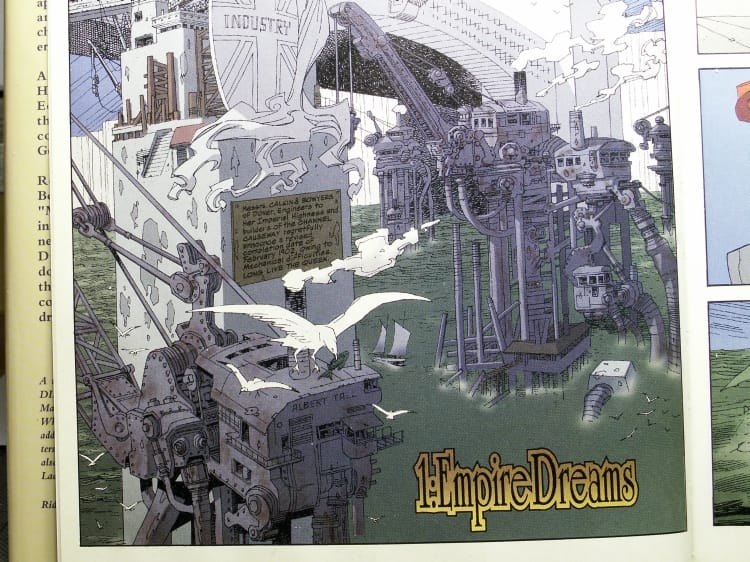
For our Tsingtao game presented at TACTICA early this year we showed the large cruiser "Lusenbrink" along a harbour quai, and although looking nice as it were, I had the impression that a larger harbour crane would improve the scene. But where to start from? I wanted to realize a typical crane design, deeply weathered and looking typically steamaged and VSF-like, so the two main components needed to be rivets (lots of -) and steam-generating machinery. I remembered a scene showing such cranes in that marvelous book "The League of Extraordinary Gentlemen", and discovered it directly at the start of chapter 1:
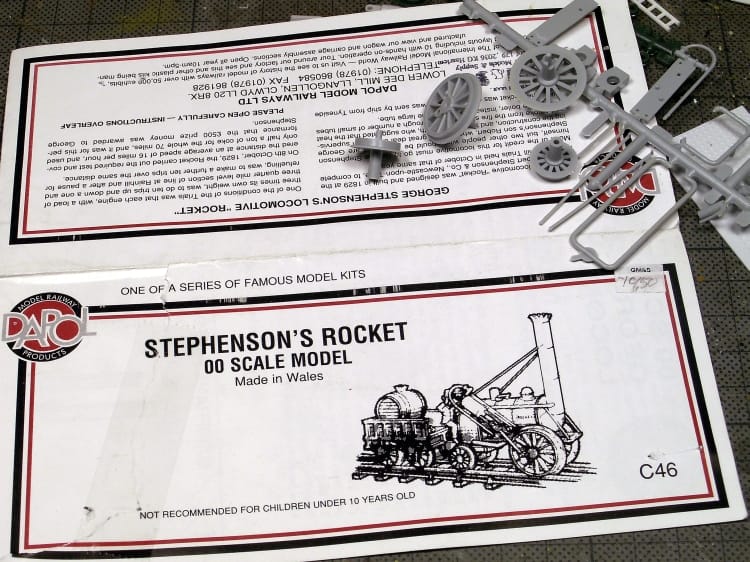
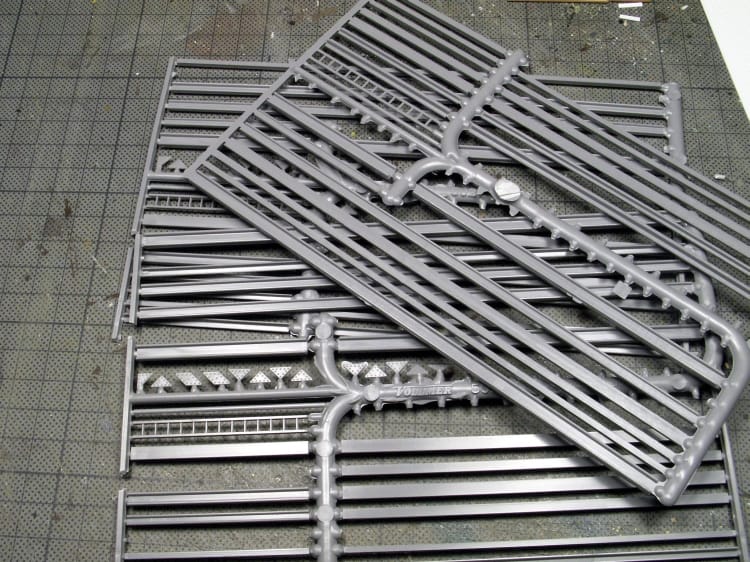
That was a real nice inspiration, and I went looking for some cheap plastic kits to get the construction started. Not too long ago I had bought the Dapol "Dockside Crane" quite cheaply at a show, and had a Dapol "Stephenson's Rocket" around my stocks, both in british 00-scale, which looks good enough this time for 28-mil figs.
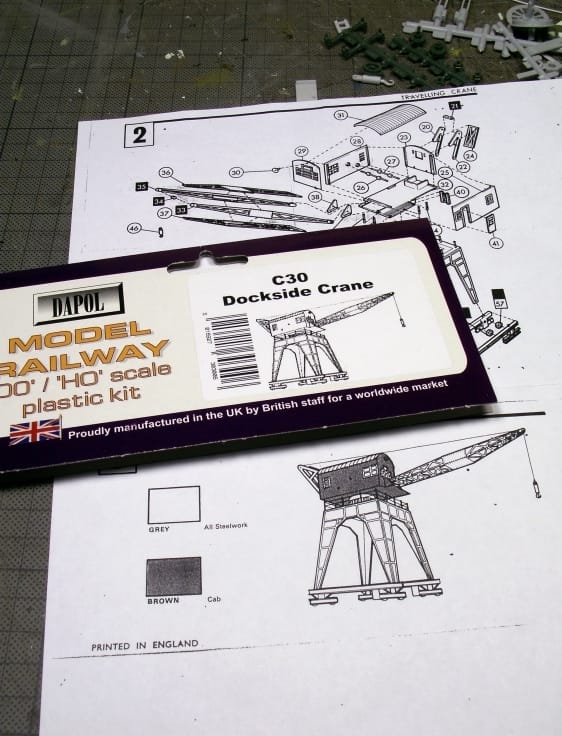
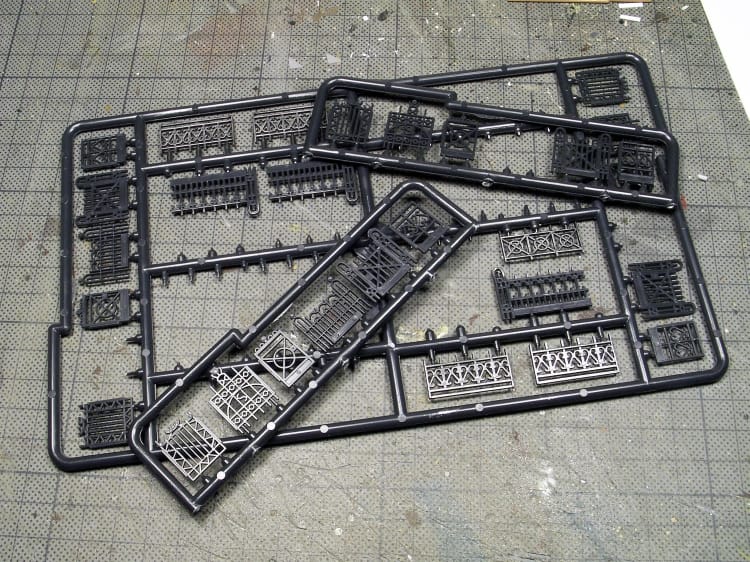
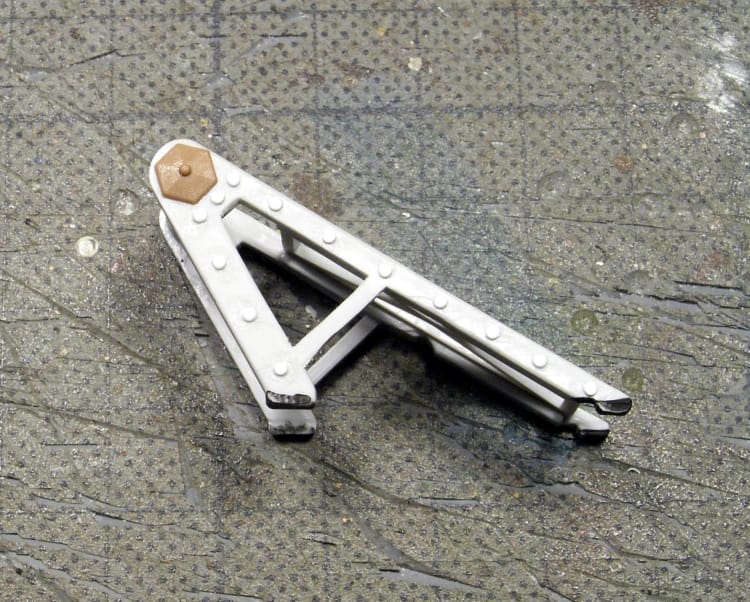
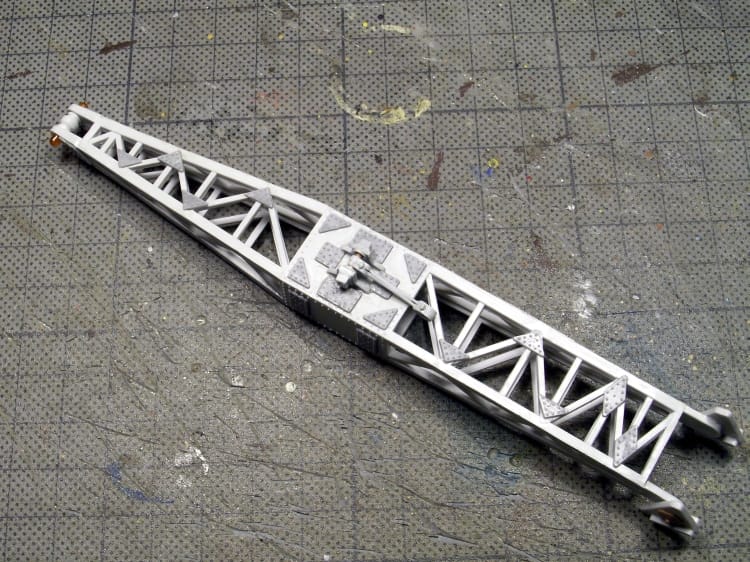
The Dapol kits are ok, if a bit dated today. I don't know how many other companies have released those throughout the past years, I guess Airfix will have done them, might be Minicraft, but the steel moulds are old now and the kits show it. Especially the crane must have the most flash, miscast parts and sunken injection holes I've ever encountered. I built up the main components like cabin, crane arm and main moving construction and tried to fill in most holes with punched out plasticsheet discs. Other much used parts from my parts boxes were railroad accessories like those fence sprues and a set of beams and bolt plates from Vollmer. Last ones had the benefit to have a "Made in Germany" prominently cast on the main sprue, which came into use later ...
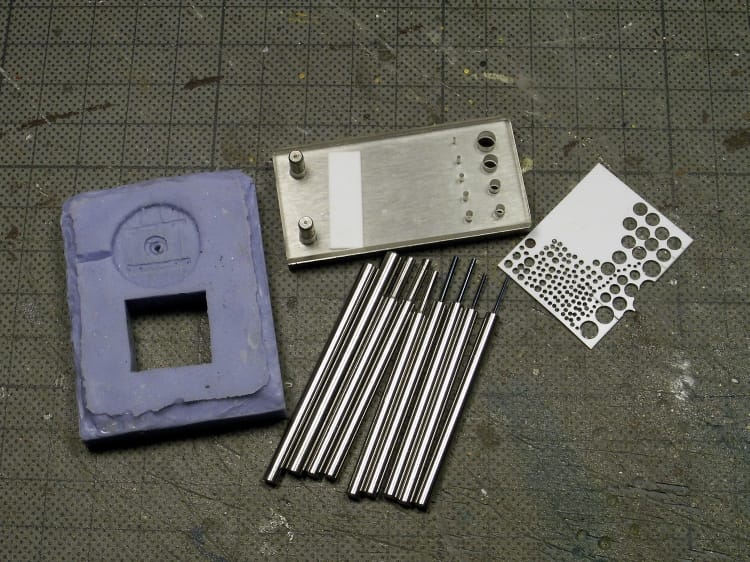
For making rivets I used my trusty punch-and-die-set and hammered out 200+ rivets in two diameters mainly. The blue thing on the left of the photo shows an old rubber mould with a cut out center, I use to punch the rivets directly into this hole to avoid loosing them on my table or clogging the channel under the punch-and-die-set. Then started detailing and fixing of all those tiny rivets using a thin and fluid plastic cement.
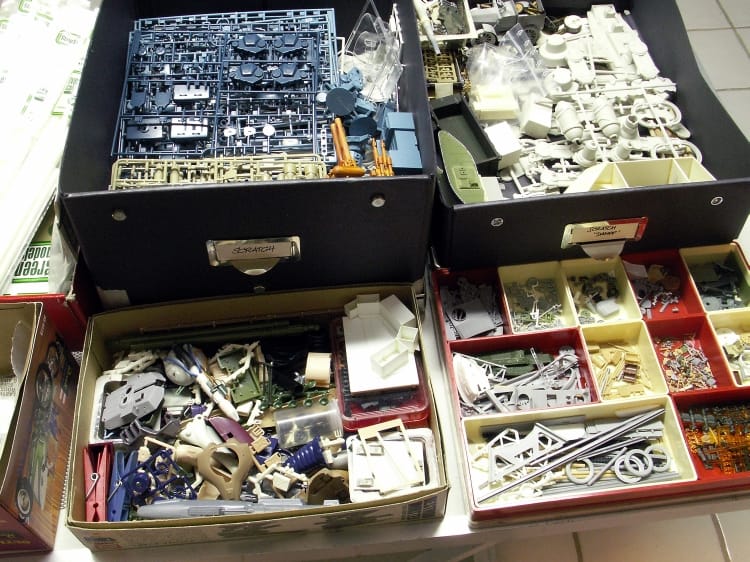
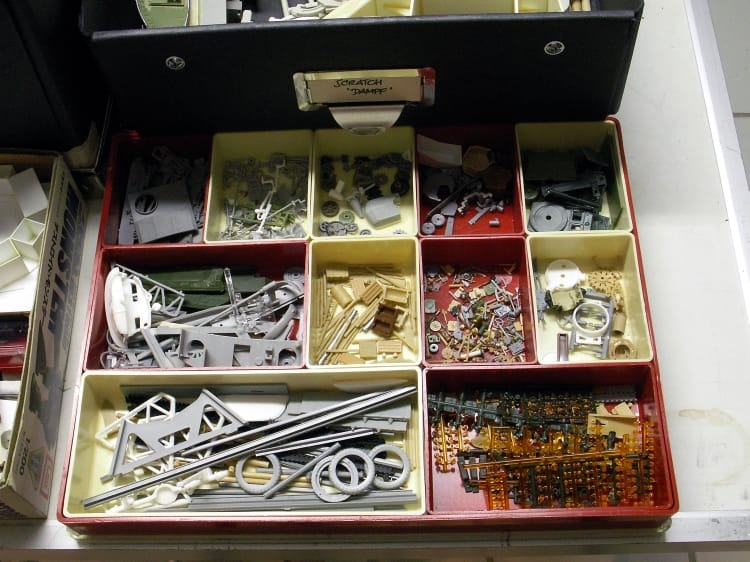
Next pics will show you more of the used materials like Evergreen plastic strips and some of my spare parts and scratch boxes. Not that interesting, but I know there are many among us who like to see their fellow's environments and working places, so why not showing it.

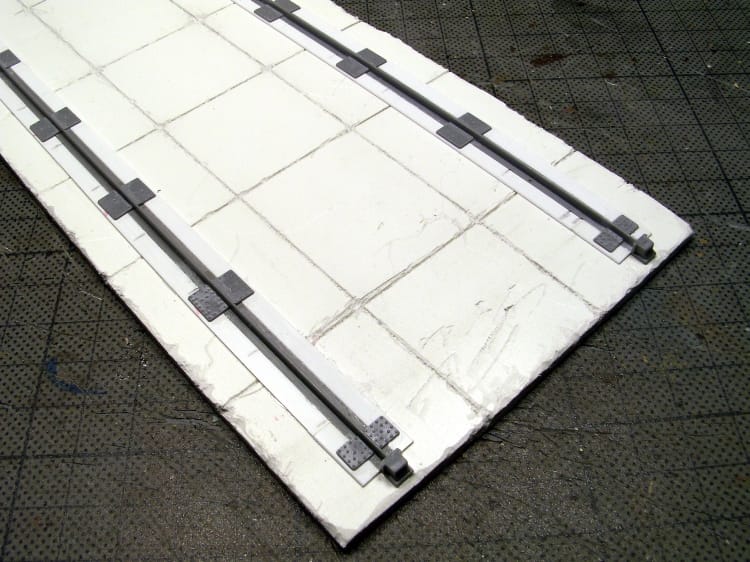
The base for the crane should resemble some worn-out concrete and imbedded rails, so I used a piece of Forex (kind of expanded polystyrene) and engraved the pattern and grooves with a scraper, some cutting and milling tools in my power drill and smoothed it out a bit with steel wool. Rails came from the Vollmer beam set.
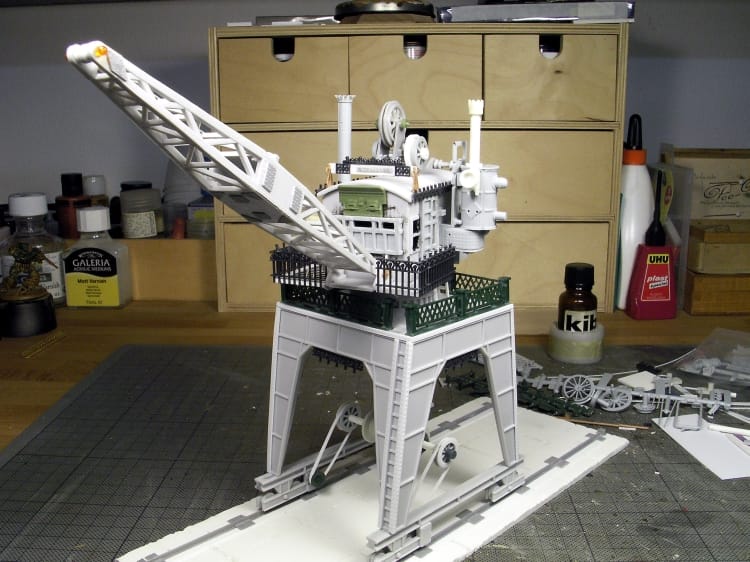
I wanted to show the crane's moving machine as kind of old-fashioned belt-driven apparatus, so some parts from a AT-AT kit, some disks and wheels and a lot of fiddling later I got this fairly good looking construction:

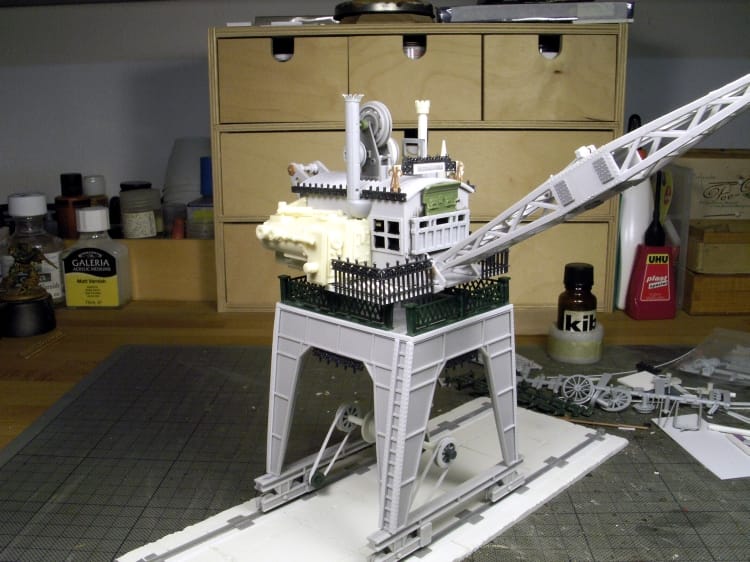
After getting all the main sub-constructions together and adding fence parts, bits and pieces, the thing looked quite like I had imagined:
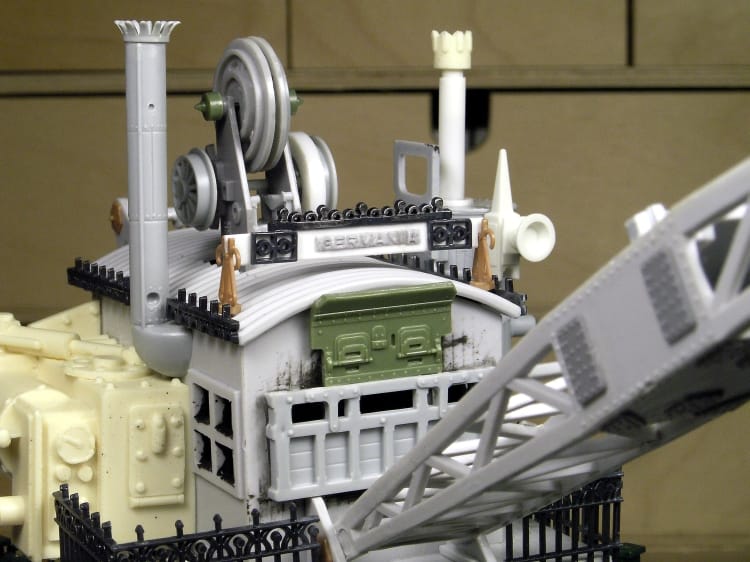

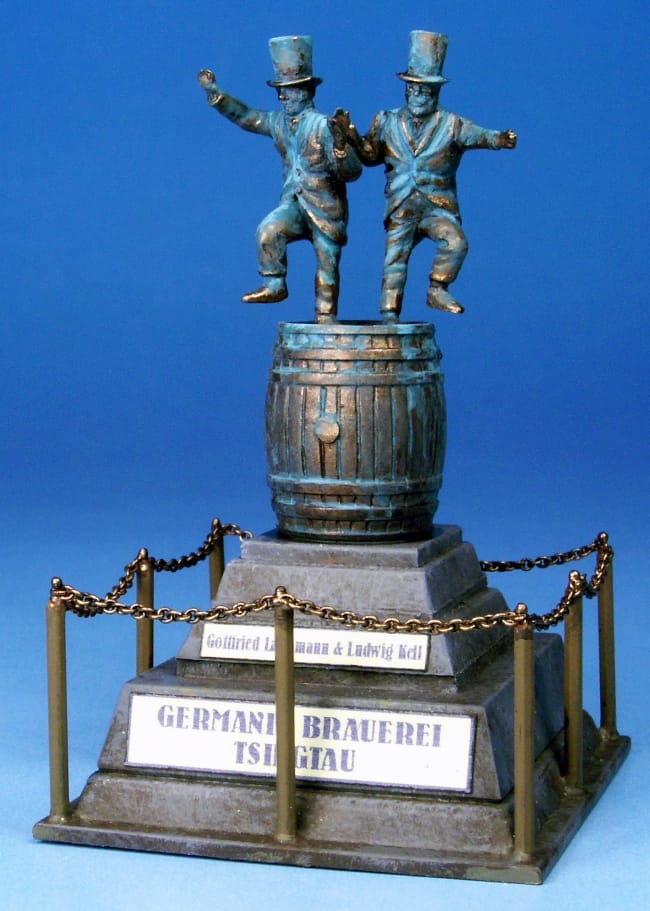
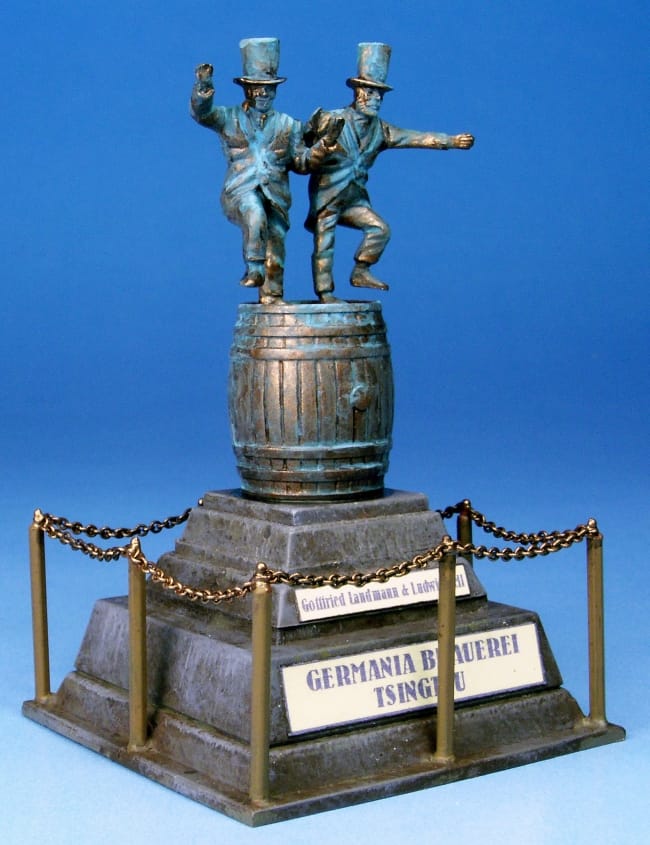
Next picture shows the decorated name plate with "Germania" on it, name of the Germania-brewery in Tsingtao, brewing Tsingtao-beer still today and selling it worldwide. The "Germania"-letters were sliced off the Vollmer sprue and glued onto the plate, rest of the decorations are cut-offs from some fence parts.

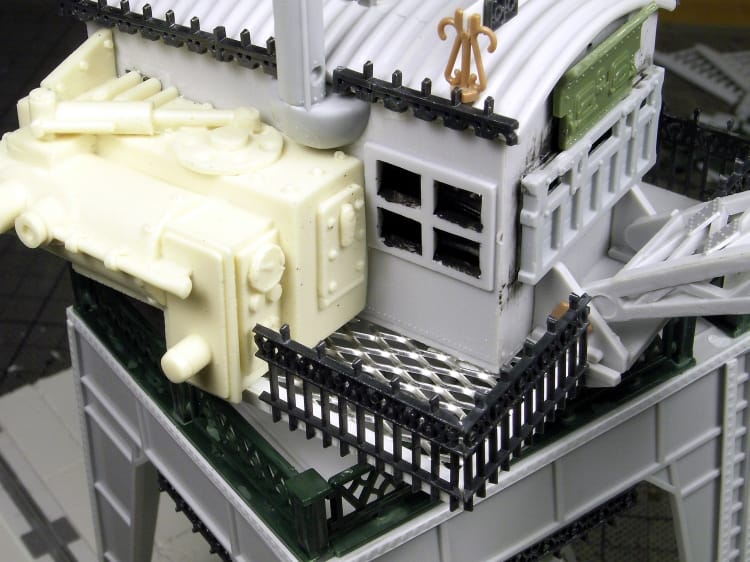
Main block of outside machinery was provided as very nice resin block from Pardulon, even if it was not glued in the correct upright position as planned by the designer ... sorry, Jens

After finishing construction the main components were fixed to some painting stands and undercoated with light grey spray primer (in the garage). Then everything was airbrushed a medium light sand tone with Vallejo's Model Air colour, followed by a light sand highlight inside all flat surfaces and a dark rusty tone (mahagony) on all machinery and some of the deeper recesses. After a day drying time I finished the basic painting with two coats of Erdal Glänzer (aka Future Floor Polish) to seal all surfaces for things to come.

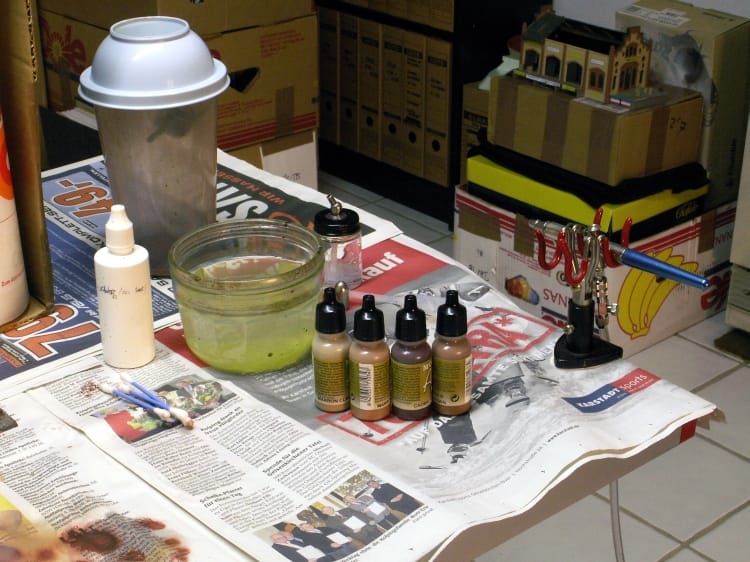
A heavy oil-wash was mixed up from black and burnt umber oil paints, diluted with turpentine to a fluid consistence, and brushed over all painted surfaces with a large flat brush. The wash was left alone for a couple of minutes to give the turps some time to evaporate, then all surfaces were carefully wiped down with kitchen paper, foam pieces and Q-tips. When using this method of weathering, you'll get nice dirty surfaces and good contrasts between colours. Avoid anything fluffy or dusty when wiping the dark colour away as all small particles will stick to the oils. I let this dry for a week, you could pass your finger over the surfaces and no colour will be left. But when using a flat brush moisted with a bit of turps, you will be able to lift any dark coloured spots again and a very controlled and detailed highlighting approach is possible.
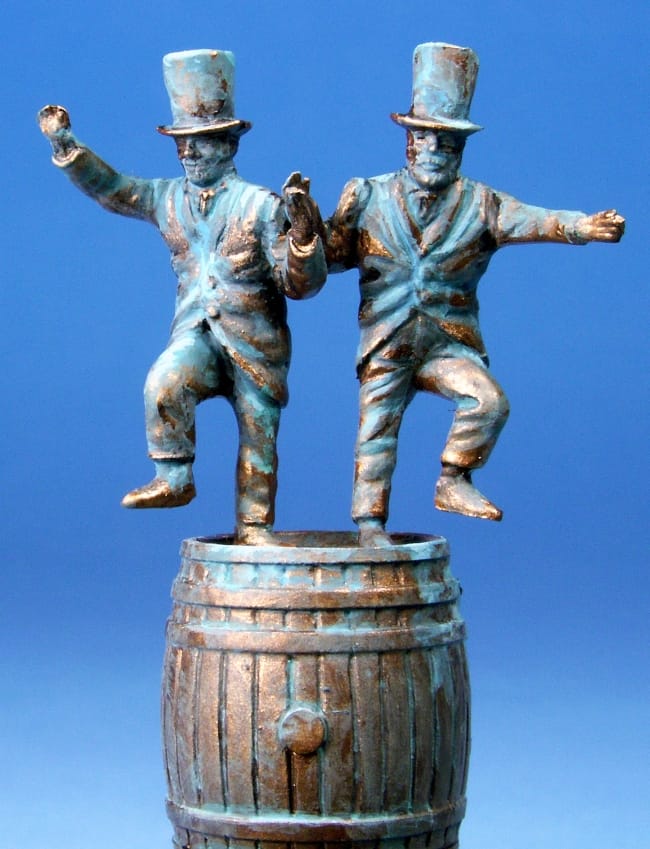
I ended up with some left over parts for my spare boxes, among them the two gentlemen from the Stephenson's Rocket and it's large water barrel. First I thought about throwing the figs into the bin as they are quite ugly cast with lots of flash and have awkward poses. But then, looking at the barrel, I suddenly had a nice idea: Why not built a little monument for our Tsingtao brewery, showing the founders Gottfried Landmann and Ludwig Kell dancing on top of a barrel, so happy about their great overseas success? As it should resemble a copper statue, final verdigris weathering was applied.
So, that's it. I hope you had fun looking at the pics, and as usual, if you want to know anything else about this thing, just let me know!


 Welcome, Guest. Please
  April 19, 2024, 11:29:33 AM


