Here we go!
These are small "representation" mountains for D+D rpg. They are based similar to the size of heroscape mountains. So far i have not added any vegetation to these, but i think i probably will to add some detail.
Supplies needed for making mountains:
Blue or Pink Styrofoam 2" thick insulation(1" could be used, but 2" is much preffered)
Large Xacto Knife
Wood Glue (elmers or ideally weldbond)
Gesso or Wood Filler (i used Black Gesso, used for sealing the gaps when laminating the pieces of foam together)
Black Acrylic Paint (decoart, folk art, apple barrell)
Medium Grey Acrylic Paint (decoart, folk art, apple barrell)
White Acrylic Paint (decoart, folk art, apple barrell)
1" Paintbrush
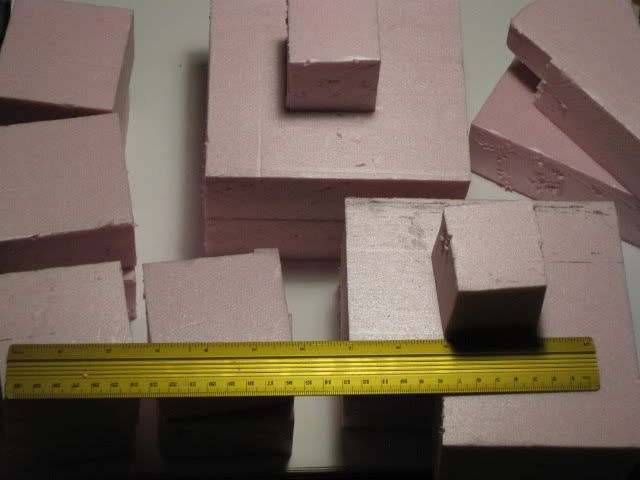
Step 1 Laminating Foam:
The first thing you want to do is figure out how large you want your mountains to be. I decided to make one large mountain(6"X6") and 4 small mountains(3"X3"). I then cut out my foam to the desired sizes. The large mountain i decided i wanted the top to taper in quite a bit, so i cut the top level to 3"X3". I wanted the small mountain to be close to the same size on the top level as the bottom, so i cut the two pieces for each at 3"X3". Once all pieces were cut with an exacto knife i prepped some glue for the laminating of the foam.
Next step is take some of your glue and mix it in a seperate container with some black paint to tint it to a dark grey colour. Then with my paintbrush, i lightly coated 2 pieces of foam with grey glue to stack together on top of each other. I then put a couple of books on each mountain, to ensure good contact for the glue to bond. Let the mountains dry for at least 72 hours.(it takes the glue a long, long time to dry due to the non-porous nature of styrofoam insulation)
Make sure you wash out the glue from your paintbrush!
Pic of lamination process:
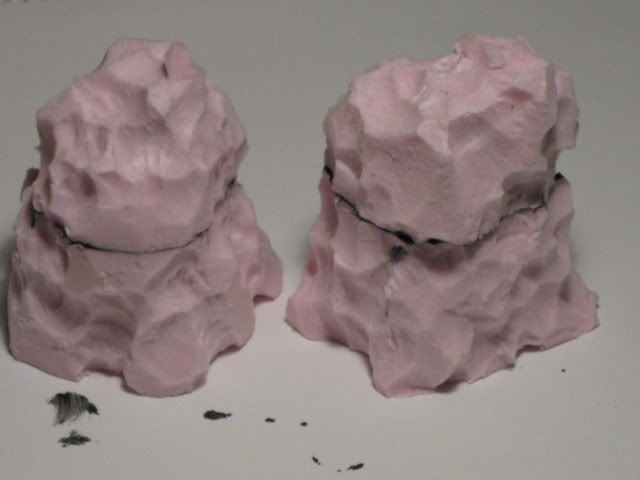
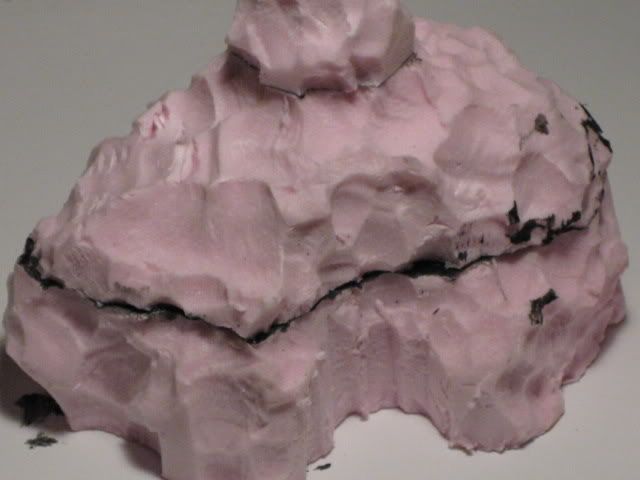
Once the glue has cured, we move on to the shaping process. For general shaping of the mountain i don't use an Xacto knife. I just start pinching chunks of the foam, trying to leave small divets for texture. I do use the Xacto knife near the bottom of the mountain, so the general shape is not too square and unnatural looking. For the large mountain i decided to cut a corner piece out on one side that was 2"X2".
Two Shaped 3"X3" mountains:
Shaped 6"X6" mountain:
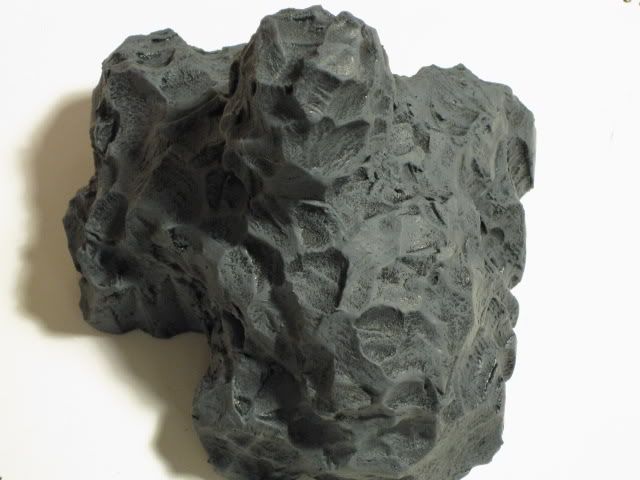
The next step is filling the gaps left from the lamination process seams. For this i liberally applied Black gesso with my paintbrush to the gaps. Once dry, i put another layer of Gesso on to ensure the gaps are totally filled. Remember to wash brush if Gesso is used!
If wood filler is to be the gap filler, you won't need to use a paintbrush, just scoop a bit out with your finger and press work it into the gaps. Wood filler can be worked on very quickly, but gesso will require a couple of hours to dry/cure.
Sorry but i forgot to take a pic for this stage, but i think it should be rather self explanitory. Once finished this step we move onto sealing the mountains. Brush the whole mountains in grey glue.(2 coats, let dry in between coats 5 hours) Let dry for another 5 hours after the 2nd coat of glue is applied. After 2 coats of grey glue application, the mountains should appear to be almost black.
Woohoo onto painting!
I start using straight medium grey paint, and painting the whole mountain trying to leave a little bit of black showing anywhere that there is deep recesses where the foam was pinched out.
6"X6" Mountain painted with straight medium grey paint:
The next step is mix approximately 30% white paint into 70% grey and paint mostly the raised surfaces.
6"X6" Mountain painted with 70% medium grey paint + 30% white:
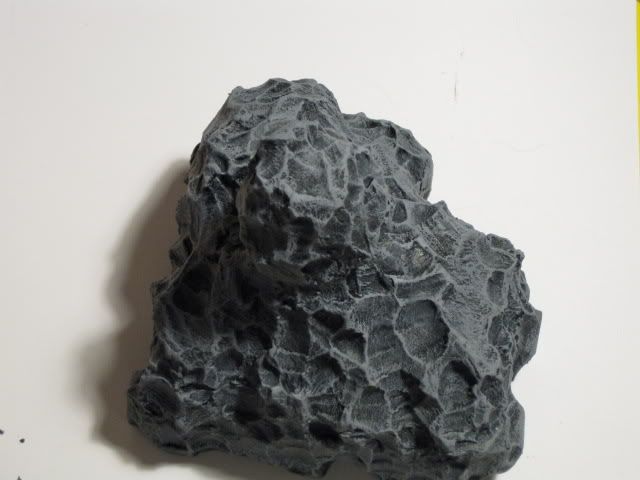
The next step is mix approximately 60% white paint into 40% grey and lightly paint the most raised surfaces. The final step is use 80% white with 20% grey and very lightly paint the tips of any raised surfaces.
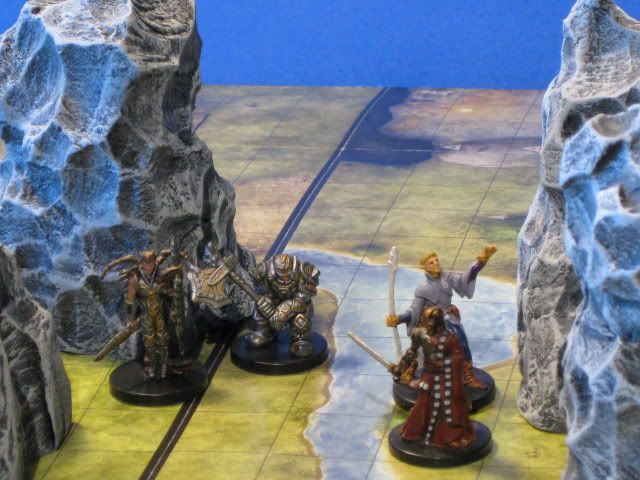
Finished Mountains(shown with group of 4 adventurers, Elf Dragonkith, Elf Conjurer, Kolyarut + Battle Plate Marshal for scale):
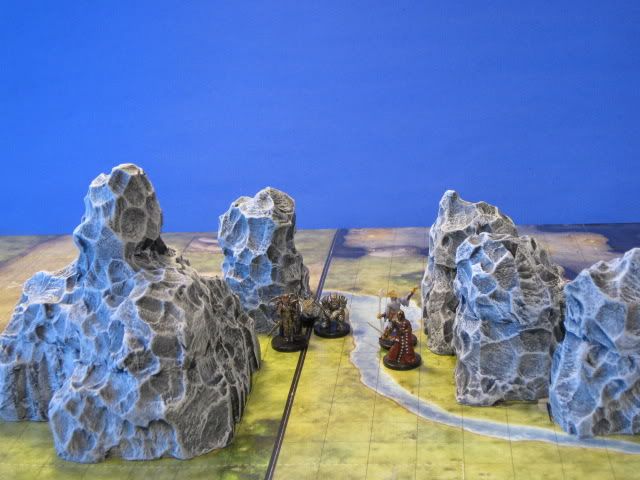
Finished Mountains(shown with group of 4 adventurers, Elf Dragonkith, Elf Conjurer, Kolyarut + Battle Plate Marshal for scale):
I hope any creative folks are inspired to make their own mountains, and i hope someone found this mini-terrain-tutorial useful!


 Welcome, Guest. Please
  April 26, 2024, 12:55:45 AM


