I've been itching to have a go at some brick walls for ages as it's just one of those items that I could never seem to find out there to purchase, and SO many uses for them from black powder to moderns, though I plan to use them mostly for my WW1/ VSF/ WW2 games.
I started out printing a brick sheet onto a freshly cast bit of plaster that still had a lot of water content. Then a combination of etching tools,ruler, sandpaper and scalpels to get the effect I wanted. After that I built the pillar in much the same way and attached it. Finally the finial and the brick detail top was made with green stuff. I made the long undamaged section first, then cast it in casting plaster (reinforced), using silicone. Once I had the plaster cast it was easy to cut down the original to make the second, shorter section, then the ruined ones. So in all, 5 moulds. A bit of an expense, but I planned on casting at least 50 sections for myself and I had 2 friends who'd asked me to cast and paint sets for them, so that kept the cost under control!
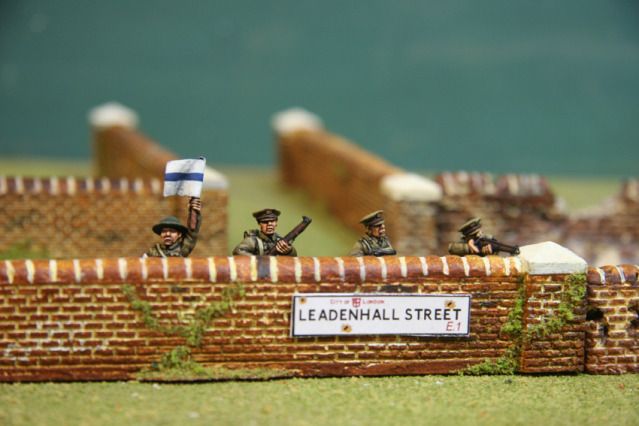
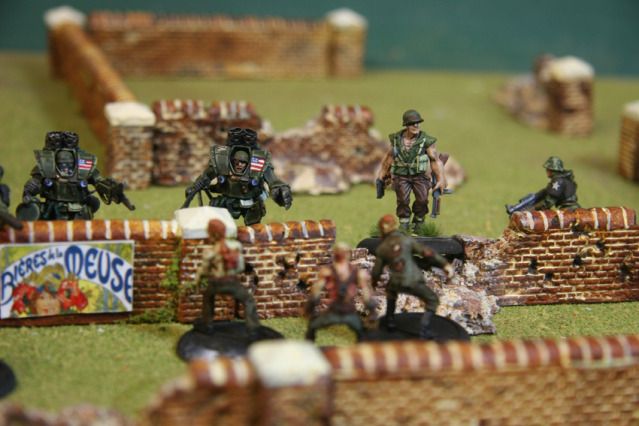
I made the decision to have one pillar integral to each section, which added stability to the wall, as did a few earth sections cast along the base line which were great for flocking with vegetation. I cast pillars separately, to allow for maximum flexibility in play. Then I drilled a few of the wall sections and placed magnets (3mmx2mm neodymium) to allow for the placement of street signs and posters I'd made up earlier and glued onto magnet sheet. Having interchangeable ones means I can be a bit anal about setting up the game 'in period'. A bit of fun really. I've made London and French street signs so far, but plan to do some Russian and German ones later on (if anyone can tell me accurate fonts for WW2 German street signs or Revolution era Russian ones, I'll send you free set when done!).
I cast the walls using a resin called 'procast', which has the advantage of being fairly flexible when it first comes out of the mould and helps trim excess resin away with ease.
I painted them using a combination of acrylics and oils in a 4 step process. Quite a lot of experimentation to get the colours I wanted right! But I'm pretty happy on the whole with how they turned out. The ruined sections presented something more of a problem as destroyed walls throw up a lot of dust from the mortar that holds them together. Initial paint-only tests were a little unsatisfying, so i used a combination of weathering powders and crushed limestone to get the effect I wanted, then re-touched some of the bricks. The original bricks I had used in the masters were cut from cork floor tiles..the most effective bricks I have seen yet and happy to share my little technique of making batches if anyone wants me to post it here!
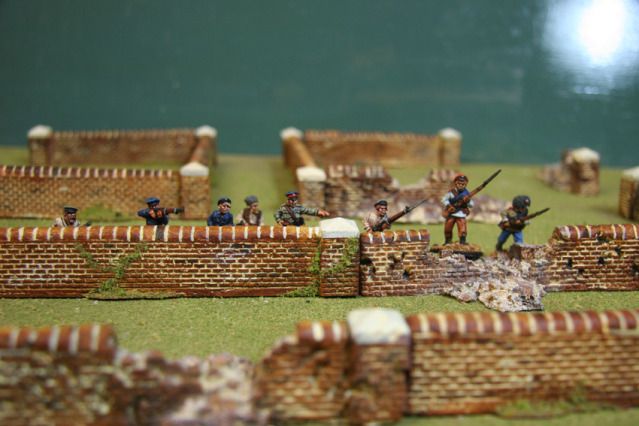
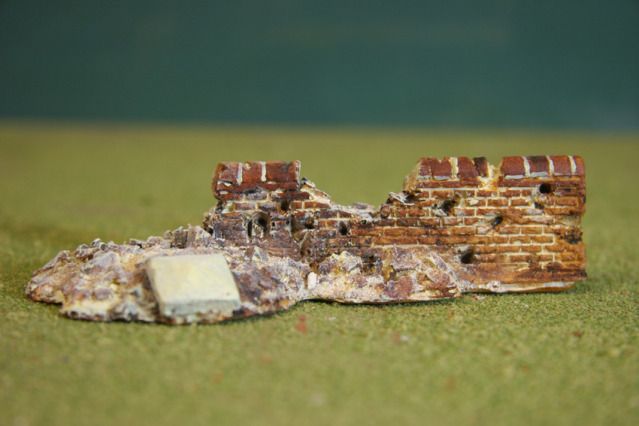
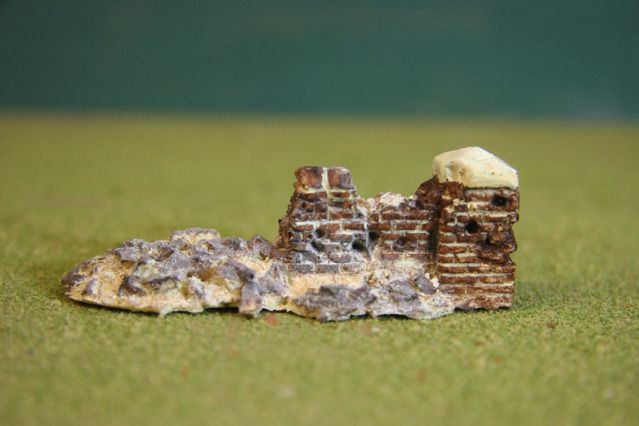
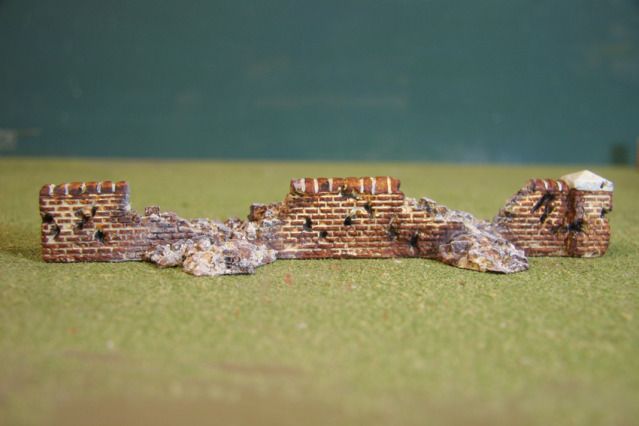
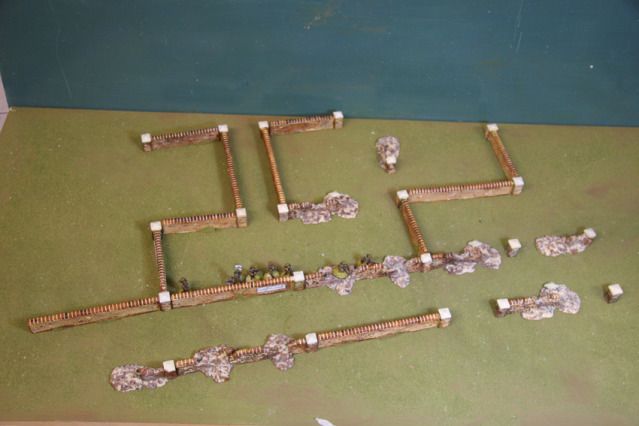
So here they are..the 5 different sections:
medium damaged section
short damaged section
long damaged section
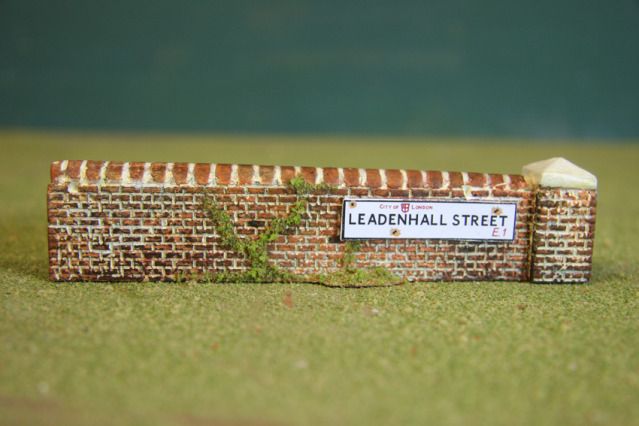
long undamaged section

medium undamaged section (with one of the signs)
And the full set (obviously these would rarely if ever be used like this..but be linked between buildings, around roads etc):
These sections were made to allow figures cover and field of fire, but are more suited really to villages and some small town sections. Next up will be tall wall sections for the growing town!
Thanks for looking..as always comments and advice appreciated!
TJG


 Welcome, Guest. Please
  April 24, 2024, 03:27:57 PM


