*
Welcome, Guest. Please login or register.
April 26, 2024, 10:20:54 AM

Login with username, password and session length

Donate

We Appreciate Your Support

Recent

Author Topic: The Horseshoe Forge from Dampfpanzerwagon (painting 23.02.15)  (Read 31275 times)

Offline gamer Mac

  • Galactic Brain
  • Posts: 8213
Re: The Horseshoe Forge from Dampfpanzerwagon
« Reply #45 on: February 11, 2015, 11:12:47 AM »
Really starting to come together :-* :-* :-*
Some great textures there

Online Silent Invader

  • Galactic Brain
  • Posts: 9661
Re: The Horseshoe Forge from Dampfpanzerwagon
« Reply #46 on: February 11, 2015, 11:42:34 AM »
Lovely - I'd not previously heard of the concept of a horseshoe entrance to a forge but it is obviously very fitting as a statement of trade/intent.  :-*
My LAF Gallery is HERE
Minis (foot & mounted) finished in 2024 = 32
(2023 = 151; 2022 = 204; 2021 = 123; 2020 = ???)

Offline matakishi

  • The Teacher
  • Galactic Brain
  • Posts: 4470
  • Cousin of Hammers
    • Matakishi's Tea House
Re: The Horseshoe Forge from Dampfpanzerwagon
« Reply #47 on: February 12, 2015, 06:48:12 AM »
This is a fantastic build, full of personality (and interesting techniques).

Offline dampfpanzerwagon

  • Scatterbrained Genius
  • Posts: 2794
Re: The Horseshoe Forge from Dampfpanzerwagon
« Reply #48 on: February 12, 2015, 08:17:01 AM »
Today's daily update features the blacksmiths forge. I have already posted an image of the battery operated tea light on earlier Horseshoe Forge posts, but thought it was worthwhile repeating the image.

Image One - The battery operated tea light.


Image Two - The start of the blacksmiths forge. Built from Blue foam and Plastic card.


Image Three - The forge in place and with the flickering light effect.


Image Four - The canopy was built from more plastic card with plastic strip and plastic rod detailing.


Image Five - The Blue Foam chimney needed to be modified to fit around the tea light base which although cut back, still protruded from the back of the forge.


Image Six - The second block of Blue Foam also needed to be cut back, but as you see from this image the tea light is now fully hidden.


NOTE:
The forge and base are still not glued together, as I want to paint the interior first.

Tony

Offline Eric the Shed

  • Galactic Brain
  • Posts: 4200
    • The Shed Wars Experience
Re: The Horseshoe Forge from Dampfpanzerwagon
« Reply #49 on: February 12, 2015, 09:49:36 AM »
Looking fabulous :D

Offline Elk101

  • Supporting Adventurer
  • Elder God
  • *
  • Posts: 10529
Re: The Horseshoe Forge from Dampfpanzerwagon
« Reply #50 on: February 12, 2015, 10:38:53 AM »
Lovely forge! It has a very nostalgic 'fantasy role playing' feel about it, the sort of building you might get in an old style D&D game. Nice work.

Offline Mason

  • Elder God
  • Posts: 21222
  • Eternal Butterfly!
    • Blind Beggar Miniatures
Re: The Horseshoe Forge from Dampfpanzerwagon
« Reply #51 on: February 12, 2015, 11:15:28 AM »
Great progress.
 8)

Offline Constable Bertrand

  • Scatterbrained Genius
  • Posts: 3520
    • Make and Paint Blog
Re: The Horseshoe Forge from Dampfpanzerwagon
« Reply #52 on: February 12, 2015, 11:55:37 AM »
Ooh Tony.. that works very well. Looking good mate. I like how it fits around the tea light.

Is the light removeable so you can change the batteries/LED if it blows?

The forge hood looks the business too 8)

Cheers
Matt.

Offline Duke Donald

  • Mastermind
  • Posts: 1000
Re: The Horseshoe Forge from Dampfpanzerwagon
« Reply #53 on: February 12, 2015, 12:04:12 PM »
Lovely build, so clean and crisp.

Offline dampfpanzerwagon

  • Scatterbrained Genius
  • Posts: 2794
Re: The Horseshoe Forge from Dampfpanzerwagon
« Reply #54 on: February 12, 2015, 04:25:14 PM »
Ooh Tony.. that works very well. Looking good mate. I like how it fits around the tea light.

Is the light removeable so you can change the batteries/LED if it blows?

The forge hood looks the business too 8)

Cheers
Matt.

The tea light is fitted into the flagstone base with the switch and battery replacement cover exposed from below. Provided that I have a similar opening in the main base, I should be able to switch it on and replace the battery from underneath.

I'll try to remember to include an image before the end of the build.

Tony

Offline Constable Bertrand

  • Scatterbrained Genius
  • Posts: 3520
    • Make and Paint Blog
Re: The Horseshoe Forge from Dampfpanzerwagon
« Reply #55 on: February 12, 2015, 08:19:53 PM »
No dramas then :D

Offline dampfpanzerwagon

  • Scatterbrained Genius
  • Posts: 2794
Re: The Horseshoe Forge from Dampfpanzerwagon
« Reply #56 on: February 13, 2015, 08:33:45 AM »
In this post I will show how I build roofs, in particular, how I built the tiled roof for The Horseshoe Forge.

Image One - I have already posted details of how I use scrap paper strips to build up the 'hills and valleys' of a traditionally built wooden framed roof, see earlier posts for details.


Image Two - I have started the roofing by adding a small extension to the gabled end, this was done buy first glueing in place some paper strips which overhang the roof edges. Underneath this I have added a layer of thin Green Foam which has been textured to look like wooden strips. Then below this I have glued in place a number of longitudinal wooden ends that also protrude.


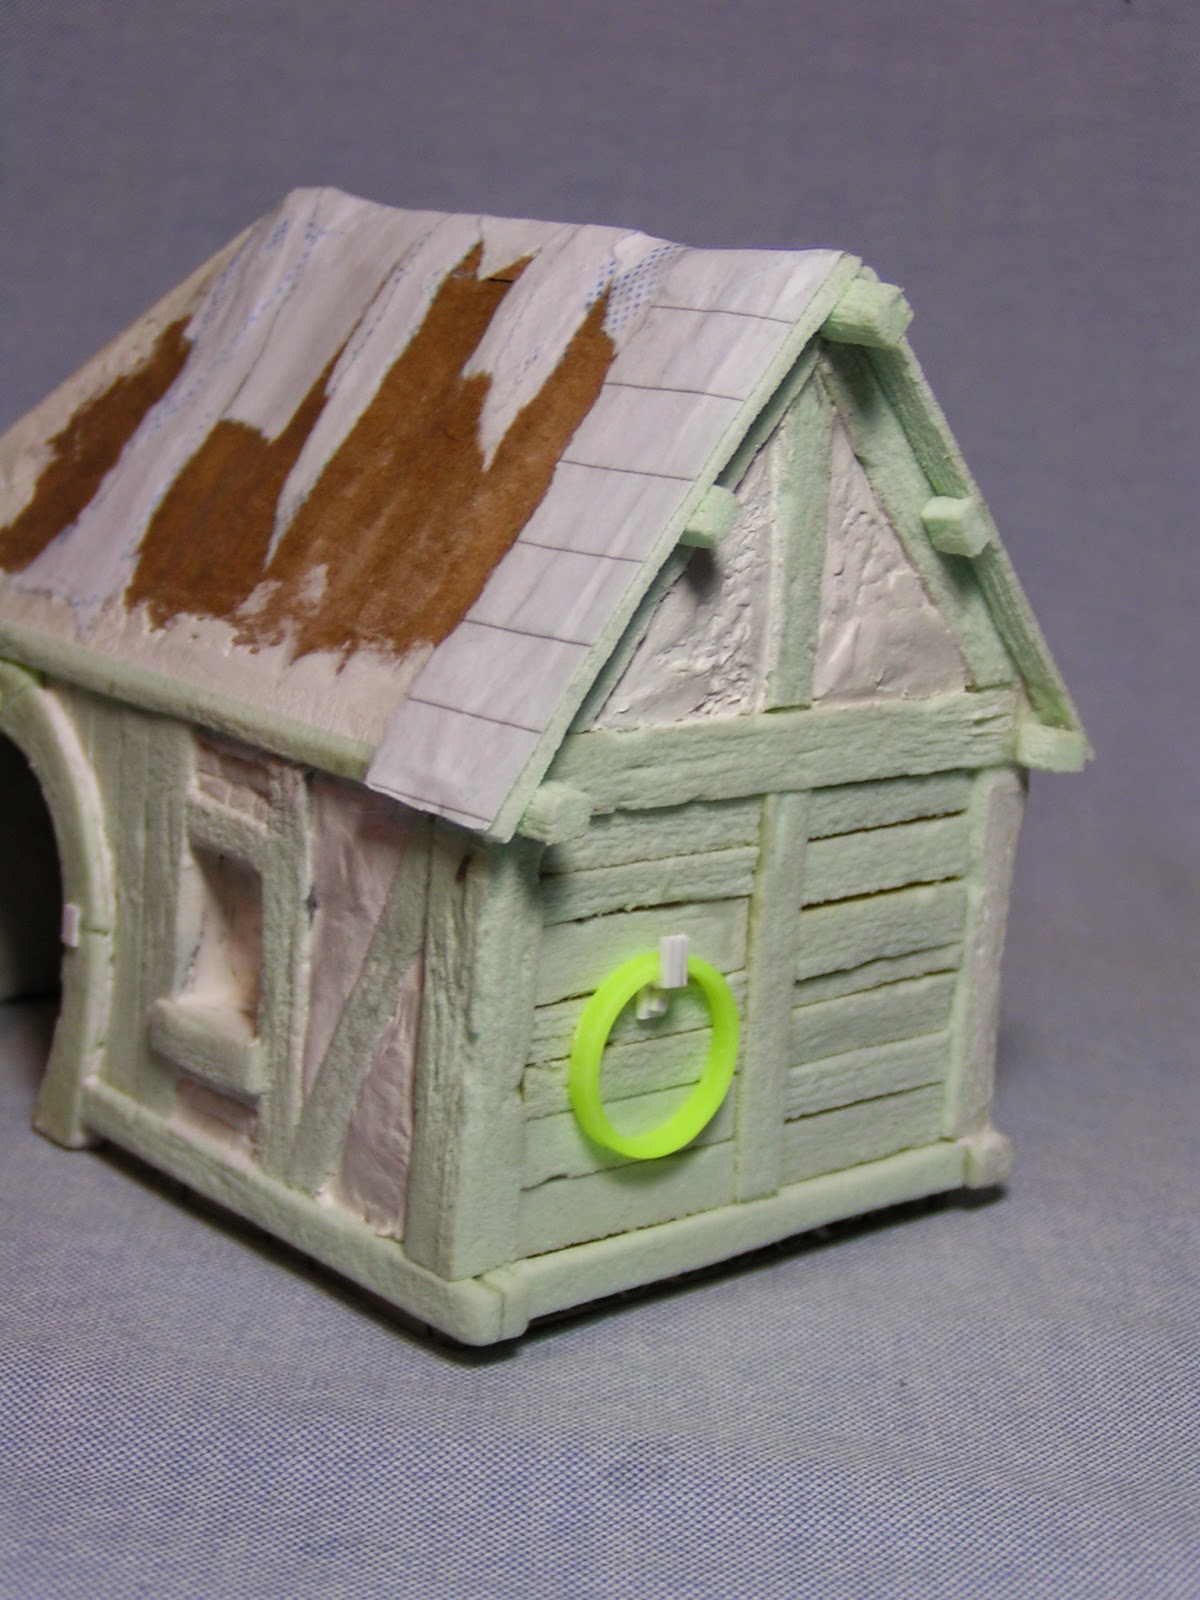
Image Three - I use scrap advertising board for my tiles. The board is about 0.75mm thick and was given to me free of charge.


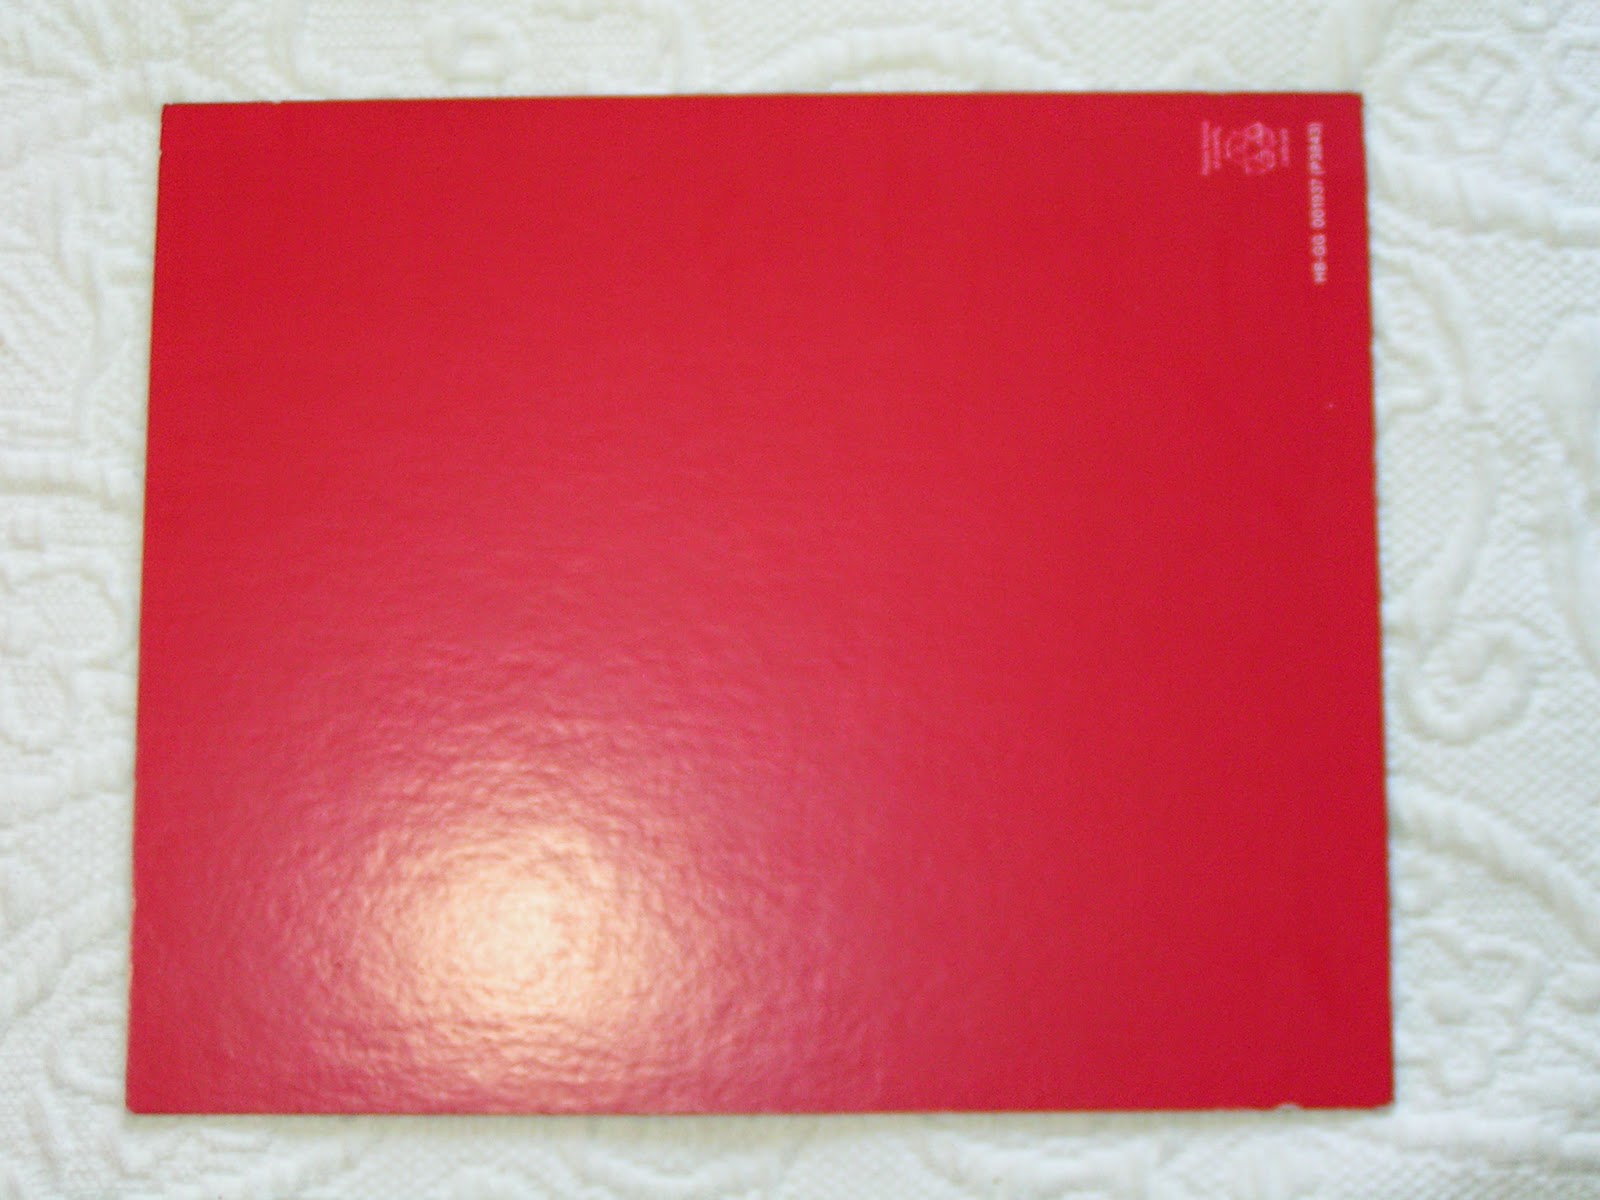
Image Four - I have sanded the surface with some rough sandpaper. This reduces the shiny surface and also adds some texture to the tiles.

I have marked out the tile grid. The bulk of the tiles are standard 5mm x 10mm but there are some one and a half tiles 7.5mm x 10mm for use on the edges.


Image Five - The tiles have been cut with a snap-off bladed knife. I recommend that you only cut through the card about 80%, which leaves the tiles attached and easier to cut. In addition you can see that I have not cut through the card to the very edges, but have kept a frame around them. This makes cutting regular tiles much easier and when you need them it is a simple matter to cut through the remaining 20% of card. I hope that this image shows this technique better than my long explanation.


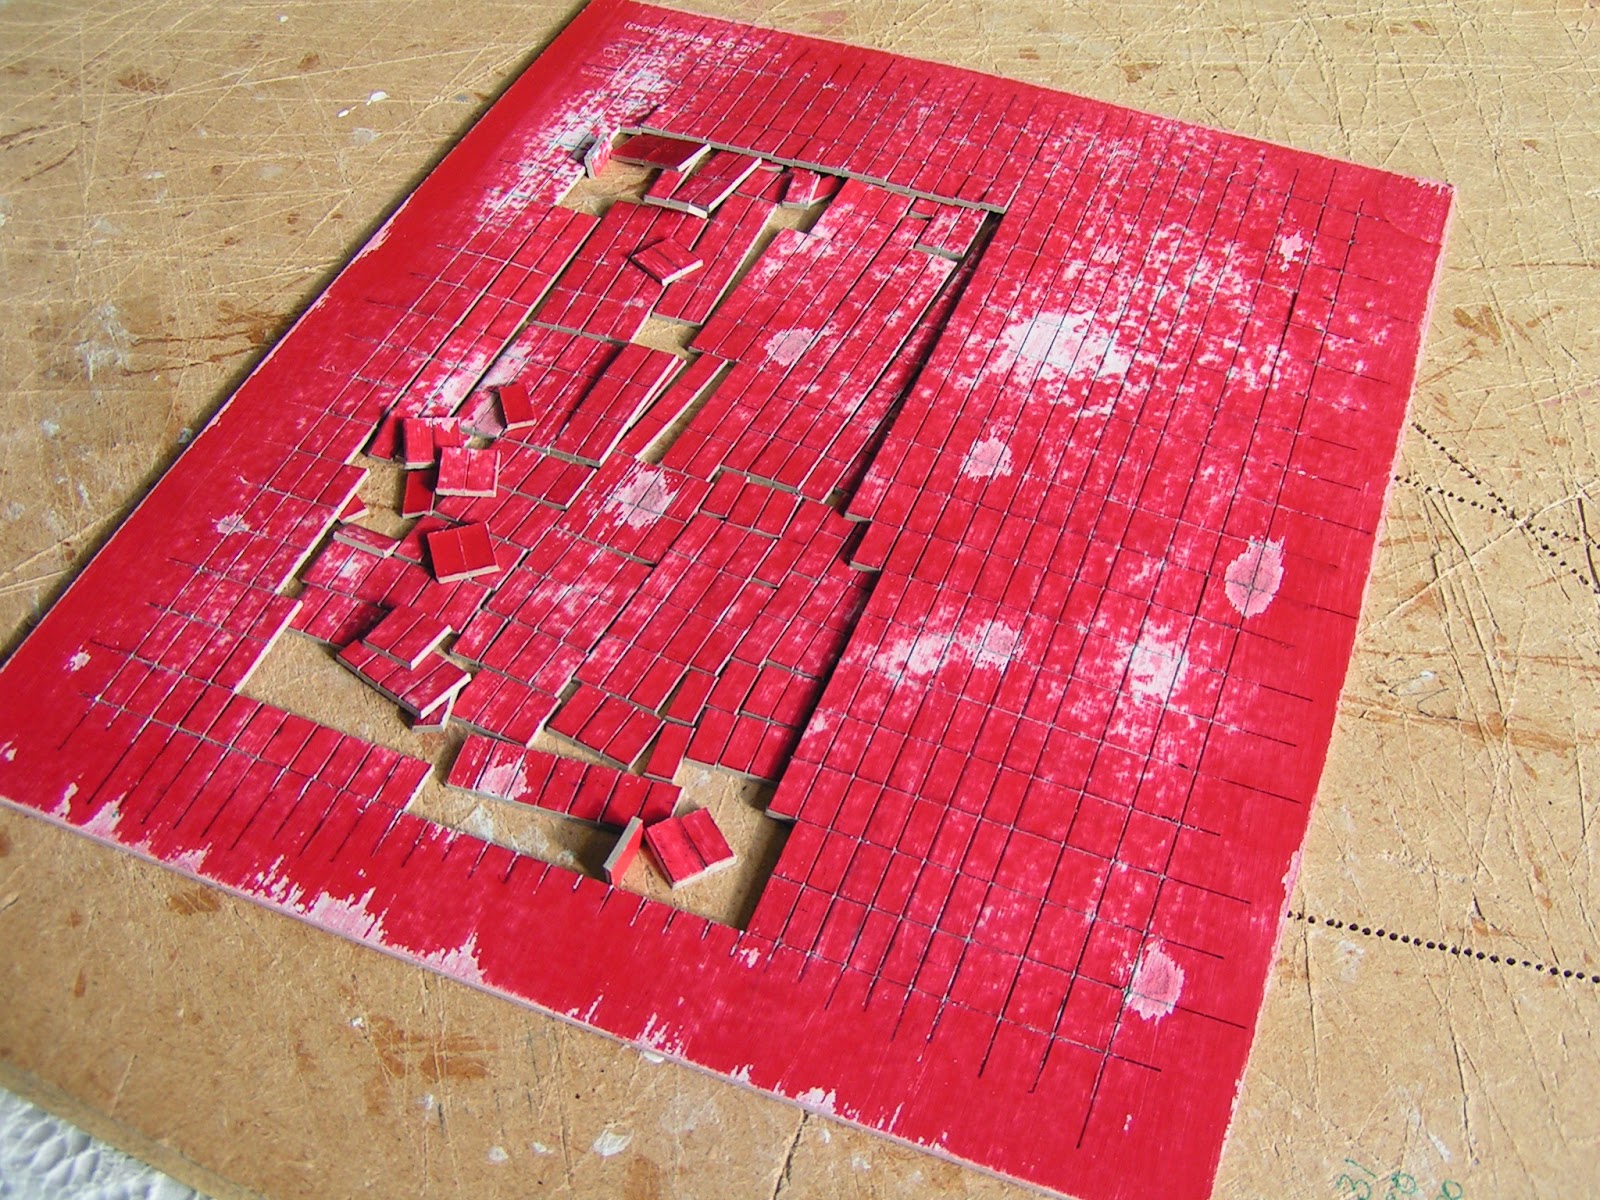
Image Six - The first and in my opinion most important stage of realistic tiling is the thin red card strip you see to the bottom edge of the roof. This is a tile spaces and if you have read More Wargame Terrain by Tony Harwood you will know just how important this simple addition is to accurate tiling!

You can also see how the one and a half tiles have been used as the first tile in the firsts and third layers of card tiles. Again this gives a more realistic look to miniature roof tiling.


Image Seven - The tiling continues. I am right-handed so find that working from left to right is the easiest way for me to proceed.


Image Eight - And continues. I have taken this image against the light - which shows the hills and valleys that are modelled into the roof.


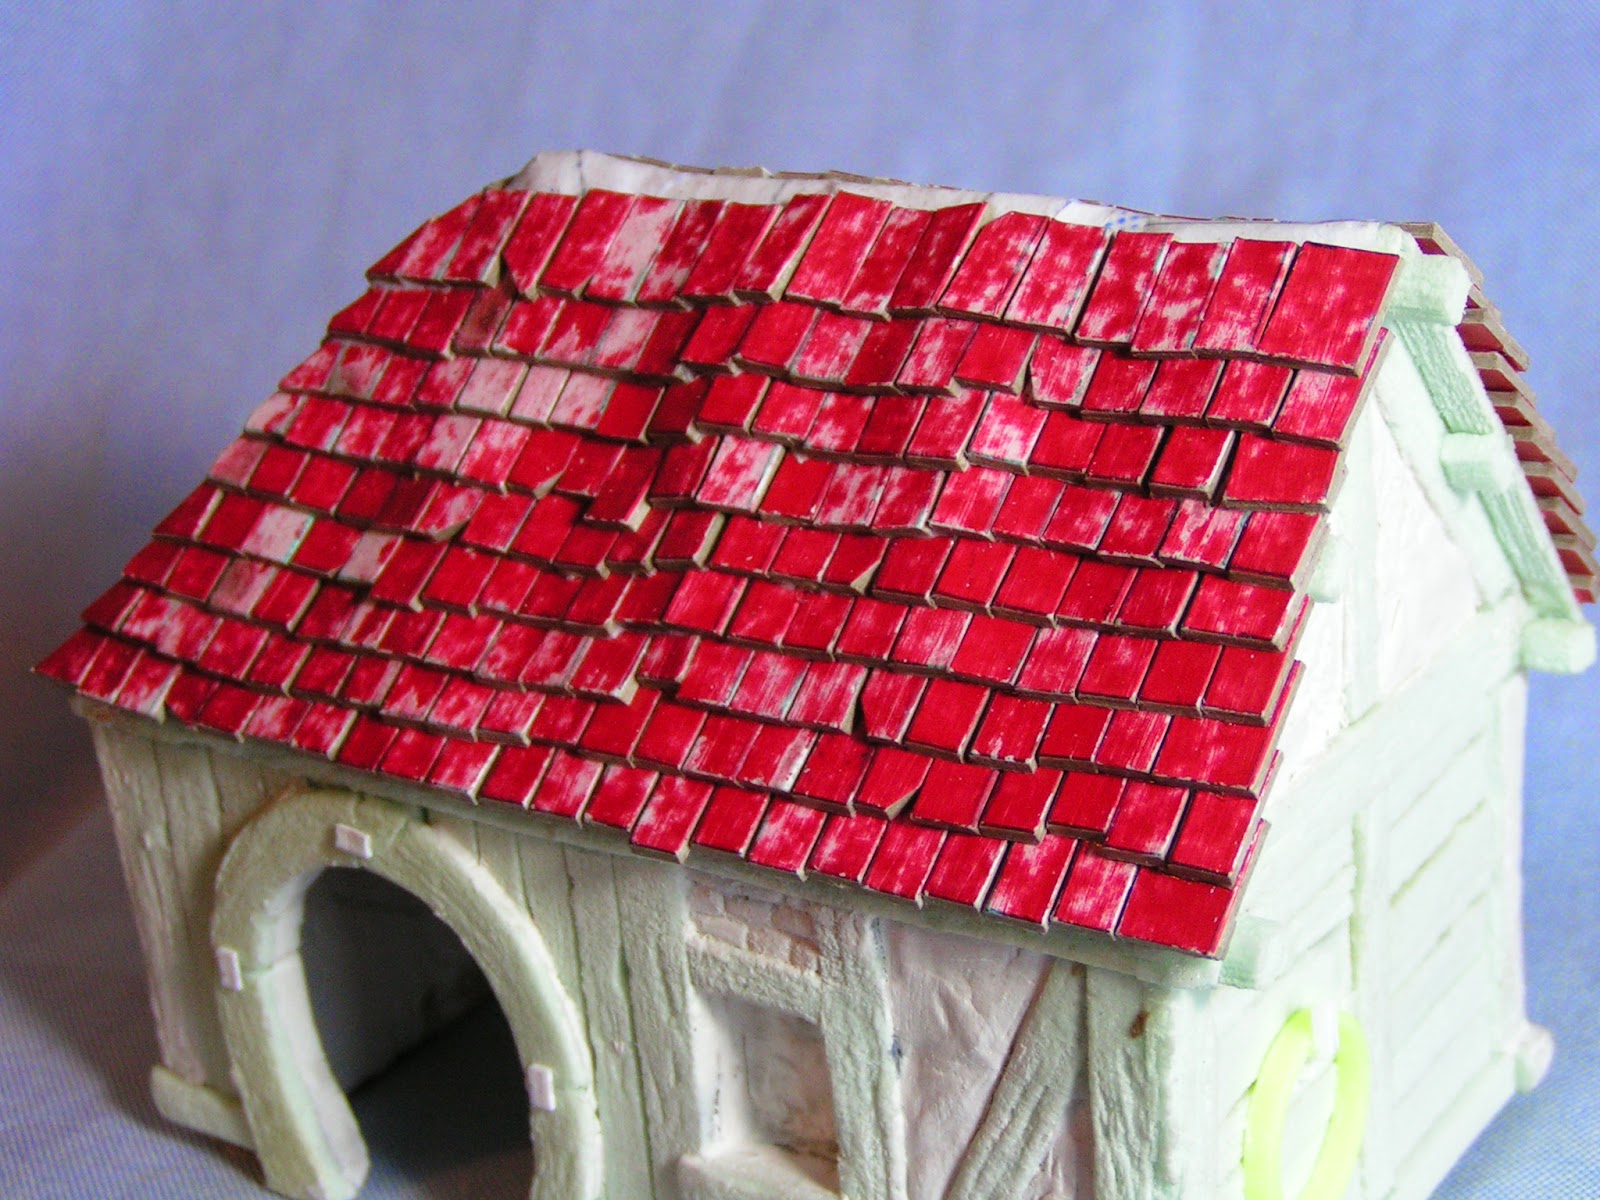
There is still work to do, but the forge is now looking much more like the initial plan and image.

Tony

Offline pocoloco

  • Scatterbrained Genius
  • Posts: 3848
Re: The Horseshoe Forge from Dampfpanzerwagon
« Reply #57 on: February 13, 2015, 08:47:55 AM »
Absolutely wonderful work on this, all the detail work will surely pay off in the end.

Offline Sangennaru

  • Galactic Brain
  • Posts: 5779
  • The Lazy One
    • The Lazy Forger
Re: The Horseshoe Forge from Dampfpanzerwagon
« Reply #58 on: February 13, 2015, 08:49:36 AM »
Nice! Why don't you just use balsa wood for this?

Offline beefcake

  • Galactic Brain
  • Posts: 7425
Re: The Horseshoe Forge from Dampfpanzerwagon
« Reply #59 on: February 13, 2015, 08:51:08 AM »
Looking very cool. The work underneath made the roof look great.


Related Topics

  Subject / Started by Replies Last post
48 Replies
16099 Views
Last post June 11, 2007, 08:12:24 PM
by demi_morgana
0 Replies
1752 Views
Last post February 06, 2011, 02:19:41 PM
by The_Beast
2 Replies
1812 Views
Last post May 10, 2013, 04:21:17 PM
by Lord Ekard
79 Replies
11430 Views
Last post March 14, 2017, 01:05:11 PM
by Andym
7 Replies
2116 Views
Last post July 26, 2018, 08:05:31 AM
by dampfpanzerwagon