Now onto part 2 - basing, titivation, and then painting.
Step 9. Basing.
Now cut out a suitably sized piece of 5mm MDF to serve as a baseboard for your entire construction.
I recommend MDF because it’s cheap, easy to cut and sand, and it won’t flex or warp. Lovely stuff – just don’t inhale the dust.
Allow a 60mm - 70mm ‘skirt’ all around the footprint of your main polystyrene sections. This will let you extend the groundwork down at a more natural gradient from the higher slopes of the earthwork.
Otherwise the slopes of your earthwork will appear unrealistically steep.
It's a matter of taste, but I always round off the corners and chamfer the edges of my MDF baseboards on scenery items. It gives a more gradual join with the terrain boards on which the scenery will sit. I use a standard DIY pad sander to do this. It only takes a few minutes.

Step 10. Fix the two main polystyrene sections into position on the baseboard using lots of polystyrene glue. Score the smooth underside of your polystyrene blocks with some criss-cross knife strokes, so that the glue has something to key onto.
Step 11. Glue some random lengths of 2mm textured styrene cobbled road surface in place between the two main polystyrene sections.

It should resemble an old broken up road over which the earthwork has been constructed. Don’t worry about the arrangement too much, as on the finished model you’re going to cover most of it up with groundwork, and just leave a few areas of cobbles peeping through…
If you don’t have any suitable ‘road surface’, you can of course just make it a dirt track.
Step 12. Now add some offcut bits and pieces of polystyrene around the outer edges of the main polystyrene sections, to extend the groundwork down at a more natural gradient from the higher slopes of the earthwork.
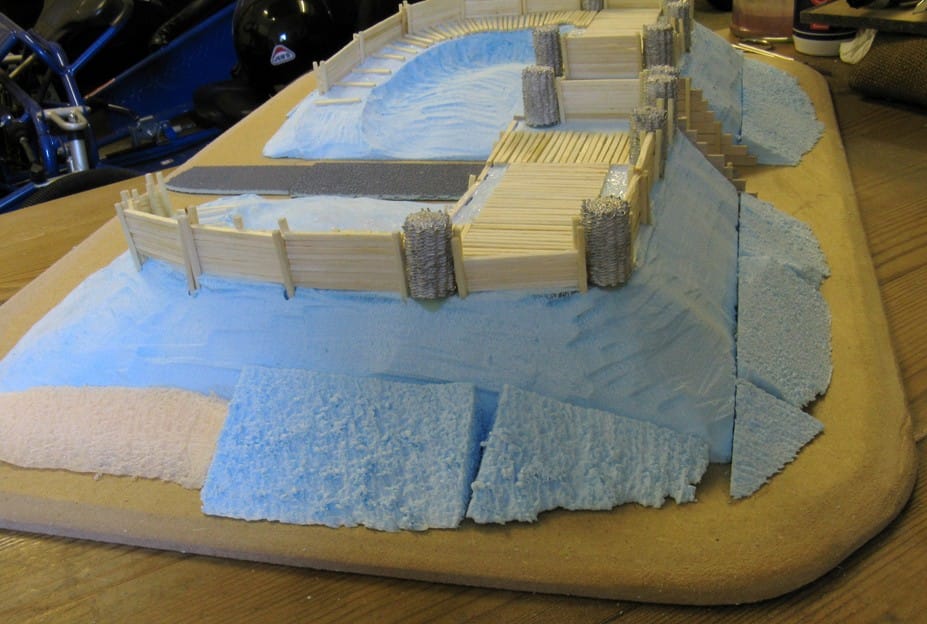
You can cut or sand these added pieces to the approximate shape required either before or after you have glued them in place.
Again, don't worry too much about how they look, since the first fix of groundwork / filler will cover up a multitude of sins!
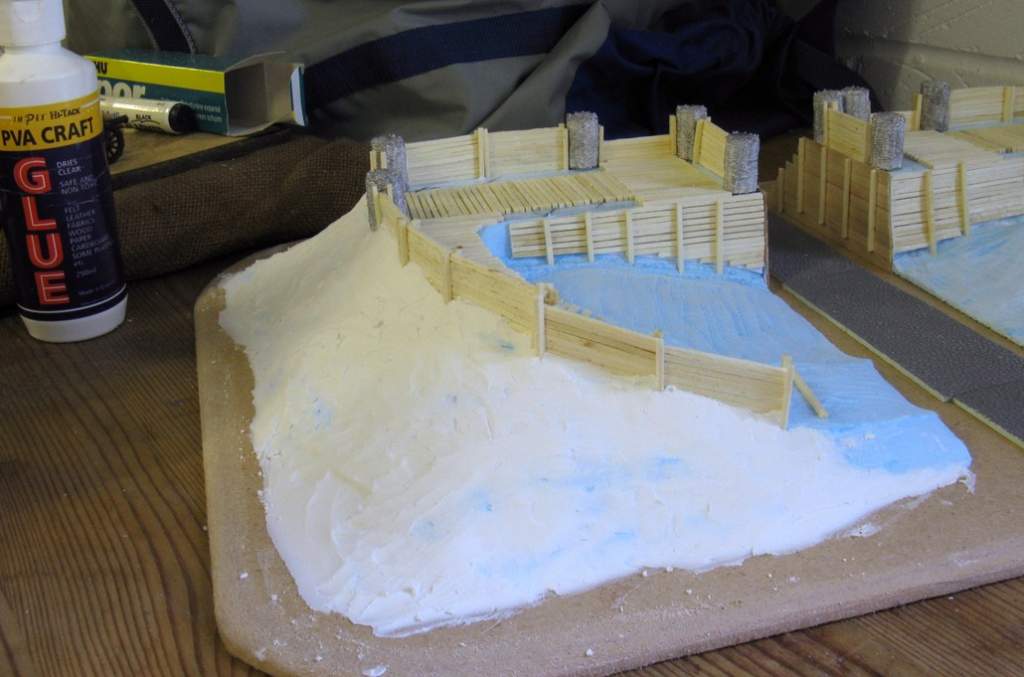
Step 13. The next step is to give everything a generous coat of PVA white glue.
In fact, I’ve been doing this to each part of the model as I have gone along. But if you haven’t, then do it now because it not only helps seal and bind together the whole construction, it also provides a slightly tacky surface for the groundwork and paint to cling onto.
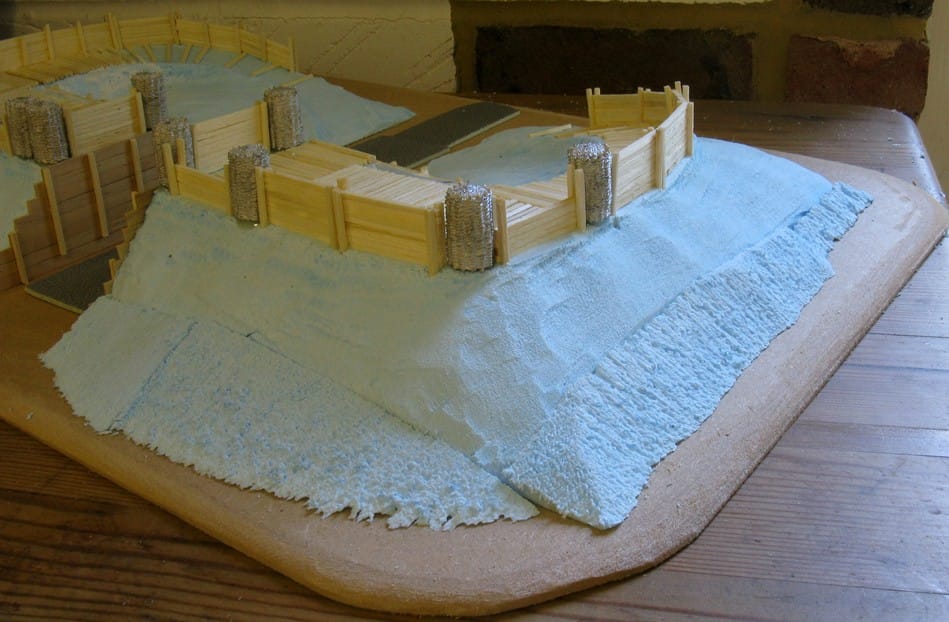
Step 14. Groundwork - first fix!
Using a flat knife and ready-mixed DIY filler like Tetrion or Polyfilla, build up any desired contours or features, and conceal all obvious cracks, joins and irregularities. Basically you are icing a cake here!
This is the 'bulk filler'. Later, you will overlay the final texturing coat (also, in effect, a form of filler). So don't worry about being too exact with this first fix. (Pics)
You’ll see that I’ve only used this first layer of filler on the exterior of the earthwork. I could also have filled in some of the bigger interior gaps with this.
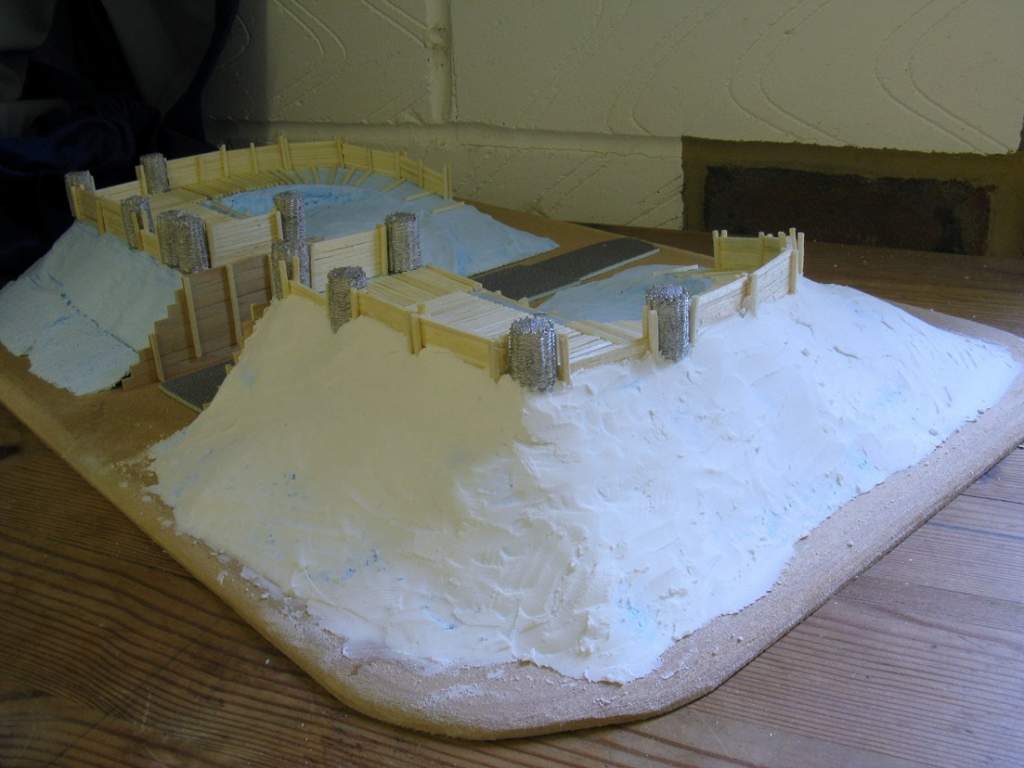
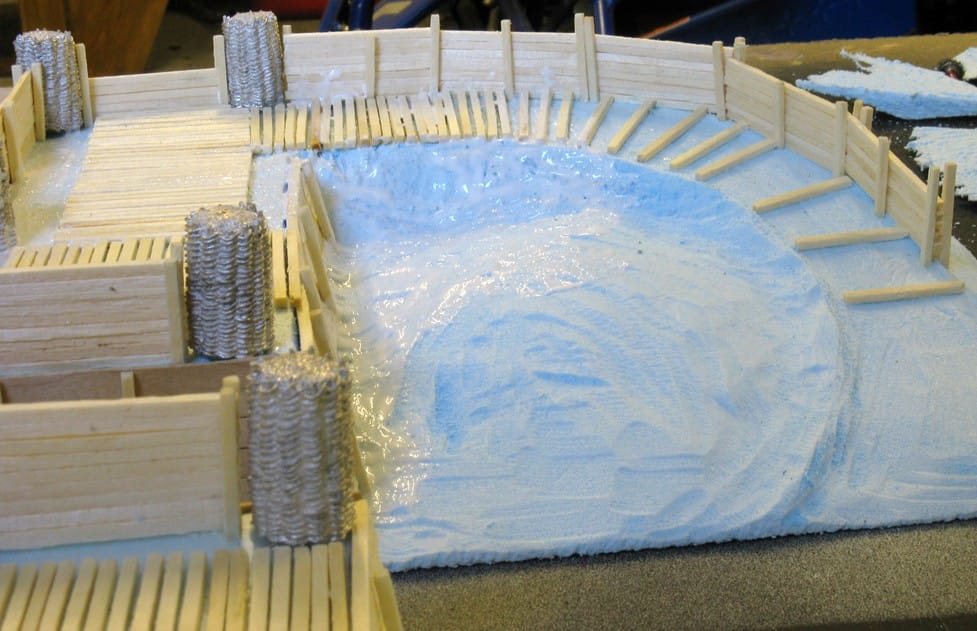
Step 15. Now, while your layer of filler is still soft, sharpen some matchsticks at both ends, and push a row or two of these around the mid-level of your earthworks.
Leave two thirds of each matchstick sticking out at a slight upwards angle.
These are the defensive stakes that would stop cavalry galloping up the rampart. (Pic)

You don't need to glue these in because your final layer of groundwork will bind these in for you.

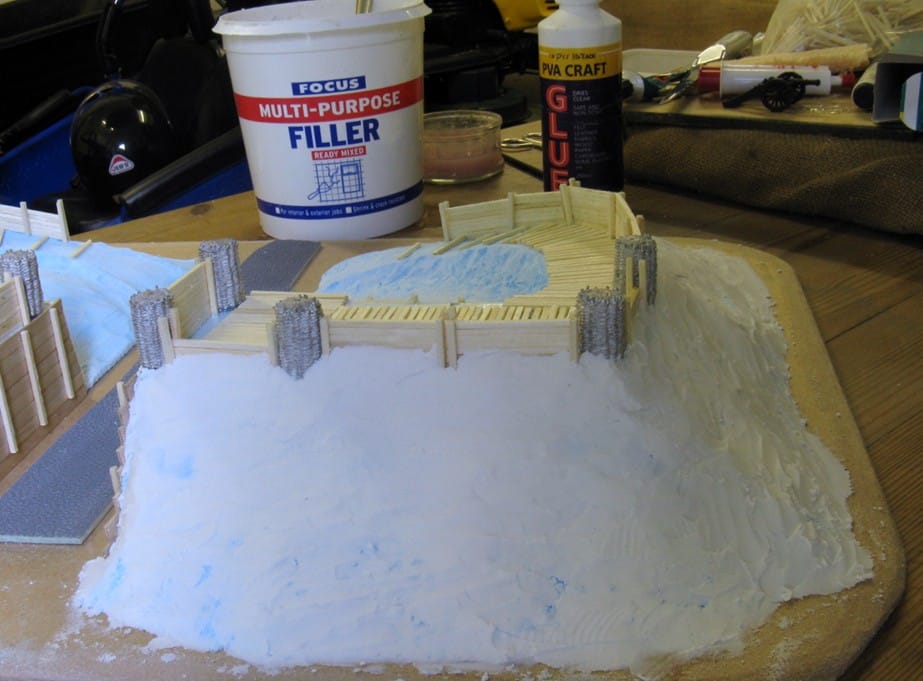
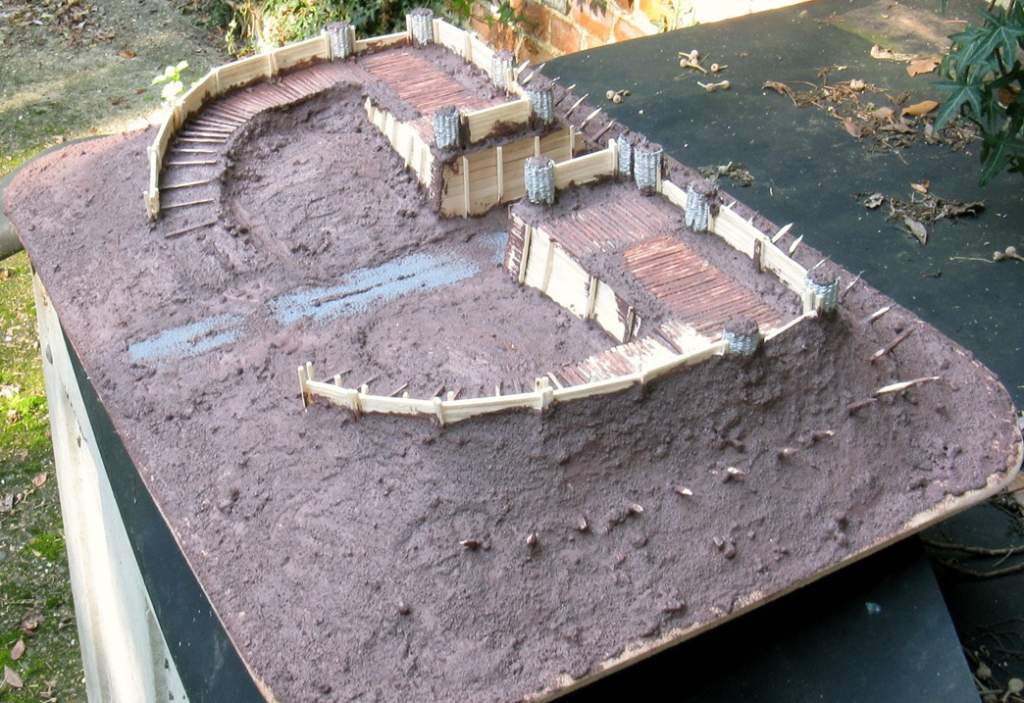
Step 16. Groundwork - second fix!
Now get an old jam jar and mix some PVA, sand, and matt emulsion paint to create a gloopy consistency terrain compound.
It should be like a thick, granular cream.
Use a slightly gritty ‘sharp’ sand, so that you get a few larger rocks and pebbles in amongst the mix.
This stuff is foolproof. You just paint it on using an old brush, and it sets rock-hard. I use it for basing figures too.
Paint this gloop all over the ground surfaces of your model - paying particular attention to filling in any little gaps or joins around the edges of revetments, duckboards etc.

Bank the mixture up (like piled earth) against the exterior faces of your palisades and around the feet of the gabions. Even blob a dollop on top of each gabion, so that the 'earth' texture is consistent throughout your model…
Also pay close attention to the roadway, building up the ground mix around the pieces of cobbled surface, so it looks like the roadway is sunk into the ground, not standing proud of the ground. (Pic)

If you are making a dirt track, use the end of a paintbrush to drag through the wet mix to create the impression of cart tracks, etc.
It's better to build up 'deep' areas of groundwork in two or three layers, rather than spoon the stuff on an inch thick.
If you apply the mixture too thickly, it takes an age to dry out (and I mean days).
So make absolutely sure that any 'deep' areas of the basing mixture have dried rock hard before you spray with primer. If you spray paint over the mixture before it has 'gone off', those areas will never dry properly because the water in the mix will be trapped and unable to evaporate.
Step 17. Gratuitous titivation.
Okay, that's the model substantially made. (Pic)

You now have the option of adding extra bits and pieces - old lengths of planking left lying around; shattered tree stumps, cannon ball holes in the earthwork embankments, larger pieces of rock (I use aquarium gravel) and so on.
You could also deliberately 'smash up' one or two of your palisade sections - as if they've been hit by cannon balls.
You could even drill lots of tiny holes in the upper portions of your timber defences to make it look like they've been peppered by musket fire!
The possibilities are endless. How far you it, is up to you.
Next, part 3 - Painting:
http://leadadventureforum.com/index.php?topic=7779.0


