Here is a quick breakdown of how I put them together, I'll try and do a step by step when I make some more.
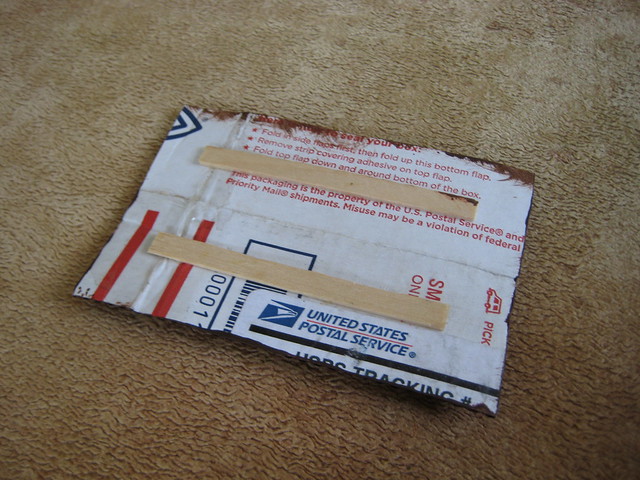
First step is to flatten out a sturdy cardboard box - I used one of the small ones I got from mini shipments.
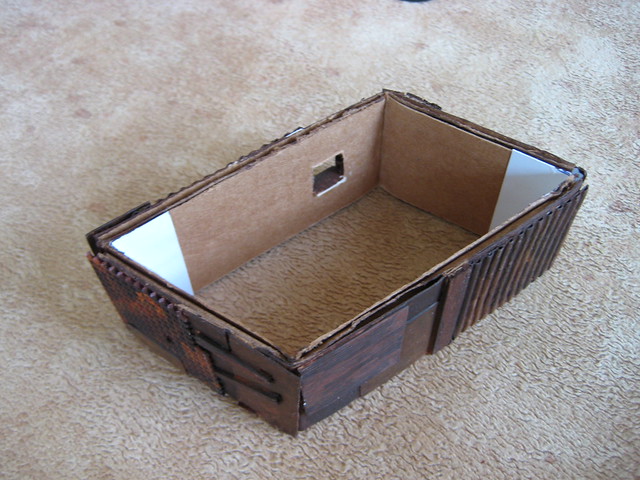
Cut two wall strips from the flattened box - I used the box's 'natural' corners wherever I could, where I wanted my corners (the two corners without the white hinges). It's reasonably important that the wall strips are measured, and they have 90 degree corners, so they match when assembled. You can also add window holes and other details at this point. You can also make slanted roofs, etc (I've made pitched roofs for other buildings using this method)
For the open corners, cut some thick card hinges to join them up (White, in the pic), fold them, then carefully glue them to the inside of the sturdy box strips (using PVA), making sure everything is lined up. I did it one corner at a time. These hinges allow the finished product to fold flatter. There will be a gap on the outside of the building - which looks fine for shanties.
Then go bonkers with the outside - use PVA to stick card, coffee stirrers, lolly sticks, etc. Superglue for plastic. This all adds detail, and importantly, some additional strength to the walls. You can disguise the gap where your hinges are to some extent - by overhanging stuff on the outside.
I added a removable brace inside each building, so they sit square on the table. This is just a piece of sturdy cardboard cut to size.

The roof is a single piece of thinner corrugated card, strengthened by lolly sticks on the underside, and detailed on the top. I tried to make it look like loose sheets of metal were being held down by various items (I used stones, plastic cogs and other stuff, elsewhere)
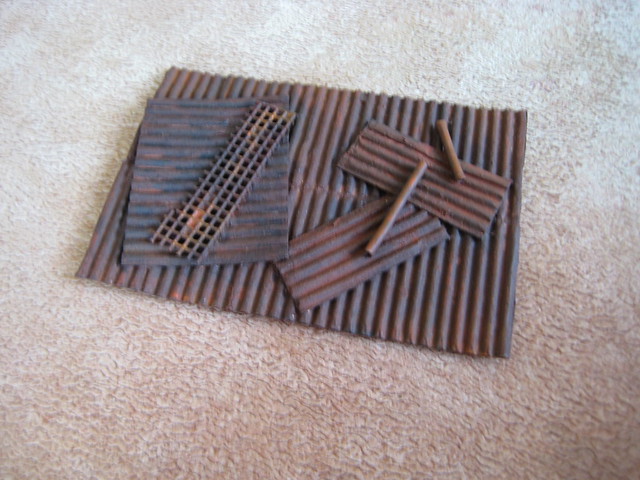
I painted them with an undiluted mix of Burnt Sienna & Black acrylic paint at first, to seal them to some extent, and to provide a dark base coat to shade up from. This lets you use some washes for rust effects (don't go mad though - you don't really want to
soak anything at this point - it might twist or warp).
The building with the balcony used the same method, just took a little more measuring and planning.
Once all is layered, glued, painted and dried, the end result is surprisingly sturdy!

Hope that helps!


 Welcome, Guest. Please
  April 19, 2024, 01:34:17 AM


