Heres the battle report
The rules were 'Iron Cross' by Great Escape Games. I think Im just about getting the hang of them now
Its all about managing your command resources and controlling morale deterioration as much as the actual shooting war
A very clever set of rules - inherently quite simple, although with a few fiddly bits.
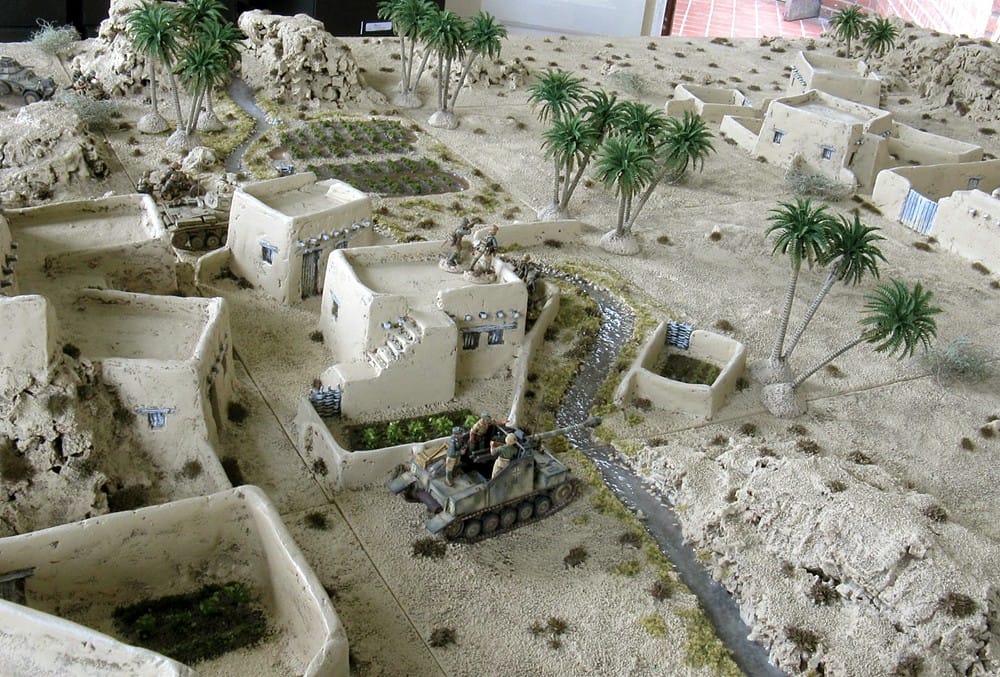
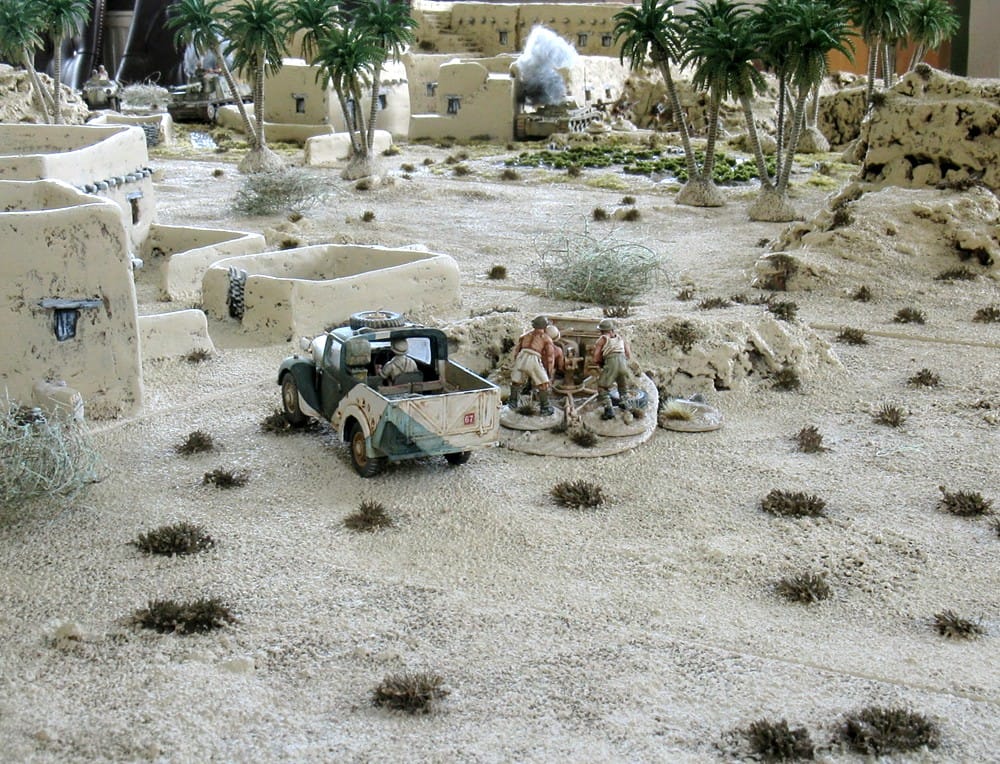
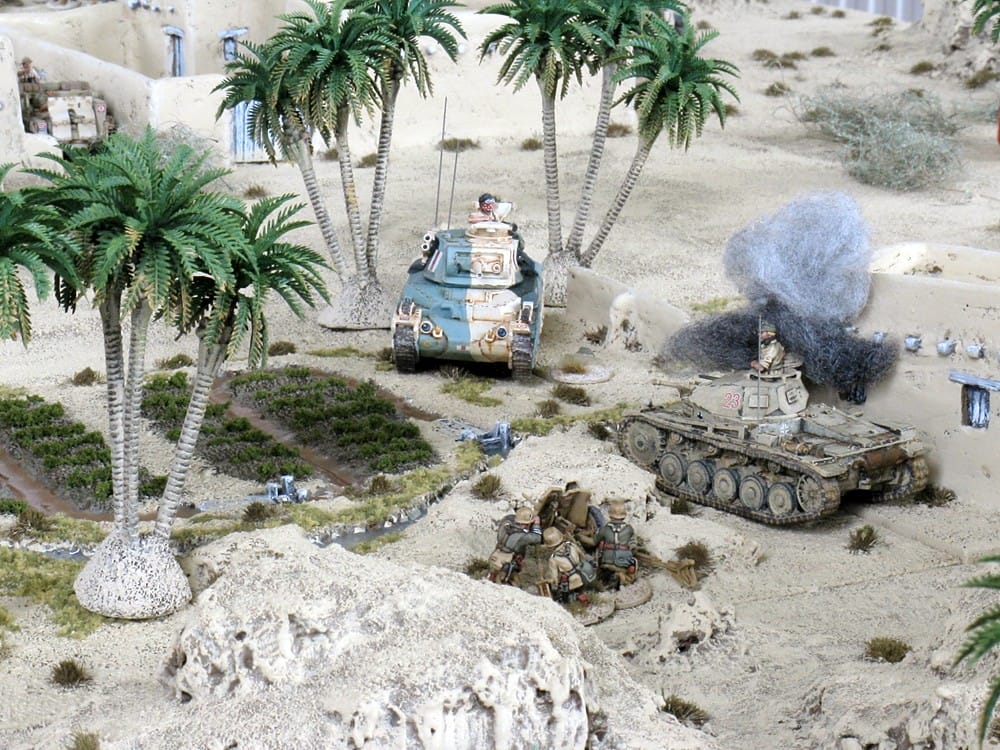
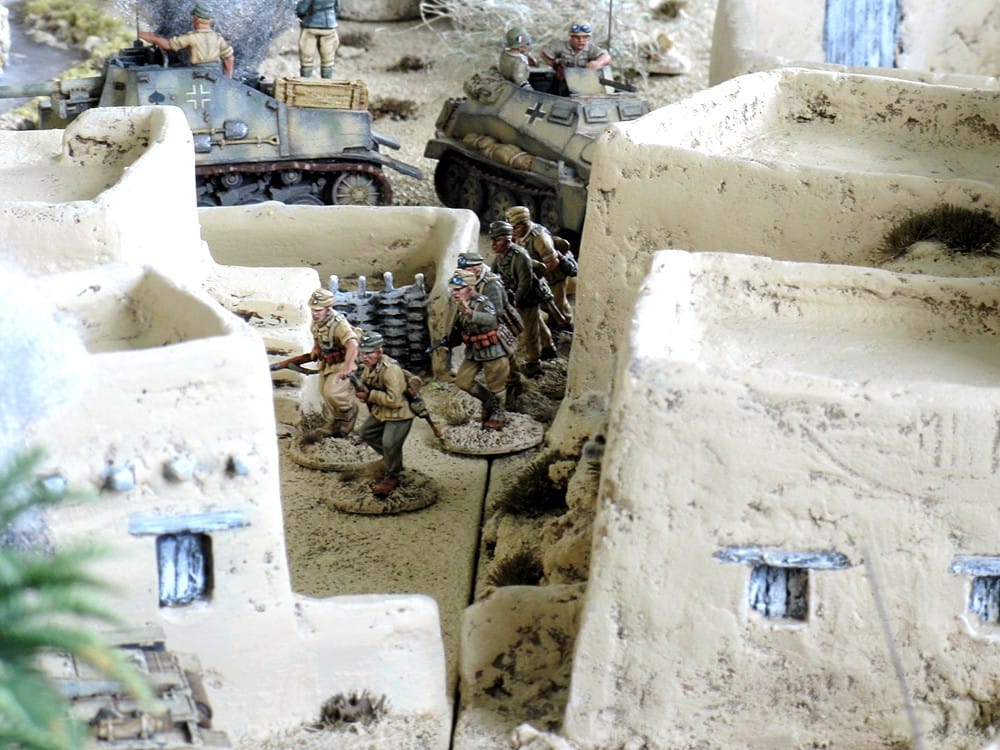
Here is Silent Invaders wonderful, modular terrain seen from behind the German (defending) positions

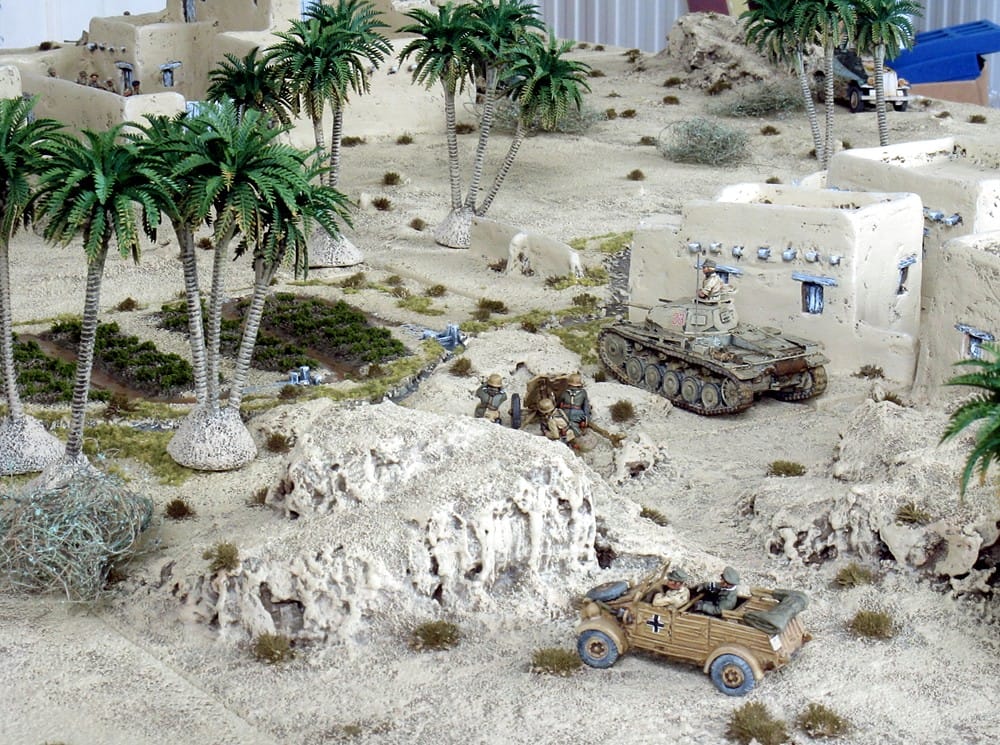
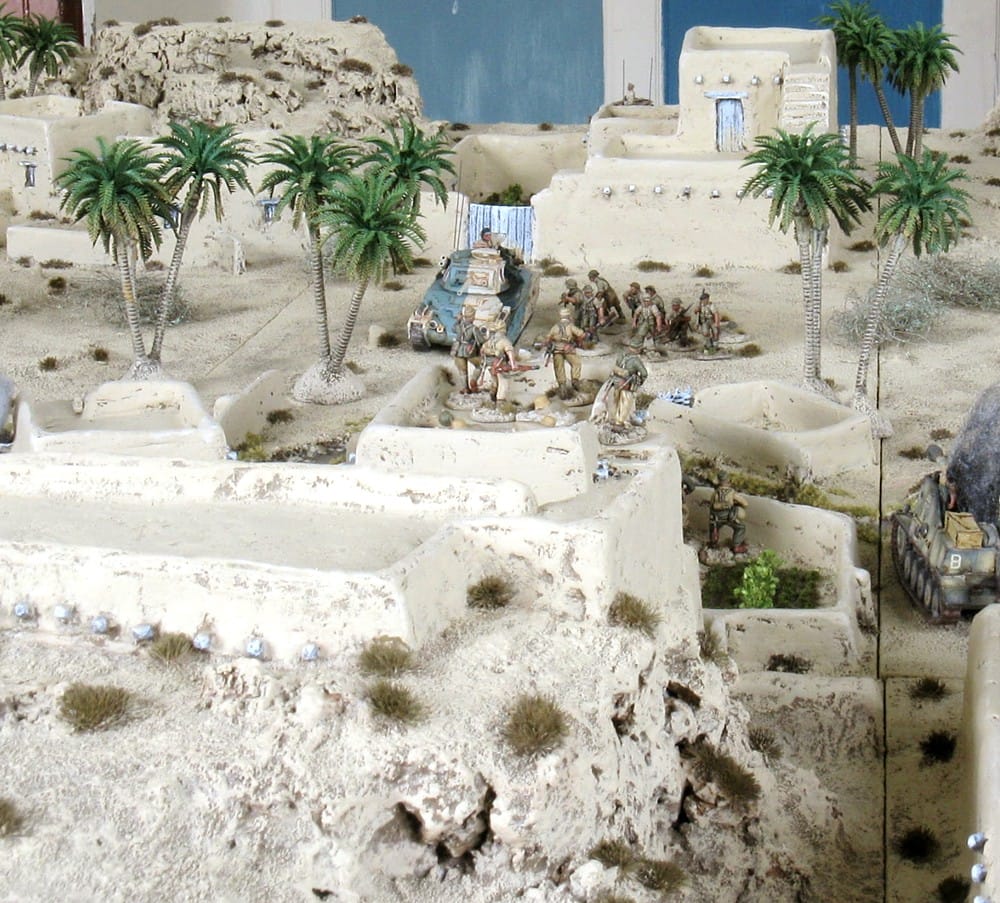
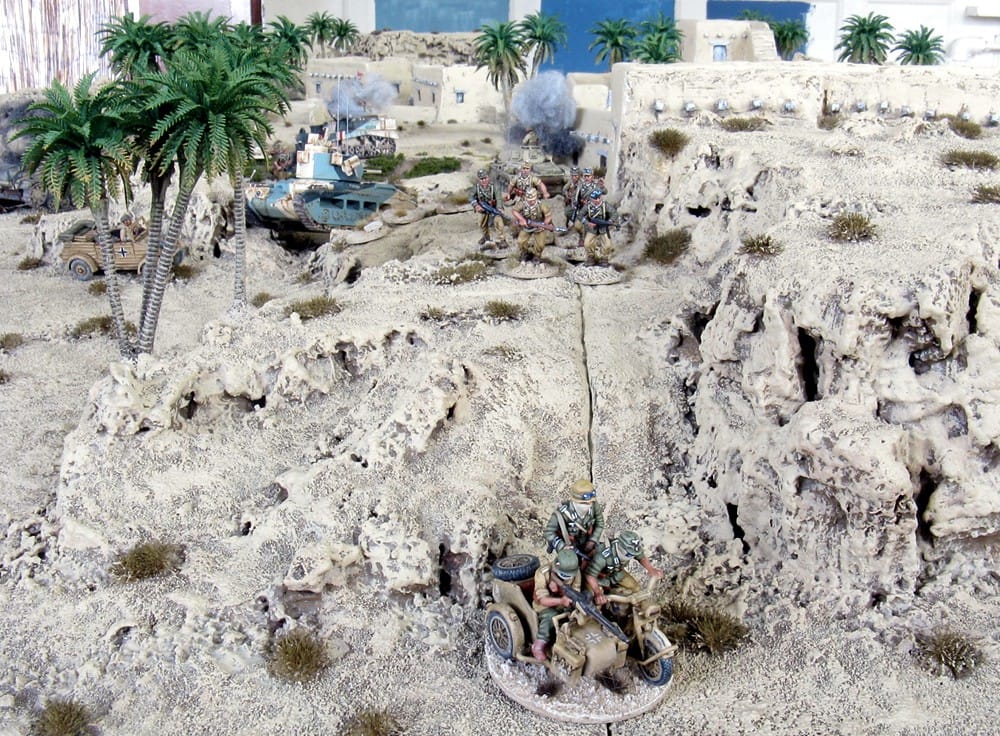
And from the British (attacking) starting position

The Germans deployed their defensive line well forward right at the edge of the village, and behind a small stream
 Germans (me):
1 Panzer III
1 Panzer II
1 Marder
1 SdKfz222 A/C
1 Pak 36 A/T gun
1 rifle section mounted in an SdKfz250 half-track
1 rifle section on foot
1 MG42 mounted on a BMW M/C + sidecar
Colonel Steiner in a Kubelwagen
British (Silent Invader):1 Matilda
1 Honey
1 Marmon Herrington A/C
1 Morris Portee with 37mm Bofors
1 2 Pdr. A/T gun and Austin Tilley
1 rifle section in Bren carrier
1 rifle section on foot
1 HMG team
Major Fondling in a Dingo scout car
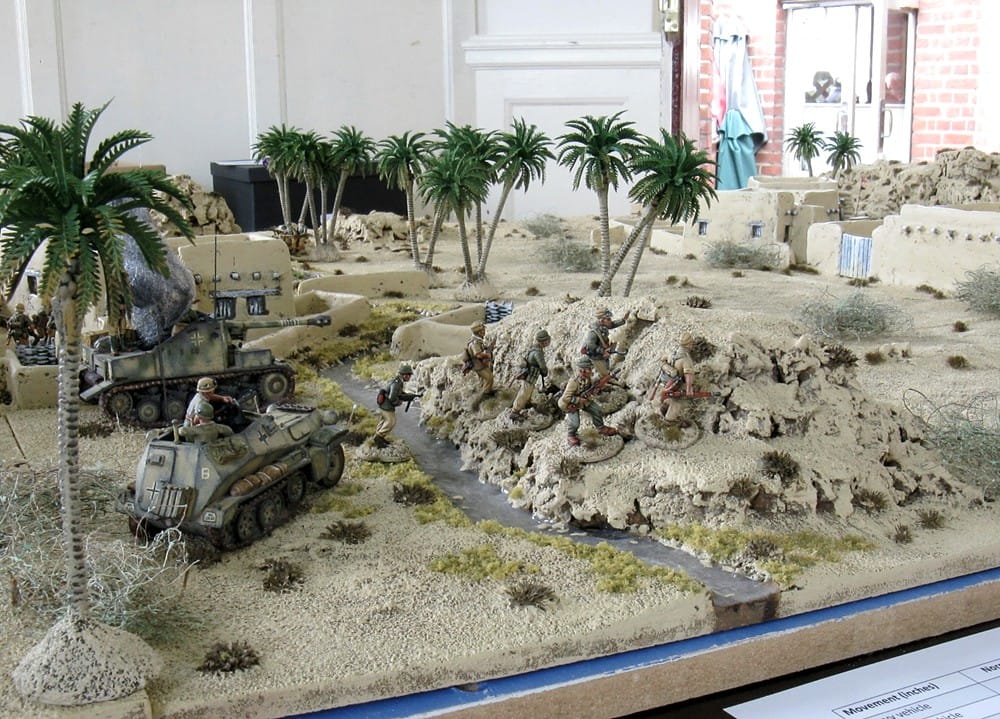
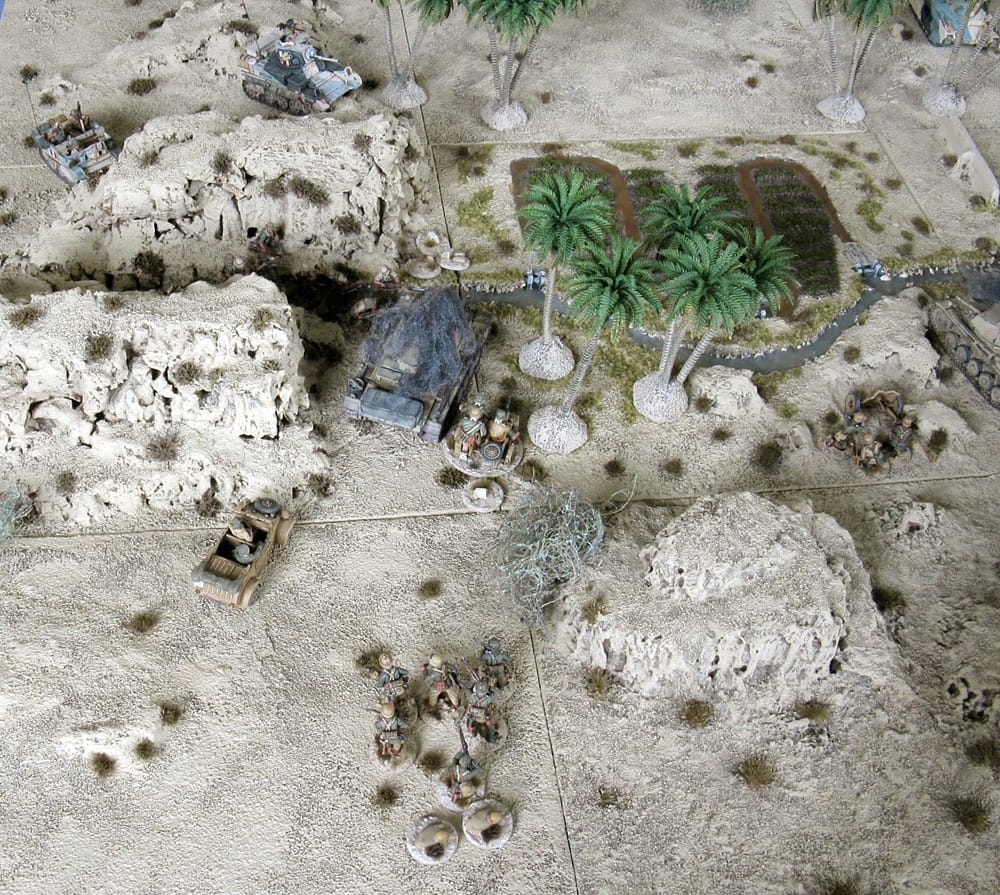
The problem for the advancing British? From their start line in the northern half of the village, they have to cross the open ground between them and the German defensive line in the southern half of the village, beyond the stream and irrigation ditches
Things start well for the British though. Virtually the first shot of the game and the Matilda scores a direct and devastating hit on the Marder
Kaboom! And the Marder has the only gun on the German side actually capable of penetrating the Matildas front armour
Oh dear.

First blood to the Brits.
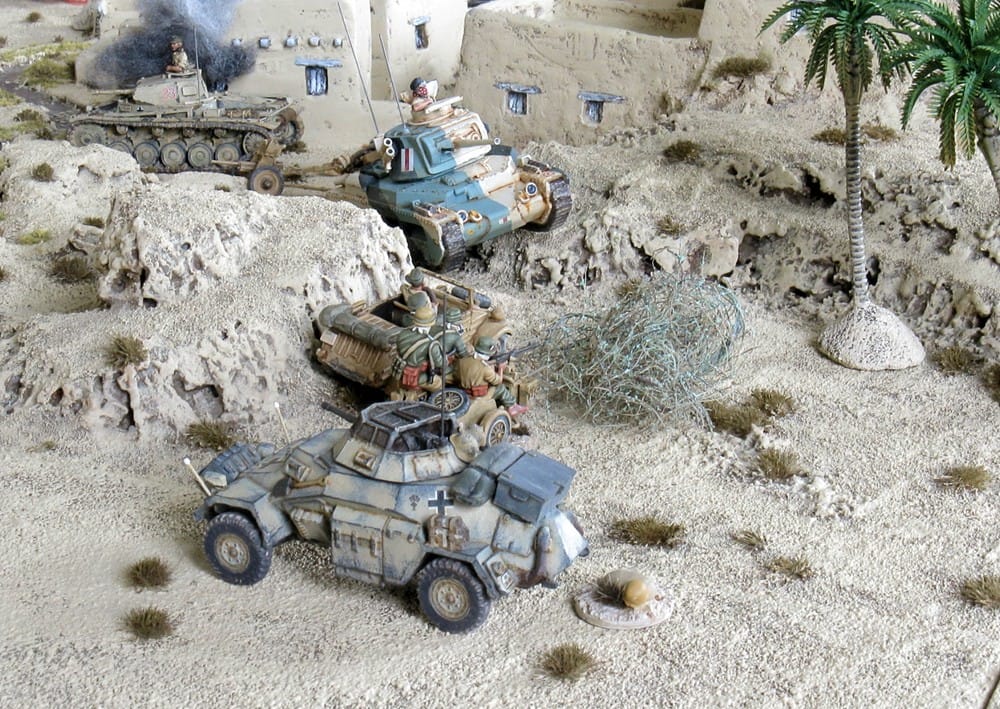
Understandably rattled, the remaining German armour motors straight up to the line to take hull down positions behind the stream

The daring German BMW and sidecar races forward towards the British lines to try to put Tommy off his stroke

This succeeds to some extent - but peppered by infantry fire, suffering several morale hits, and with the Honey and a Bren Carrier full of riflemen advancing on it, the brave BMW roars back around and races back to the German line
The Bren carrier chases off the motorcycle and sidecar

Oberst Steiner arrives to take personal charge of the defence and stiffen the resolve of his Panzer crews
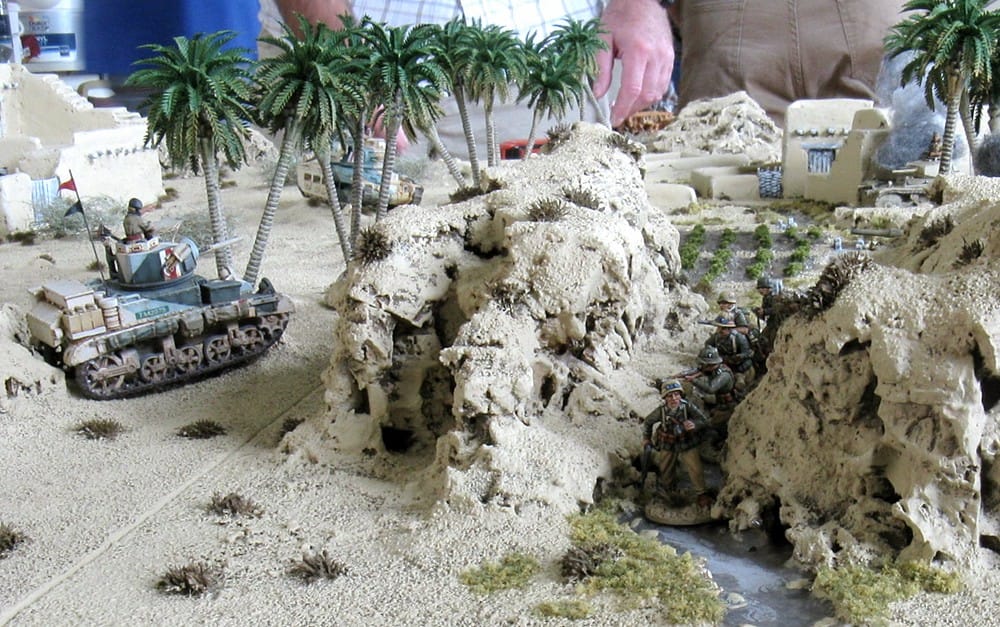
On the other flank, the German half-track disembarks its rifle section (Sgt Gruber's squad) to scamper up the bluff
Meanwhile - better luck for the Afrika Korps. The Marmon Herrington armoured car races forward to counter Grubers infantry ascending the bluff - only to catch a direct hit from the Panzer III.
Honours (more or less even) after two rounds

The Honey negotiates the narrow streets of the village

The 2 pounder A/T gun deploys
And from the safety of the rear, Major Fondling orders the Portee into action

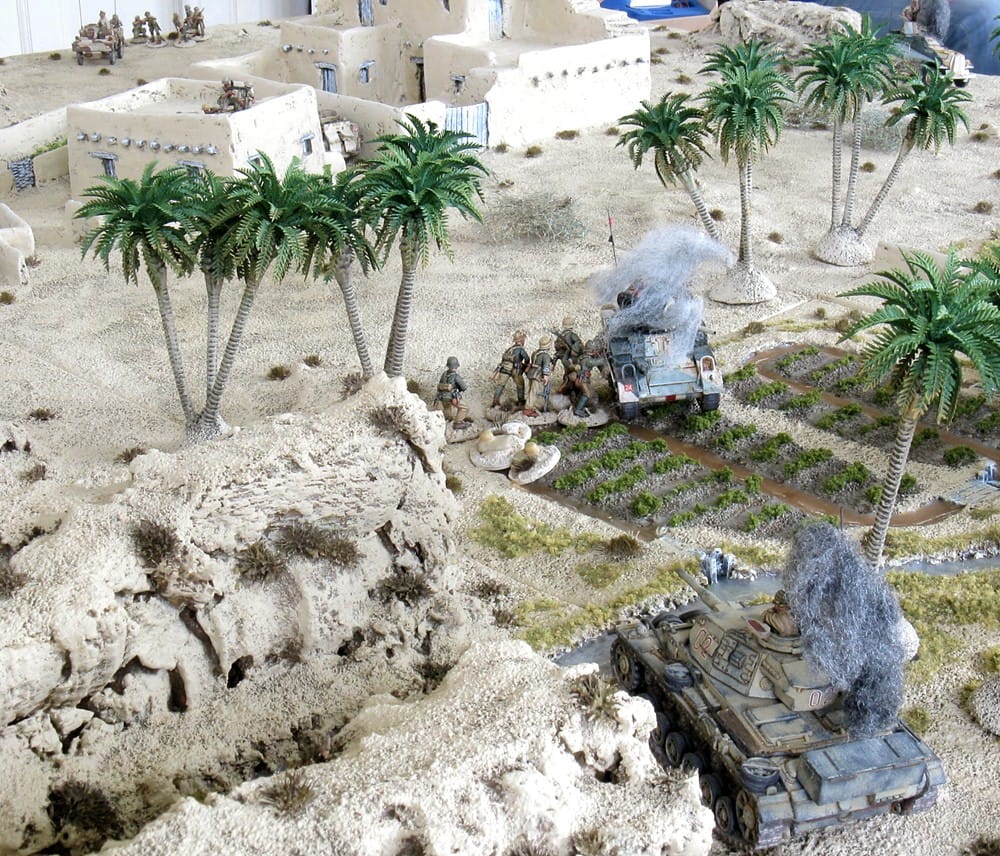
Steiner calls his forward line of infantry under Corporal Schultz down from the rooftops and gardens at the edge of the village, summoning them over to his left flank

While Grubers rifle section promptly abandons the bluff, and heads into the village to take cover

The 2 pounder now scores a lucky hit on the Panzer II kaboom! Thats the second German AFV destroyed before managing to do anything useful at all
Boo! The balance shifts decisively back to the British
Disaster for Steiner!


To make matters worse, the Honey, supported by a Bren Carrier with its rifle section have successfully crossed the open ground without injury, and are now nearing the rocky outcrop and gully protecting the German left flank

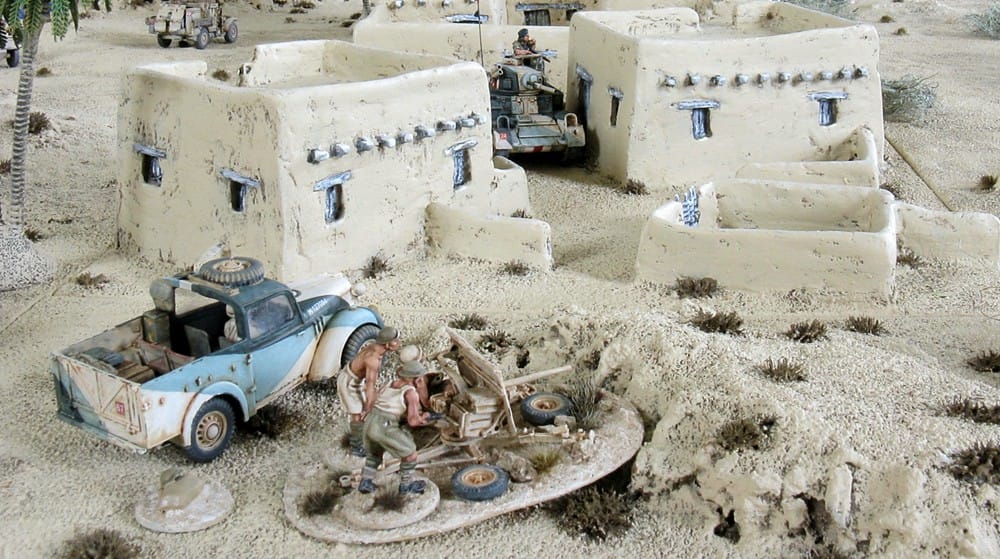
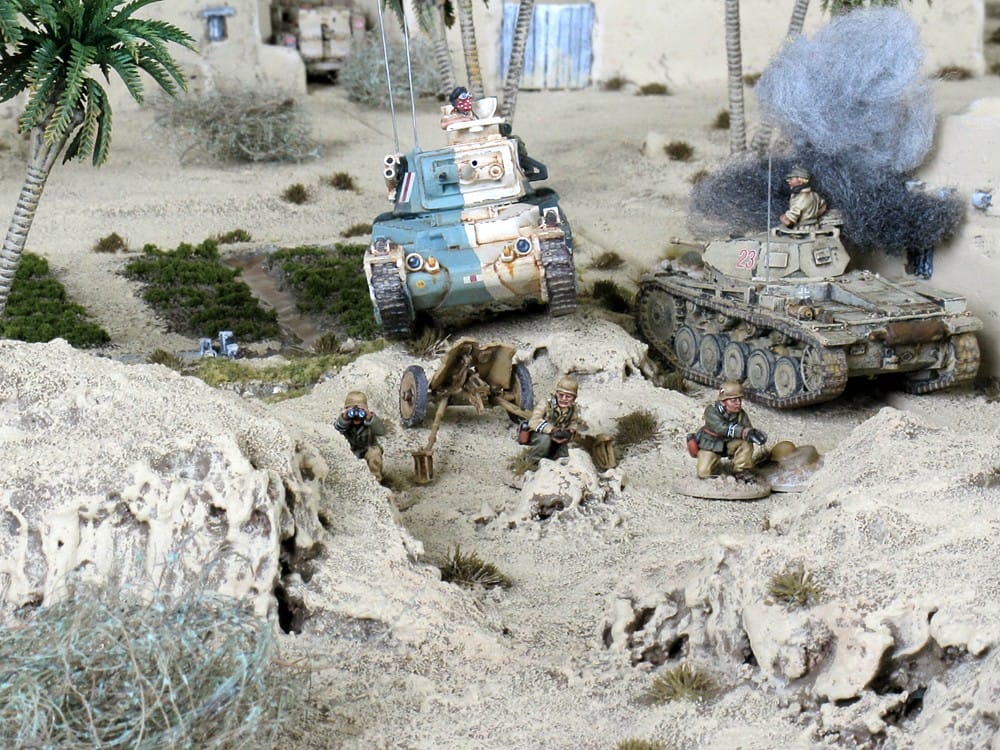
The plucky Pak36 is doing the main work of defence now
The Panzer III crews resolve being almost broken by being repeatedly shot at by everything on the British side

Realising its near-invulnerability, the Matilda now rumbles forward across the open ground a second rifle section in its wake.
However, Grubers own riflemen take to the rooftops and with a sustained fusillade, manage to inflict enough damage on the advancing British infantry to cause them to break back for the safety of the British-held part of the village, leaving the Matilda to plough onwards alone
Eventually, having taken hits from the Matilda, the Honey and the Portee, the Panzer III brews up and the crew bales out and legs it.
The British infantry meanwhile, have crept along the stream down the gully, and are about to turn the German flank.
Schultz and his section run forward to the smouldering hulk of the Panzer III to take them on
In a hail of fire from the SdKfz222 and from Schultzs riflemen, this British infantry squad are also driven off in a funk - and the gallant Schultz leads his patrol down the gully in a counter-flanking attempt
But with only the Pak 36 holding the centre of the German line, the Matilda, impervious to the light A/T gun and the cannon on the SdKfz222 makes straight for them
Leaving the German gunners no alternative but to run for it, as the mighty Matilda rolls straight over their position and crushes the Pak36 to a pile of twisted scrap
Schultz and his men meanwhile, have crept around the gully and right up to the side of the Honey, where - withstanding British machine gun fire from rooftops overlooking them from the north - theyve planted a sticky bomb on its hull, causing it to brew up
One more British AFV out of action
Unfortunately though, nothing is stopping the Matilda, which having broken decisively through the German line, is now bearing down on Colonel Steiners rear command position
Gruber and his section abandon the rooftops and run through the streets towards their commanders position
But theres nothing else for it. Clutching his Iron Cross to his heart, Steiner jumps from his Kubel and races around the back of the Matilda, dodging machine gun bullets as he attempts to push a stick grenade up its exhaust

An attempt which ended in tragic failure for the gallant Oberst... As the Matilda simply reversed over him and his ADC

At this point, the Germans decided the game was well and truly up, and retreated pell-mell with their few surviving assets, leaving the British to roll forward and occupy the village although this would prove somewhat difficult as most of the British infantry had been driven off. Only the late arrival of a further Bren Carrier with another rilfe section enabled the British to take possession of their hard-won gains
The German infantry, on the other hand, all survived to fight another day


 Welcome, Guest. Please
  May 21, 2024, 05:34:31 PM


