My goal for this project was to spend no money at all and only use stuff I already had laying around. For the deciduous trees I had a bag full of dried pieces of roots, collected on some holiday walks in Bavaria.

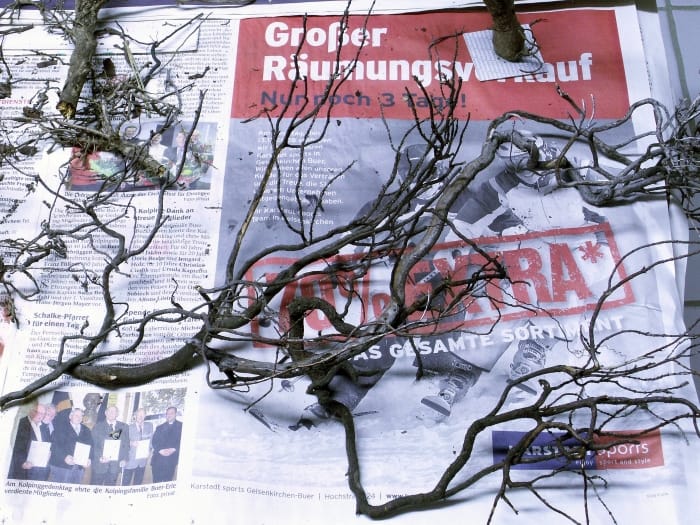
I also used a bunch of twisted twigs bought from a florists shop some time ago, I really don't know what this is called, but it has a natural look like small tree branches already.
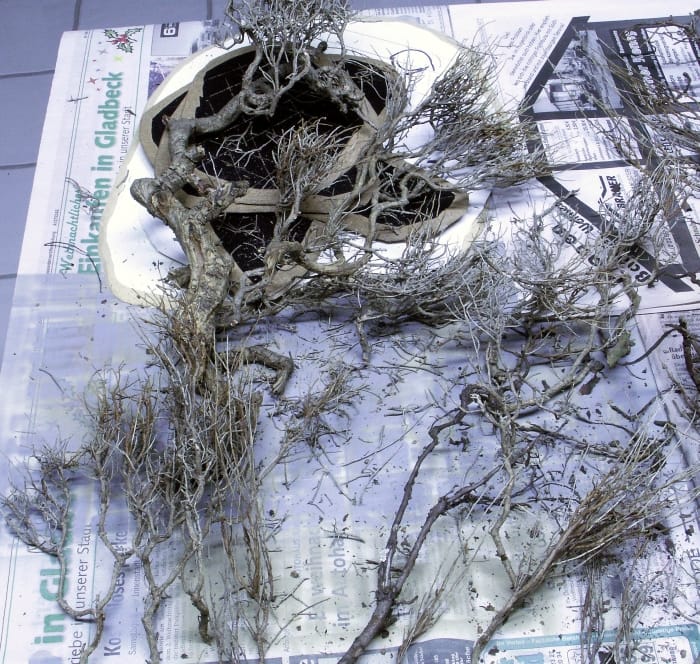
As I had no experience building model trees and had only read a lot about creating them, I just took some pieces of roots, removes the one or other broken twig, cut one end flat and glued this to a cardboard square with white glue, additionally secured with a small brass screw from underneath. The cardboard will later be glued to my terrain pieces, that way the trees will have a firm foundation on the base.
But I wasn't quite happy with these constructs, they looked too unnaturally, not like real tree structures.
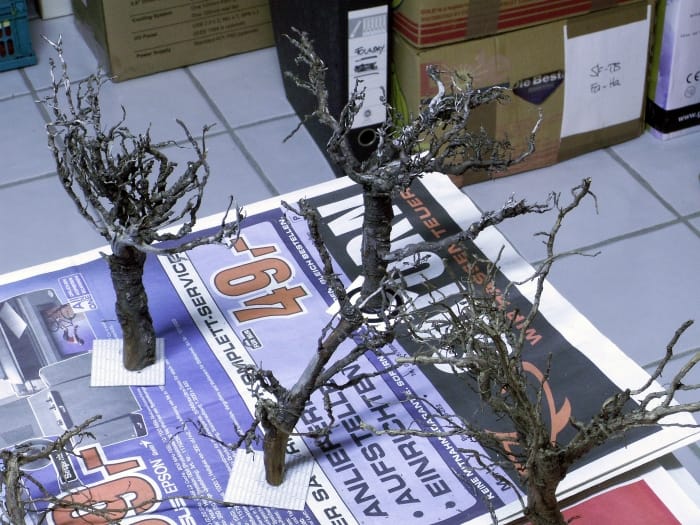
So, for the next ones I looked for a good looking roots piece for the stem and planted the branches from the bottom up myself using parts of the twig material. A hole was drilled into the stem, and the twigs were glued in with a hot glue gun. This way you only need to wait a couple of seconds for the glue to cool and set. After finishing a tree this way, a mixture of brown acrylic colour, some dirt powder and water was brushed roughly around the glued areas to cover the shiny glue spots and get a smooth transition from stem to branch. The hot glue gun was also used to simulate some roots branching out at the bottom of the stem.
A lot of ideas and techniques were based on similar things from Elladan and his inspiring website
http://www.elladan.de/040%20Bocage%203/040.htm.


These trees were much more to my liking ...

It was time to start the first test base for ground structures and materials and to test fibres and flocking. I used some single roots of another kind and glued them directly to the pre-cut hardboard-base. Twisted out rubberised horsehair was ripped into small pieces and glued onto the twigs with UHU-craftglue.
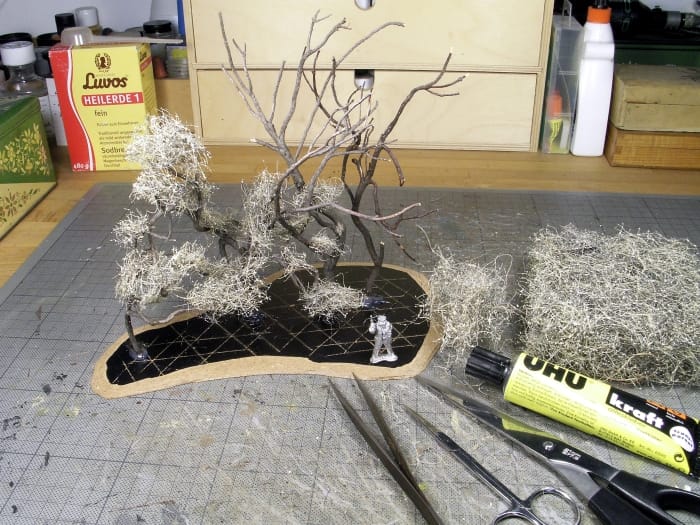

The horsehair was airbrushed with Tamiya dark-green, the base got its foundation with brown-coloured ready-mixed filler from the DIY.

More next time. Thanks for your interest!


 Welcome, Guest. Please
  May 04, 2024, 07:44:57 PM


