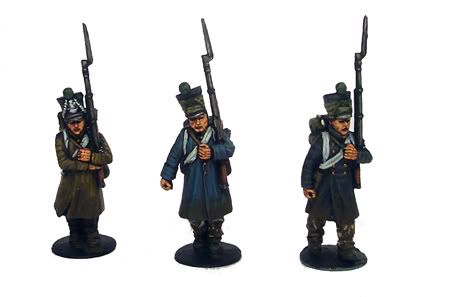
How the heading says, here's a tutorial about how I've painted my naps shown here (
Click!).
First of all I wanted to paint the 1st Chasseur Company (the light Infantry's fusiliers) with green Pompons, after the 2nd (blue ones), then the 3rd (orange Pompons) and then the 4rd company with purple/ lavendar pompons. After that the carabiners (Grenadiers) and then the Voltigeurs.
Step 1 -
Clean the miniatureClean moulding errors or slopes and dales with a scalpel.
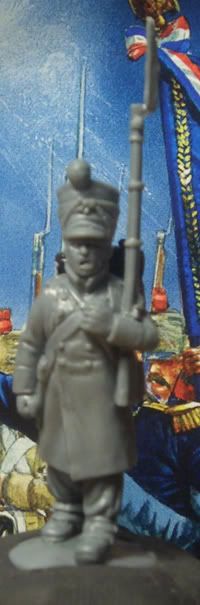 Schritt 2 - Ground the miniatur
I always ground with black, but I think white would do the best by linie infantry nevertheless.
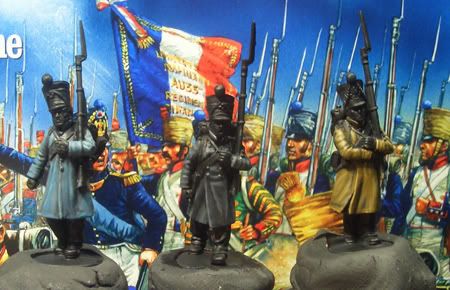
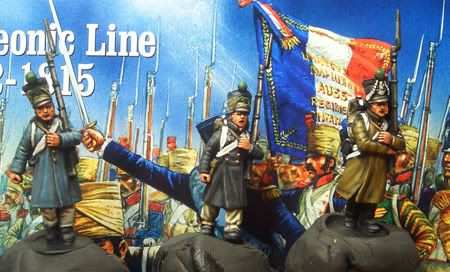
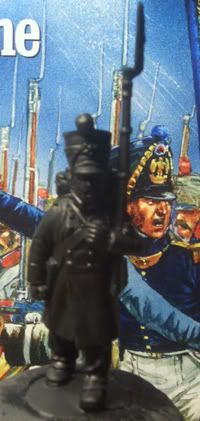 Step 3 - Ground the coat
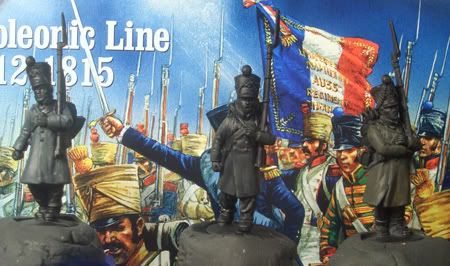
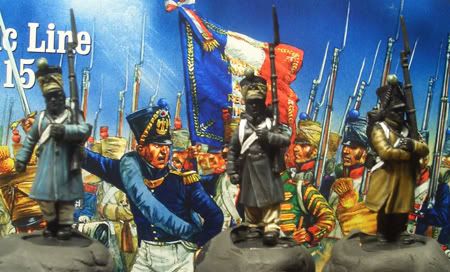
Here I think a lot of different colors would look fine, so I simplye tried out 3 different ones.
Left: VGC Cold Grey + Black + VMC Medium Blue2:2:1
Middle: Black + VGC Cold Grey 1:1
Right: VMC Uniform English + VMC US Field Drab 1:1
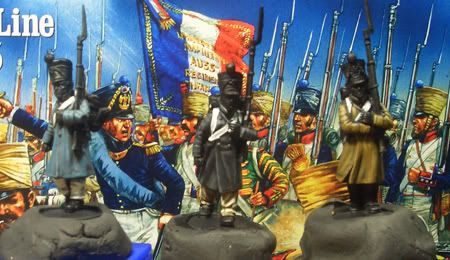
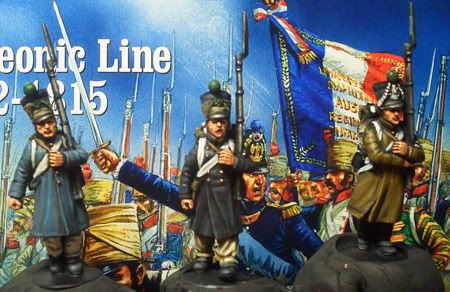
 Step 4 - Second layer
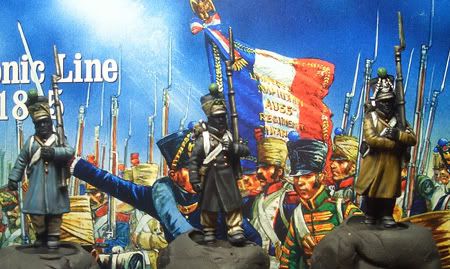
Just leave the shades.
Left: VGC Cold Grey + VMC Medium Blue 2:1
Middle: Black+ VMG Cold Grey 1:2
Right: VMC US Field Drab
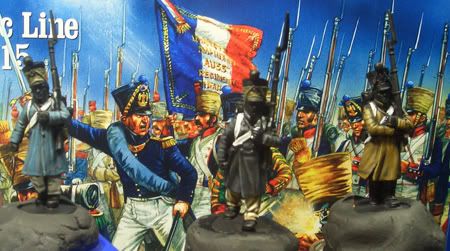
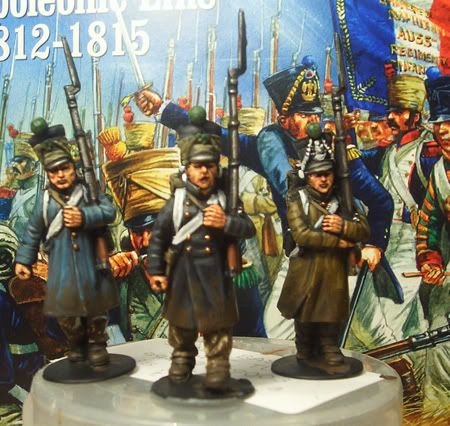
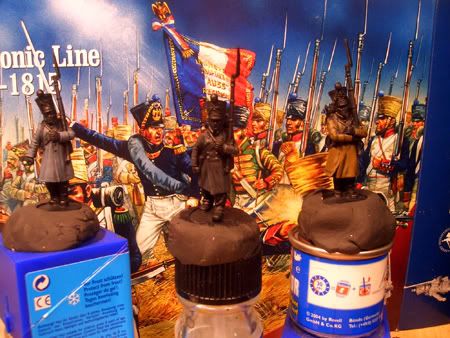 Step 5 - Highlights
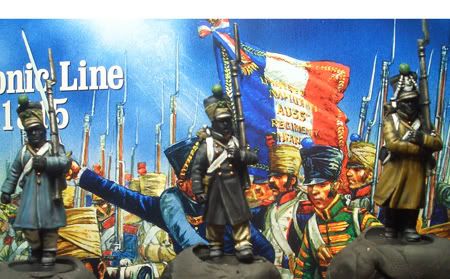
 Add lights.
Left: Cold Grey + Medium Blue + Stonewall Grey 2:1:2
Middle: Cold Grey
Right: US Field Drab+ German Camo Orange Ochre 1:1
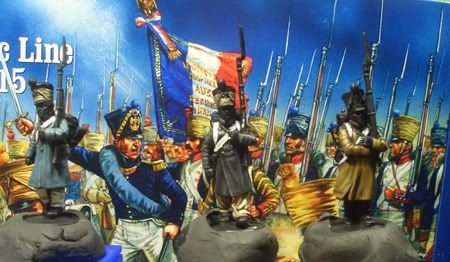
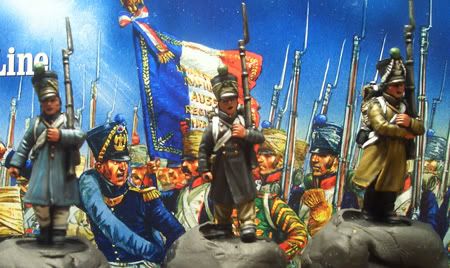
 Step 6.1 Painting the trousers
L.: Bc: 049 Stonewall Grey Lay.: White
M: Bc:US Field DrabLay.: 034 Bonewhite
R: Nothing I didnt paint it! The mud and dirt will deliberate it
Schritt 6.2 Painting white areasEverything what should be white will be painted now.
Basecoat: 050 Cold Grey
1st layer 1: 049 Stonewall Grey
2nd layer: White
 Step 7 Black areas
BC: Black + 050 Cold Grey 1:1 ,
1st layer:Black + 050 Cold Grey 1:2
2nd Layer: 050 Cold Grey
Step 8 - "cloth" around the shakos - BasecoatUS Field Drab + Black + Uniform English 1:1:1
 Step 10 - "cloth" around the shakos next layer
Die US Field Drab + Uniform English 2:1
 Step 11 - "cloth" around the shakos last layer
034 Bonewhite + US Field Drab + Uniform English 3:5:2
 Step 12 Painting the Pompon - Basecoat
In this case, the pompon has to be green.
Vallejo MC Luftwaffe Camo Green + Black 3:1
 Schritt 13 Painting the Pompon - Layer
VMC Luftwaffe Camo Green und Foundry Buff Leather C1:2.
 Step 14 - Kleine Details
We all know the P-Minis, and we all know that these are so detailed and now we have to paint these!
Rucksack: 045 Charred Brown > US Field Drab > Foundry Buff Leather C / 034 Bonewhite / White - You also can paint 045 Charred Brown in form of cowblot
Leatherbands: 045 Charred Brown > 145 German Camo Medium Brown > US Field Drab
Copper/bronze: 058 Brassy Brass > Wash with black
Silber/Metall: 054 Gunmetal Metal > Wash with black
 Step15 The skin - basecoat
066 Tan + Black 5:1
 Step 16 The Skin 1st layer
 041 Dwarf Skin
 Step 17 The skin 2nd layer
041 Dwarf Skin + 003 Pale Flesh 2:1
 Schritt 18 Rifleshafts and mud
(dry-)brush and dabed the trousers and clothes with VMC Burnt Umber
Paint the rifleshafts with Spearshaft A+ Black3:1 > Spearshaft A> Spearshaft B
Comments are welcome,
Stephan


 Welcome, Guest. Please
  April 27, 2024, 11:28:51 AM


