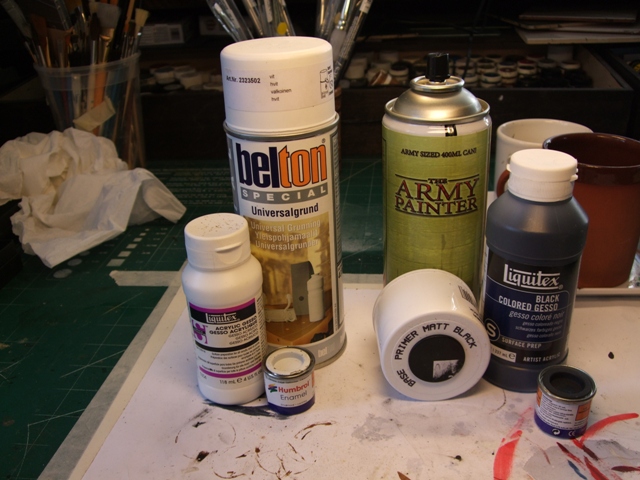
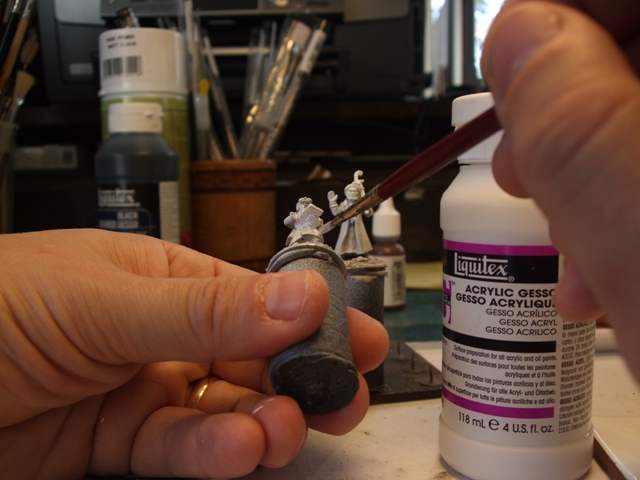
Priming the Captain Blood WayThe issue about which colour primer one should use has been heard over and over. Let's just say for now that it is just a matter of preference. These days I use primarily white spray-on car primer (local brand with a good bite and granularity) when I do batches of individual figures of, say, more than five. For smaller batches and for touch-ups I use white acrylic gesso, which is easy to dilute and to apply and it adheres well. I have a set of black equivalents when that is called for (horses, horror miniatures etc.). For resin miniatures I use Humbrol brush-on enamels, since I find that resin can have a slightly oily surface which doesnt always go that well with water based paints. I am not stuck on certain brands; I find that Army Builder, GW and local brands seem to do the same trick. In the picture you can see that I use Liqutex; it works and I will probably stick with it for only that reason.
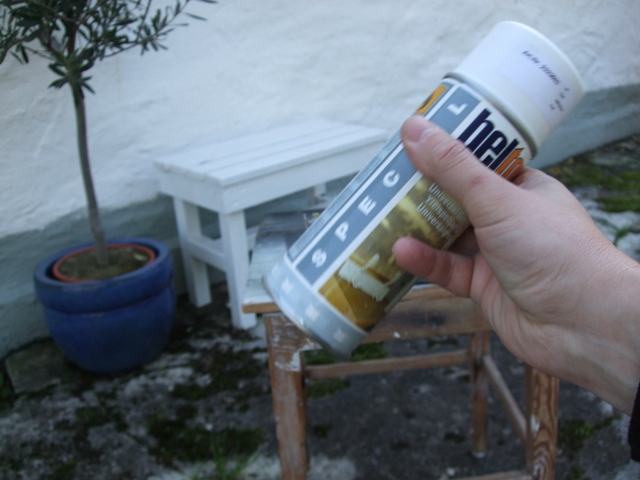
The Blood method which I am about to describe involves a white aerosol. Here I am shaking in it well for about a minute. With kids in the house I want to do this outdoors even though it is a bit windy and chilly. The problem with spray painting is that it both is and is not an outdoors job. Propellants, solvent and paint can be harmful to inhale so you need good air circulation. On the other hand wind, humidity and can play merry hell with with the paint spray.
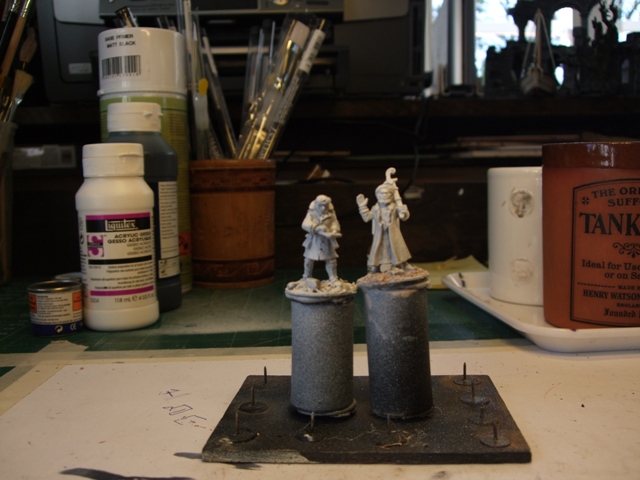
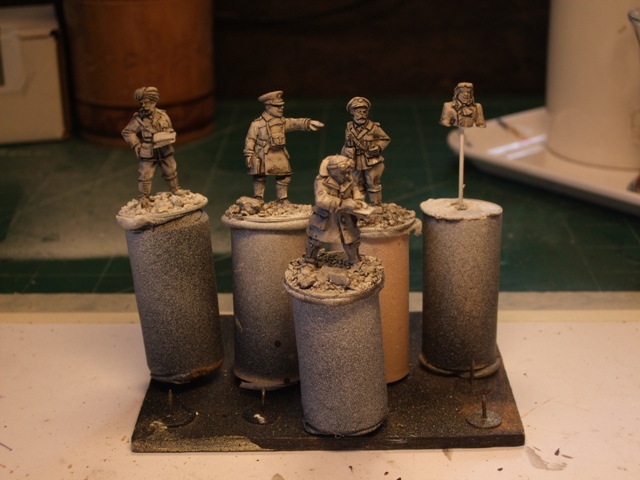
Ive lined the Hammer Industries Corkmeister 2000 System (see previous post) at the edge of a stool so I am able to get at it from a proper distance with the spray can, which is about 25 cm. I always start spraying before (in this case to the left of), the first miniature, not directly at it, and make a two or three quick passes, ending well past the last miniature. The reason I do this is that I noticed that if I start spraying *directly* at the first miniature the paint tends to build up thicker on the miniatures on either end.
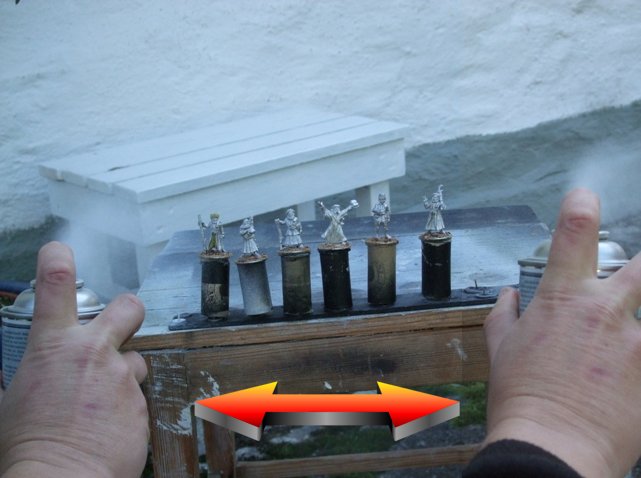
I only want a light covering. If the primer is sprayed on runny and thick details will be lost and the paint will not adhere as well. The primer should look dry when applied. Once done, into the Easy-Bake (see previous posts) they go to speed up drying time. Once dry (to the touch) and set (the medium has hardened), I do another turn. Two, maybe three passes I find is generally whats needed. Turn the can upside down and spray till no paint come out. This is to prevent the muzzle from clogging.
I did the second pass indoors because to much of the primer blew away outdoors this particular day. Heres the result, Ltn Hardalday and Mr Khan (see previous posts) in their shiny whites.
At this point there are blind spot on the miniature which the spray-on primer did not reach. You could prevent this by spraying from every conceivable angle but that is impractical.
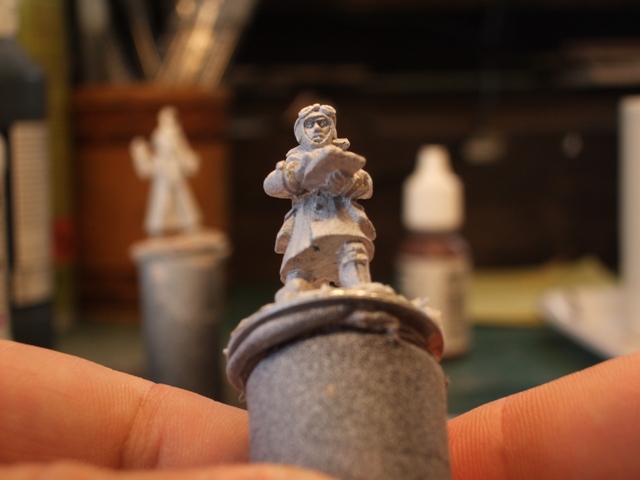
Instead I use white acrylic gesso diluted with a little water to cover the spots where the metal is shining through. I dont use my best brushes for this work, mind.
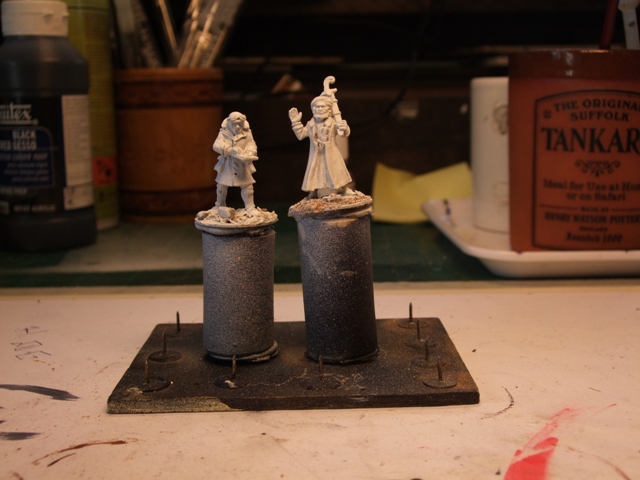
Here are the gentleman and the uncouth brigand again, white priming complete.
Now we come to what I think is the clever part of the Blood way of priming. A back base coat has the disadvantage of making details hard to see. What I do here is instead is to enhance details by adding a very dark wash over the white. I want the wash too run into folds and crevices and thus accentuating the various sculpted elements of the miniature (i.e. fingers, belts, eyes, pockets). For this we need a good wash. Richard (Capt. Blood) tells me he uses a heavily diluted mix of black and earth brown acrylics. I am using only black here and a few other ingredients.
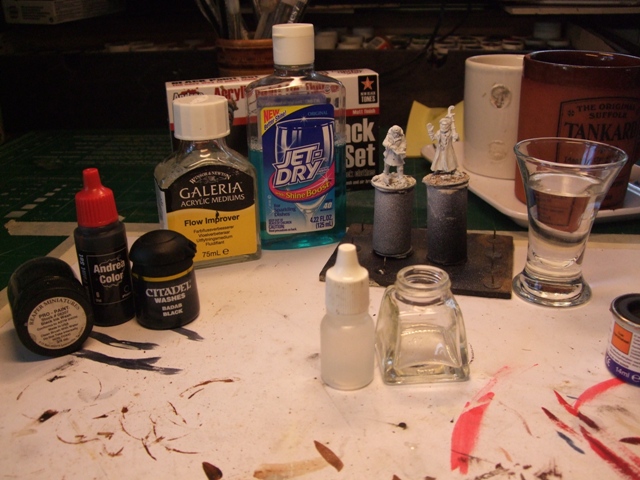
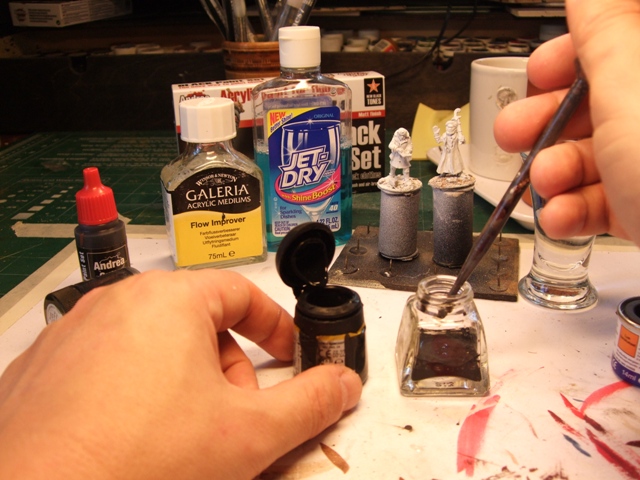
Since I need a decent batch of the wash I am mixing it in a glass jar. First I take a few millilitres of a black ink wash. This one is Citadel Badab Black. It is of good quality but I prefer W&N inks, mainly because I hate GW nomenclature (What the hell is a Badab anyway?)
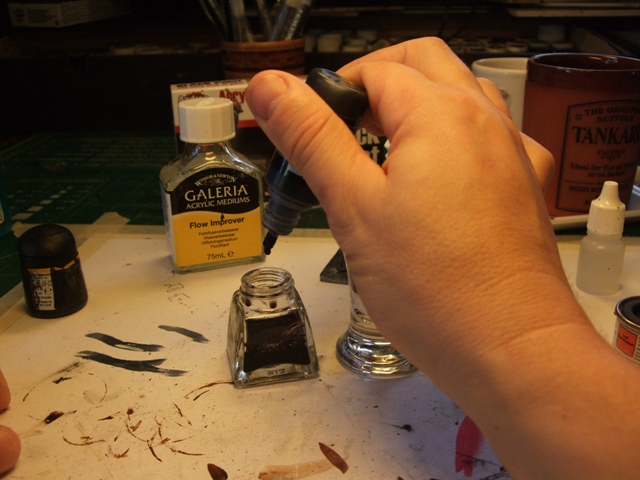
Next I add some flow release. This goes by other names to, like flow improver, but their purposes are the same: to kill the surface tension of water. This prevents the paint to pool and makes the wash flow into narrow cracks and folds. You can use dish washer rinse agent and even detergent but I dont since I am suspicious of the additives in them (perfume, colouring, mind control drugs
). I have both W&N and Vallejo flow release in stock. Since you only need very little I keep some in a handy drop bottle and add just a drop in a shot glass of water
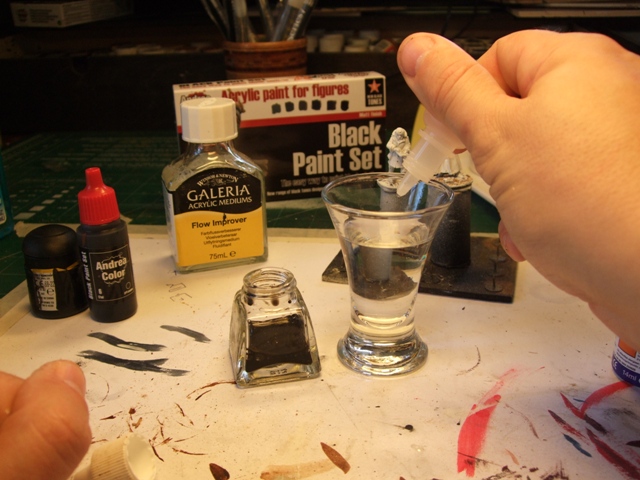
and after stirring I pour a few millilitres into the glass jar with the ink.
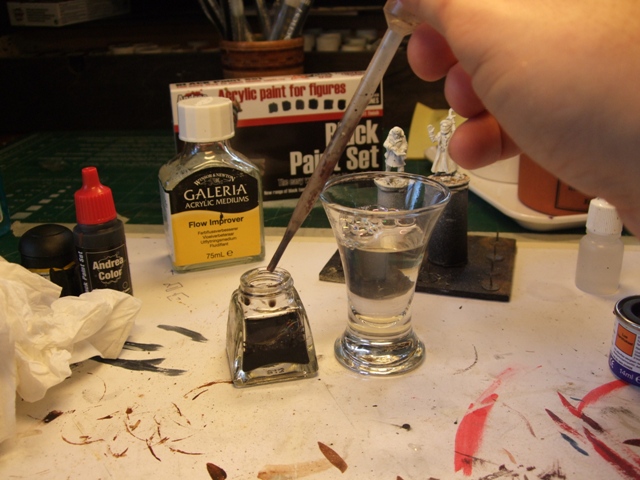
To boost the pigmentation a bit I add a few drops of quality black acrylic paint, in this case it is Andrea.
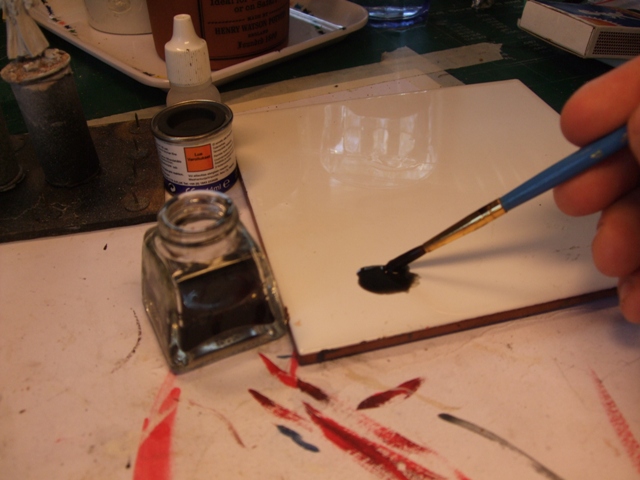
I test flow and pigmentation on a white ceramic tile until I am happy with the result. The wash should be quite opaque but runny.
OK, happy with the wash I apply it *generously* on Mr. Khan with a soft #2 brush. There *should* be no surface tension but make sure you work the wash into all folds and corners. I do this on the base to.
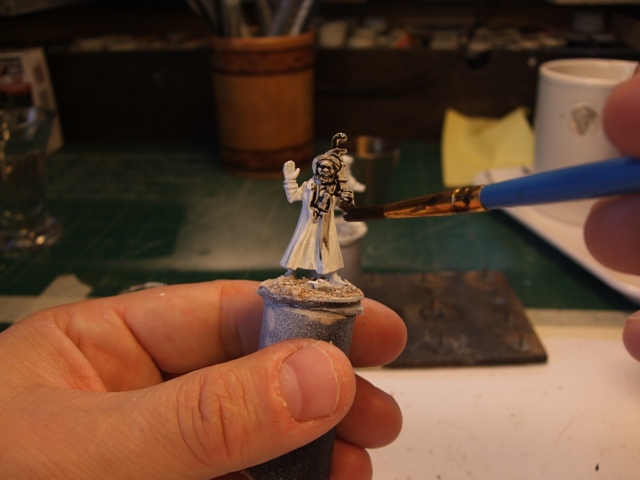
When the miniature is fully covered lightly wipe of excess wash with a paper towel of decent quality. We want no fuzz remaining. Before I usher Mr. Khan away to the Easy-Bake again I make sure the wash hasnt pool where it shouldnt (i.e. on raised areas) and that no folds and cracks have been missed.

Here are the Pathans luminaries just out of the oven
(left to right: Mullah Ali Djurza, The Wicked Faquir of Pip; Mag'louf the Uzbek; Amanoolah Khan and Shere Khan, Wazir Chieftains; Boltok the Rapist; Berk Pasha, Turkish advisor)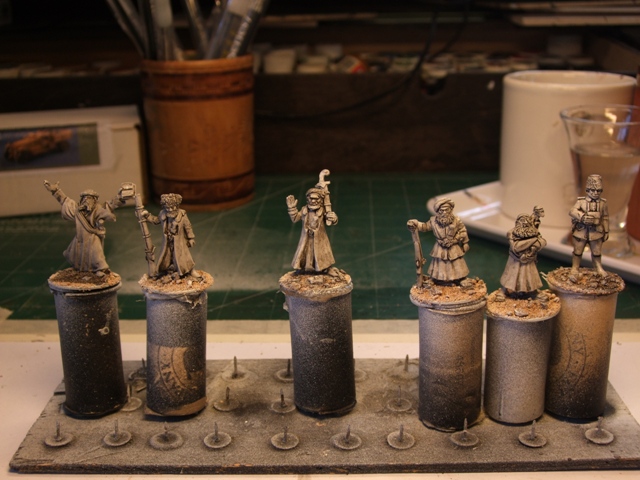
and here is Lieutenant Richard Dick Hardalday and his fellow officers.
I hope you can see in the image how well defined the miniatures become after the wash. I think the whole process really helps me see which paints should go where in a way which is hard to achieve with a purely black or white basecoat. I can get a better lustre in certain colours to because most of the basecoat is still fairly white. I dont do black-lining much but the wash which has gathered in the folds opens up to that possibility to. Getting the wash opaque but runny enough may be a bit of a trial and error at first. If it is too thin the pigment will stick to the edges of drying medium¸ if to thick it may not flow as you like and also set too fast.
OK, thats it. Lecture over. Any questions?


 Welcome, Guest. Please
  April 28, 2024, 07:12:16 PM


