*
Welcome, Guest. Please login or register.
April 16, 2024, 01:51:17 PM

Login with username, password and session length

Donate

We Appreciate Your Support

Recent

Author Topic: D1 does Star Trek - Type 5 Shuttle - 12/12 - warp nacelles roughed out  (Read 2182 times)

Offline Daeothar

  • Supporting Adventurer
  • Galactic Brain
  • *
  • Posts: 5791
  • D1-Games: a DWAN Corporate initiative
    • 1999legacy.com
So, after almost a year, I've finally come to document the miniatures I've done (and am doing) for my Star Trek RPG campaign. And also some of the game boards I've made especially for it.

I ended up creating an entire space combat system that fits within an RPG environment. In other words; all players are involved and have their tasks as bridge crew. But more on that later.

What triggered this thread is nozza_uk's thread about a very nice 3D printed Trekkified shuttle he received. I was intrigued, because I desperately need a shuttle for my campaign, but hit a bit of a wall there.

I've sourced most of my models online, from a variety of manufacturers, such as Eaglemoss, Wizkids and even some Japanese collectibles, but all of those were on the space combat scale (I went with 1/5000), and I need this shuttle for surface encounters, which I play out in 28mm (or 30mm if you will; minis are WotC and Modiphius).

But no shuttles can be found in that scale bar one very obscure 1/50 resin garage kit from the early nineties and a papercraft template in the same scale, which I saved just in case.

And as it turns out, it's a good thing I did, because everything else is either too big or too small, and the pickings are very thin indeed. For the record; my campaign plays out somewhere in 2372, so a Type 6 shuttle I was after.

Then nozza_uk comes along and I was enthralled by his shuttle, but it was just too advanced looking for the backwater, second tier equipment my players are working with. Besides; it turns out there are a couple of closet trekkies in my group, who would immediately cry foul, so the templates it was... ::)

I wanted the shuttle to have an interior, both because it can be a nice starting point for away missions, and also because I'm a pedantic modeler and big LOS-blocking lumps of terrain are just not done if it can be done differently ;)

So I finally set about with different thicknesses of plasticard, a printed out copy of the templates and not enough time on my hands (as usual):
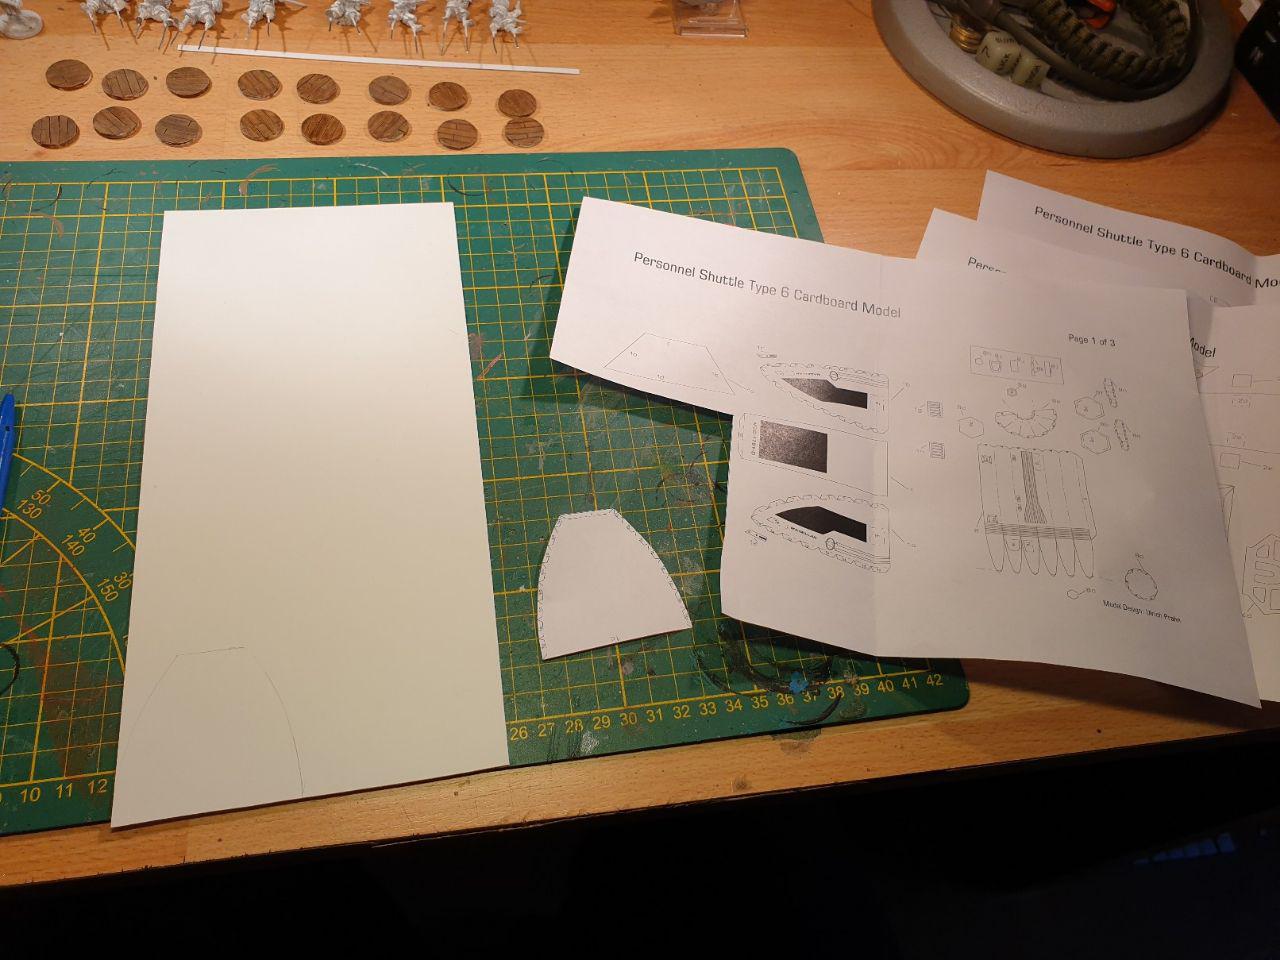


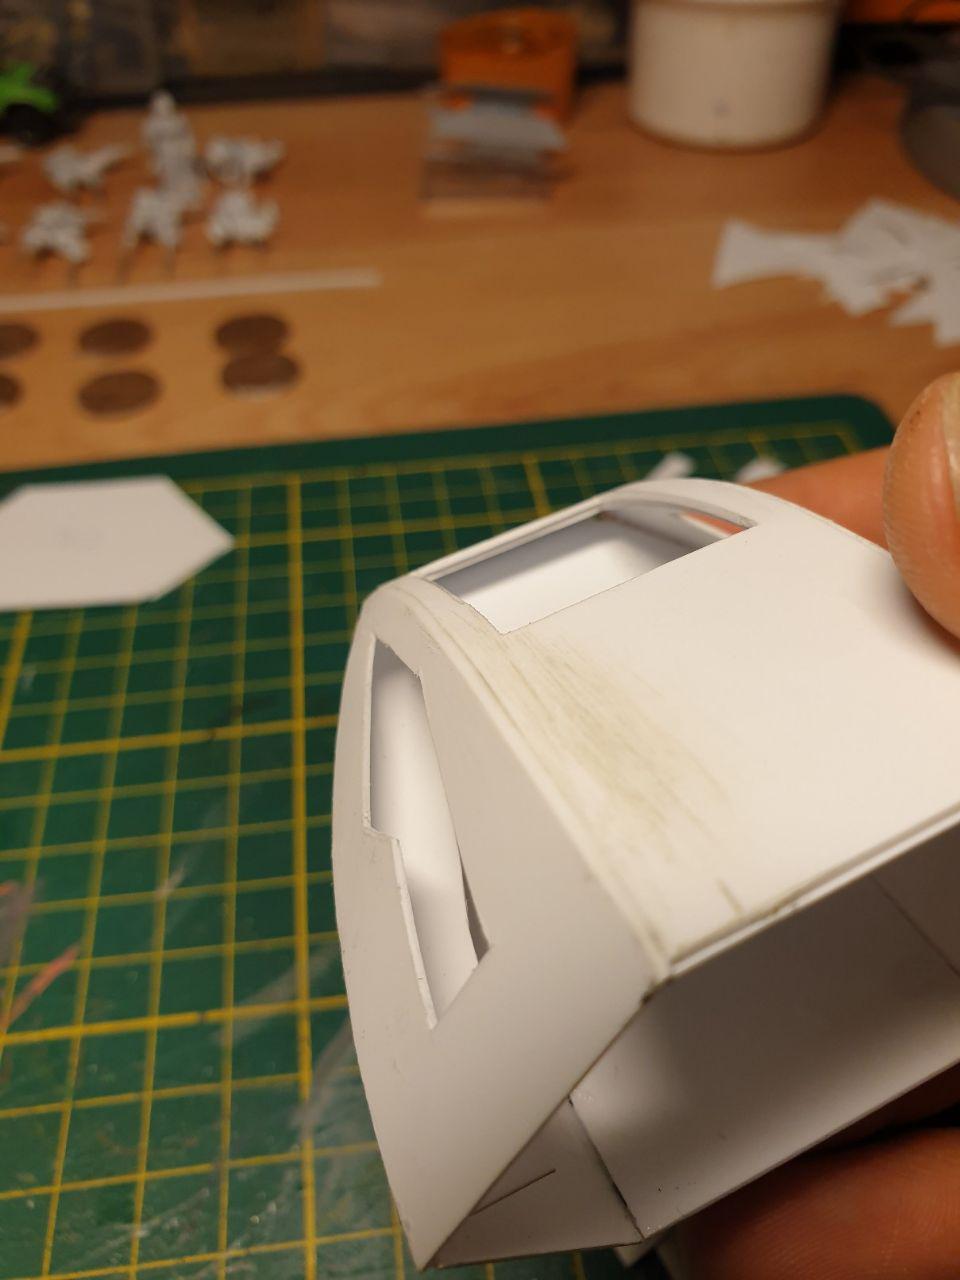
The most complex curves on the model were to be found on the cockpit area, so I tackled this first. I basically used the templates as is (sans the tabs), and I cut out the center area of the central horizontal piece (in the picture above). It is defining the curvature of the nose, and is also a major structural part of the construction. I ended up using it as the basis for the cockpit interior.

Here's the top half of the cockpit:
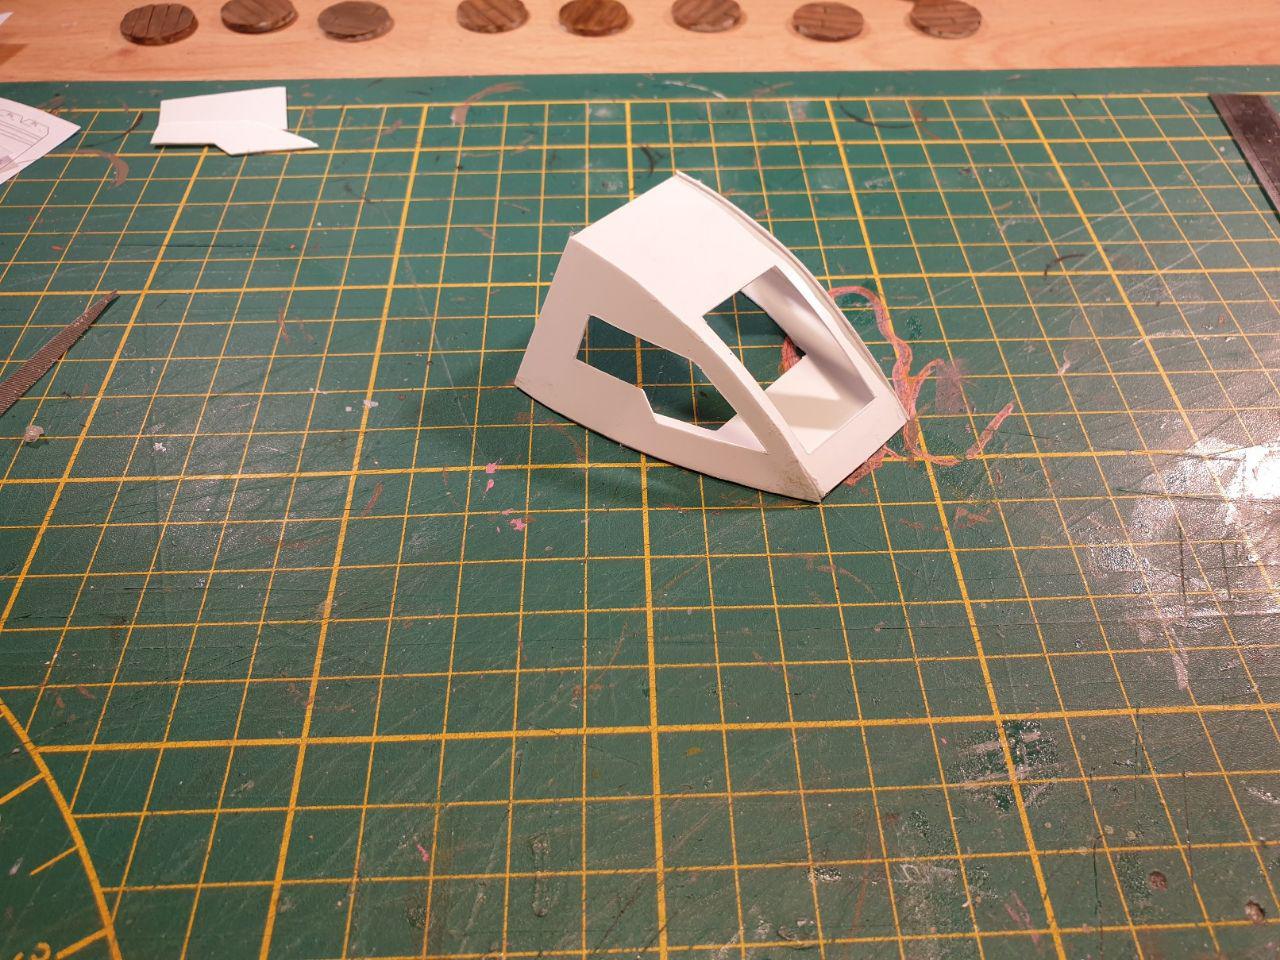


And here is the cockpit, very roughly glued together. It will require some copious amount of puttying and smoothing out later on, but I was pretty pleased with how it was coming along.
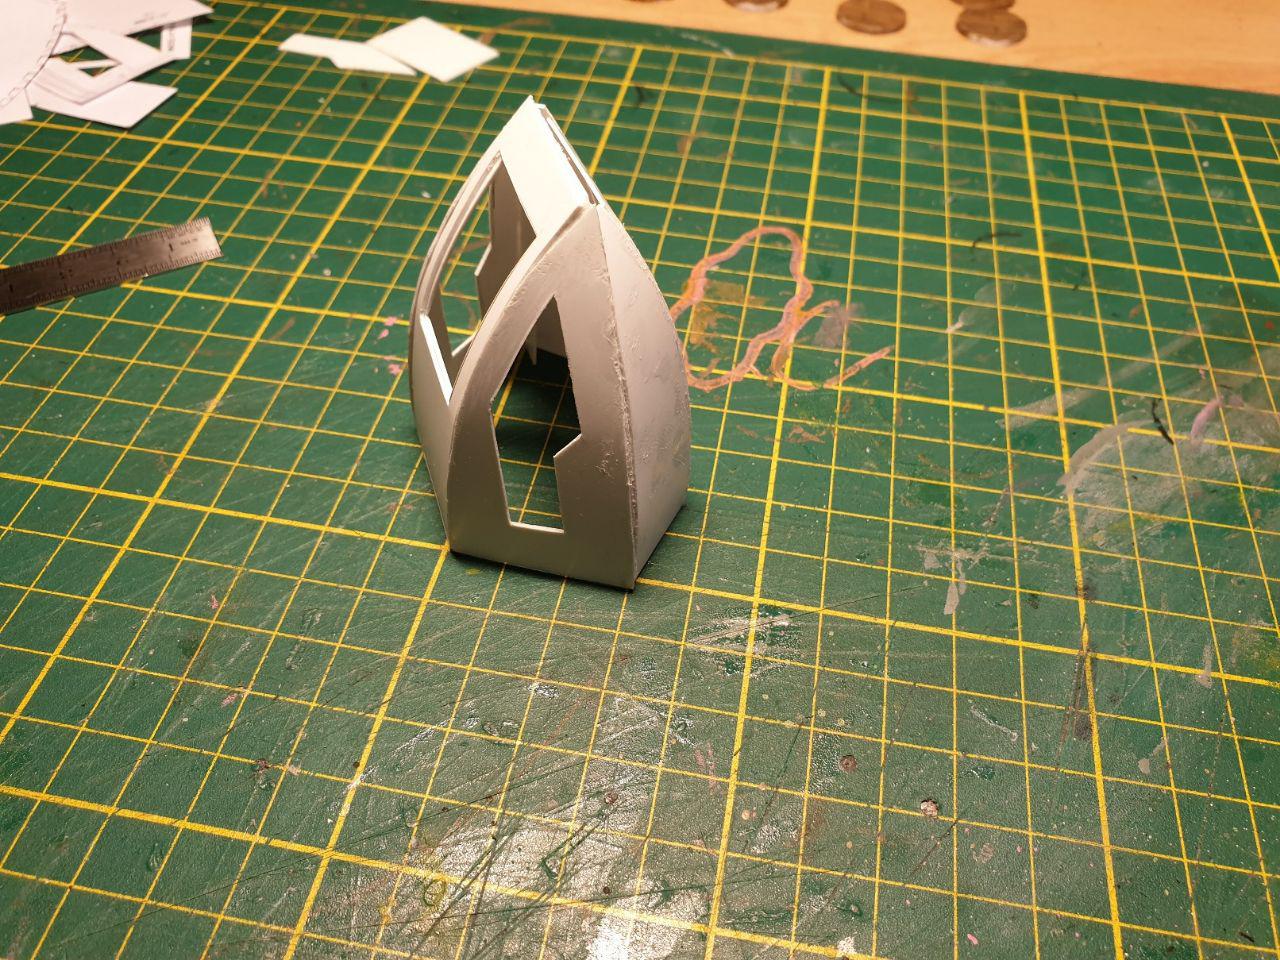


I then started roughing out the cockpit area. I decided early on I wanted it representative, but not an exact copy of the studio model, mostly because of time constraints and also because it's really just a gaming miniature, and something as small and obscured as a cockpit might actually be fudged a bit without even the trekkers throwing a hissy fit lol


I then needed to create a bulkhead (I'm calling it that anyway) behind the cockpit, based on one of the few online pictures I could find of the interior of this shuttle:


(for the observant amongst you; have a laugh at the expense of the completely unattached warp nacelle; poor Scotty never knew what hit him when he took off lol )

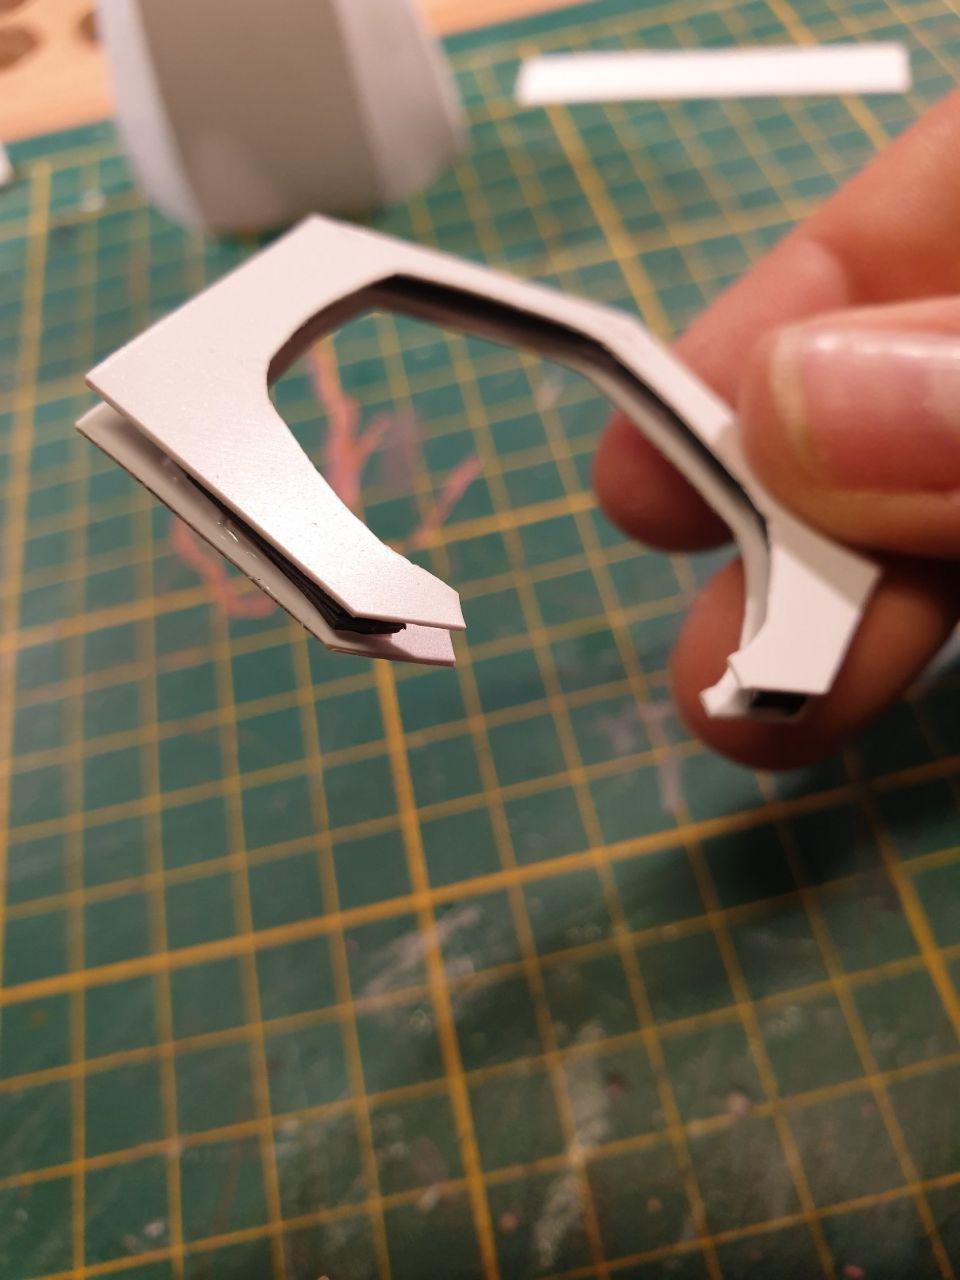
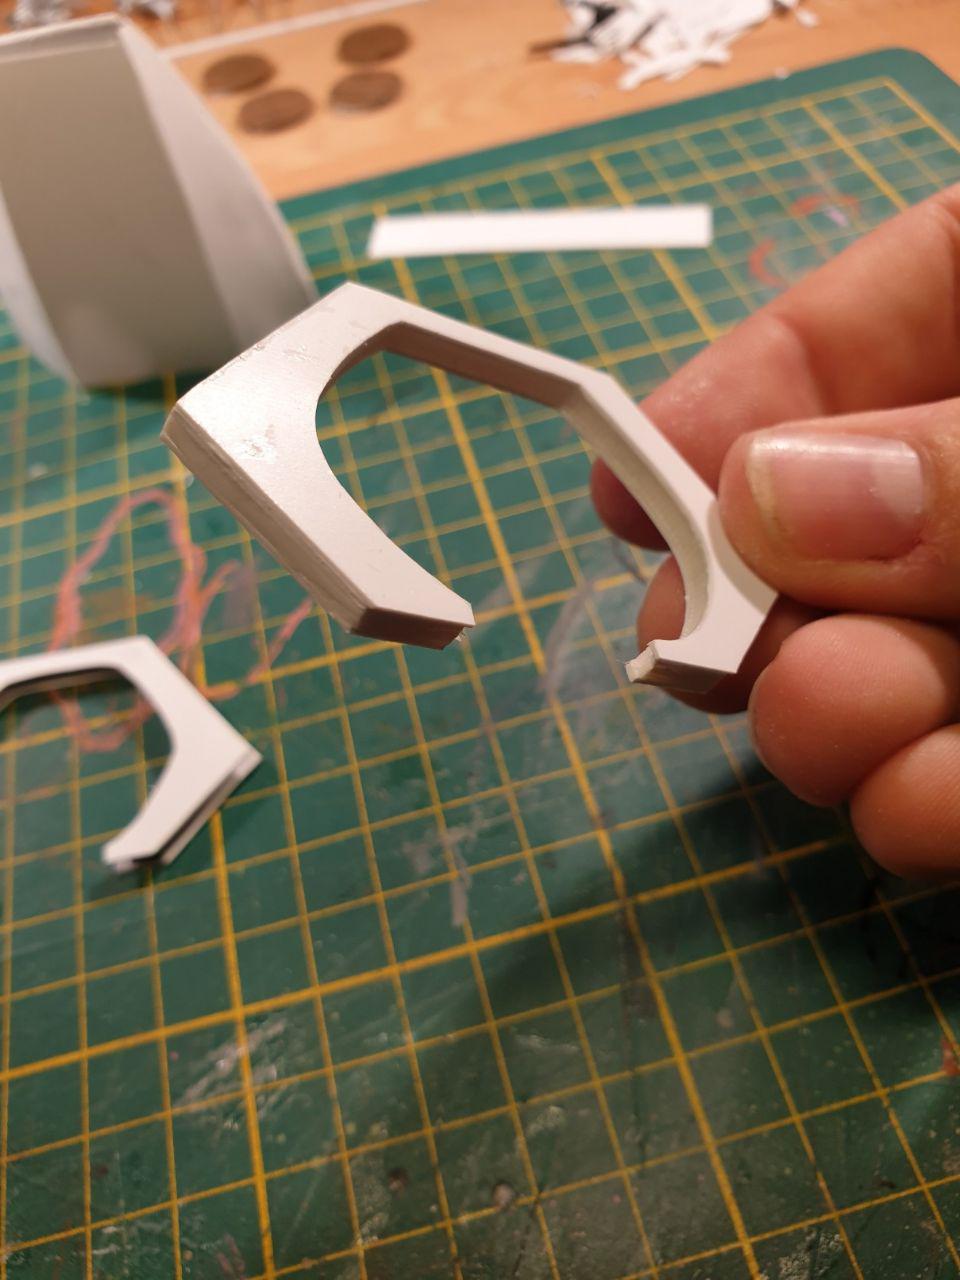
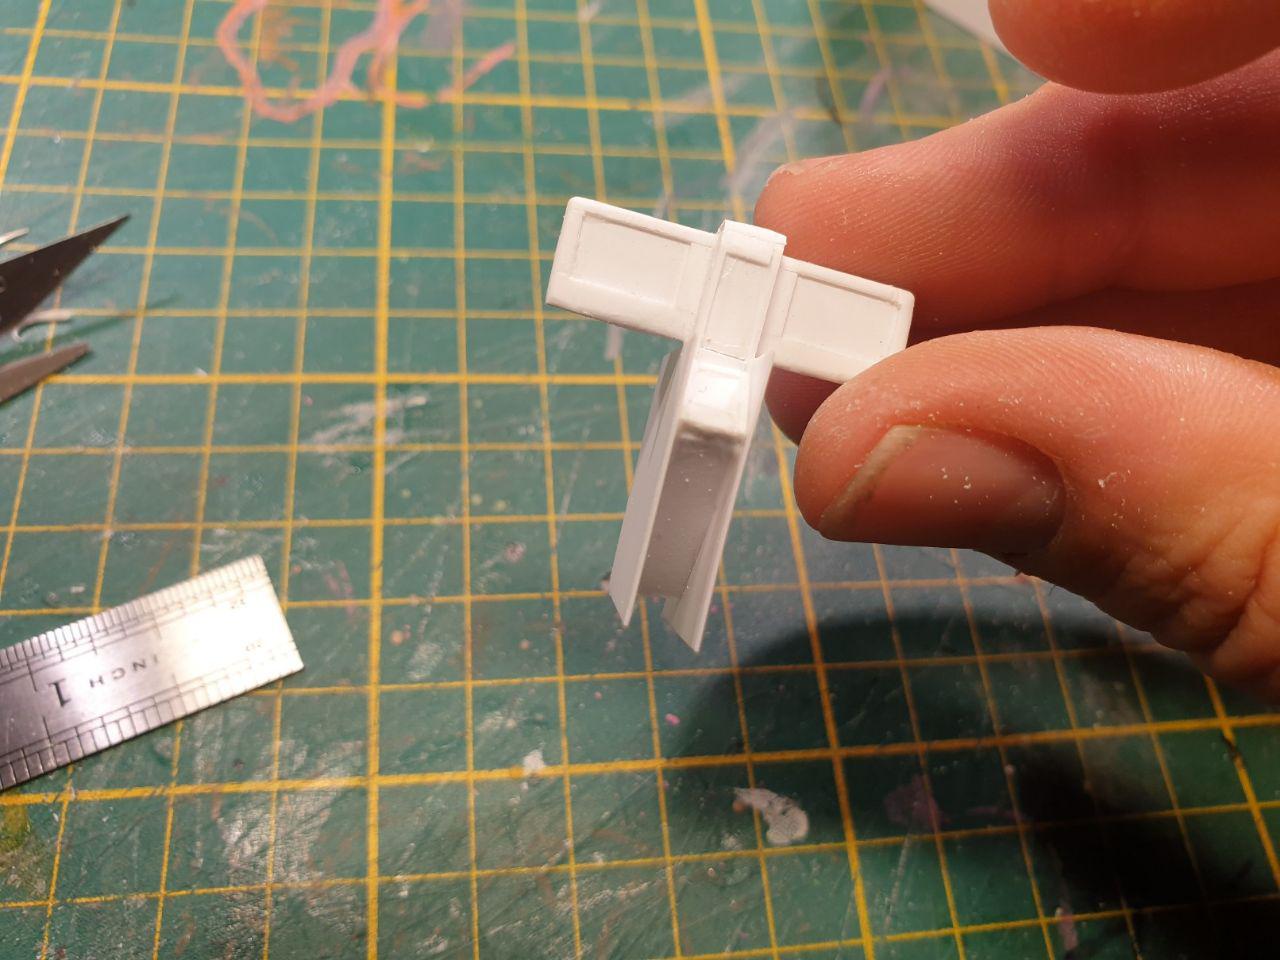
It's the ribbed thing behind Scotty. I had seen people using TieWraps for exactly such a purpose and I decided to do the same. But my first attempt was rather bad. I used off cuts as spacers between two identical bulkhead shapes, but the TieWraps proved too stiff to keep their shape when glued without support, so I made a second attempt, with thick plasticard spacers that fit exactly, with the thickness of the TieWraps spared out, sandwiched between two regularly shaped bulkheads. And this yielded the desired result:


Bad


Good

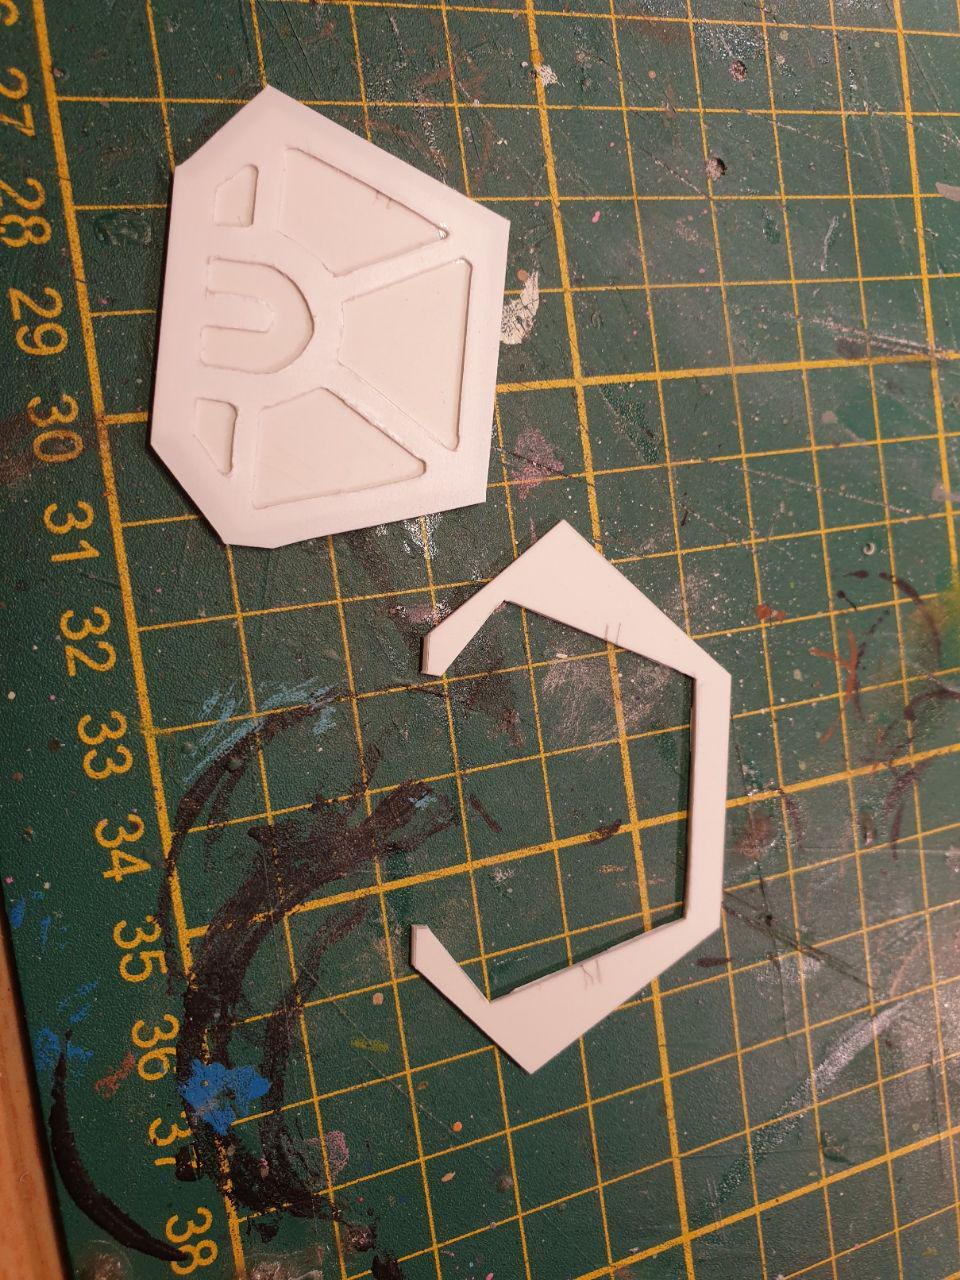
Next was the rear hatch. Obviously I want this hinged. I'm thinking magnets at this point. But I could still go with traditional hinges...


And while stuff was drying, I made a start smoothing out the cockpit area. It needed a lot of that, and it's still not done, but at least I've worked away the remaining wonkiness and what's left is just surface smoothing.


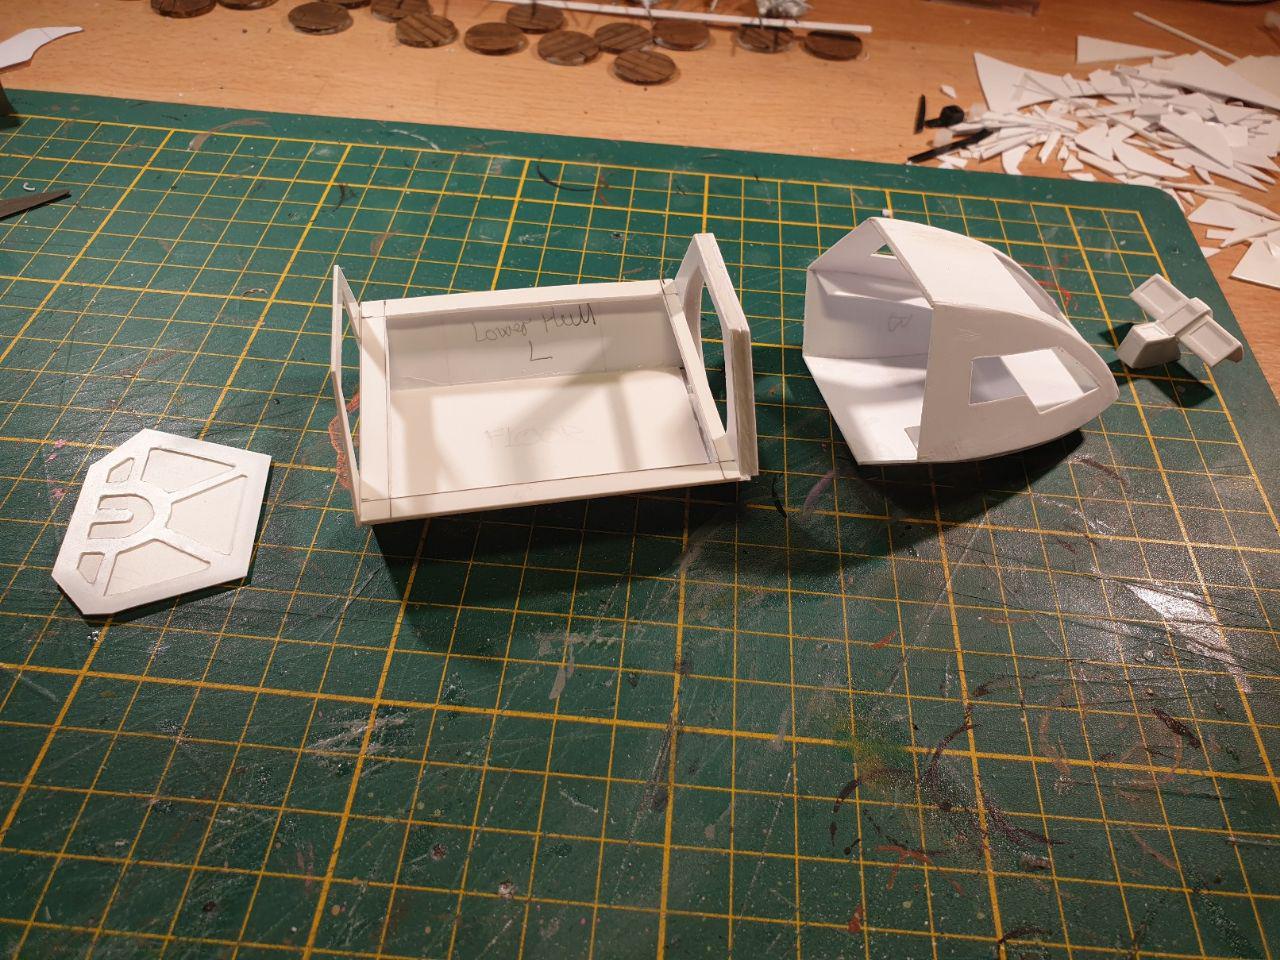
Also, I've progressed on the cockpit console, adding a center column with more screens (obviously). It fits inside of the cockpit perfectly, as can be seen in the final picture of this post, where I mocked up the elements I have done so far.


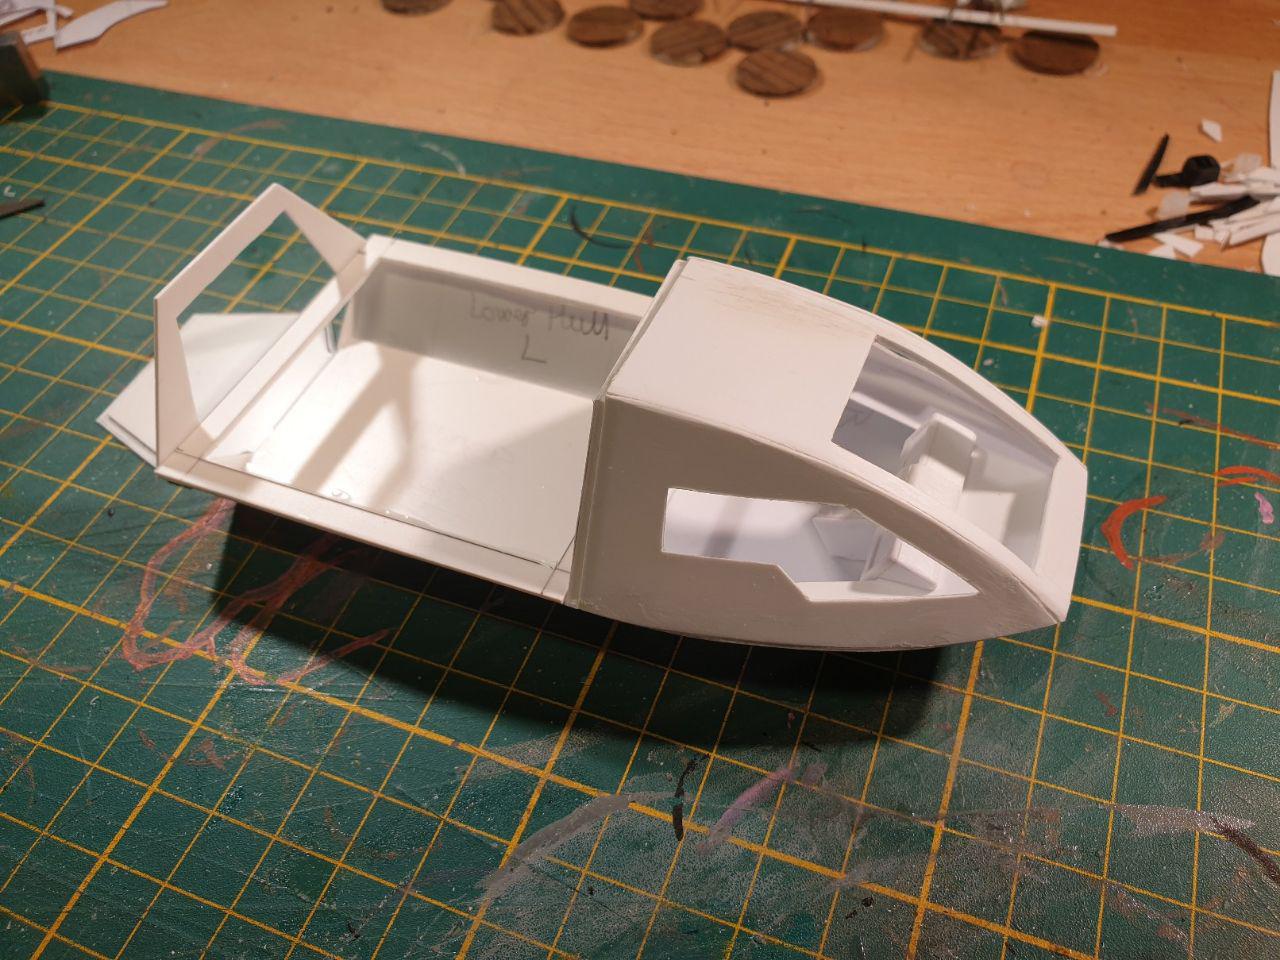
The more astute trekkies amongst you may have noticed in the last few pictures that the shuttle is a tad long for a type 6, and you'd be right. It's about this time that I decided to build a type 5 instead. As I came to find; it's exactly the same shuttle, but longer, and this suits my purpose a lot better.

The final product will not look as dinky, more miniatures will fit inside and storywise, it will simply give me more flexibility. And on the modeling front, it's a matter of just elongating the rear hull with 2 cm, which is ridiculously simple of course.

You'll notice I used the same trick with the center plate on the rear fuselage as I did on the cockpit section. Once everything is thoroughly dry, I will cut away the obstructing bars in front of the rear hatch and the bulkhead, and what remains can be used as a basis for the interior (seats along the walls). Also, it will serve as a base for the removable roof section, possibly with magnets embedded in it.


Anyway; this is where I'm at right now. It's a busy couple of weeks, with Sinterklaas and Christmas rapidly approaching, but progress is remarkably swift, so I'm confident I will be able to finish the shuttle before the end of the year... :)

« Last Edit: December 11, 2019, 11:07:40 PM by Daeothar »
Miniatures you say? Well I too, like to live dangerously...
Find a Way, or make one!

Offline Cubs

  • Galactic Brain
  • Posts: 4921
  • "I simply cannot survive without beauty ..."
Re: D1 does Star Trek - Type 5/6 Shuttlecraft
« Reply #1 on: December 03, 2019, 11:11:39 AM »
That looks purdy.

Do you use hot air (hair dryer, convection heater etc.) to help soften and bend the plastic to shape?
'Sir John ejaculated explosively, sitting up in his chair.' ... 'The Black Gang'.

Paul Cubbin Miniature Painter

Offline OSHIROmodels

  • Supporting Adventurer
  • Elder God
  • *
  • Posts: 27727
  • Custom terrain a speciality.
    • Oshiro modelterrain
Re: D1 does Star Trek - Type 5/6 Shuttlecraft
« Reply #2 on: December 03, 2019, 11:19:19 AM »
Looks promising  8)

Quote
and something as small and obscured as a cockpit might actually be fudged a bit without even the trekkers throwing a hissy fit lol
Don't bet on it  lol
cheers

James

https://www.oshiromodels.co.uk/

Twitter account -     @OSHIROmodels
Instagram account - oshiromodels

http://redplanetminiatures.blogspot.co.uk/
http://jimbibblyblog.blogspot.com/

Offline Byblos

  • Mad Scientist
  • Posts: 874
  • Les Echelles du Levant ...
Re: D1 does Star Trek - Type 5/6 Shuttlecraft
« Reply #3 on: December 03, 2019, 11:22:57 AM »
Excellent  :-*

Offline nozza_uk

  • Mad Scientist
  • Posts: 908
    • The wargaming world of Nozza
Re: D1 does Star Trek - Type 5/6 Shuttlecraft
« Reply #4 on: December 03, 2019, 05:14:28 PM »
Looking good.

Offline Billchuck

  • Scientist
  • Posts: 432
    • Velociengineer.net
Re: D1 does Star Trek - Type 5/6 Shuttlecraft
« Reply #5 on: December 03, 2019, 06:31:34 PM »
I’m definitely following this build. I need to build a shuttle for my 15mm stuff and this looks like a great place for me to start.

Offline Supercollider

  • Mad Scientist
  • Posts: 677
Re: D1 does Star Trek - Type 5/6 Shuttlecraft
« Reply #6 on: December 04, 2019, 06:14:34 AM »
Great build.  I took the easy way out and printed one! :D

Offline Andym

  • Supporting Adventurer
  • Galactic Brain
  • *
  • Posts: 6562
Re: D1 does Star Trek - Type 5/6 Shuttlecraft
« Reply #7 on: December 04, 2019, 06:19:09 AM »
Great start! And such a difficult, complex shape too! :o

Offline Daeothar

  • Supporting Adventurer
  • Galactic Brain
  • *
  • Posts: 5791
  • D1-Games: a DWAN Corporate initiative
    • 1999legacy.com
Re: D1 does Star Trek - Type 5/6 Shuttlecraft
« Reply #8 on: December 04, 2019, 08:42:30 AM »
Cheers guys :)

@ Cubs: I have used no additional heat, but did roll the seperate panels repeatedly across a thick felt marker (diameter of about 4cm). The friction probably produced enough heat for the plastic to retain the curve after about 30 seconds or so. It's pretty thin (1 mm), so that helped I suppose.

@ Billchuck: If you're interested, I can share the templates with you. They're scaled at 1/50, but with a modicum of digital prowess, you can easily scale this down of course :)

@ Andym: I was intimidated by it too at first, but in the end, it's basically just a tapered hex-shape. I suspect that the impulse engine coils on the upper hull are going to be more of a challenge. And I'm not looking forward to the warp nacelles; they're pretty narrow, and although the hex shape can be built, the curvature on the front and the end caps are going to require even more precision...

I'm actually stopping by the art supply store after work today to see if I can find hexagonal plastic rods of the required diameter, which would greatly simplify the process. The fronts and ends  could then potentially be cut back or sculpted on.

A small amount of progress on the rear hatch was made last night. I ended up using magnets for the hinges, and this works pretty well. Some very careful modification of the bottom of the door and cutting back of the floor of the hull was required to fit in the plastic rod and magnets of the same diameter, but in the end, it works really well. And now I can potentially put a crashed or breached shuttle on the table too, with the door completely blown off ;)

I will not be modeling the silly, not-functional hinges as seen in the above on-set picture; how are those things even suppose to work? The cilinders can't even retract into the slots in the interior, for dilithium's sake!

No wonder Scotty's sporting that pained grimace; together with the loose engine pod(s), I suppose it's enough to make any engineer cry inside a little... lol

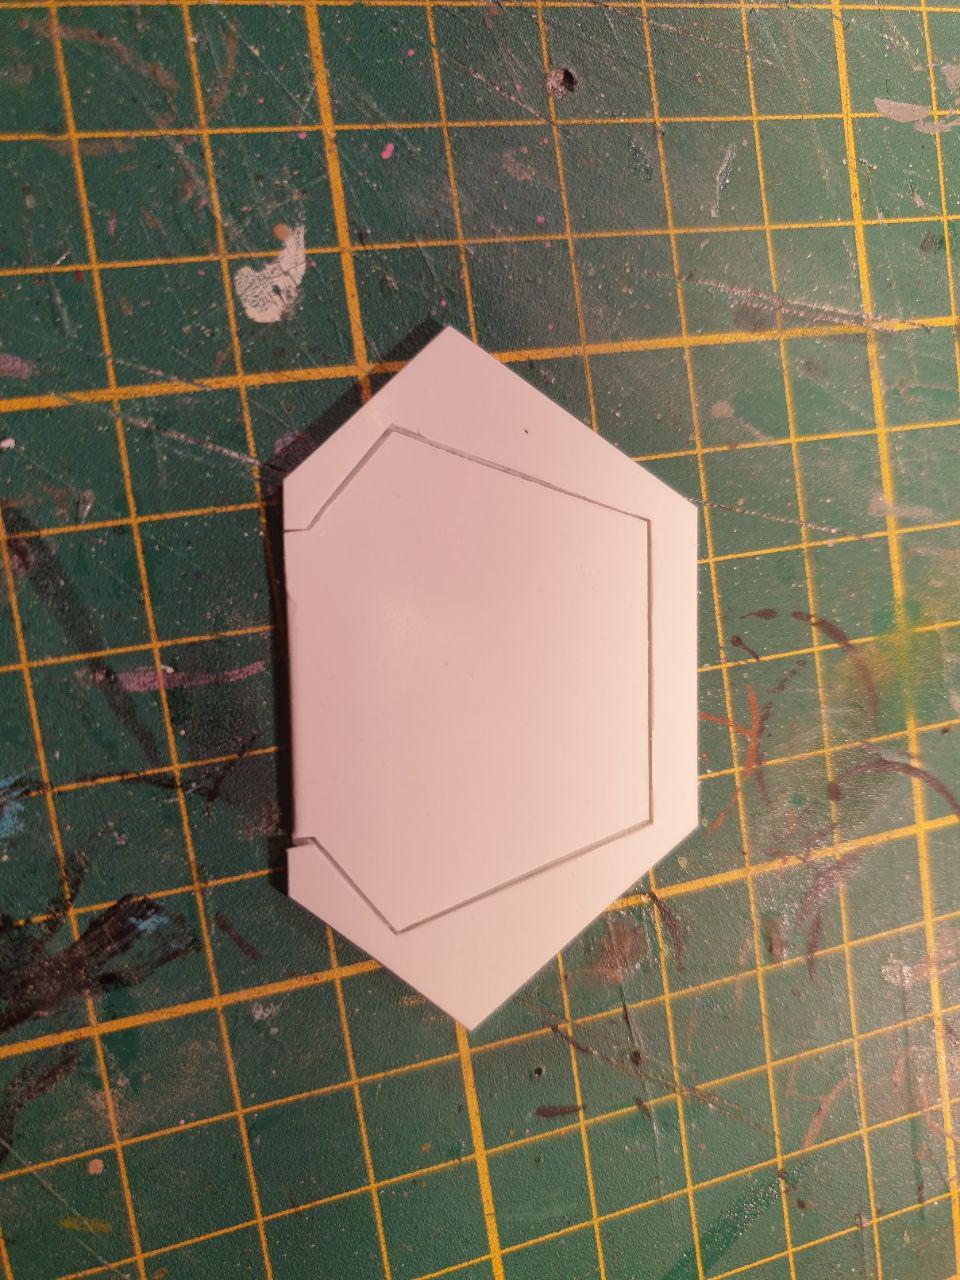
I also bulked out the rear wall with two more layers of plasticard to sturdy it up, since the roof will be resting on top of it when finished.

Also, some texture and body was added to the hatch by means of some metal mesh and another layer of plasticard. It's inspired by the original, but not an exact copy. Works well enough though.

Next up, I'll probably finish off the cockpit interior, which is fiddly as heck. Then it's going to be the roof with impulse engine cowls, the hull interior and finally the warp nacelles.
« Last Edit: December 04, 2019, 08:50:33 AM by Daeothar »

Offline The-closet-gamer

  • Librarian
  • Posts: 129
Re: D1 does Star Trek - Type 5 Shuttle - rear hatch magnetized
« Reply #9 on: December 04, 2019, 03:53:10 PM »
Totally awesome work. I'm planning the same project but in 75mm scale..I've still got my studio scale narcissus form alien to complete before I start something new. I'll let you do all the hard work and then just steal your credit.. fantastic job so far.
I have come here to chew bubblegum and kick ass....and I'm all out of bubblegum. No wait I've just found another pack in my back pocket. Mmm tropical fruit bubblicious.

Offline Daeothar

  • Supporting Adventurer
  • Galactic Brain
  • *
  • Posts: 5791
  • D1-Games: a DWAN Corporate initiative
    • 1999legacy.com
Re: D1 does Star Trek - Type 5 Shuttle - rear hatch magnetized
« Reply #10 on: December 08, 2019, 10:49:16 PM »
As expected only an hour or so of hobby time could be spared this weekend, but progress is progress after all :)

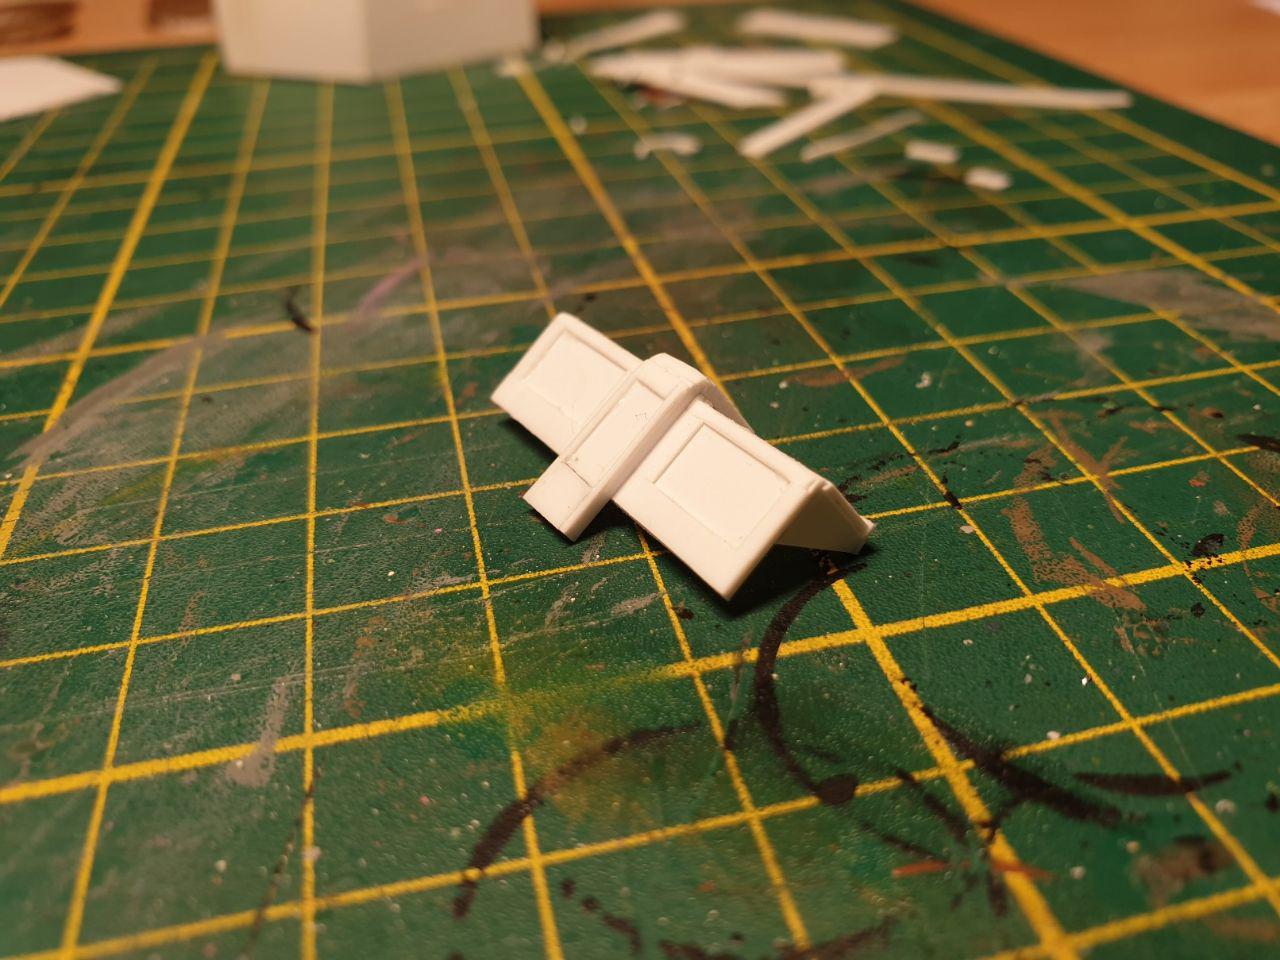
I added a kickboard to the cockpit area, and created the framework for the panels/monitors/workstations on the sides of the cockpit.

As it is just one large strip right now, I have not added any vertical dividers between individual screens just yet; that'll happen after I cut it in half and fit both halves to the sides.

Then I roughed out the warp nacelles. I needed a base hex shape with a short diagonal of 12mm, but I could not find any styrene rod of those dimensions. Biggest I could find was 6mm.

So I ended up getting a 5mm one, and I glued 3 pieces together, which I then used as a framework to cover with 1mm styrene sheet cut into 7,5mm wide strips.

And that did the trick!

You'll notice I only did 4 sides, but the other two are a bit special, as they will have cut outs to reveal the glowing blue bits of DNGN (Does Nothing, Goes Nowhere) which will probably also require some texture underneath...

The revelation of the year though, was my first time working with plastic weld! The bottle I ordered 3 weeks ago arrived Saturday morning, and I got to try it out this (Sunday) evening.

I was used to working with Revell liquid poly cement and its accompanying drying time. Don't get me wrong; it's a great product, and I've been using it for 3,5 decades now, so I'm quite used to its properties (and smell).

But this stuff... Applied with a brush, instantly melts the plastic, bonds and dries in mere seconds and is nearly odorless.

Oh, and also seems to clear the gunk out of the tatty old brush I sacrified for the cause... lol

How did I ever manage without? Total game changer as far as my scratchbuilding is concerned, both in regards to speed and neatness!

Offline syrinx0

  • Supporting Adventurer
  • Scatterbrained Genius
  • *
  • Posts: 3157
Re: D1 does Star Trek - Type 5 Shuttle - 08/12 - cockpit and nacelle progress
« Reply #11 on: December 09, 2019, 08:03:41 PM »
An impressive project! 
2024: B: 0; P: 148; 2023: B:77; P:37;

Offline Daeothar

  • Supporting Adventurer
  • Galactic Brain
  • *
  • Posts: 5791
  • D1-Games: a DWAN Corporate initiative
    • 1999legacy.com
Re: D1 does Star Trek - Type 5 Shuttle - 08/12 - cockpit and nacelle progress
« Reply #12 on: December 11, 2019, 11:05:38 PM »
It's baby steps all the way, but I'm still moving forward! :D

Tonight I managed to complete the basic shape of the nacelles. Required now is shaping the nose cones and tapered rear fairing.

I could either do it solid; fill the areas with a hard  drying putty and cut and sand them into shape, or I could cut out the sides of the cones from plasticard and try to achieve the shapes that way.

Considering that cutting and sanding a perfect hex shape down a curved cone will be a heck of a challenge, and the paper template already has the correct shapes laid out, this is a bit of a no-brainer of course...

By the way; can anyone recommend a good filler/putty for this kind of work? Green Stuff is not ideal, since I need very clean and hard edges. ProCreate I also have. It's better than GS for this kind of thing, but maybe still not ideal.
I had some bad experiences with Milliput in the past, so I'm a bit wary of that.

So; are there any suitable alternatives out there?

Offline Billchuck

  • Scientist
  • Posts: 432
    • Velociengineer.net
Re: D1 does Star Trek - Type 5 Shuttle - 08/12 - cockpit and nacelle progress
« Reply #13 on: December 12, 2019, 03:11:29 AM »
By the way; can anyone recommend a good filler/putty for this kind of work? Green Stuff is not ideal, since I need very clean and hard edges. ProCreate I also have. It's better than GS for this kind of thing, but maybe still not ideal.
I had some bad experiences with Milliput in the past, so I'm a bit wary of that.

So; are there any suitable alternatives out there?

Aves Apoxie Sculpt is my go-to.  Once cured it can be sanded, drilled, etc. and it will easily take a sharp edge.

Offline Lost Egg

  • Mastermind
  • Posts: 1347
Re: D1 does Star Trek - Type 5 Shuttle - 12/12 - warp nacelles roughed out
« Reply #14 on: December 12, 2019, 09:11:23 AM »
Lovely work so far Daeothar, looking forward to seeing more.
My current project...Classic Wargame - An experiment in 24" of wargaming!

https://leadadventureforum.com/index.php?topic=140633.new#new