As a few people mentioned problems with painting white clothes here is a simple step by step tutorial.
Mind you there probably hundreds of ways to do it, I find this one particularly simple.
Before I start here are a few things I'd like to say:
Unfortunately my camera and the lighting in my basement aren't really the best. So I'll include at least two photos for each step, one with and one without a flash. Ooops, must have missed a few steps. Well there are photos of varied quality of every step at least.... I cannot decide which ones are better so for your convenience I'll just post a few more pics.
An important thing to remember is something I learned from Mr. Vicotnik about 20 years ago. he basically told me that the base color you want to paint has to be in every shade you use. For white that is relatively simple. I'm sure he has outgrown/outpainted this advice by now, I'll try to stick with anyway.
Also painting whites means using water! You cannot hope to achive a flowing white effect if you are just layering white paint. You'll have to actually use the good old blending technique (which I personally find superior to simple layering, but that's of course my personal taste).
'nuff said, here we go:
The model I work on is a Sansibari. I want to paint his coat/shirt/whatever white.
1. Step: I sprayed the model black. As you can see I have been working on the pants and the face, just ignore that.
2. Step: After that I used a darkish grey (Valleyo Cold Grey) on the coat to get shadows in the folds of the fabric. Just to stay true to Vicotnik's rule I added a tiny drop of white into the gry (I'm sure here it is not needed as grey is just a very dark variation of white so to speak).
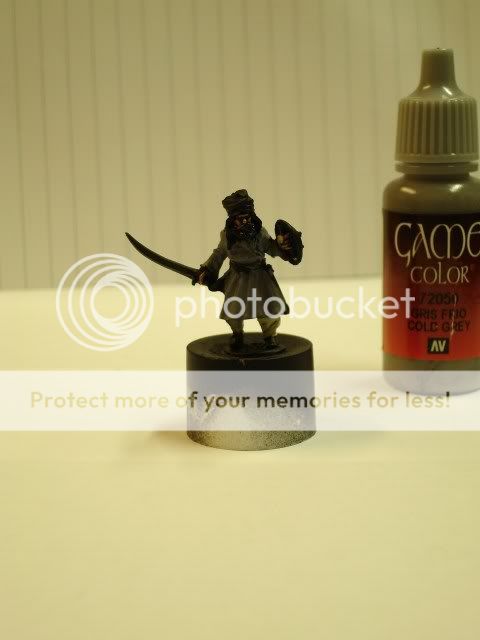
You don't have to use grey as the darkest color. Depending on what overall effect I want to achieve a blue (actually I often use a light blue) or even brown (here I go for dark colors) can do the job. Blue tends to make the color seem cleaner like maybe an angels robe or elvish clothes while brown reminds me more of the not so clean clothes of let's say some farmer or the like. Grey is relatively neutral. The darker the grey the more "sinister" the color becomes. So for an evil dentist or the like you might like to use a darker shade of grey.
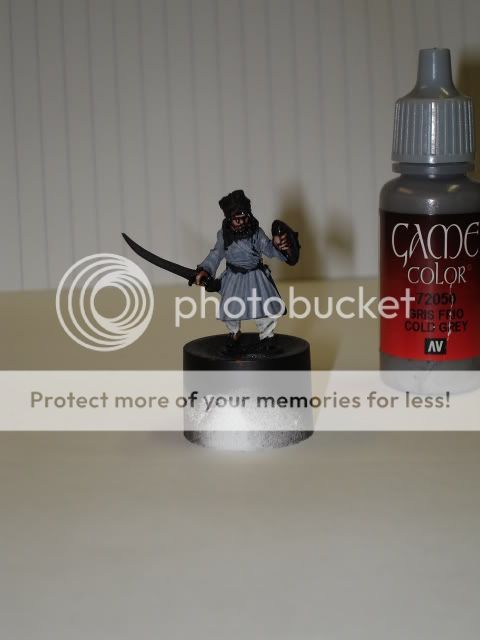
3. Step: The good old drybrush.
Now this drybrush doesn't have to be too dry. In fact I tend to overdo it a little and with very deep folds it's actually more a wetbrush.
It's important to realize that a drybrush gives you a paintstructure that looks like the model has been running through flour. It realy looks too dry. That's when the next step comes in.
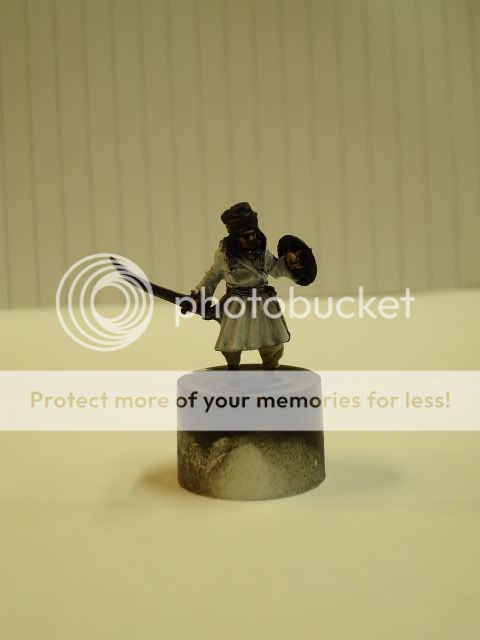
4. Step: Thin white glaze! That's the real secret to painting whites. You need to achieve the effect that we actually have one piece of clothing with one color and not a coat with white and grey stripes. Have a look:
This is of course the hardest part. How much water should you use? I'm afraid you have to find that out for yourselves. When I try it out I always try it on dark blotches of colors on my mixing tray. The consistency should
a) flow smoothly
b) cover the darker color BUT
c) let the darker color shine through.
In very tight places (armpits when the arm is held very close to the body) I sometimes leave the bare darker color. However, normally I try to have a little white verywhere.
5. Step: Repeat step 4. Why? Well, this time don't cover everything. Leave out the darkest parts. After a few tries you'll see, that in this way the smoother the clothes the more white you'll get.
No pictures here, basically it looks like above.
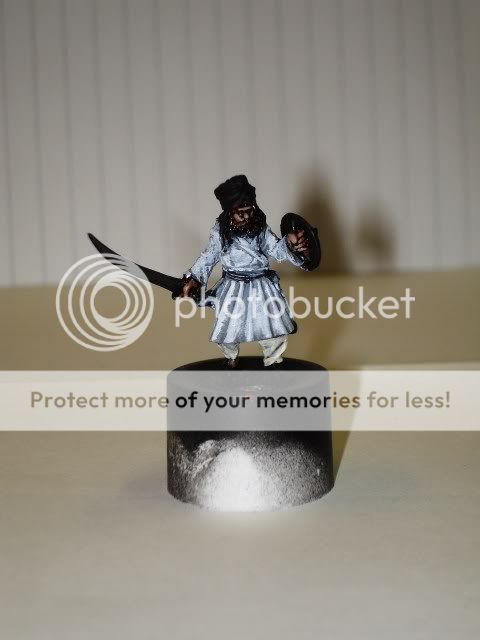
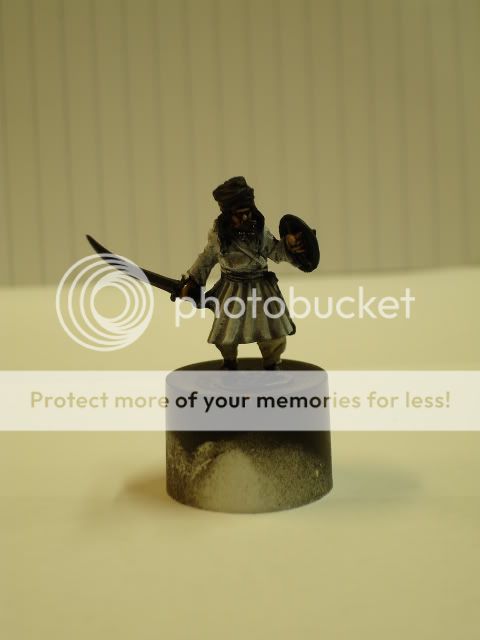
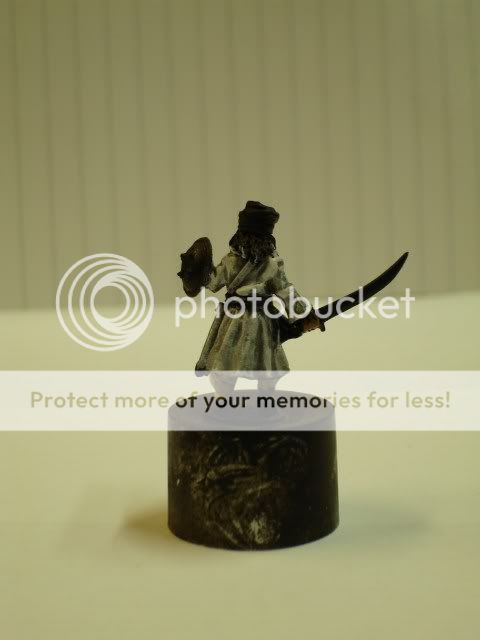
6. Step: Paint solid white. Where? Well, as higlights. White doesn't really cover other colors. Well it does, but it just doesn't look really white. So as the last step I paint several layer of white on the places that either stand out or have a more or less smooth structure (e.g. the shoulders or the scapula/shoulder blades).
I repeat this step a few times until I fell it's white enough. Since we have a greyish white from step 4/5 almost everywhere, solid white looks not too much of a contrast to the darker areas. I also paint the folded up cloth around the belt etc. this way.


Obviously I forgot to take a picture with the flash on...

Anyway, to make the white stand out I usually use a dark contrast on the belts, trousers, etc. (in this instance I painted the trousers about 6 months ago. I just found this mini to do my workshop. Maybe I'll repaint the trousers...).
Oh, by the way: I usually paint black robed persons (e.g. Nazguls) all white first. After that I just start playing with all kinds of yellows and reds and greens. All as glazes, mind you. And then I in the end when the Nazgul looks like a Hippie from Hell (maybe a ... Doomhippie???

) I start using black glazes. That way the black is not just black but has some substance/life to it. It never shows on photographs, though.
Well, that's how I do my whites. Hope you found some of it useful. As I said, there are probably other ways. But this one is nice, easy and fast (took me about 10 minutes, most of them waiting for the glazes to dry).


 Welcome, Guest. Please
  April 29, 2024, 06:57:37 AM


