We played table four of the Bazooka Town Campaign yesterday. Jamie just needs to win this and the next table in three attempts to win the campaign. American morale should be high at this point as they have only suffered the one set back in the campaign so far, and that was due to the sudden appearance of a pair of mighty Tiger IIs, an unfortunately rare occurrence! The Germans are struggling to hinder the American advance.
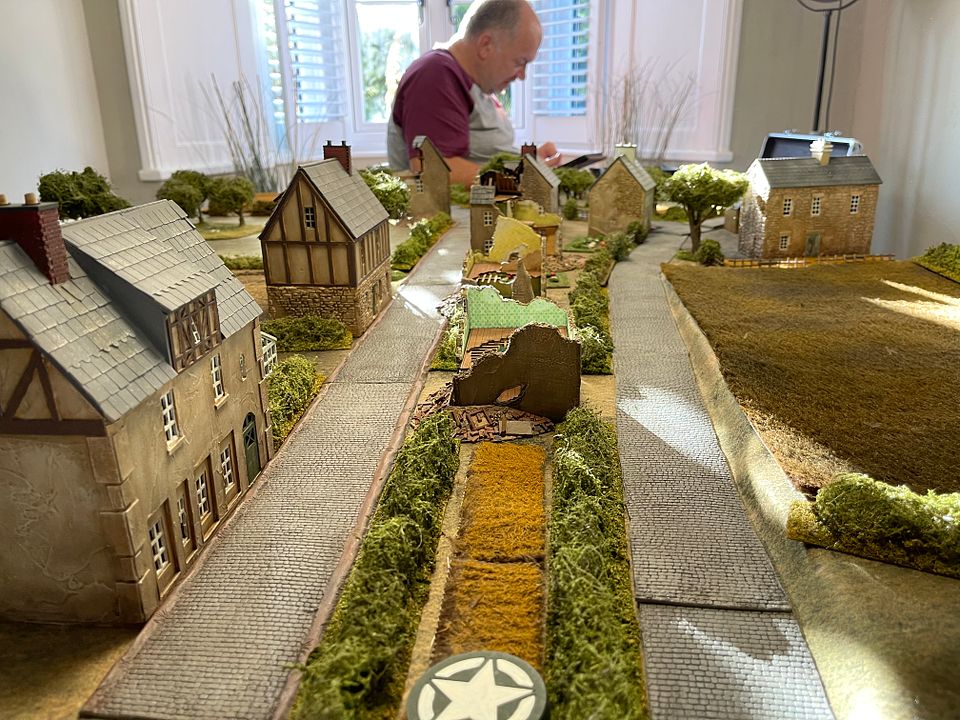
With the battle still raging in Kirchborchen, elements of Task Force Richardson have moved north to the next village, Nordborchen. They need to move through the area known as Jammertal The Vale of Woe. This is a probe attack with the Americans looking to move one unit off the German table edge.

The Germans are running low on support options with a paltry four points available to them.
The Yanks have 10 points but have to allocate at least six to armour, so I knew to expect the usual Sherman. I suspected Jamie would also take the now ever present and deadly off table mortar barrage with his keen eyed spotter. I wasnt wrong.
The morale throw fell for once in my favour and I started on 10 points to Jamies 8 which also gave me the first roll of the game.
However, as per usual, Jamie with his now special US Airbourne super dice, rolled a six giving him four moves in the probing phase before I could respond. As such, I initially felt Id been pushed too deep in my own half to have an effective defensive line and was worried this lack of depth would work against me.
Anyway, I started rolling for the first few phases and twice rolled a pair of fives which started to make me feel better as I was fast gaining the important CoC dice Id need to counter the inevitable mortar barrage.
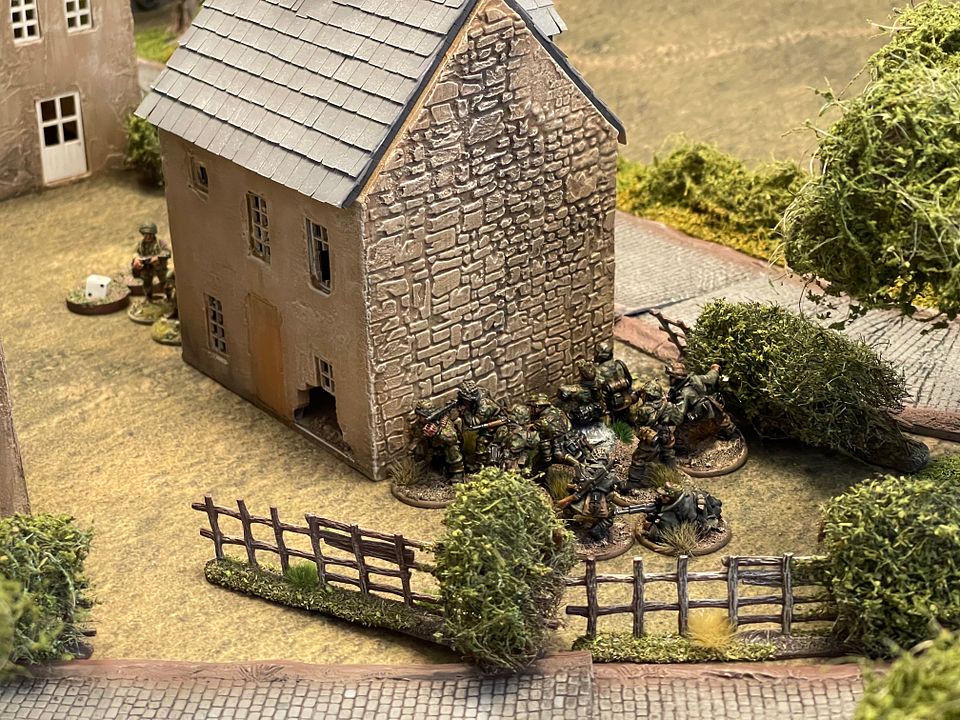
I deployed the first unit (at 1) in an attempt to get at least one section up the table, in order to stop Jamie using the jump off point at the table edge, the other side of the farm house. This prompted Jamie to suggest that Id never heard of sitting back and waiting! Hes probably right, but Id seen how that worked out against a creeping barrage and had decided aggression may be a slightly better solution.
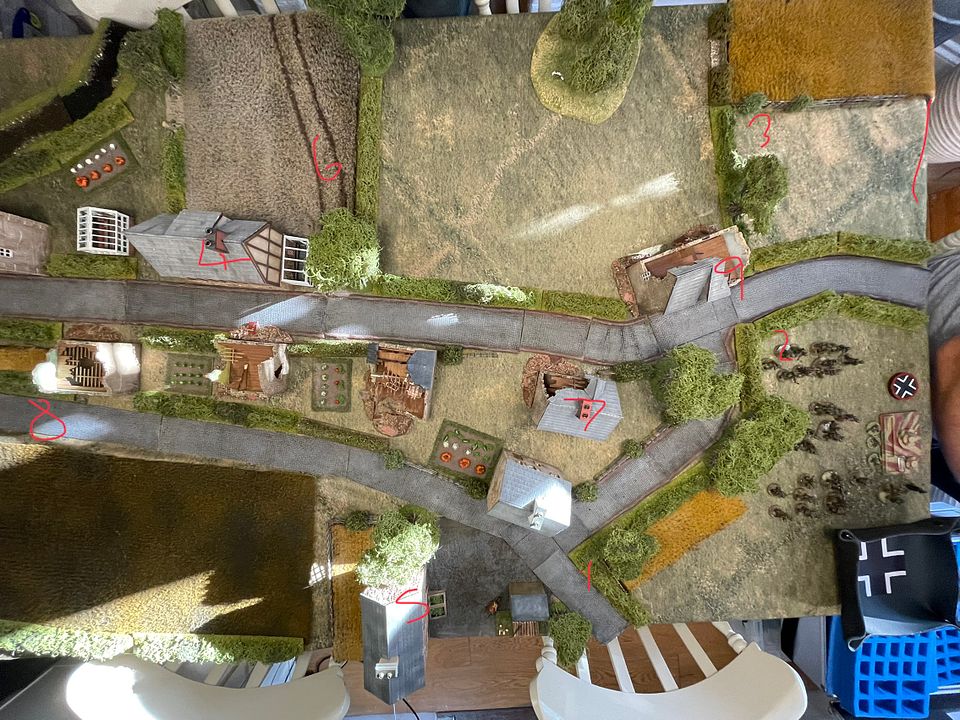
Jamie then deployed a section, along with a spotter and senior officer into the large house (at 4) but they had limited effect on the table there as the window orientations didnt allow any view down table.
I then pushed the section up to and subsequently into the farmhouse (at 5) but before I could get them into good firing / overwatch positions, the Sherman arrived (at

and went onto overwatch in the direction of the farmhouse. I decided then to keep them away from the windows for now.
Jamie then declared his hand by running out his fire base, in the form of a pair of .30 cal machine guns, at the hedge row (6) and another section making this the focus of his attack and applying pressure on my jump off point at 3 and a lesser extent at 2.
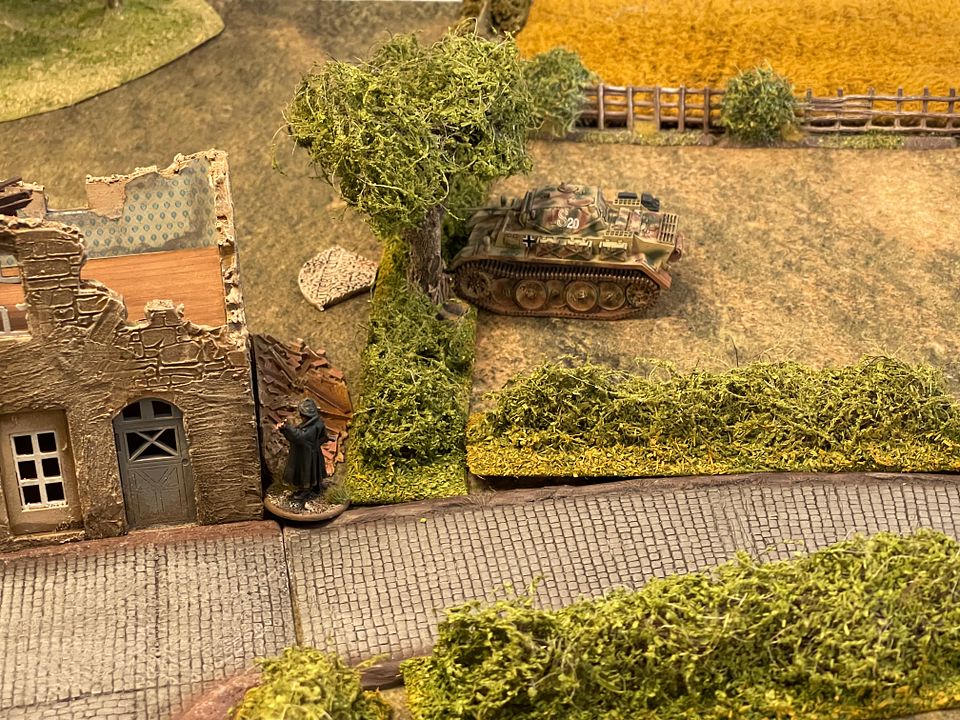
At this point, I declared all four of my support points in the form of a humble panzer II which arrived to the right of my table edge road. The little tank was screened by the centre of town from the Sherman, but I was nervous about Jamies bazookas but pushed it up to the hedge line (at 3) where it fire its mg at the fire base. It later transpired, Jamie had neglected to take bazookas! Oops!
Jamie, then pulled his fire base back to avoid being hit by he fire and nervously approached to hedge with his section, keeping sufficiently far enough back to stop them becoming engaged.
He had deployed his hq section into the wrecked house to the left of building 7 and this now started to move forward to the rear and side of 7.
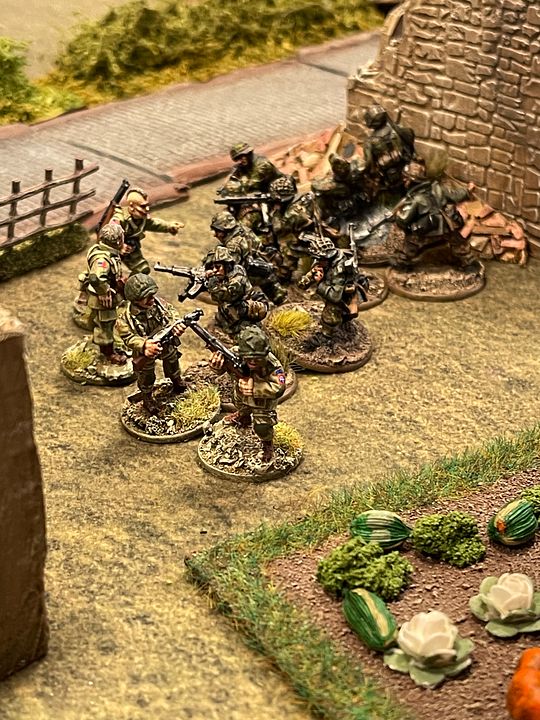
At this point, I brought on my senior leader at 9 along with a section as far left of my jump point at 2 which was able to inflict four kills and injure the nco in charge of the command section.
With no target at the hedge line for my little panzer, I placed it on overwatch. This had effectively stalled the American advance.
I then pushed my section from 2 to the back of building 7 and was surprised when the remnants of his command section failed to pull back. By now I had a completed CoC dice so was more confident I could nerf his barrage should it appear.
Jamie then started rolling his Sherman forward in an attempt to deal with the German armour.
My commander now issued orders for the advancing section to attack the remainder of the command section skulking behind 7, which they did with overwhelming firepower, wiping them out and consolidating into the cover afforded at the back of the house
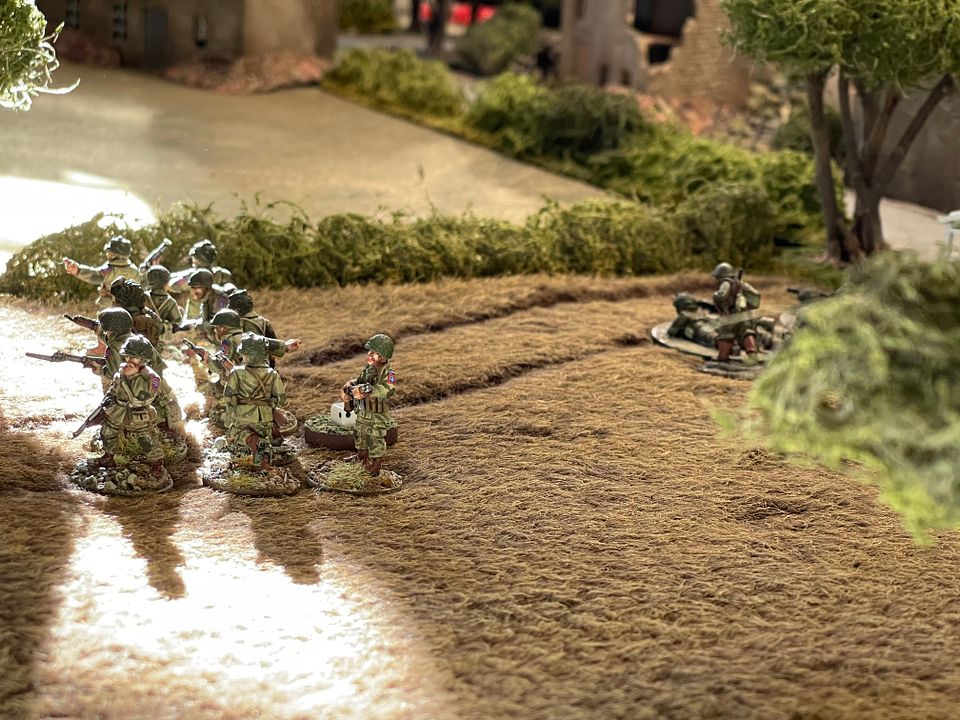
Jamie had by now also deployed a mortar team but this was too close to be of any use with the approaching Germans.
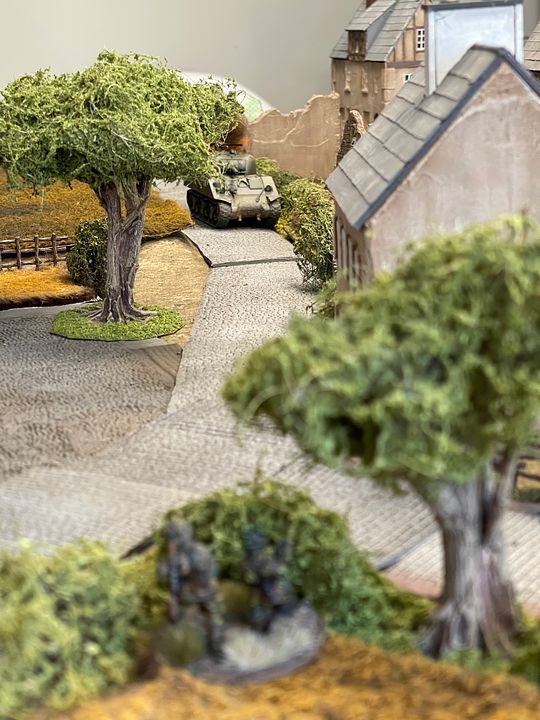
So the Sherman came rolling on
.
It was almost parallel with the farm house where my section debated running out and attacking with their panzerfausts
however I was nervous Jamie still had a section in reserve which could still have used his jump off at the table edge, which could have decimated the section once it had exposed itself. As such, I decided to rely once more, heavily on my panzershreck team who subsequently popped up at 2, and popped three net hits on the frontal armour of the hapless Sherman, knocking it out.
The Americans morale had plummeted to three, and Jamie decided a tactics, withdrawal was best to ensure he had sufficient forces left to try again.
He now faced the problem of still having to take this table, and winning the final table on his first attempt. This one is now in the balance.
Jamison will get an extra point of support to attack this table next time, which throws up a couple of interesting possibilities. Will he take the might Pershing instead of the Sherman? Throwing his men behind that behemoth down the road and hoping its frontal armour is enough to withstand the inevitable hollow charges? Or does he opt to take an M8 fast wheeled greyhound to race for the table edge? Does he opt to take bazookas? Do I stick with the little tank or put my points into panzerschrecks and road blocks?
All will be revealed
..
Panzer II ( a real one this time 😃)
..who knew?
To be continued


 Welcome, Guest. Please
  April 29, 2024, 03:58:25 AM


