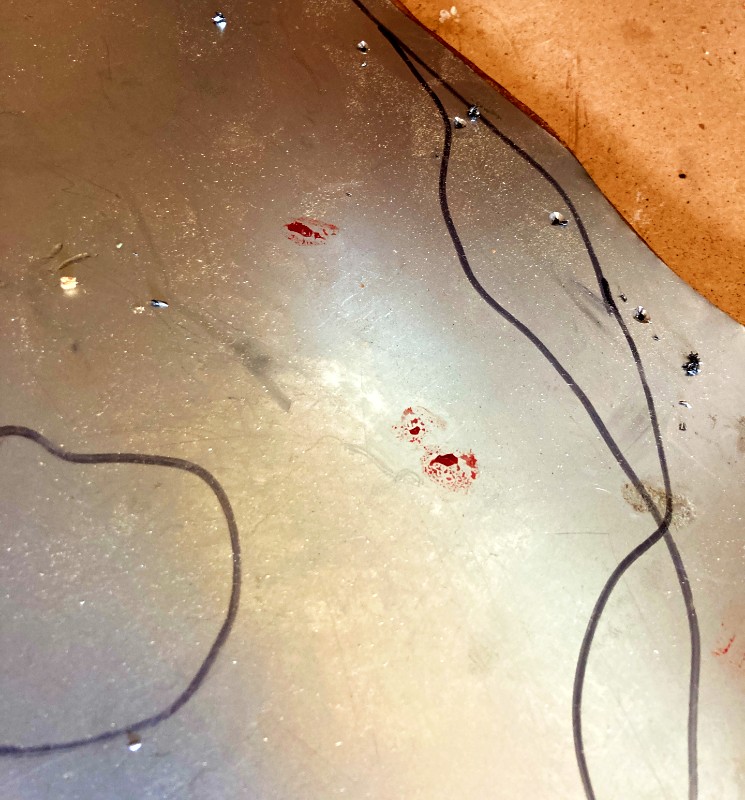
There is sort of a generally accepted convention when it comes to scenery features like rivers, ponds and lakes, that they are slightly raised above the game board. This is obviously convention of necessity, when a piece of scenery id not an integral part of the game board. Simulating depth is of course always a bit of a challenge as your average gameboard rarely exceeds a thickness of a couple of inches.
In my case it is going to be a bit of problem since my lake is a loose terrain piece and ice /acrylic sheet) and water (layers of resin) is going to make for a lake raised a bit above the game board. This is the reasons I use thing sheet steel, and thus partly reducing the height of the thing. We'll see how things turn out...
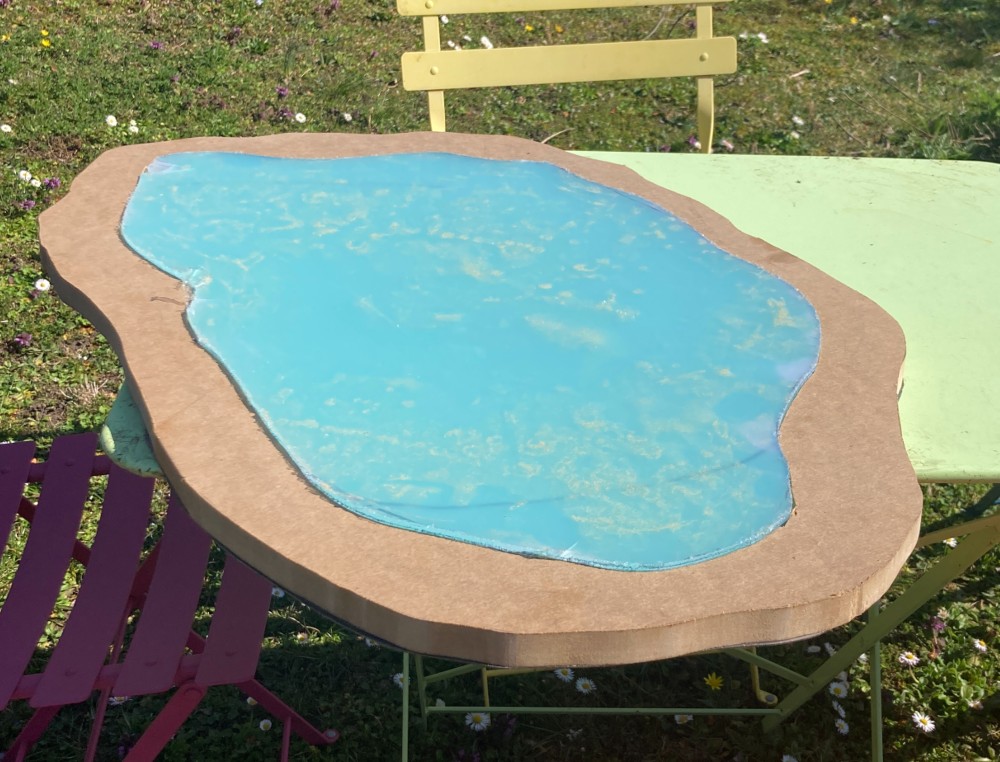
I purchased a scrap piece of 25mm MDF from a local lumberyard and, using the sheet steel and the acrylic sheet prepped previously as templates, I cut out the shore line:
To make sure a good fit I drilled three guiding holes through the steel and MDF and put 6mm dovels in them. This way, once the epoxy glue is spread on the join, I would be sure the pieces come together exactly where I want and with a minimum of sticky goo ending up where it shouldn't.
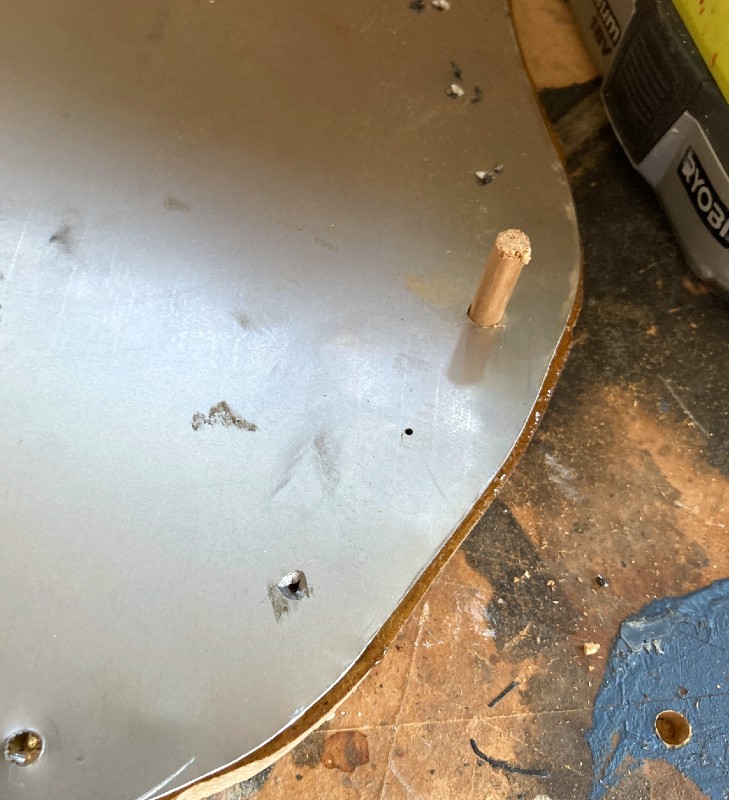
...like so...
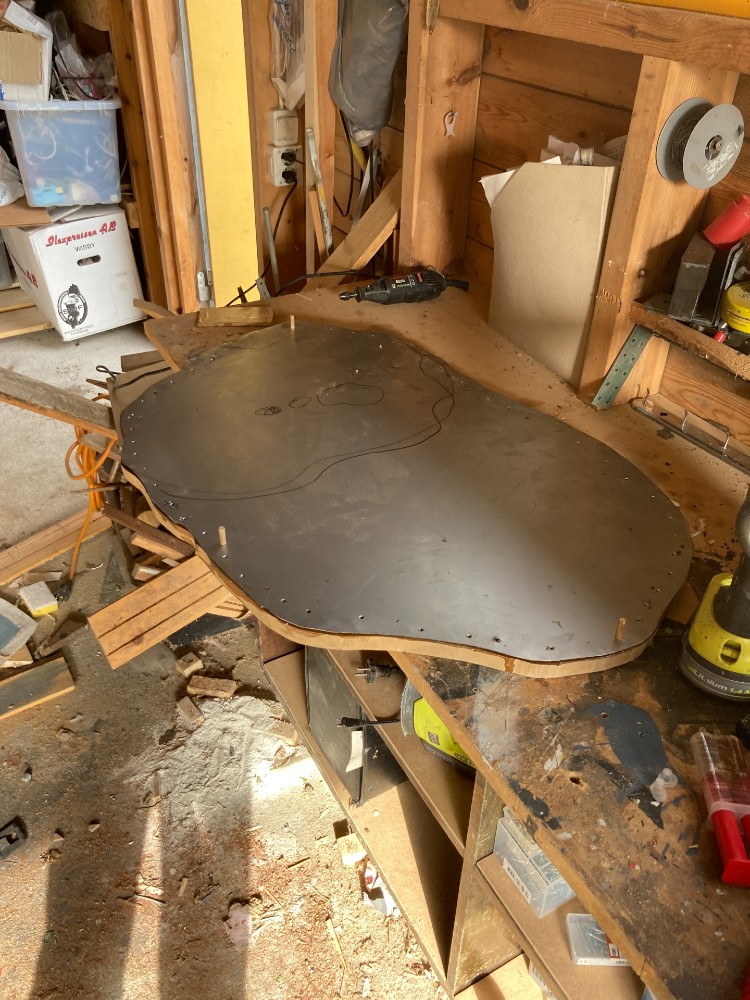
I used a combination of ways to fasten the steel sheet to the MDF as a need a very snug and durable join. First an two part epoxy....
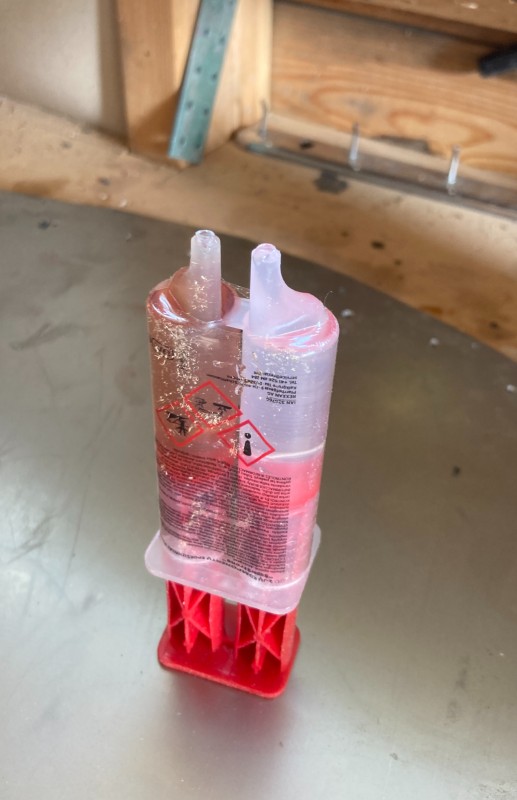
to ensure the poured resin wont seep. Two part epoxy can be pricey but I sourced this kind incredibly cheap (c:a Euro 1,5) from a Lidl bargin bin. It is a bit slow to cure and sets a bit harder than your slightly more flexible Loctite kind.
Before I applied any glue I drilled a multitude of 1mm screw holes around the shorelines, which I also counter sunk to make sure the scenery piece will sit snuggly on the game board.
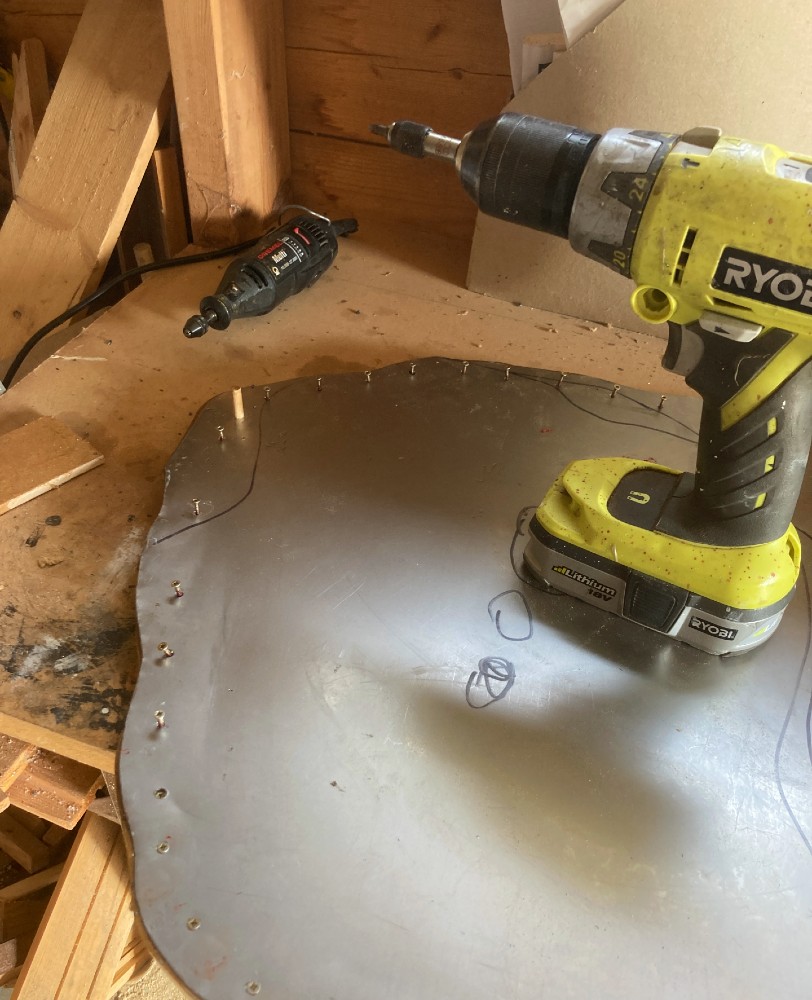
I used 10 mm screws to make sure I could shape the MDF with a belt sander later on, without the sanding paper being torn up by the screws.
And just to ensure you all that it was me doing all this work, I put my signature trade mark on the thing...
