I’ve now played my first game of Xenos Rampant, using the bones of Scenario Alpha which is a Sweep and Clear operation.
As I was playing on a smaller board of roughly 75” square, I reduced the Grimm detachment to 3 units totalling 12 cost points, and the Reivers to 3 units totalling 13 points. Though the two detachments were of roughly the same size, the Reivers were more robust at 25 strength points versus 15 for the Grimm.
The setting was an ocean-side area of my planetary setting; light cover was provided by clumps of palm trees but otherwise the ground was open.
I played the Grimm whereas the actions of the Reivers were determined by Mr Spock (whose ancestor is Mr Babbage from The Men Who Would Be King). There were a few minor modifications to the scenario to accommodate Mr Spock’s thinking process, including that his ‘defeated’ units were not available for recycling back into the game.
Start: the table before serenity was rudely interrupted; dice were rolled to determine the respective start points

Turn 1: the first units onto the table with the Reivers advancing


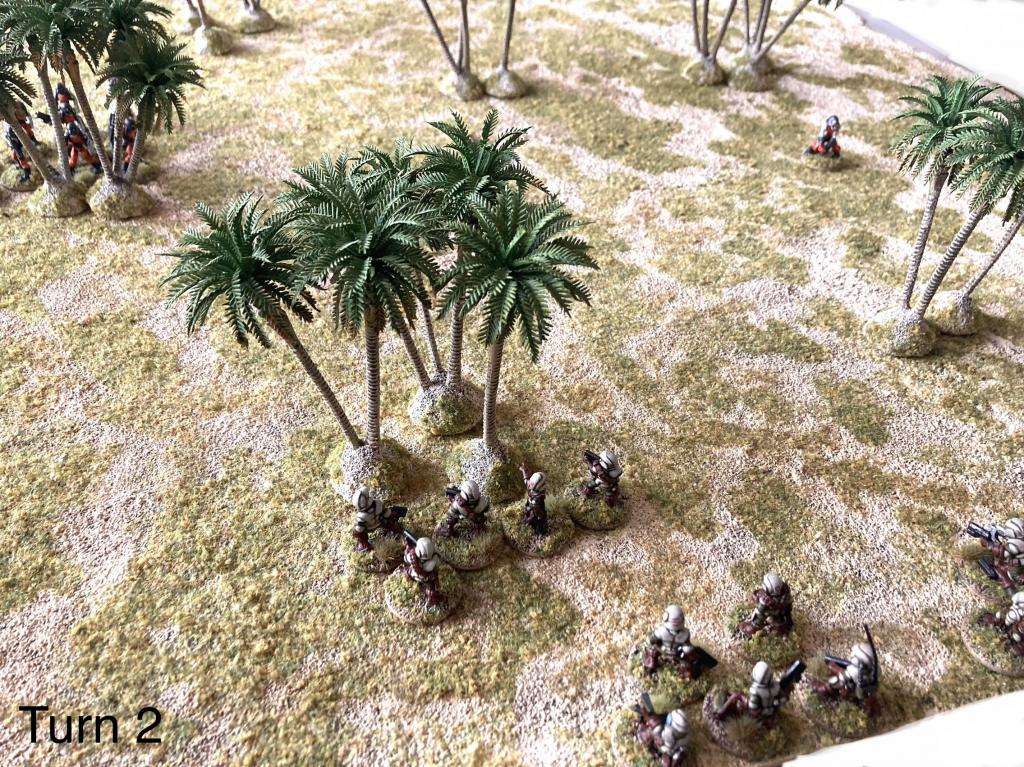
Turn 2: all the Grimm are on the table, with ‘berserk’ Reivers having closed to their left and the brute with a light sabre to their right; the Reiver leader has yet to arrive.


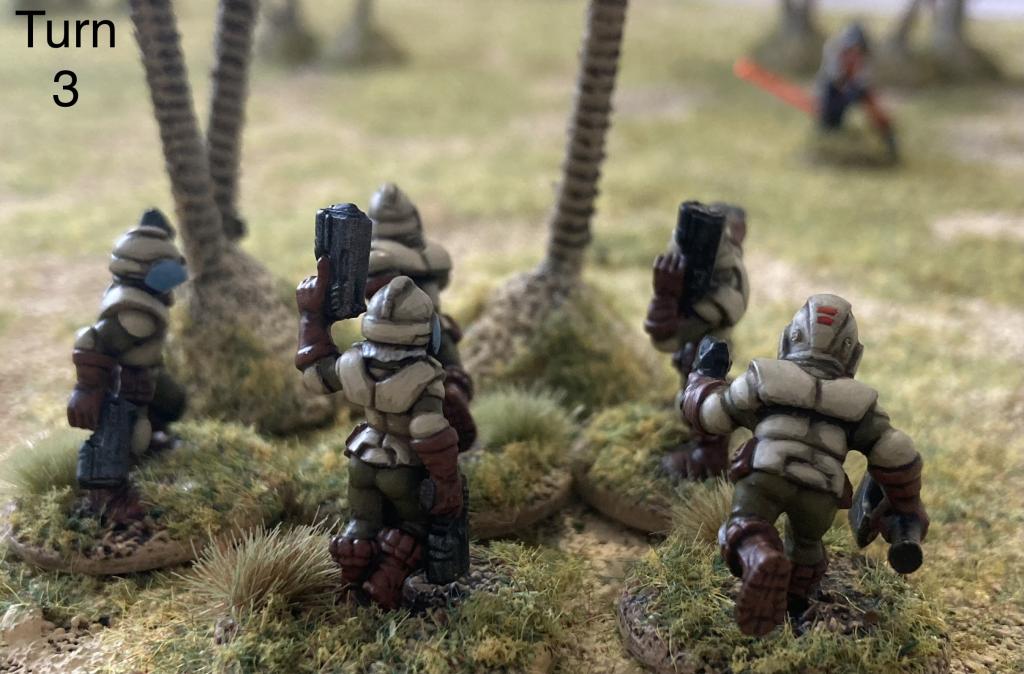
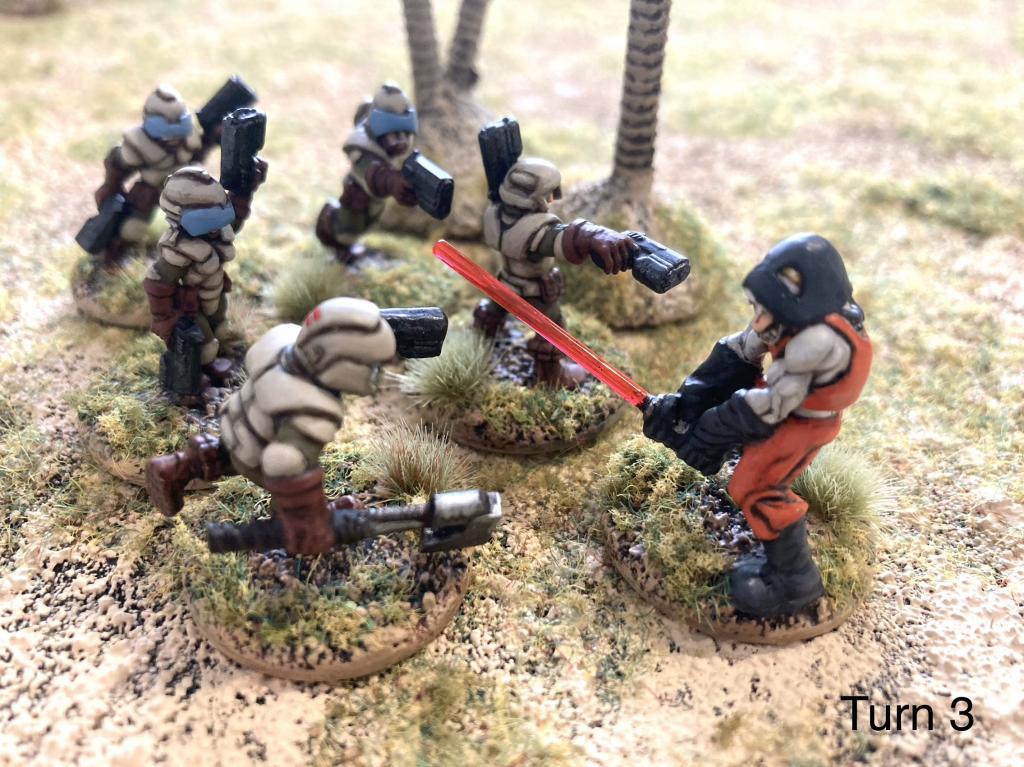
Turn 3: the ‘close combat’ Grimm move into the cover of some palms while their SMG shooting colleagues open-up on the ‘berserk’ Reivers albeit without much effect; the Grimm leader then calls in fire support and takes out 3 of the Reivers ensconced behind the palms; the Reiver leader comes into the game and as the ‘brute’ has Hive Mind, he’s able to survive what was an otherwise unsuccessful bout of fighting by virtue of his +1 to Courage rolls.

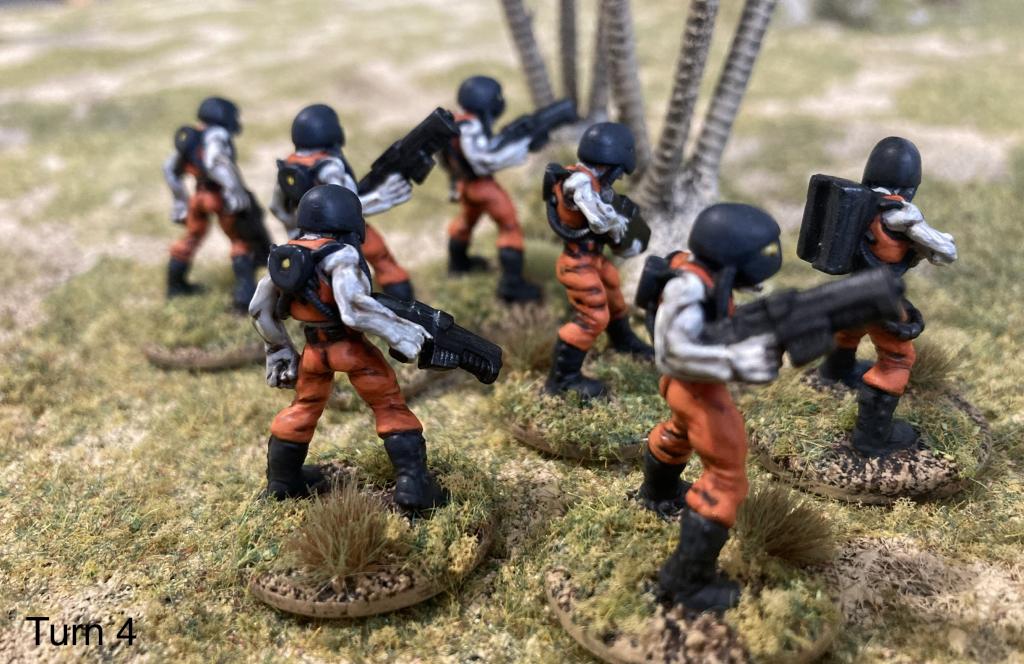
Turn 4: More shooting by the Grimm, more attacking by the Reivers; small losses here and there

Turn 5: much like Turn 4 but with the Reiver leader’s presence now having quite an effect on all Courage rolls, as he’s within 12” of the berserkers and the brute has Hive Mind; the Grimm commander realises that shooting will not take him out quickly enough, so instead calls down Fire Support but fails the activation

Turns 6-7: more shooting and fighting, with the Grimm repeatedly failing to call in Fire Support

Turn 8: success! Fire Support is called in with 9 hits out of 10, which is just enough to kill the Reiver Leader; in the subsequent Courage test the brute chooses to run from the table


Turn 9: with the remnants of the berserk unit being all that is left of the Reivers, spurred on by the cocktail of drugs being pumped around their bodies they make a fanatical charge that ultimately ends in them being shot down

So a win for the Grimm. The Grimm destroyed or routed enemy units costing 3 and 2 points (it was an 8 point unit that chose to run away!), which according to the scenario earns them 2 Victory Points. As the Grimm held firm, the Reivers earned nil.
I shall probably play each of the scenarios as components of a campaign, though as I want to play my choice of units, I shall probably ignore the campaign system as detailed in the book and just compare progress through their totals of VPs.
As regards the game, my principal learning was that this was a learning experience. Pre-game I’d made changes to Mr Spock’s decision-making engine, though I expect I’ll make a few more revisions for Scenario Beta.
Playing both sides on my own, with everything going on I occasionally found that I’d forgotten to apply rules, such as taking the Firefight option, or charging the Reivers an Armour deduction for the Grimm’s use of armour-piercing rounds. This is less likely to happen next time.
All-in-all I very much enjoyed XR. The relentless pressure from the Reivers kept the Grimm behind cover while they brought their better shooting to bear. If the palm trees hadn’t been available to hide behind, it would likely have been a different outcome.


