This ship was actually built for a Savage Worlds RPG campaign I'm going to be running very soon, not for a miniature game, but, I figured you guys might like to see it as well.
The link to the full RPG thread is here:
http://forum.rpg.net/showthread.php?t=528957 . I've included the post with the ship below:
28mm scale Viking Ship!So the players will have a ship. How else are they going to traverse all those islands and create their saga?
They actually have a Viking Knarr, which isnt the traditional Drakkar most people think of when they think Viking. A Knar is smaller and can be run with a much smaller crew of 4-6, and since I have 5 players that works out perfect.
Be forewarned: The ship I constructed is for miniature role playing purposes. Its not 100 percent historically accurate (although he proportions of the cargo bay to the length of the ship are actually fairly accurate), or to scale. Most Knarr were slightly smaller, and the sail should be larger. There should be many more riggings and boards and a steering oar (and possibly 3 or 4 sets of oars for some Knarr). Most importantly, most Drakkar didnt actually have dragon heads, and a Knarr certainly didnt
but I thought it would look cooler, so I made mine with one. So, it is what it is.

The coolest thing about this ship is I built it all from scrap I had laying around. It didnt cost me one cent that hadnt already been invested for some other project.
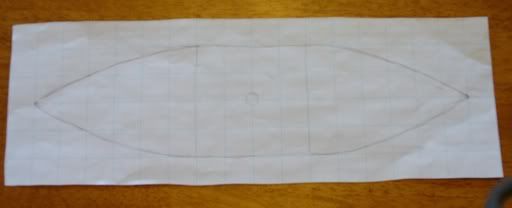
Step One: Draw a template
This is where most people stop. In fact, this is the map I was going to use for the ship in the game. After I drew it I showed it to my wife and asked, So, should I just use this or make something better? Knowing me, she just rolled her eyes and walked away, knowing the answer already.
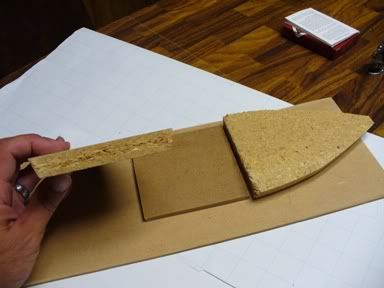
Step Two: Cut Some Wood
I actually saw a woodcarver do something similar once, so this wasnt totally improvised. I cut a base for the ship and, using the template I made, cut the 3 pieces of wood that would make up the ship. I cut the thick boards at an angle so when I attached the sides they would bow like a boat.
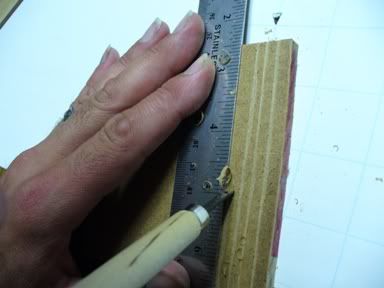
Step Three: Carve Some Boards
Using a wood carver, I cut some grooves into the wood to create planks on the ship deck. The particleboard was a little uncooperative
but, again, it was free.
Step Four: Glue it Down
No witty commentary here, I just used regular Elmers glue to attach it to the base.

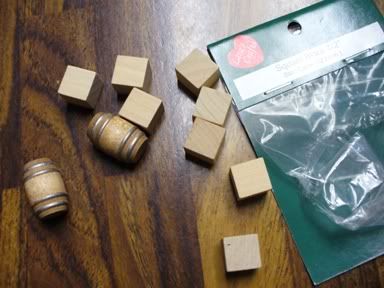
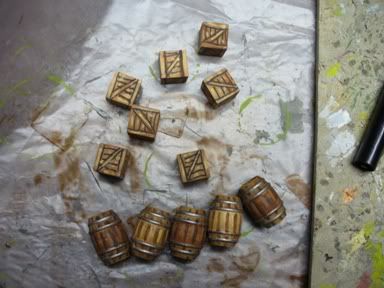
Step Five: Trimmings & Cargo
While the deck was drying, I used a jig saw to cut the stem and stern. Nothing really fancy, but I did decide to cut the dragon head at the last moment. I also took some small craft items I had left over from other projects and painted them up to look like barrels and crates for cargo.

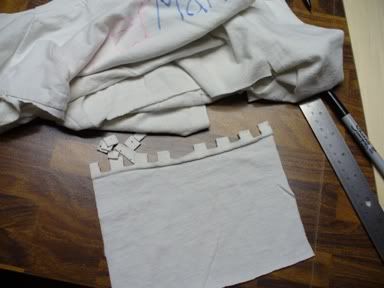
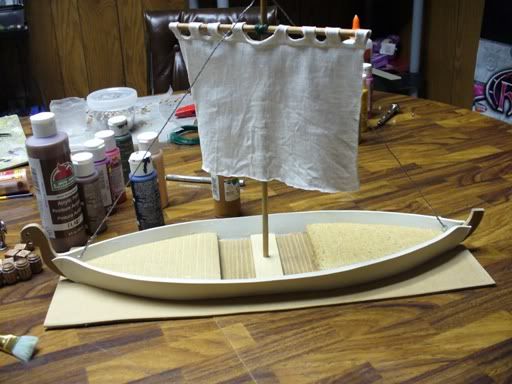
Step Six: The Sail
I made the mast and sail out of some dowels and one of my daughters old T-shirts. The dowels are from a rummage sale sign that was in the garage, and the T-shirt was in the rummage sale pile. Ill have to replace the one from the sign before my wife notices
but that T-shirt wasnt even sellable for a nickel!
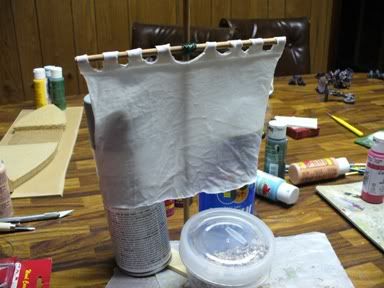
I built the mast with glue and wire, and drenched the sail in glue. The material didnt work as well as other material would have, but it did the trick. I left that to dry while I worked on the deck again.

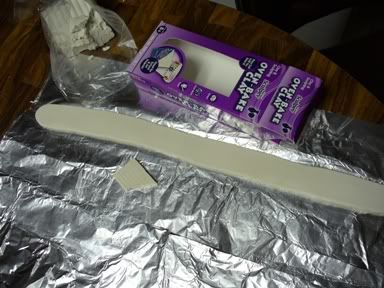
Step 7: The Ship Gunwales
Gunwales? I think thats the proper name for the walls of the Viking ship? In any case, I was sort of stumped as to how to do this at first. Hardboard is too rigid, and I dont like working with balsa at all. Cardboard is crap.
In the end I got the brilliant (opinions may differ) idea to use oven dry clay. After rolling out a strip to the right thickness, I carved some boards into the side (although I should have carved the boards into both sides), put them on, and cut them to the right side
but they didnt stick to the wood!! I ended up having to glue them and hold them with various things I had laying around until dry enough to put in the oven and bake! Yep, I got to bake the ship (again, my wife with the rolling eyes!?)

Step 8: Assembly
Well, that was really it; all I had to do was glue on the mast and its ready to paint.
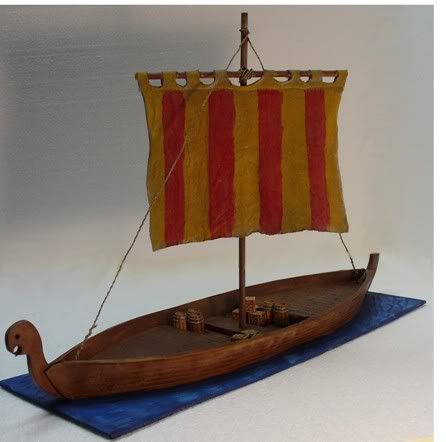
Step 9: Paint er Up!
After a quick paint job its finished. I was surprised at how well and fast this whole project went. It only took one evening (and I had a few C&Cs while building it), and the next morning to finish it up. If I didnt have to let glue dry I could have had it finished in the single evening.
Im really happy with the ship, and I think its going to greatly enhance the ship sequences in the game. Much better than a paper map.
Now hopefully Ill get my Viking miniatures in the mail soon so I can start painting them before the first game session next week!


 Welcome, Guest. Please
  April 27, 2024, 11:09:21 AM


