I am unable to find pink dense foam in my area, so worked out a few tricks to making really great looking, extremely flexible and tough pieces using just regular expanded polystyrene- the kind you get for free everywhere.
Here is what you will need...
- Expanded polystyrene
- Hot Wire Foam Cutter
- Paper
- PVA glue
- Polyfilla woodflex
The problem with styrene is that it has no strength. Apply any weight to it and it will snap. Drop a metal mini on it, and it will dent. That, and it looks like rubbish when you paint it. It does. Stop doing it. That's an order.
To fix the first problem, I turn my styrene into super sized, super cheap foamcore by sandwiching it between two sheets of paper using PVA glue and pressing it under heavy books overnight. This distributes the energy across the whole surface and makes it really hard to snap. To make larger pieces of scenery, I first sculpt them using a foam wirecutter (a must have tool) and assemble them using cocktail sticks to pin the layers together. Once I am happy with the cut, I mark the edges with a pen so I can align them again, take them apart and sandwich them individually. Finally I reassemble with PVA glue and wooden skewers to add strength.
To fix the problem of denting and overall look crapness, I use the holy grail of mini scenery making.
Pollyfilla Woodflex. Oh yeah.

Now woodflex is not as cheap as whacking sand into PVA glue, but the results are so, so much better.
Woodflex does not crack or flake, is slightly rubbery and has a perfect texture for stone, mud and rock straight out of the tub. Not having sand glued to the surface means its less likely to sandpaper off your paint job too. It forms a rubbery skin over the surface that will distribute any force across the whole model- so no dents or snapping.
I thin mine down using demineralised water. I use a palette knife to smear mine on. Leave it ten minutes, then shape it. Leave it over night to dry.
If you want to get some brickwork effects I suggest a two step approach. Do a base coat and use a damp sponge to stipple down the surfae, let that dry overnight to form a tough skin. Applying a second thick coat, give it fifteen minutes to dry then score in the brickwork or cracks. Use the sponge again to tamp down the scratchy lines and give a natural effect. The stairs in the next picture are unpainted, but you can see its a great look.
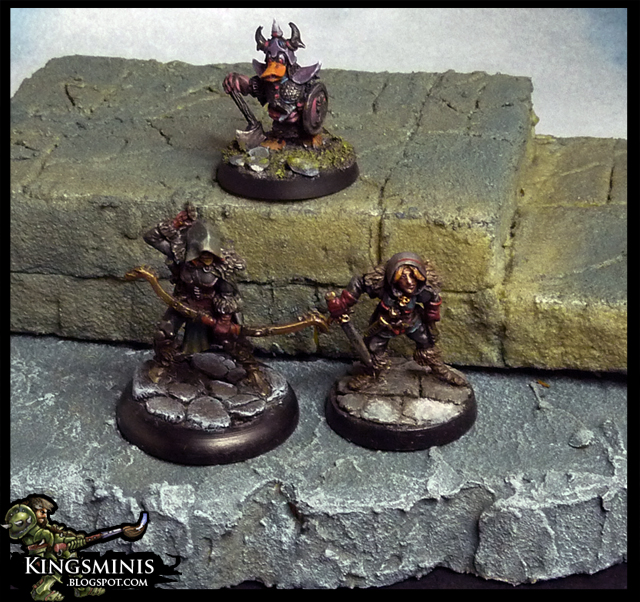
The polyflex gives a great rocky look, and forms a skin that protects the polystyrene. Its a really cost effective way to make unkillable gaming scenery. You can throw mine across the room and its fine!
Hope that helps.


 Welcome, Guest. Please
  April 28, 2024, 12:04:48 AM


