Since there is interest here, I will cross post this here from my RPGnet thread. While I wanted to start with a review of the Legends of the Old West game, delays in getting the book have prompted me to start instead on my game "table". This thread will detail putting it together as cheaply and quickly as possible so I can get started painting the minis when they arrive, and playing the game when I get the rules. Here is what I have wso far.
OK, so I find myself actually waiting for the rules to play Legends of the Old West, a western miniature game from Warhammer Historical. I’ve also put in a $150 order of Black Scorpion minis from the Tombstone line, but need to wait for them to arrive before I begin painting the figures
So, since I have time on my hands before I actually get the rulebook, it would be a wise idea to do what I can…that would be to get my play surface ready to do.
My goal is to build a play surface large enough and versatile enough to accommodate a lot of play. Not only that, while I know it’s not going to be “cheap” I’m certainly going to try and get by as cheap as I can. I also want to get this done as quickly as possible, so when the minis arrive, I can start right up on painting those. The main goal is to get a game going before Christmas.
I decided it might be fun to document the entire experience, with pictures of my progress. This’ll be fun and motivating for me, and hopefully some other people will enjoy watching my “table” take shape. While I’m not the most professional level wargamer, painter, or builder, this might help the average beginner see what it takes to create an adequately playable table from scratch. My goal is to make the best table I can in the least amount of time and spending the least amount of cash. If I was willing to spend a lot more, and take a lot more time, I could certainly make a much more impressive spread.
So, without further ado…let’s get started
 Basic Play Area
Needless to say, the first thing I need to do is build the base play area. From what I’ve seen and heard, LotOW takes place on a 2x2 to 4x4 area, with 4x4 being the base.
Well, to be honest I want a surface that I can transport easily, since I won’t be actually playing at my house often. If I wanted to make the play area 4x4 I would have to cut that in half, or in 4 pieces.
I sort of want the consistency of a one piece surface, so I decided on a size of 3x3. This is small enough to be manageable. It fits in my car (a Saturn), and isn’t too bulky and clumsy. Most scenario start with a set up zone that is 6” to 12” anyway, so I’ll simply cut that out or reduce it when I play games that are supposed to take place on a 4x4 area and call it a wash. I feel good about the 3x3 size.
The first thing I’ll need to do is get together all the stuff I need to build the base playing surface.
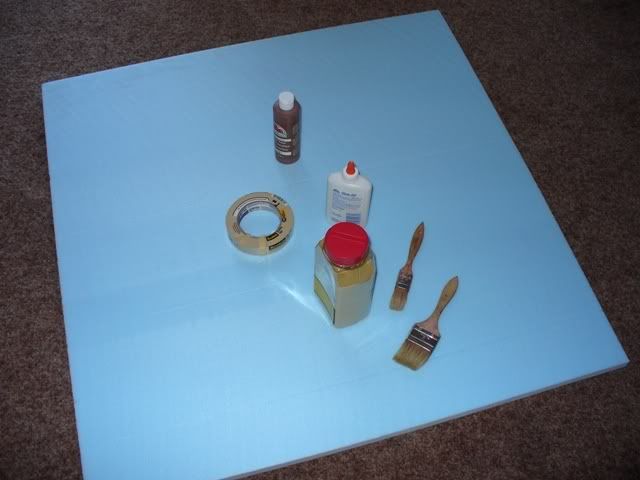
I want the table to be light, so I’m going to go with a 1” thick chunk of Styrofoam. This has proven to be a good play surface for me in the past. Going to the friendly local lumber yard, I pick up a 4x8 foot sheet (the standard size) for $10. I get the guys there to cut it down to the right size for me (they have a nice table saw…and I can’t fit the whole thing in my car in one piece anyway). This gives me a spare 3x3 section I can use later, and also give me plenty of “scrap” for hills and such (we’ll make those later).
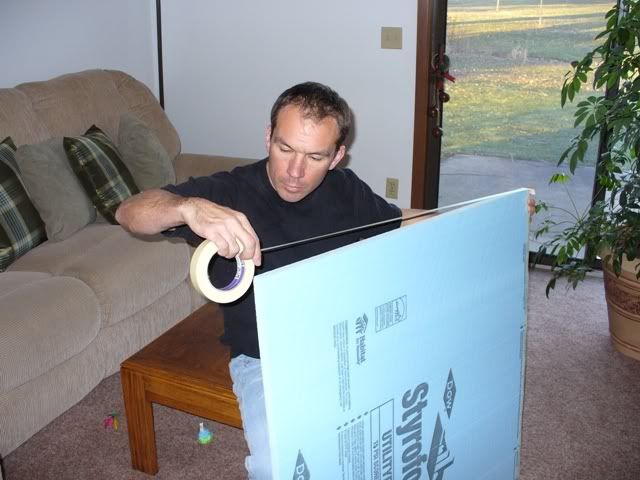
I don’t know if I’m the only guy who does this, but I like to cover the edges of my Styrofoam with masking tape to make it a bit more durable and less prone to breaking, denting, or accidentally ripping of a chunk.
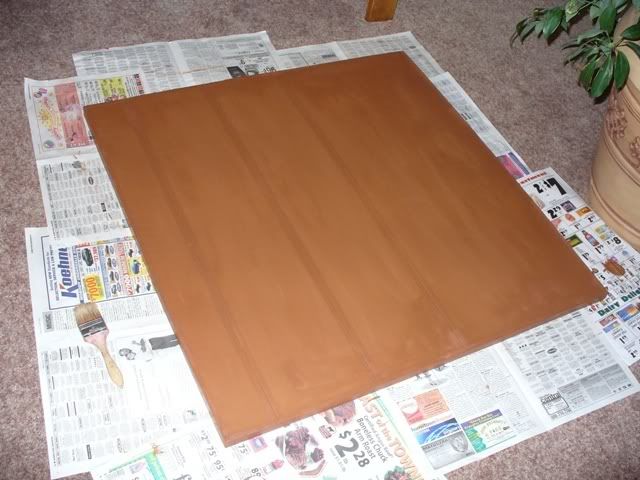
Next I give the surface a solid coat of paint. Since I’m going for a dry desert looking surface, I’m going with a dark dirty looking brown. This will offset the bright flock (see below) and give the surface a grungy look (hopefully). Note, if you don’t know this, aerosol cans (spray paint) will eat Styrofoam, so don’t use it!
Next we need to glue the flock or sand on. I decided to go with (woodland scenic) yellow grass flock at almost $10 for a shaker can(available in most model train stores). This will give the surface a dry dusty look…but won’t simply be dirt and sand. Other people use sand, and drybrush it to look like desert, and this can look cool…but I wanted a softer, more versatile surface. I think the Yellow grass will work out nicely for giving the play area a southwest look.
There are all kinds of fancy adhesives to attach flock or sand…I simply mix some cheap old Elmer’s glue I have laying around with some warm water. It works like a charm and costs next to nothing.
Paint the glue on quickly and shake on the flock (be generous). Make sure to collect the extra flock on something, as there will be a lot of it to recover.
Once this dries, I gave it a coat of matt spray sealer (the same I will use for my minis). Note, this will eat Styrofoam too, so make sure that you have completely covered the foam with paint and flock!
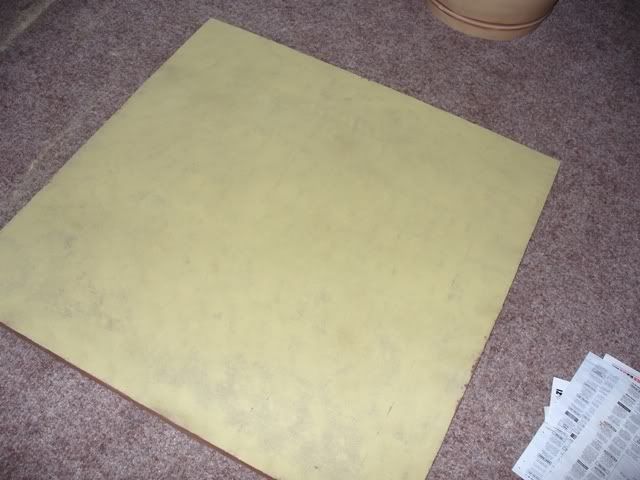
Once this has dried, the first step of my journey is complete. I’m pretty happy with the end product. Other than a few little odds and ends (glue, masking tape, spray sealer) I already had lying around the house, the project cost me $20. This has also left me with enough Styrofoam for hills, other terrain, and another complete playing surface. I also have enough left over flock for all my other terrain and to base up my minis when they are finished.
The Great FrontierNow that my play surface is done, but before I begin building the town I want to do a little out of town terrain. I’m not sure If I’ll be able to use all this in the first game, but it’s always a good idea to have plenty of stuff for future games.
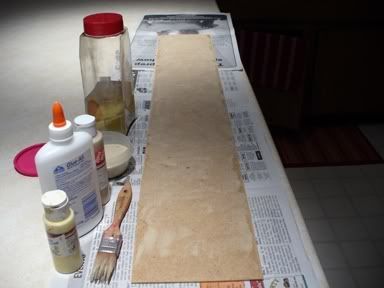
First off, I know that I’m going to need a road through the center of the play area if my first game is going to include a western town. I decided to make it 6” wide (that would be about 25-35 feet in the real world…not that that really matters) as it seems like a wide enough area for shootouts to take place.
I’m choosing to use a scrap of Hard Board I have laying around in my garage. I like Hard Board because it is fairly common, cheap, rarely warps, is thin, and is easy to cut and sand. That said, don’t run out and buy a big sheet unless you have to. Look everywhere, a lot of garbage around the house (or at work) is made out of Hard Board or similar wood. Old clipboards, the back of some cork boards, signs.
I simply cut the right size, used Elmer’s glue and some sand as my base. You can buy sand at any department store with a craft section…but I suggest simply going into your neighbor’s sandbox and scooping out a cup of the stuff (cleaning out the dirt, of course!).
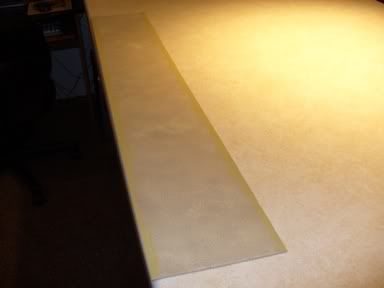
After the glue dries, I painted it with some sand/dirt colored paint and drybrushed it with a slightly lighter color. I use those cheap 99 cent paints you can buy at Wal-mart. Then I flock a little around the edges of the road so it blends in with the play surface.
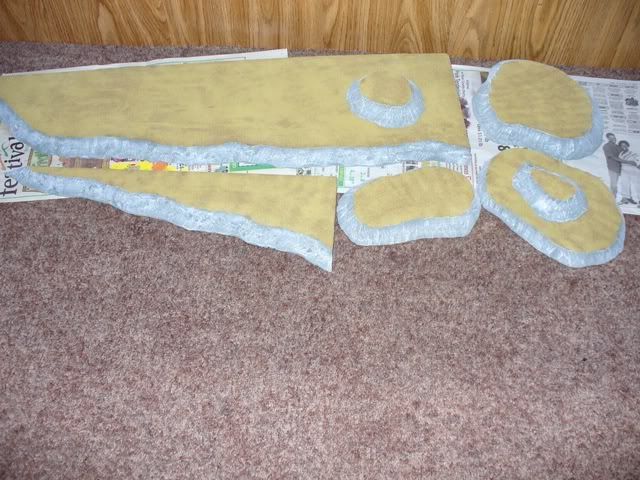
Next, I’m going to use some of that left over Styrofoam to make some hills. I simply cut them out using a good sharp utility knife. I wanted to get one of those nice Styrofoam cutters you can find in railroad shops…but at a price tag of $40, I decided to pass.
I painted the sides of the hills with gray, and drybrushed it with 2 lighter colors of grey to give it a good rocky appearance. Then I finished by doing the top surface in the same way I did the main play surface.
All in all, this step cost me nothing, since I already had the Styrofoam, flock, glue, and stuff from making the play surface and had the paints lying around. If you had to buy the paints, the entire step would probably cost you under $5
The table so far
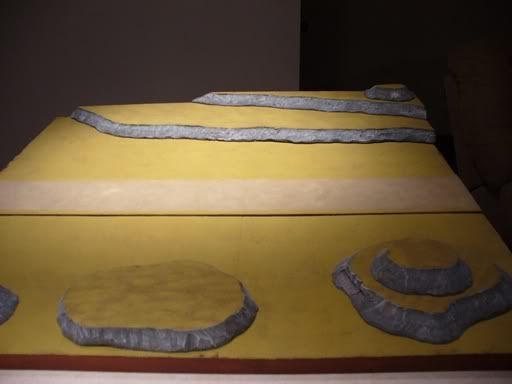 Total cost so far: $25


