I've had the materials for this endeavor set aside for a very long time. I was beset by a sudden desire to complete it, because I have some other arboreal projects lurking...
Arthur Rackham Tree Tutorial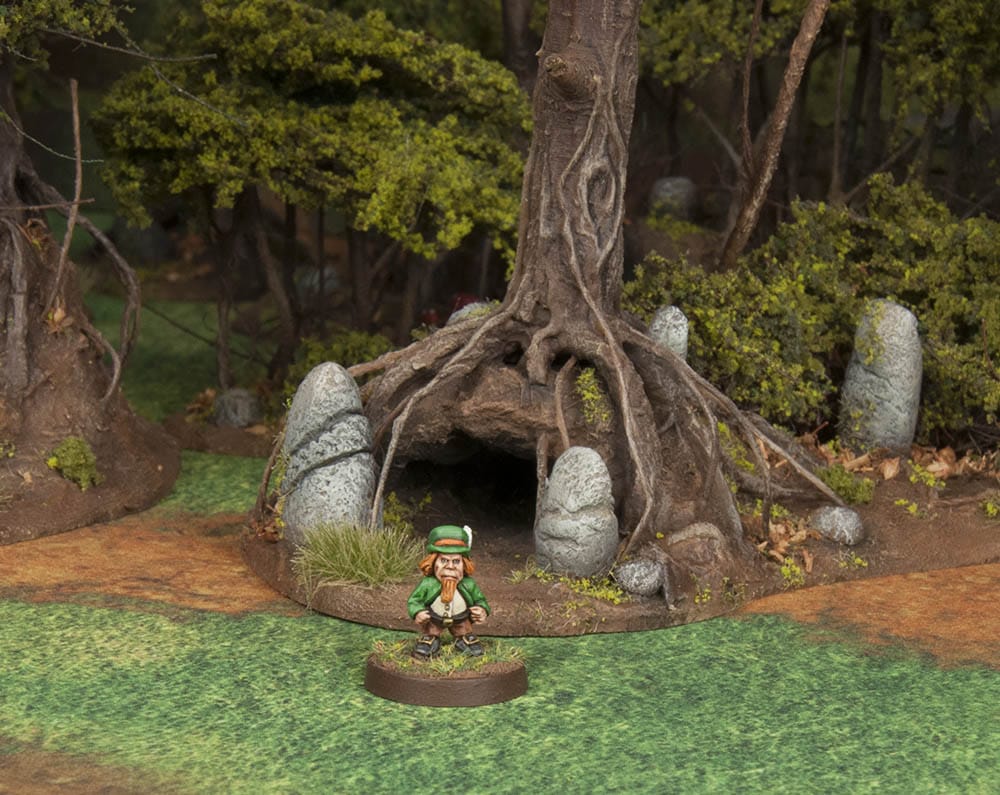
I've always had a soft spot for the illustrations by Arthur Rackham, particularly the convoluted roots and the chaotically linear nature of his trees. I'd been wanting to create some trees inspired by him for quite a while (as I stated in this thread aeons back

.
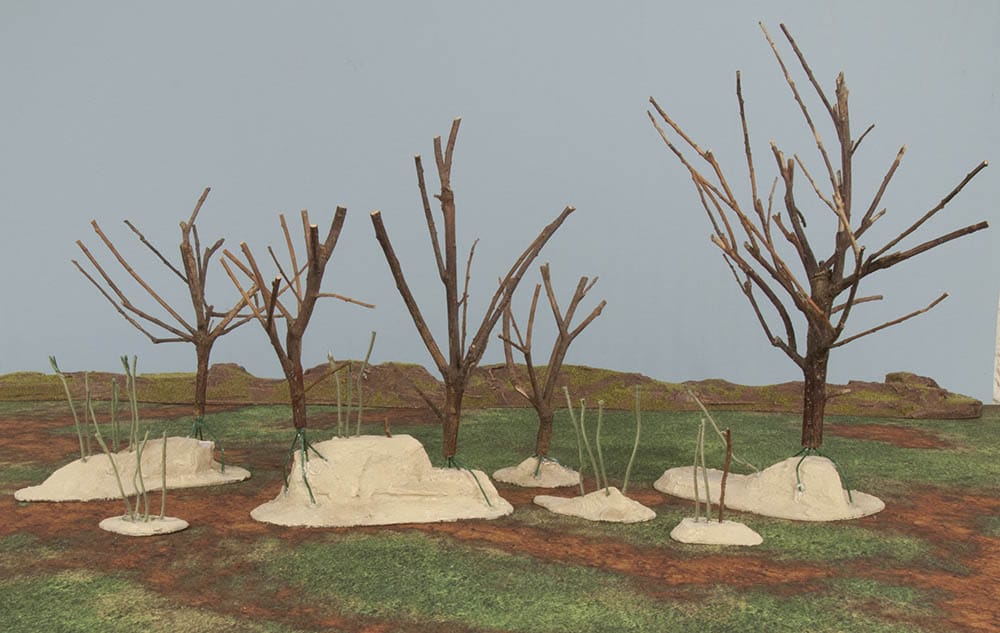
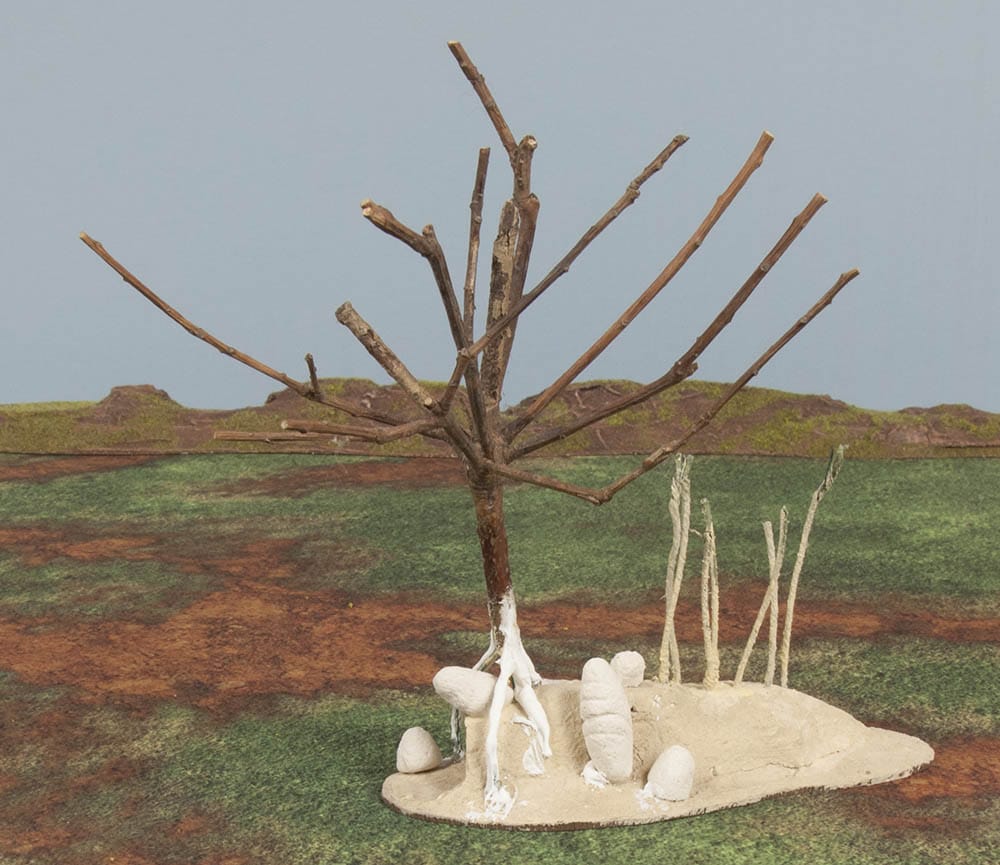
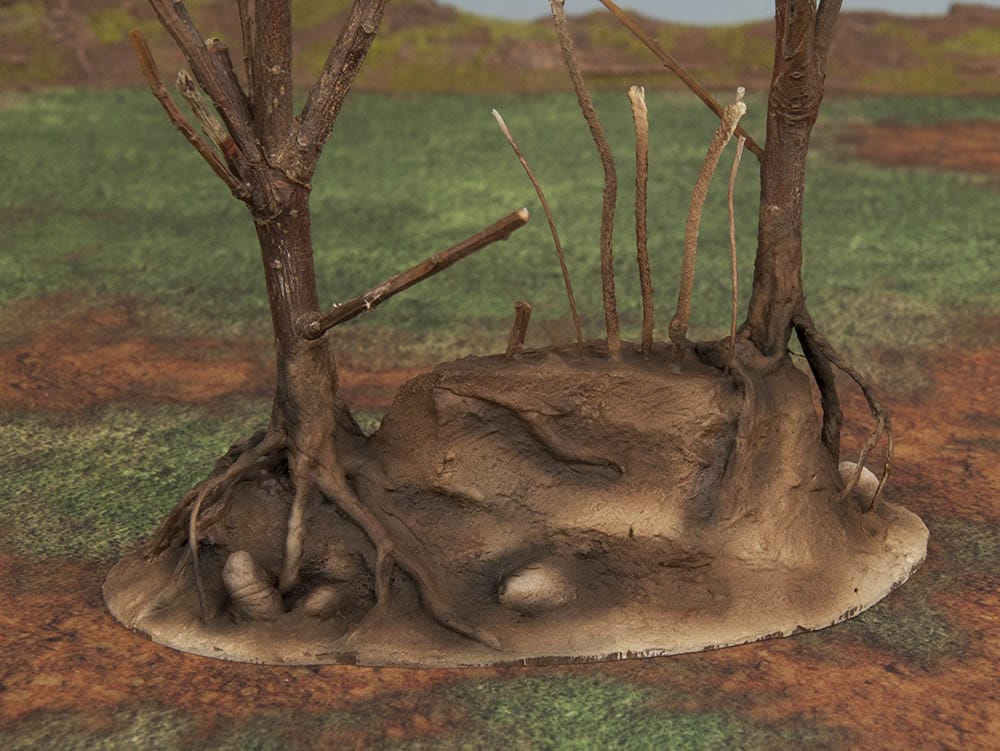
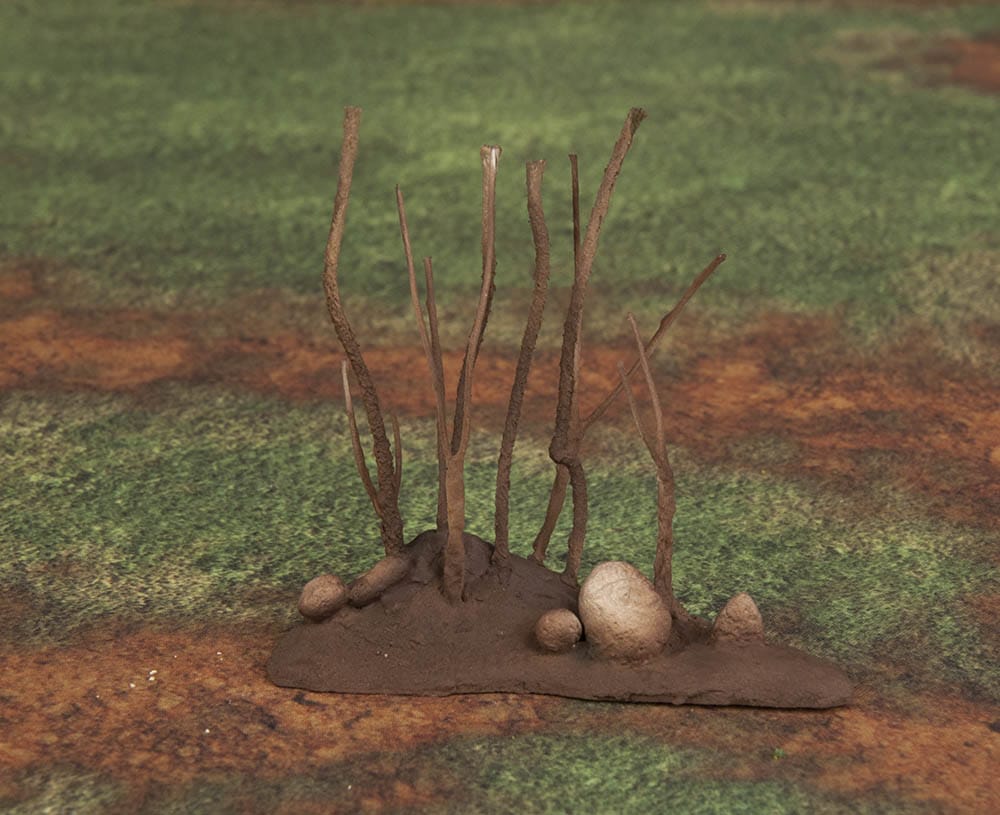
I clipped off some branches from my holly bushes a few years ago- they're still nice and springy, so I went ahead with using them. I bored a hole into the 'trunk' and glued some florist wire to use as the structure for the roots. The bases are hardboard/Masonite with some pink insulation foam for height; this was also spackled and painted with a textured wood filler. I wanted to make some dense thickets as well, so I glued in some floral wire that has a fabric layer already- I thought this would help retain texture.
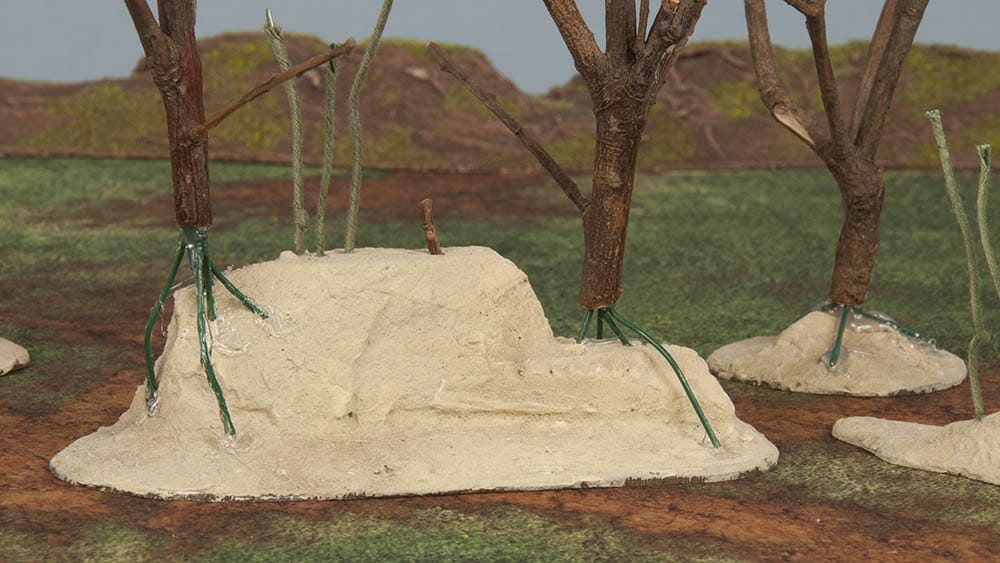
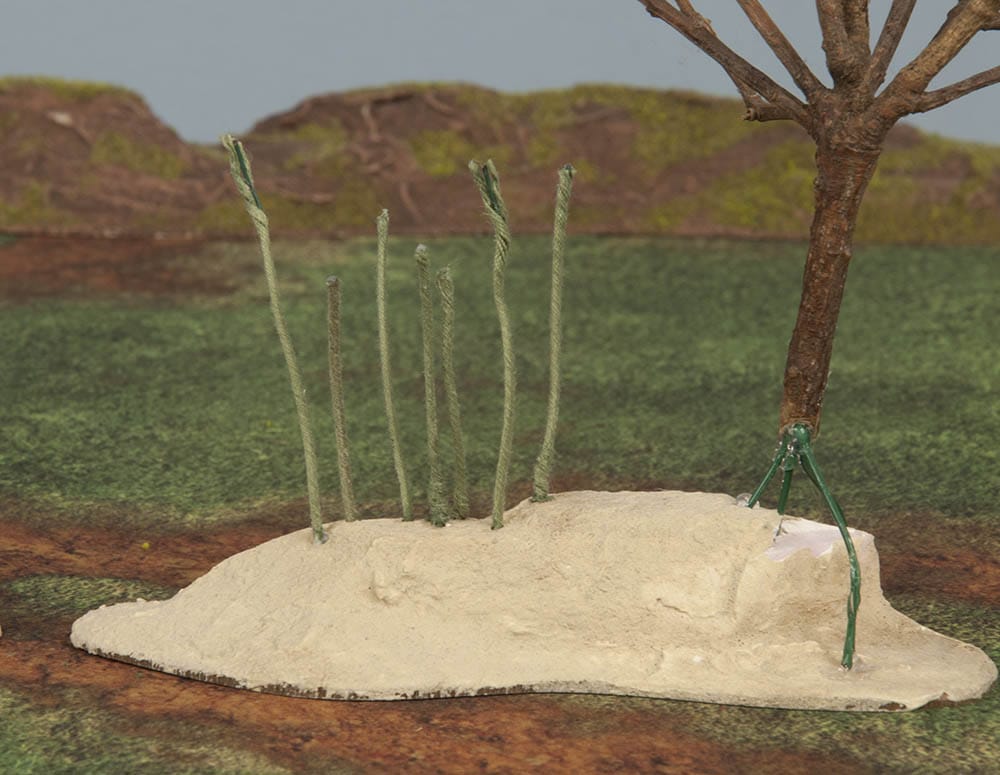
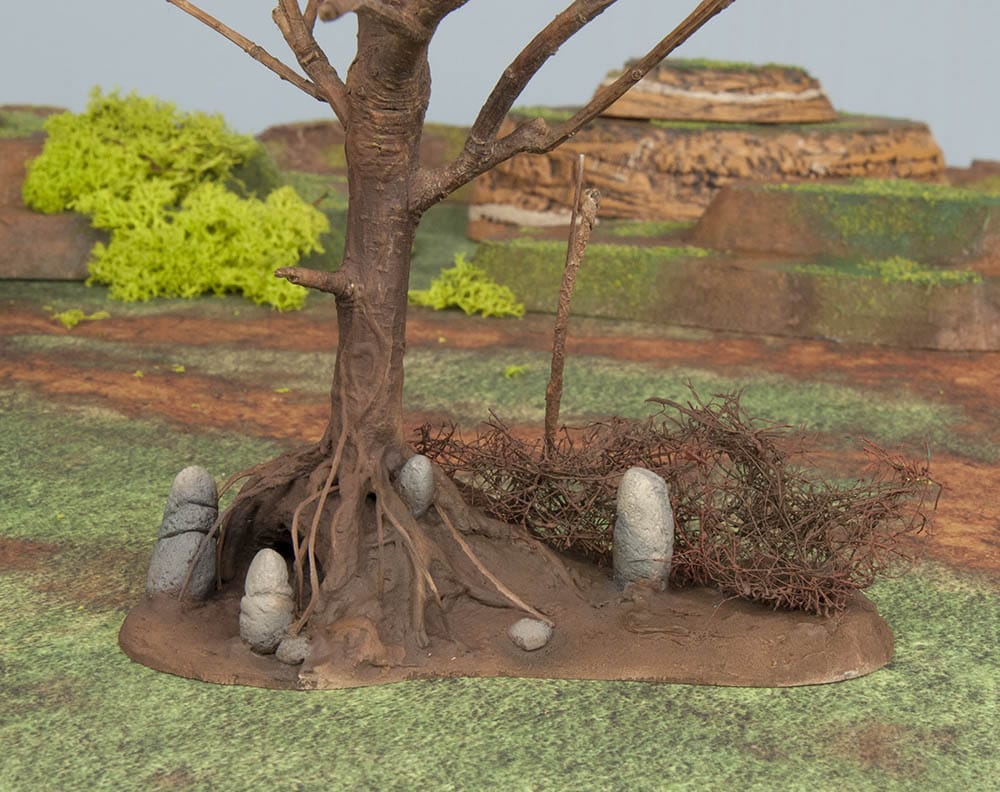
The next step is similar to the "Gnarly Tree" tutorial. I used paintable caulk/sealer called 'Alex Plus' to build out the roots. This can be manipulated easily and sticks in place quite well. I also glued down some 'rocks', which are simply made from oven-bake clay using a broken bit of concrete to impart a rough texture. These shapes were baked according to the instructions and cut in half when dry, so that they had a flat side to glue down. I also coated the floral wire with the textured wood filler.
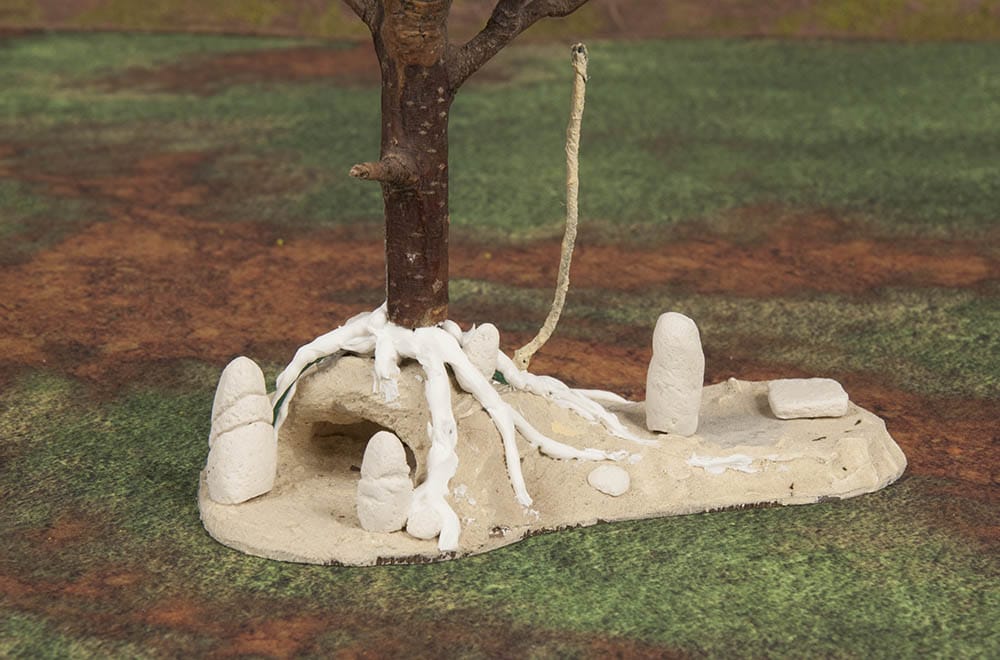
I also added a few more roots, this time using a thin paper-covered floral wire.
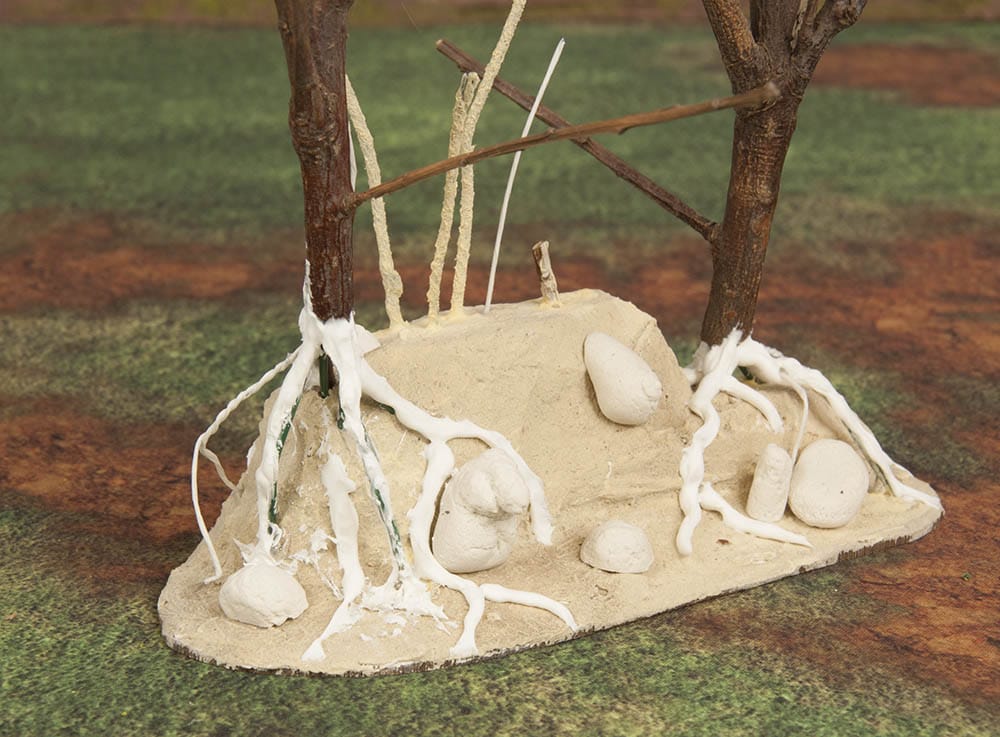
I added a little filler in a few places, to unite the stones into the base a bit. This was then painted with the textured filler to match.

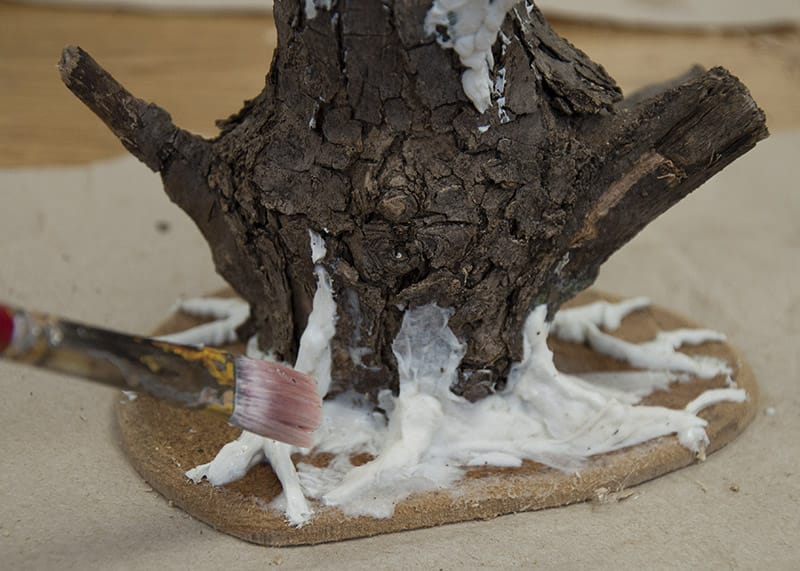
The photo I took for the next step was blurry, so I scrapped it- what I did was use my 'bathroom tissue method' to create a bark-like texture over the root systems. My 'Jungle' and 'Gnarly Tree' tutorials describe that pretty well. This time around I used Mod Podge for the glue.
Next, I wanted to get in a little color. I wasn't sure how easy it would be to paint behind the roots I planned to add, so I wanted to get a start on that. I used an airbrush for this step.
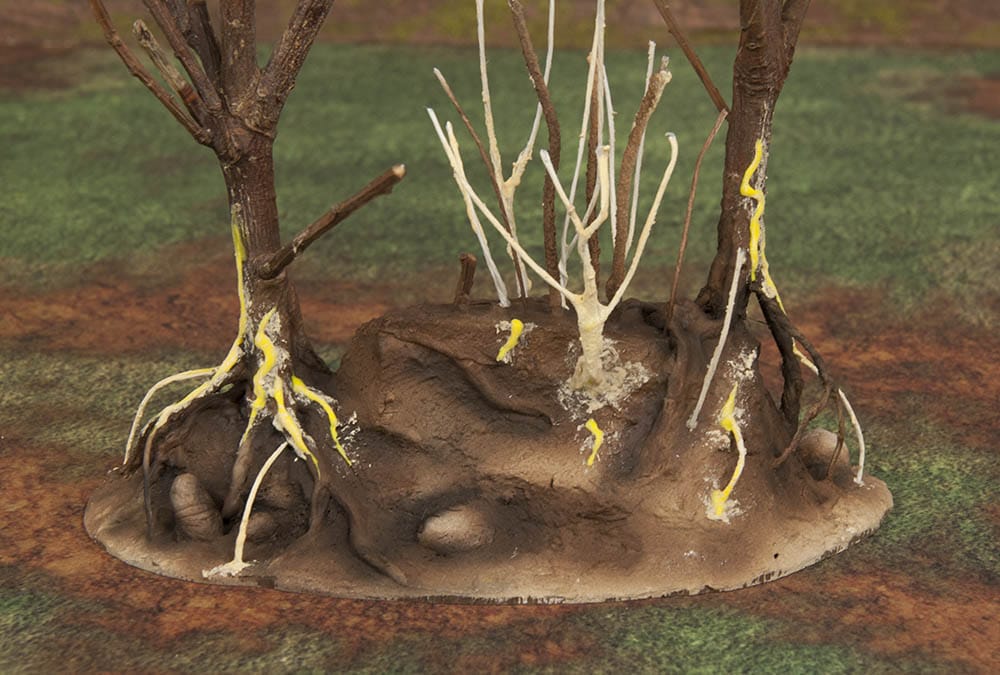
After some initial painting I added some more roots, and used 'puffy paint' (the type for fabric, with a thin applicator nozzle) for the new roots and to add some linear whorls on the trunks. In retrospect I could have played that up a bit more. Yellow was what I had on hand, don't judge
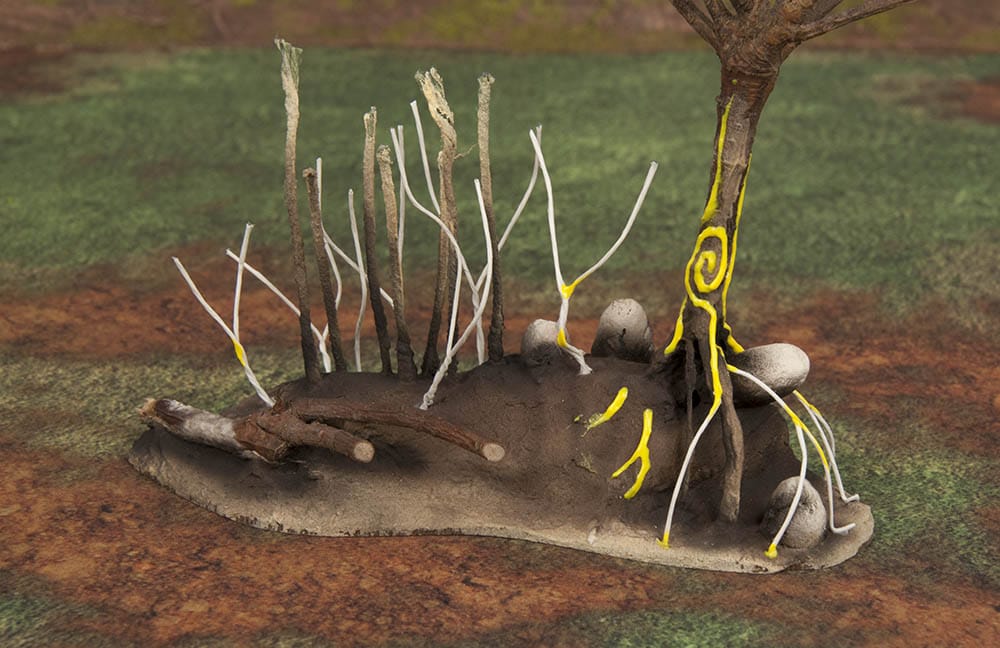
The puffy paint was slick (as expected) so I gave that a coat of textured filler, along with the new branches and thicket stems.
The real painting could then commence. Again, airbrush.
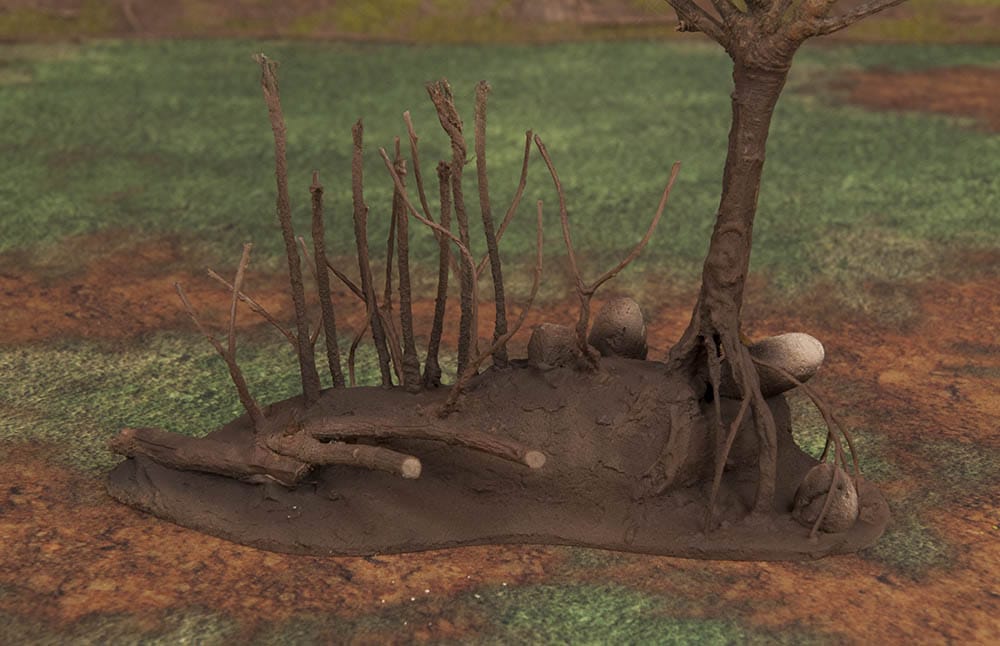
I added some bushes and underbrush as well, using the green furnace filter material. Also painted.
Some drybrushing to the trunks and ground... I got carried away. I should have attached all of the furnace filter before I got too far into the trunk detail

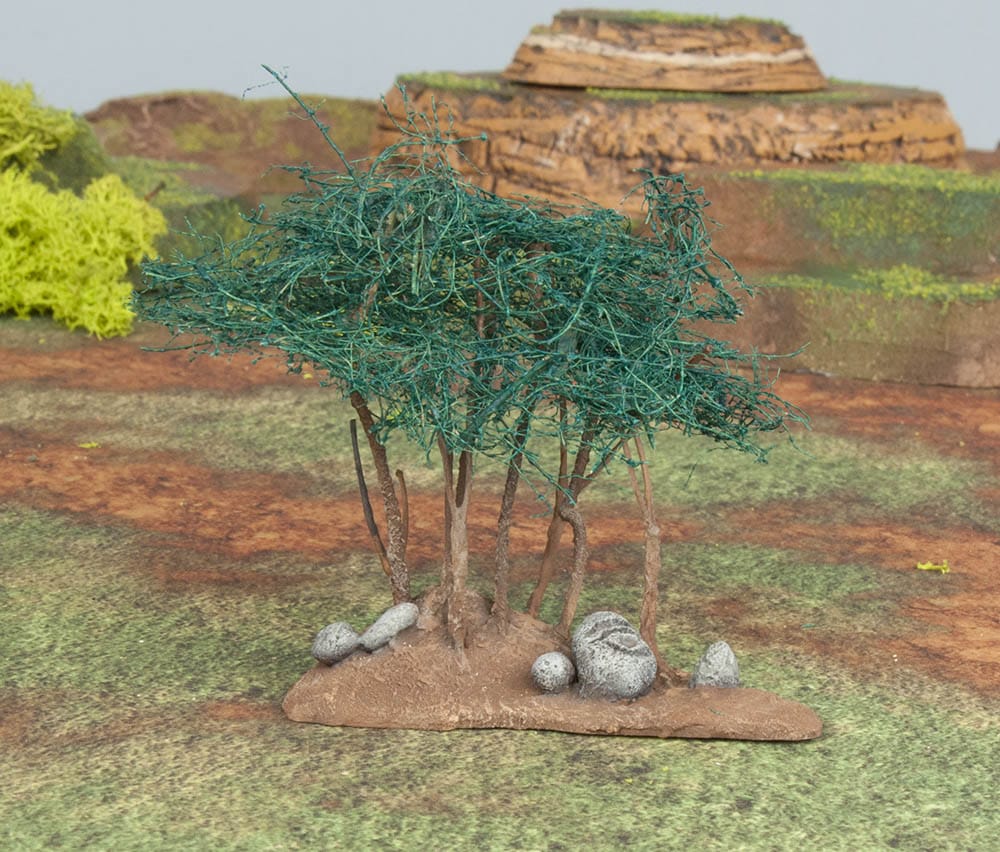
Taken a little further. I've glued a flocking mix to the furnace filter branches, and glued some leaf scatter in the areas most likely to collect them. I used a thinned-down Elmers white PVA liberally applied with a brush, then dumped the flock mix over the branches. In the past I used a spray paint method, this was much easier actually.
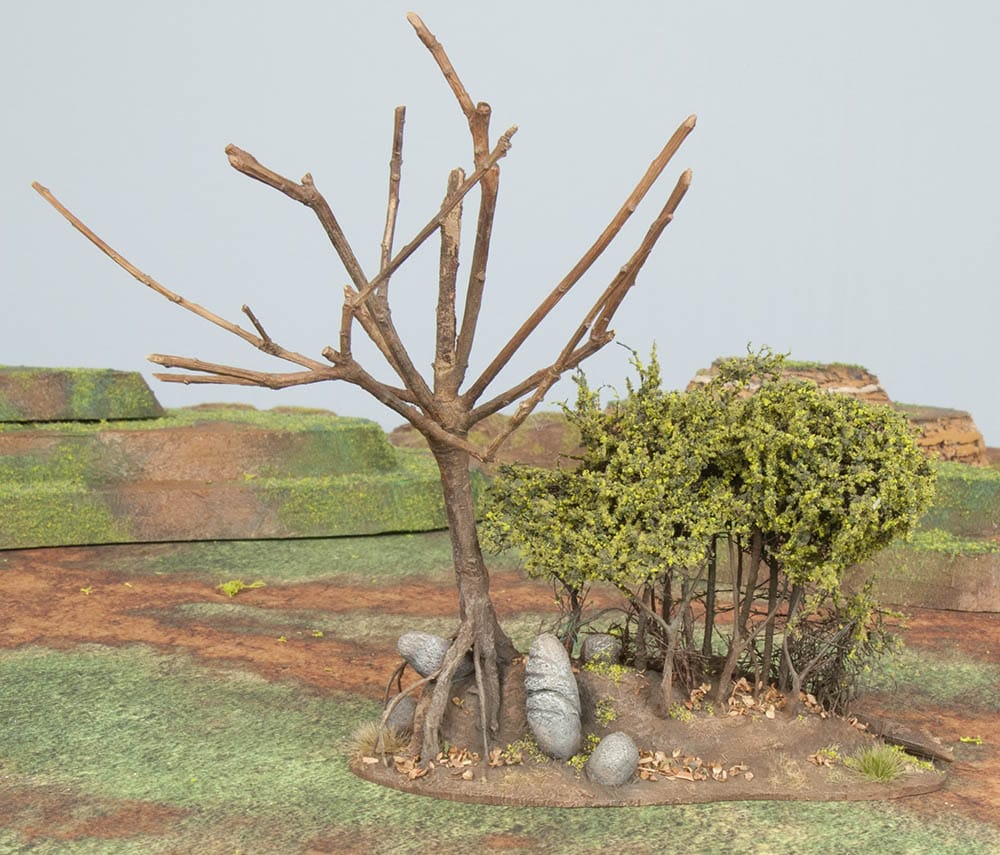
The next photo shows a largely completed base. I added some flock material to represent moss, and put a Siflor tuft here and there, and some static grass. I also added some mushrooms- they're simple. Whenever I have a little greenstuff or Procreate left over from a project, I make a little 'cap', and I have a couple dozen by now. The stem is just a styrene rod.
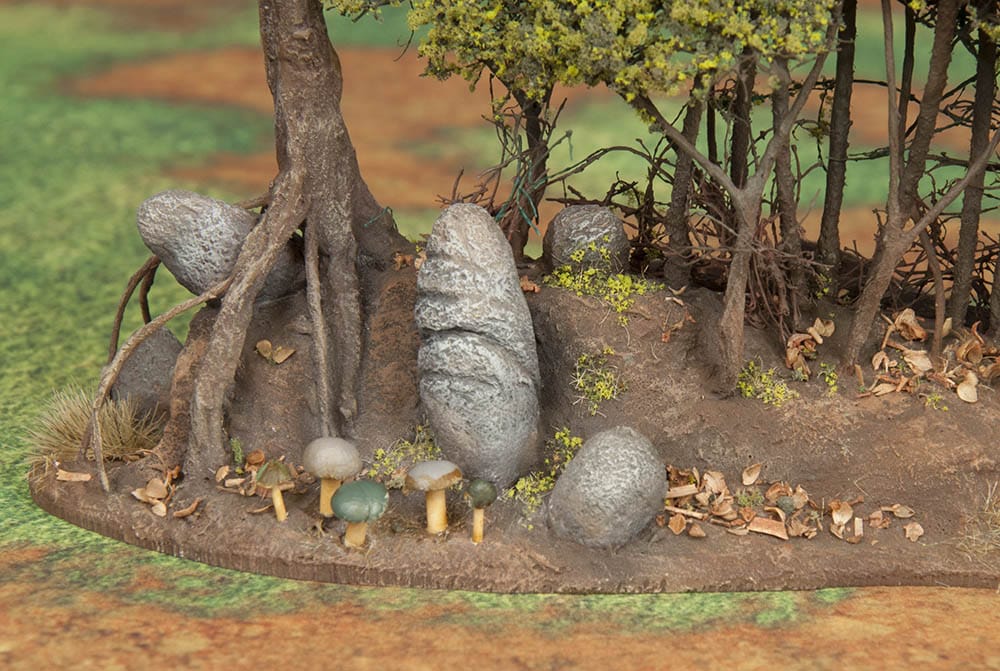
That about sums it up- the process is really similar to some of the other trees I've made.
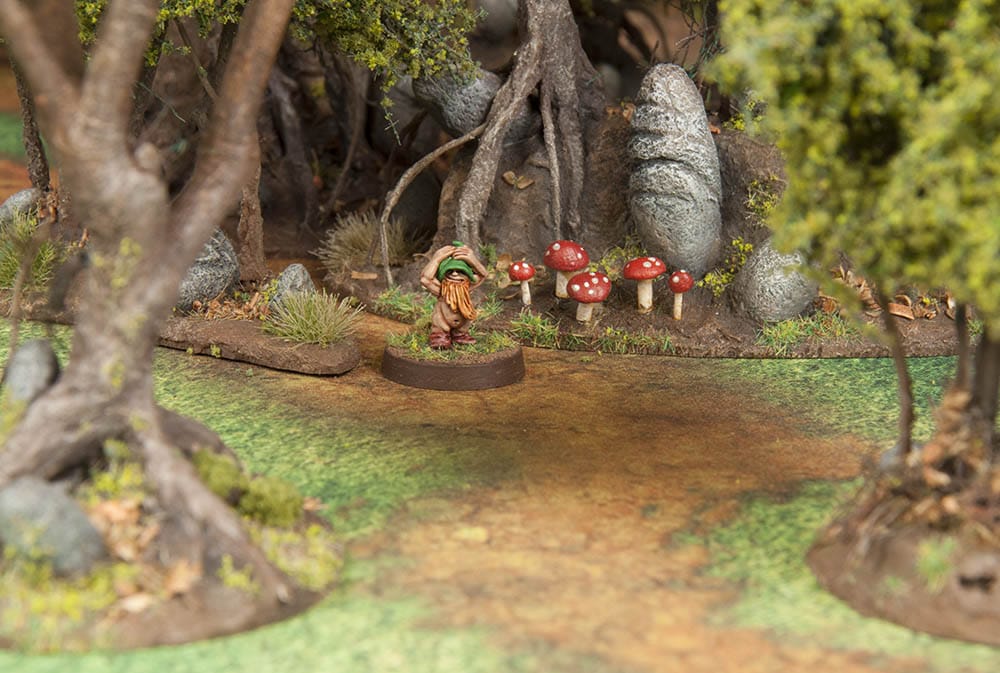
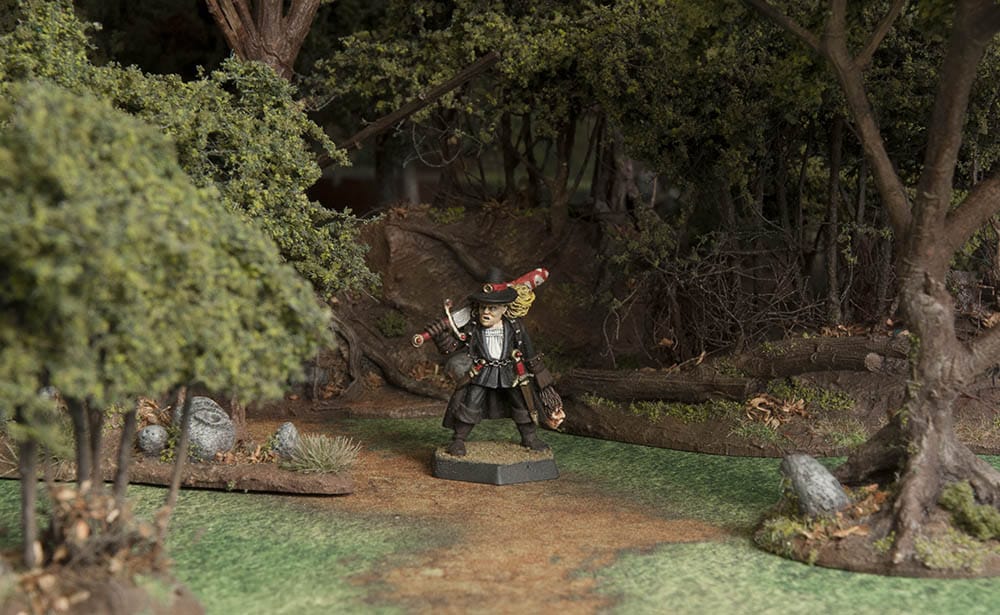
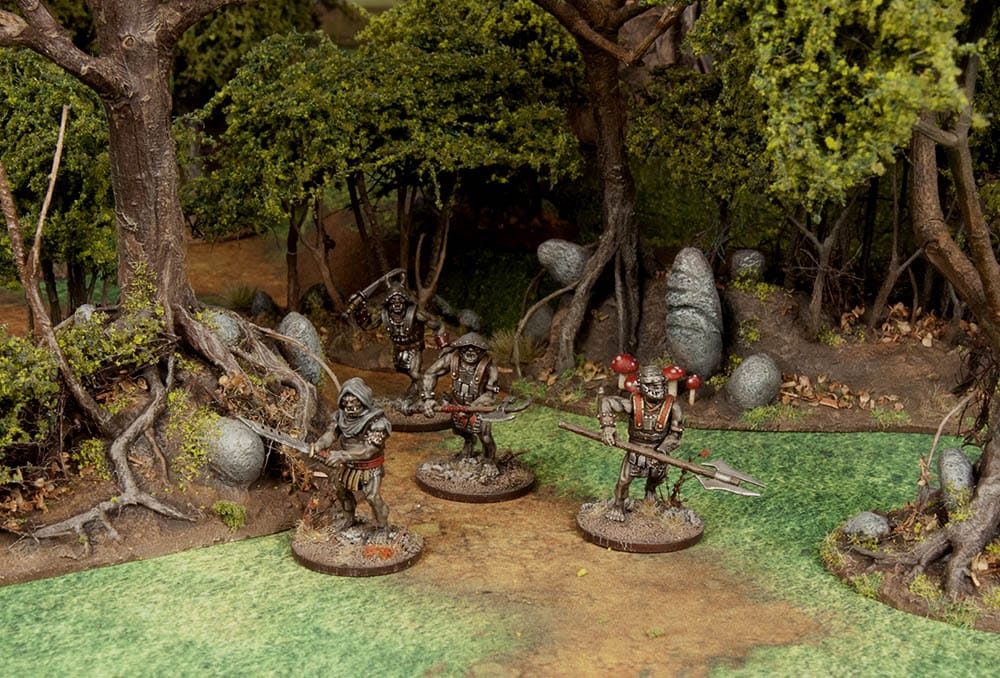
I'm pretty happy with them overall, they have a distinctly different feel than my other trees and will work well for Warhammer 'Old World' or Tolkien-esque settings.


 Welcome, Guest. Please
  April 26, 2024, 09:52:50 AM


