7 July, 1943, 0800 Hours, North of Dubrova a few kilometers south of Syztsevo
The commander of the Voronezh Front, General Vatutin, was desperately attempting to organize defenses against the onslaught of 48th Panzer ZCorps and II SS anzer Corps. Heavy Soviet reinforcements were expected on 8 and 9 July, but in the meantime the German advance had to be delayed. Early on 7 July attacks by Gross Deutschland and 11th Panzer Division along the Oboian Road broke through the defensive positions of the 3rd Mechanized Corps and were in a position to attack into the flank of 31st Tank Corps. Some Soviet units began to withdraw, and fell under heavy German artillery fire, suffering numerous casualties. However, in most areas of the day's fighting the Soviets fought very hard, especially the tank units, and German casualties were also heavy. While the German assault had forced the withdrawal of the 3rd Mechanized Corps and other units, the Soviets shifted General Getman's 6th Tank Corps to help absorb the German advance with counter-attacks. The combat continued late into the night, with continued artillery fire, Soviet rocket battery fire, and some Soviet night attacks. An interesting historical note on the Voronezh Front is that the Commissar serving with General Vatutin was Lieutenant General Nikita Khruschev.
This is the fifth scenario from the Skirmish Campaigns book "Gross Deutschland at Kursk". I used the Crossfire rules, and made the following adjustments to the scenario in order to make it more Crossfire-friendly:
1) I increased infantry by one level. Whenever a "team" was listed, I increased it to a squad. Whenever a "squad" was listed, I increased it to a platoon, and so forth.
2) I broke up single large terrain features into multiple smaller ones. Big hills became multiple small hills, for example, and big forests became multiple stands of forest.
3) There still wasn't enough terrain density for Crossfire, so I added four fields; two each on either side of the river.
4) I added hedges to represent thick vegetation and trees growing along the river bank.
5) Rolled reinforcements were to arrive on Turn 2 for the Germans and Turn 5 for the Soviets. Since there are no turns in Crossfire, I used the Moving Clock variant from Hit the Dirt. After every initiative, one hour would be added to the clock on the roll of a "5" or a "6". The German reinforcements would arrive at 1000 hours and the Russian reinforcments at 1300 hours.
6) The river banks are described by the scenario as being "muddy" and requiring bog checks. I treated them as a vehicle version of barbed wire, with fast vehicles (T70s and T34s) getting bogged down on a roll of a 1-2, medium vehicles (Panzer IIIs, Panzer IVs and Halftracks) on a 1-3, heavy vehicles (KV-1s) on a 1-4, and early Tigers on a 1-5.
7) Additionally, the Soviets received 18" of anti-tank ditch, which they placed across the road. I treated it as a combination of the river bank, above, and low ground for infantry.
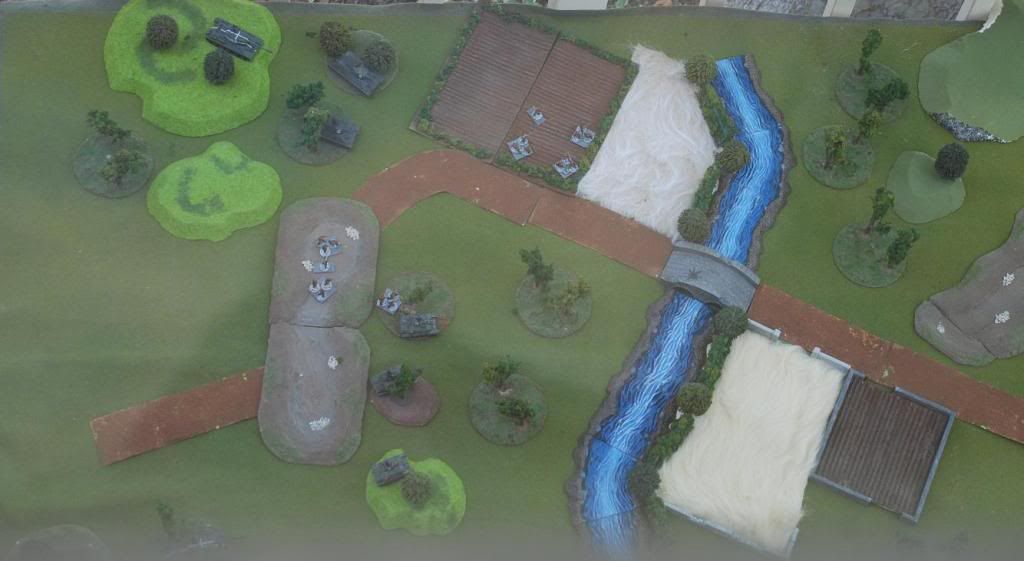
(aerial reconnaissance photo...the bottom half is missing, where a Russian T-34 Platoon is hiding)
This is largely an armor versus armor scenario, but I wanted it to still feel like a Crossfire game. So I made the following changes to the Crossfire vehicle rules:
1) Armored Fighting Vehicles have three possible states: "Exposed Commander", "Buttoned Up", and "Bailed Out".
.....a) Vehicles in the "Exposed Commander" state are represented by Commander figure sticking out of the command hatch.
.....b) Vehicles in the "Buttoned Up" state are represented by having no visible crew.
.....c) Vehicles in the "Bailed Out" state have no visible crew, and have a Submachinegun squad placed, suppressed, touching the rear of the vehicle.
2) Armored Fighting Vehicles may voluntary go from "Exposed Commander" to "Buttoned Up" on any freindly initiative.
3) However, going from "Buttoned Up" to "Exposed Commander" requires an Armored Fighting Vehicle to make a Rally Roll, as does going from "Bailed Out" to "Buttoned Up". Both Rally rolls are made as if the Armored Fighting Vehicle was rallying from being suppressed.
4) Vehicles that have become "Bailed Out" may never again become "Exposed commander". For the rest of the game the best state they can achieve is "Buttoned Up."
5) Vehicles in the "Exposed Commander" have unlimited move and fire actions, just like infantry. They can create fire groups with their Main Gun and their Machine Gun.
.....a) Vehicles in the "Exposed Commander" state are vulnerable to infantry fire. Treat them as Ground Hugging Infantry. If they are suppressed, they immediately change from "Exposed Commander" to "Buttoned Up". Initiative is lost or retained as if the attacking infantry scored a suppression.
.....b) If an "Exposed Commander" vehicle is hit by infantry fire and a kill is scored, the target vehicle is immediately changed to the "Bailed Out" state.
.....b) Vehicles in the "Exposed Commander" state are vulnerable to anti-tank fire. If an anti-tank gun hits a vehicle with its Accuracy die, but fails to penetrate, immediately change the target vehicle from the "Exposed Commander" state to the "Buttoned Up" state. Initiative is lost or retained as if the attacking anti-tank gun scored a suppression.
6) Armored Fighting Vehicles in the "Buttoned Up" state are extremely limited in their actions. They may move *or* fire, but not both, exactly per normal Crossfire vehicle rules.
7) Armored Fighting Vehicles in the "Bailed Out" state can not take any actions. Instead, the SMG Squad (representing the crew) may take actions. The SMG Squad always begins suppressed, so its first action must be to rally. If it succeeds it can either move and attack like a normal SMG Squad or it may attempt to rally again. If it succeeds this second rally change it from "Bailed Out" to "Buttoned Up". The Armored Fighting Vehicle may now take single actions exactly per normal Crossfire vehicle rules.
I was very pleased with the result. The tanks in this scenario moved and reacted much like infantry in regular Crossfire. Initiative constantly changed. And there were several moments where one side or the other was threatening a complete breakthrough and an attack on the vulnerable rear.
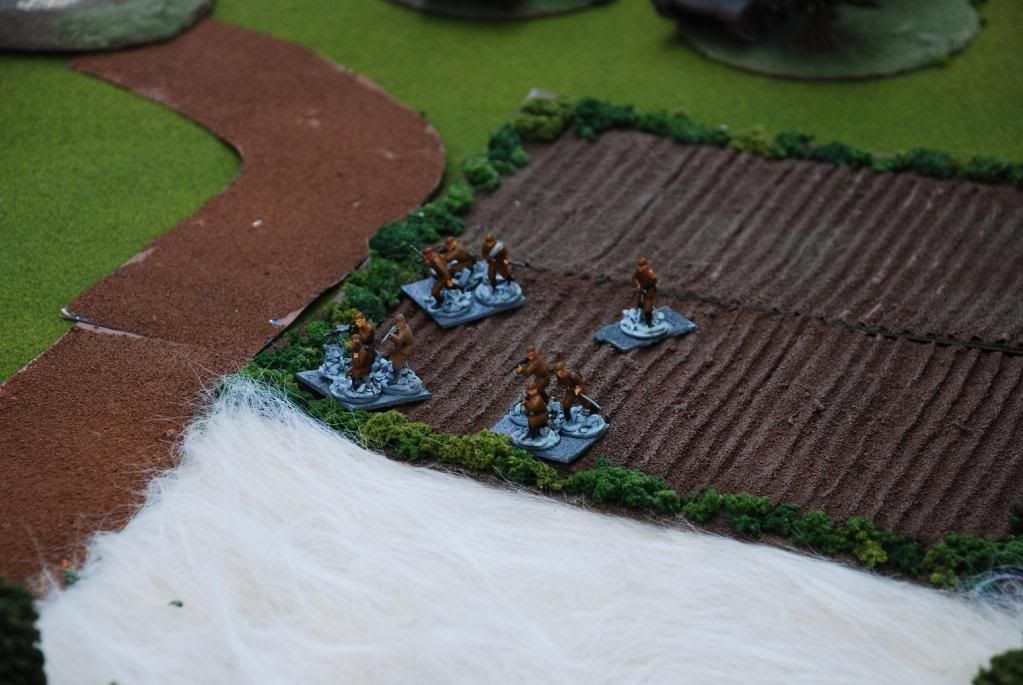
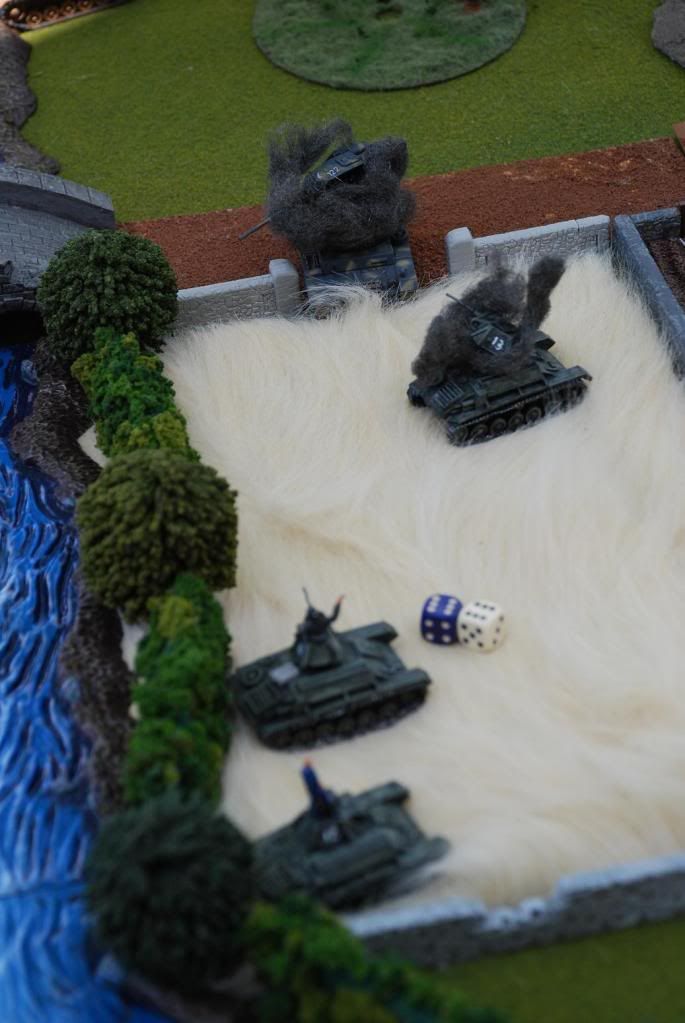
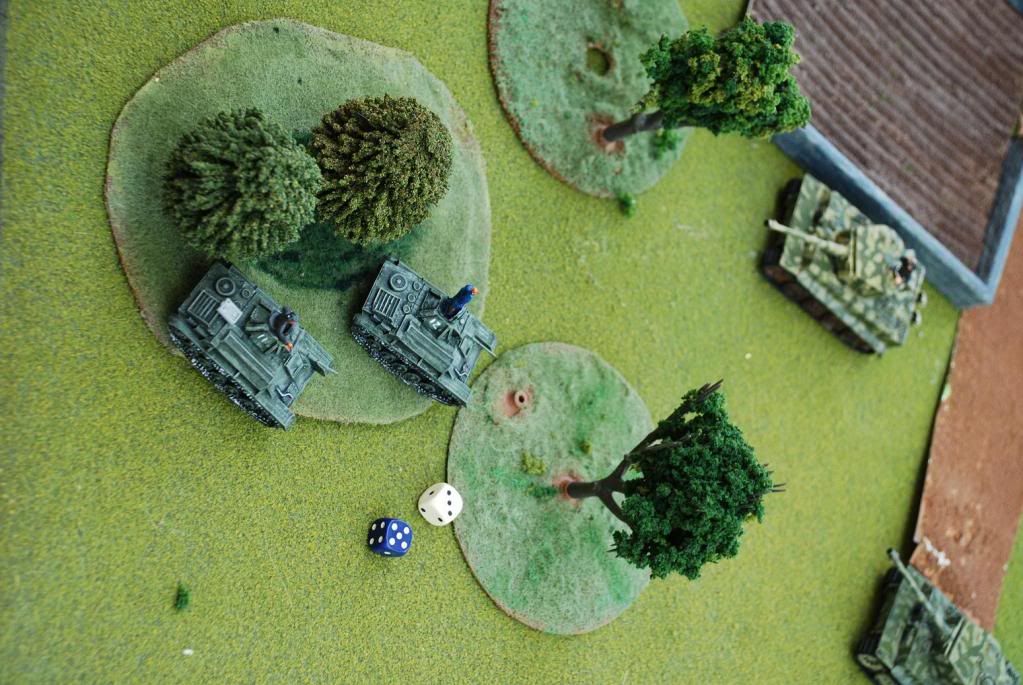
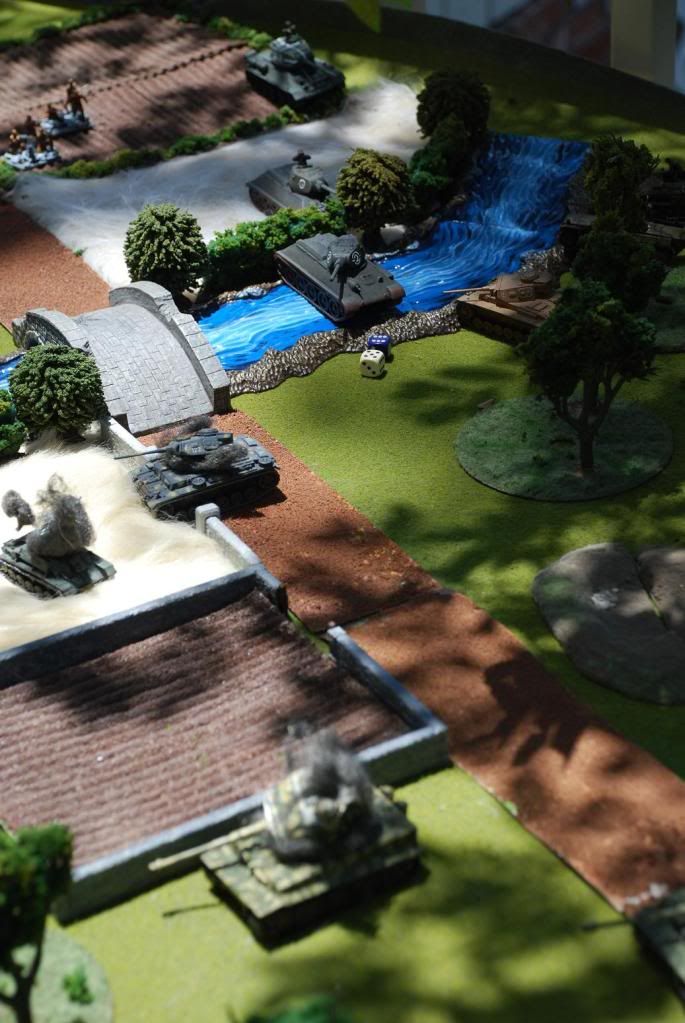
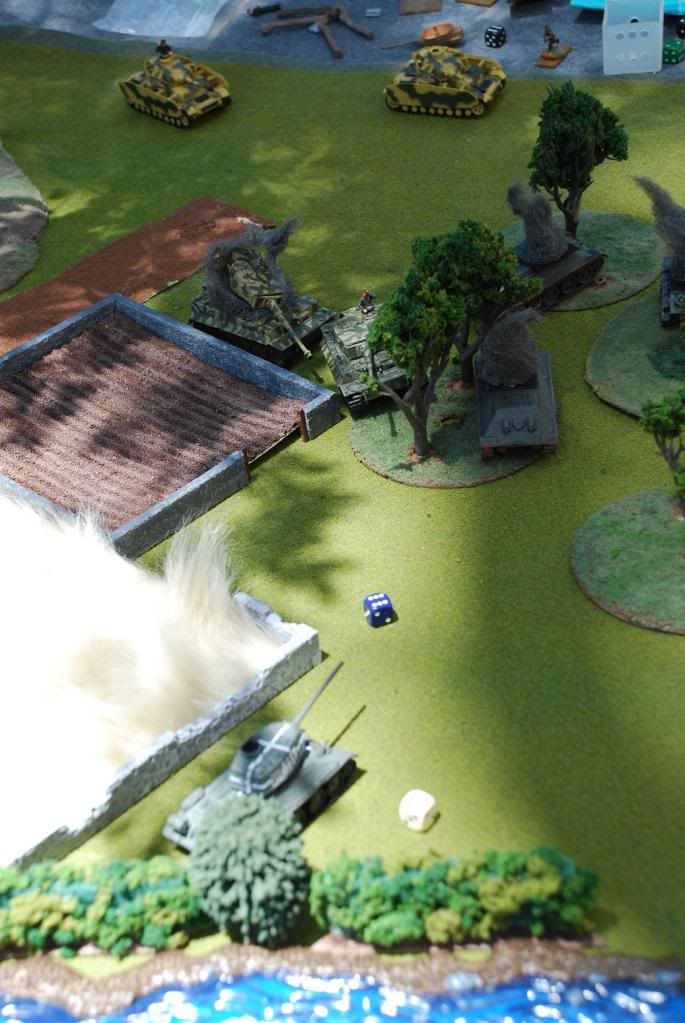
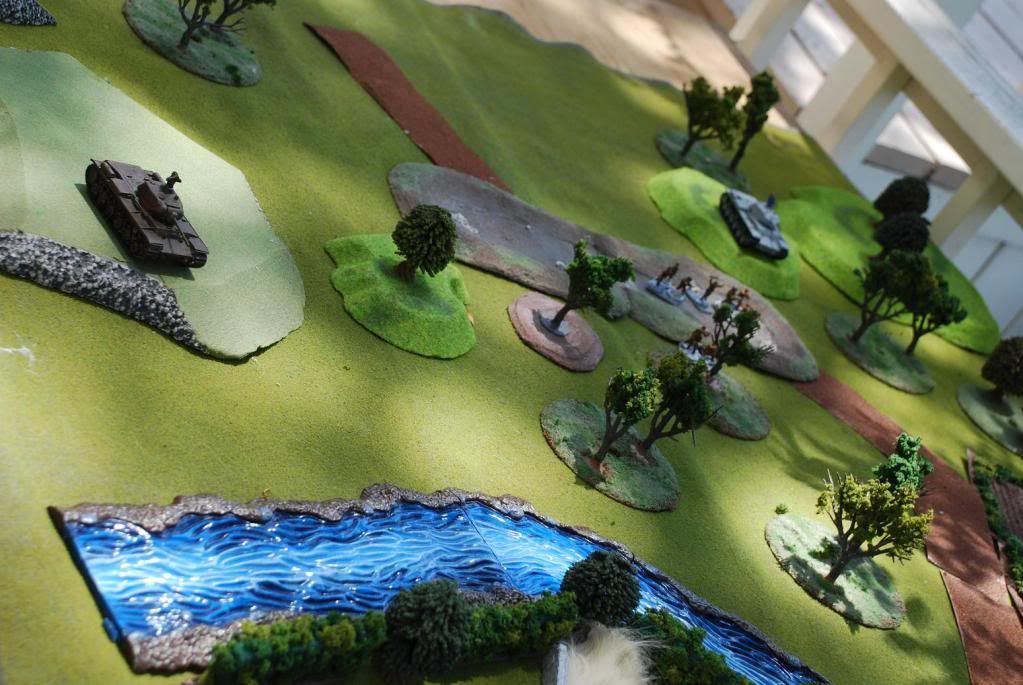
Russian Deployment:
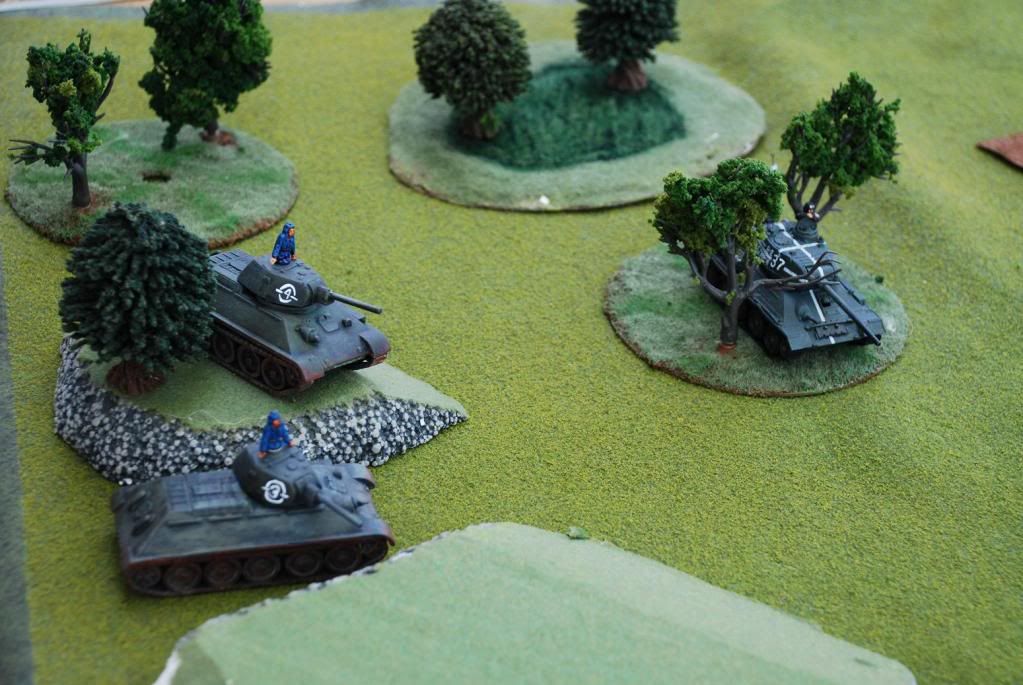
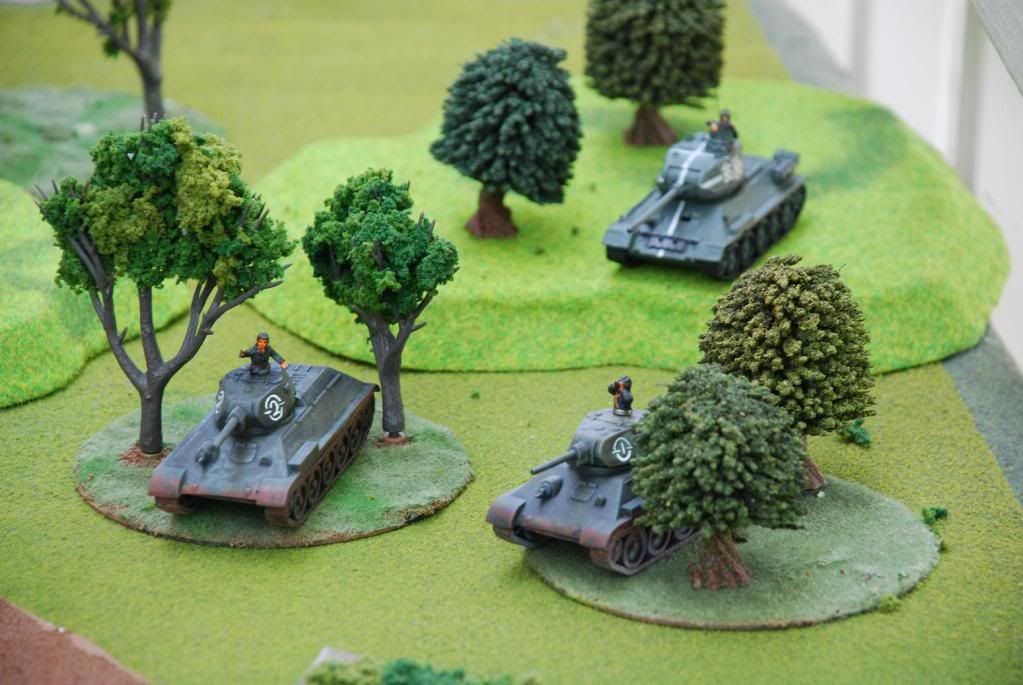
T-34 First Platoon takes up positions on the German left (T34/85 vehicle number 37 is actually a T34/76).
T70 Platoon takes up positions in the woods on the German center, in front of the anti-tank ditch.
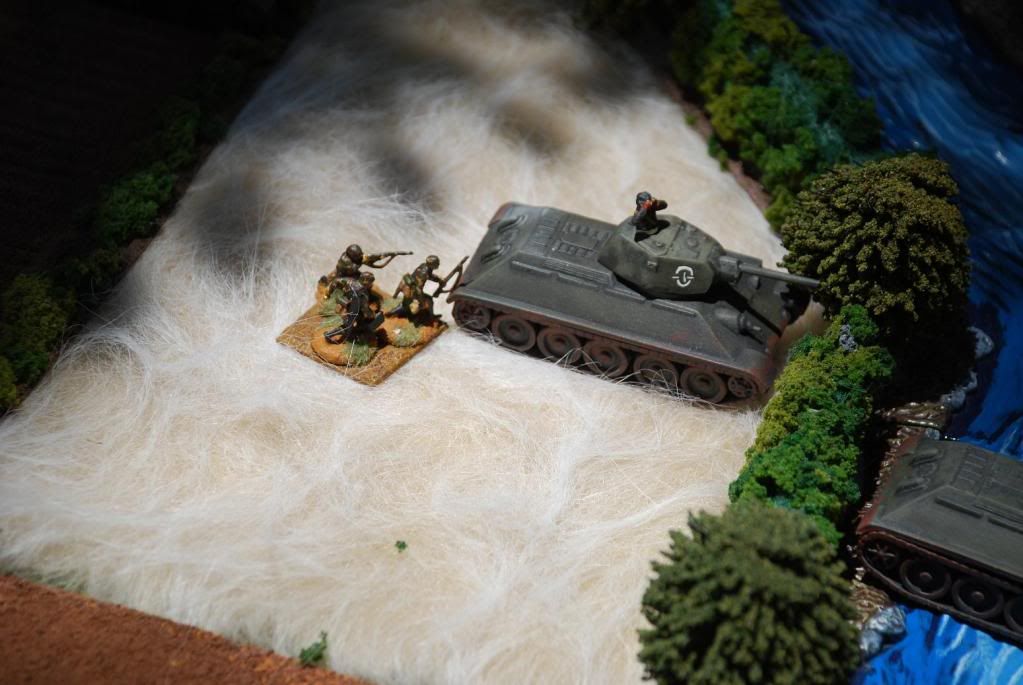
A Submachinegun Platoon hides in the anti-tank ditch, ready to assault any german armor that gets stuck trying to cross.
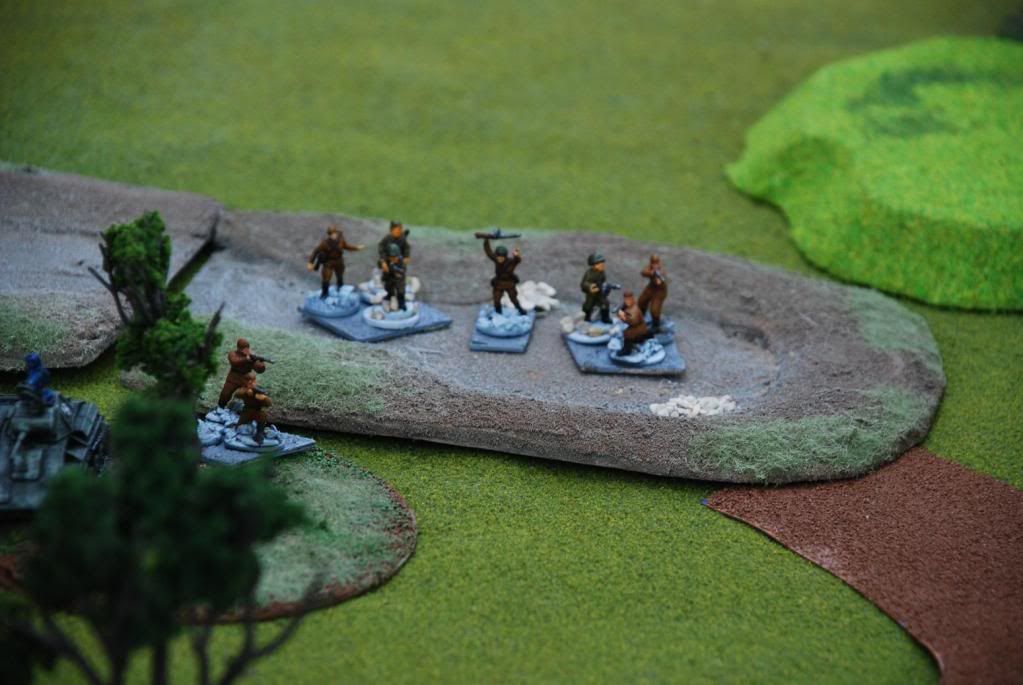
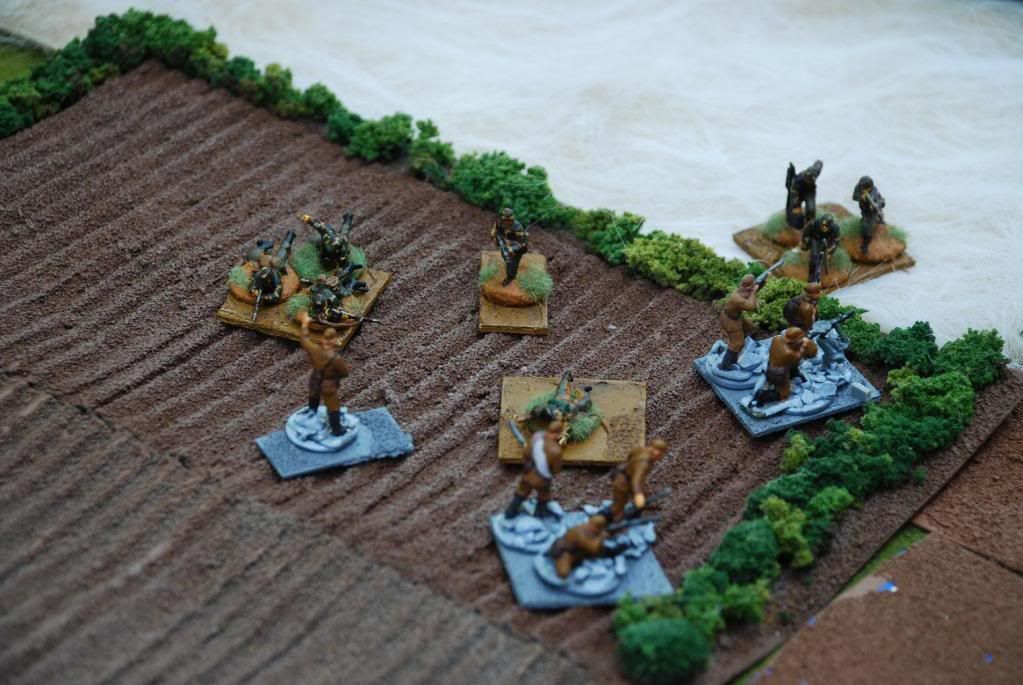
A Rifle Squad hides in the fields on the German right, ready to assault any german armor trying a covered approach.
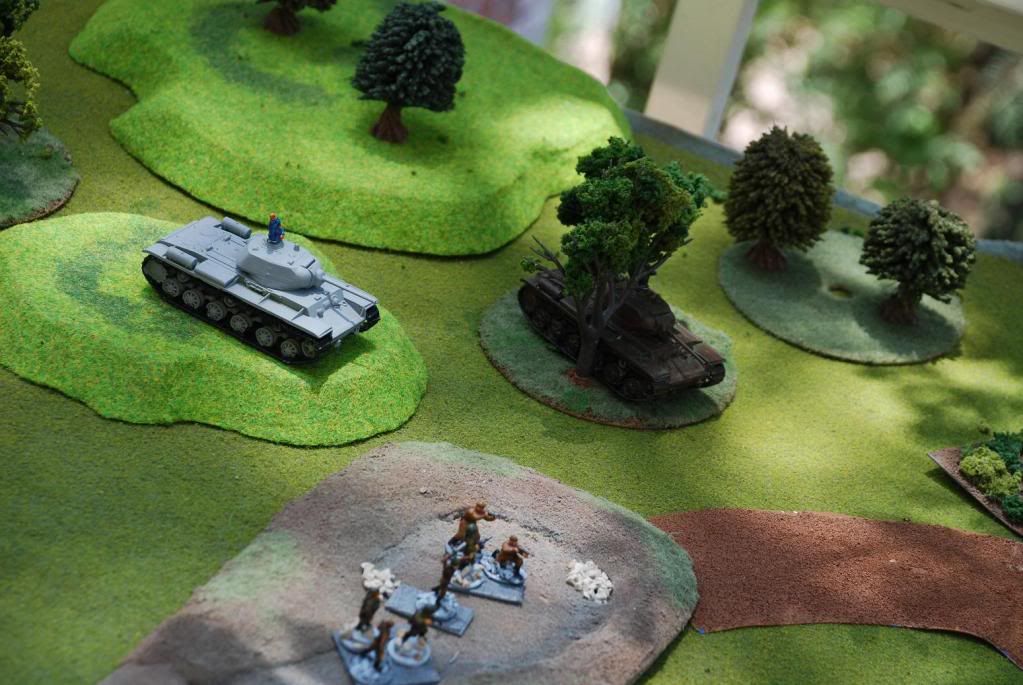
And, finally, T-34 Second Platoon takes up position in the wooded hills behind the Rifle Squad, where the platoon had clear line of fire to the stone bridge (again, the T34/85 is a proxy for what should really be a third T34/76).
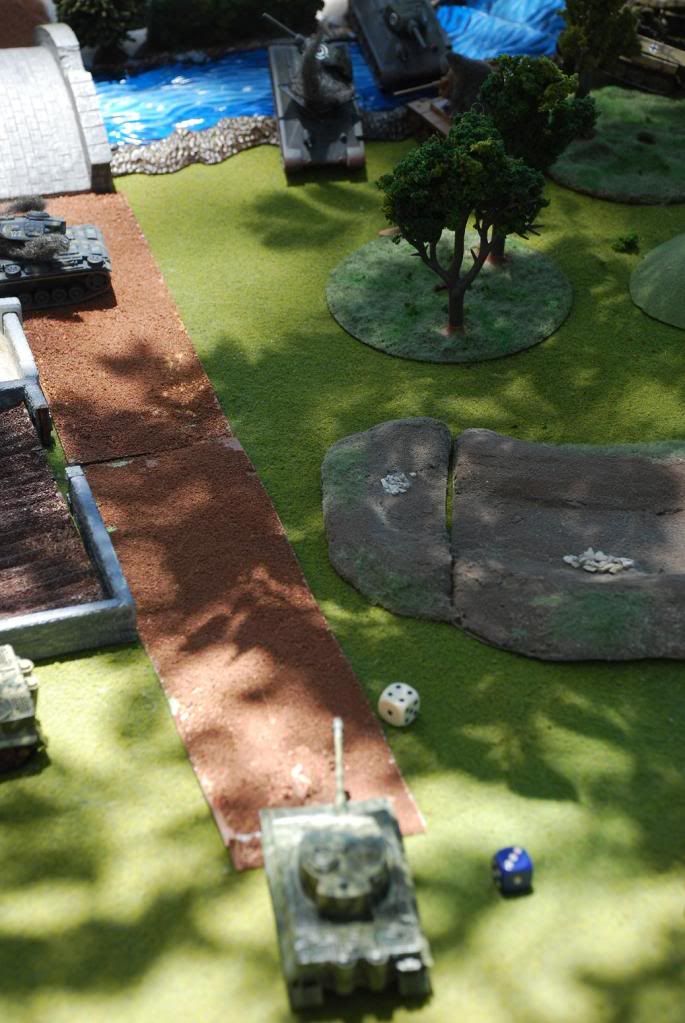
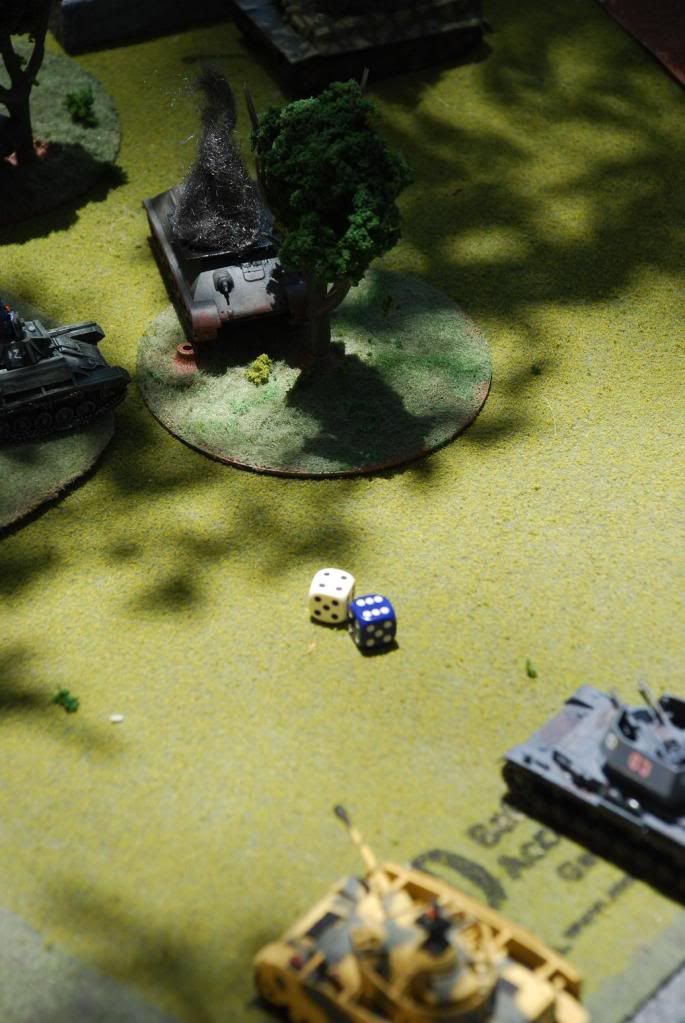
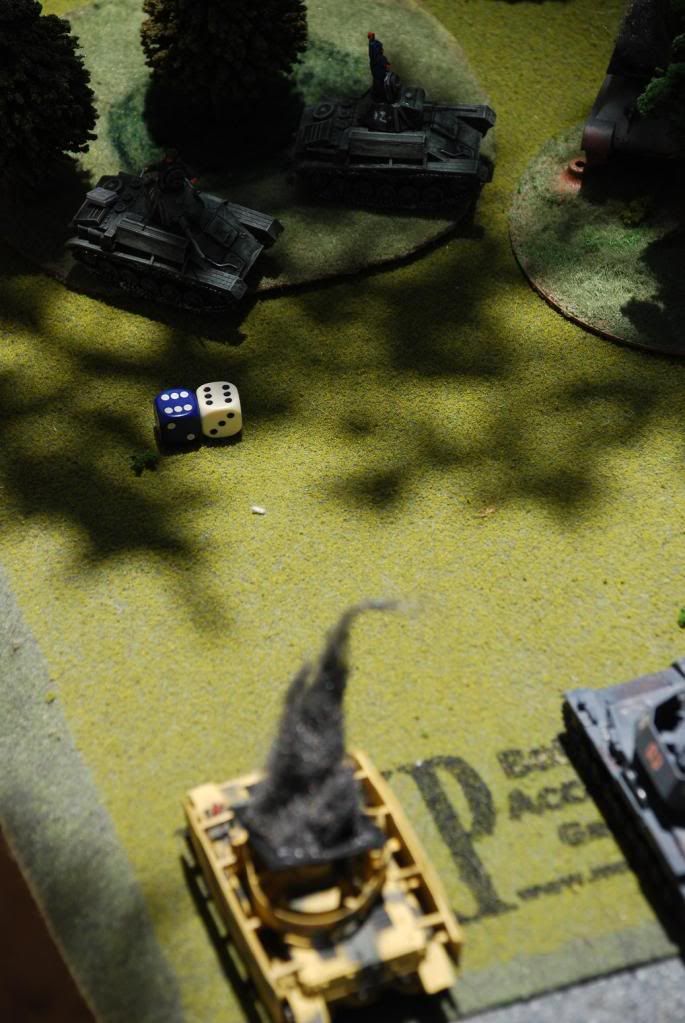
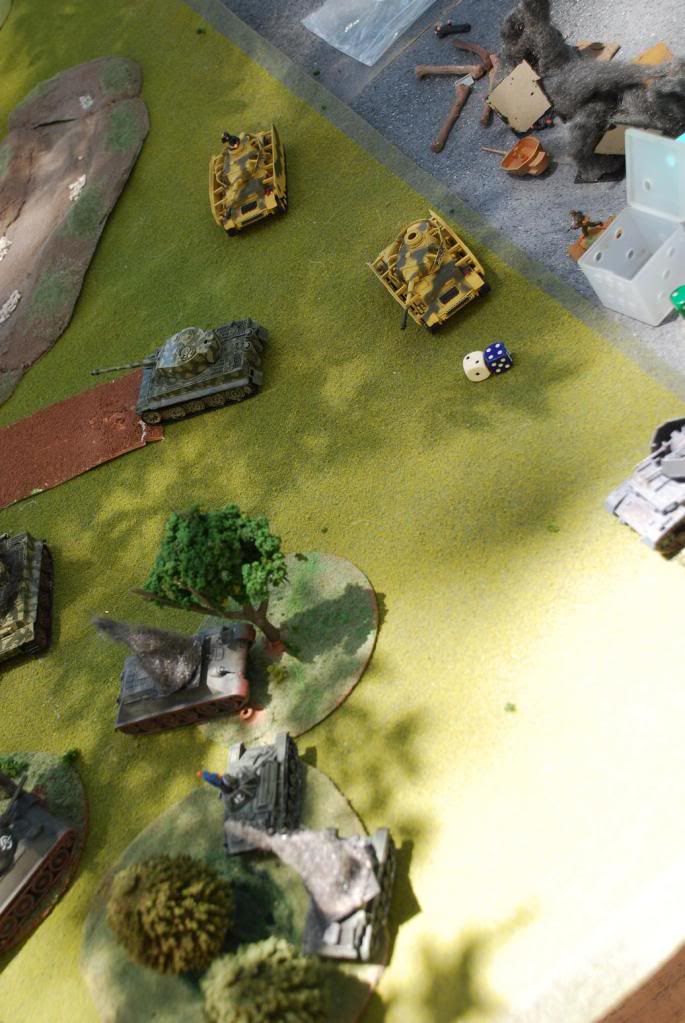
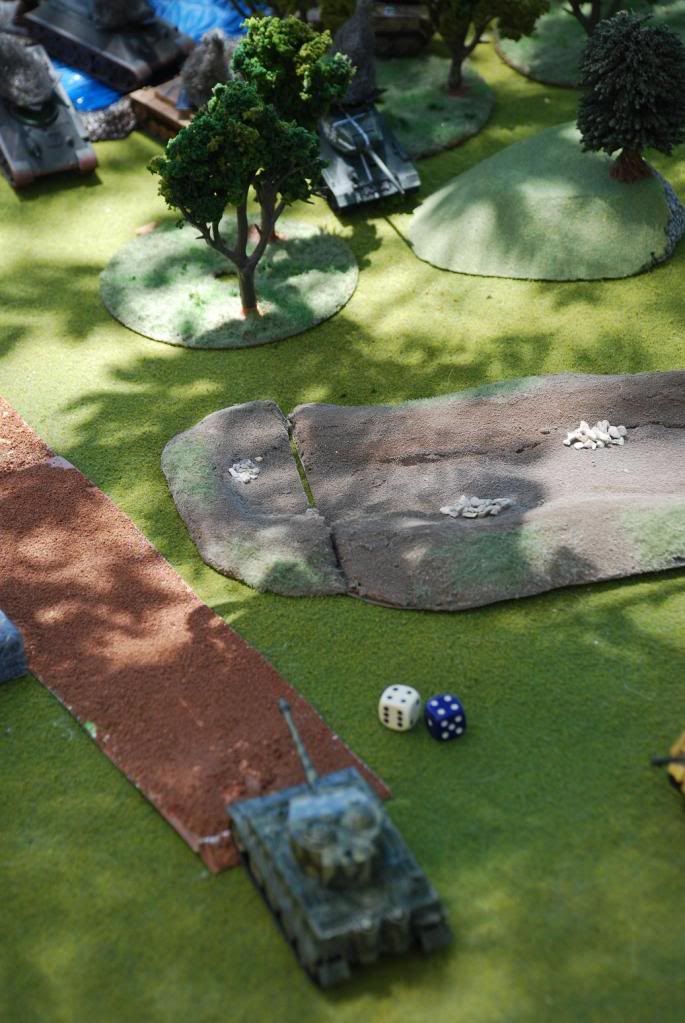
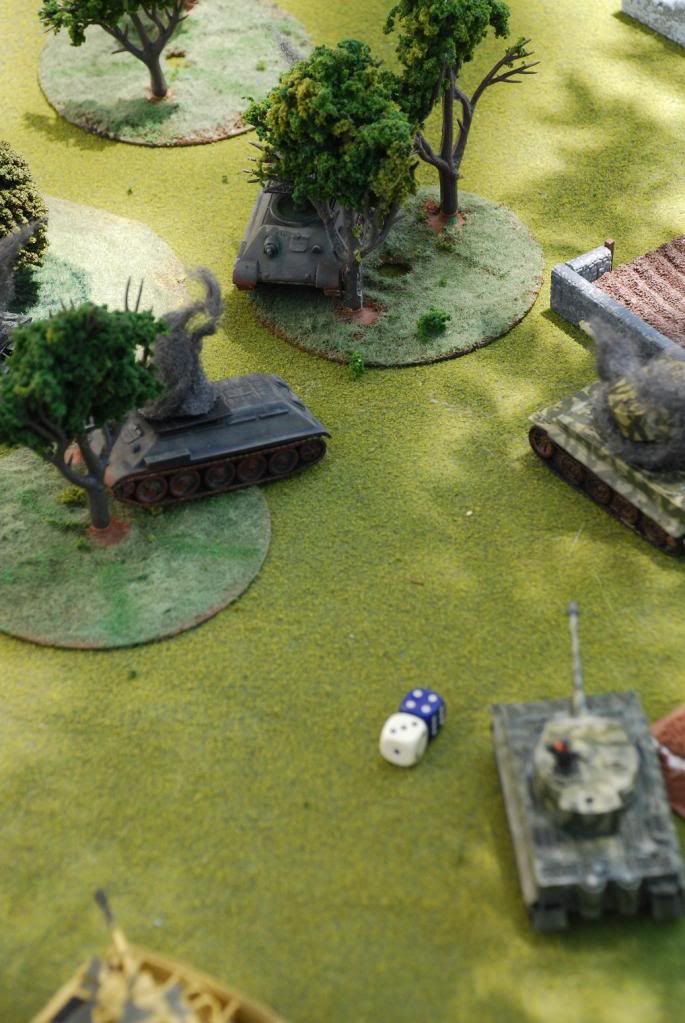
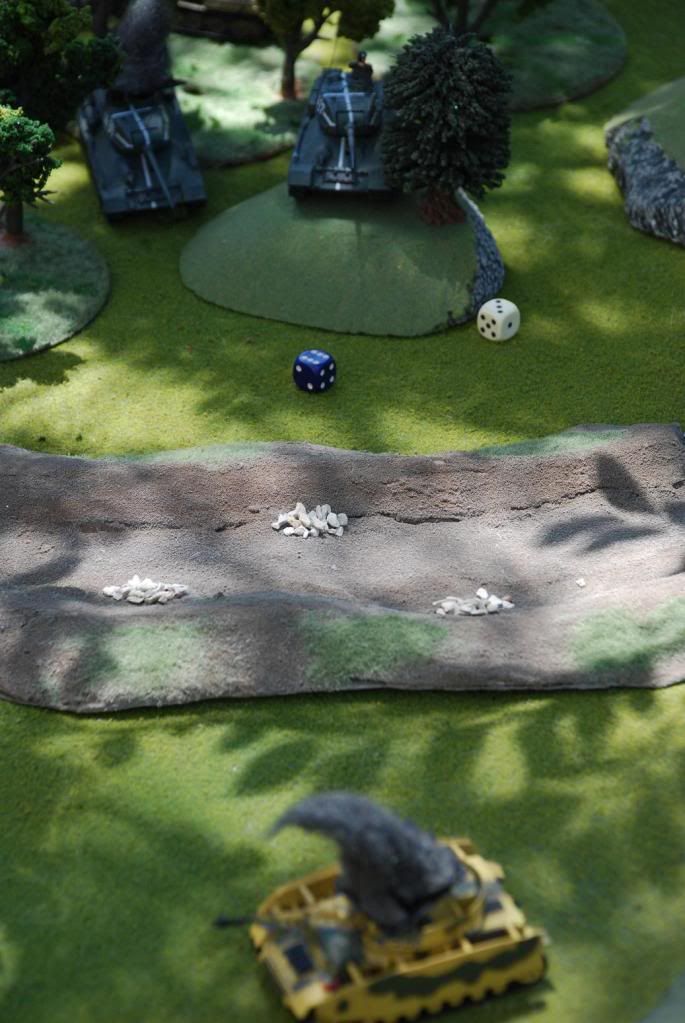
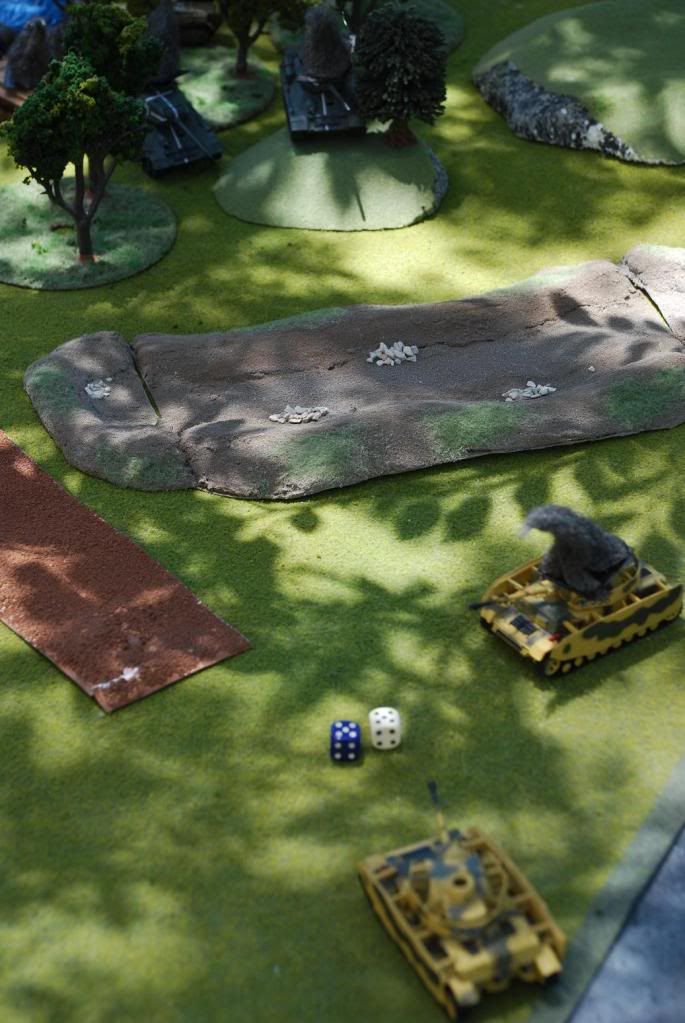
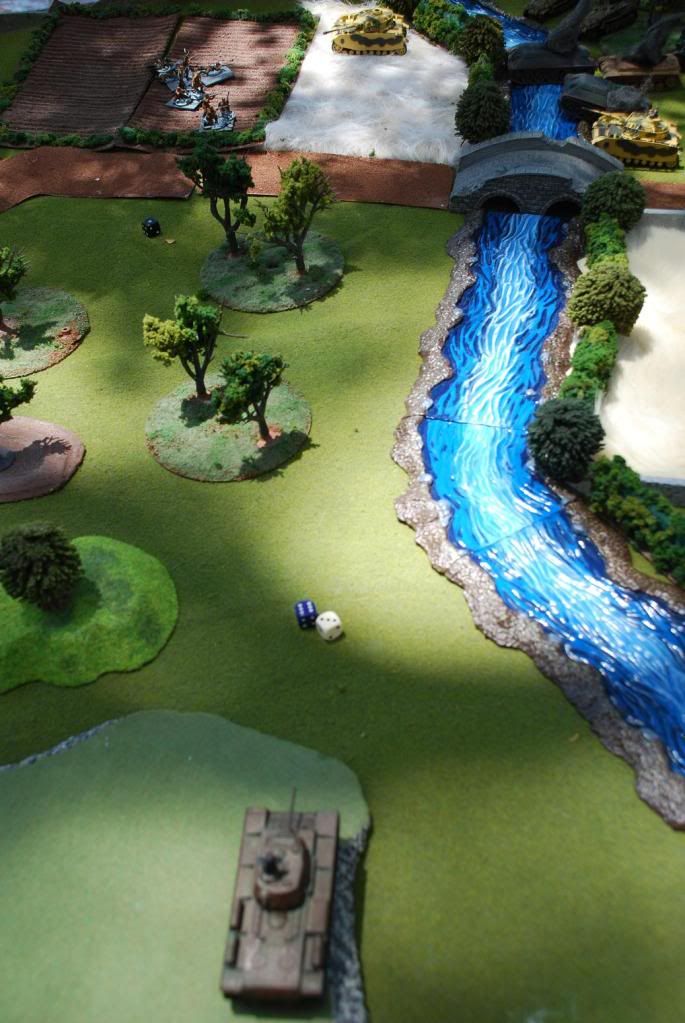
The Battle Report (Note: in all tank fire rolls, the blue die is the accuracy die and the white die the penetration die)
Initiative 1: Germans move up to River on German Right.
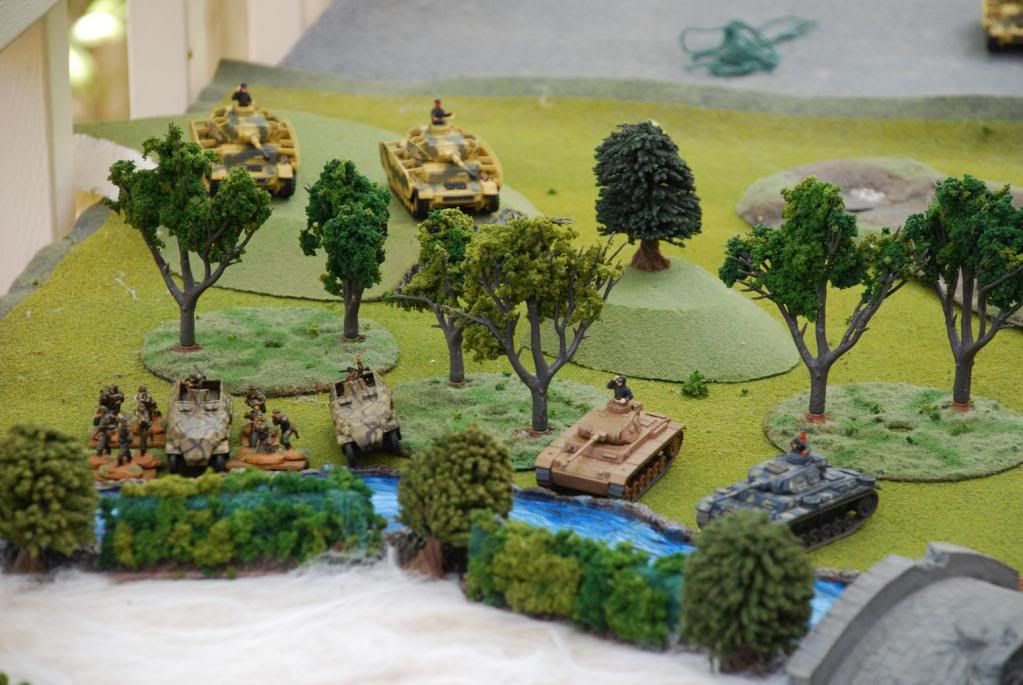
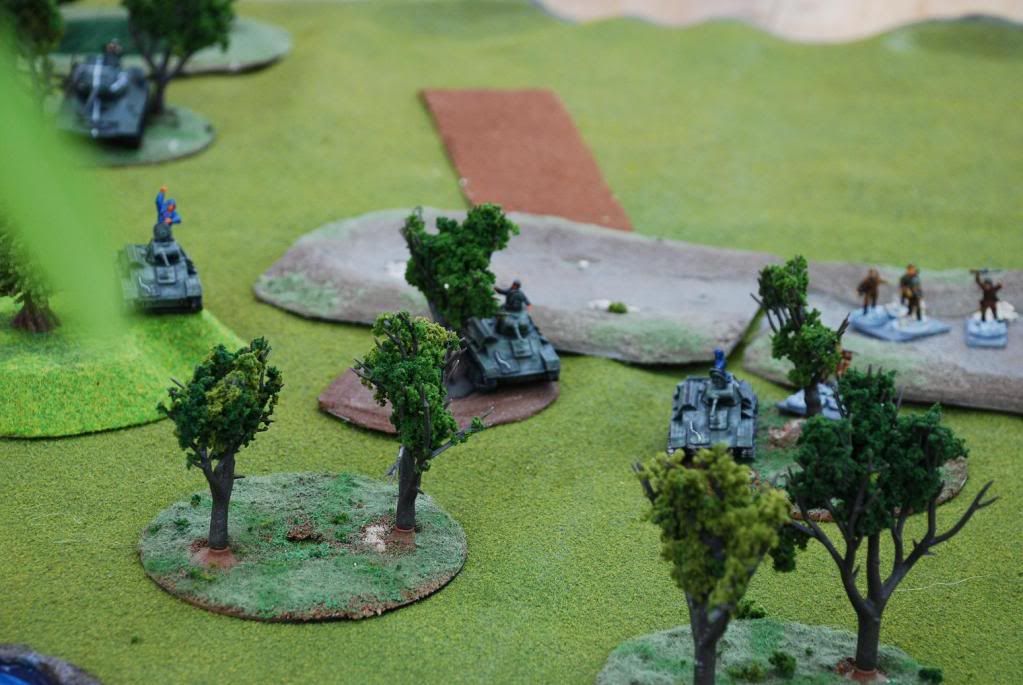
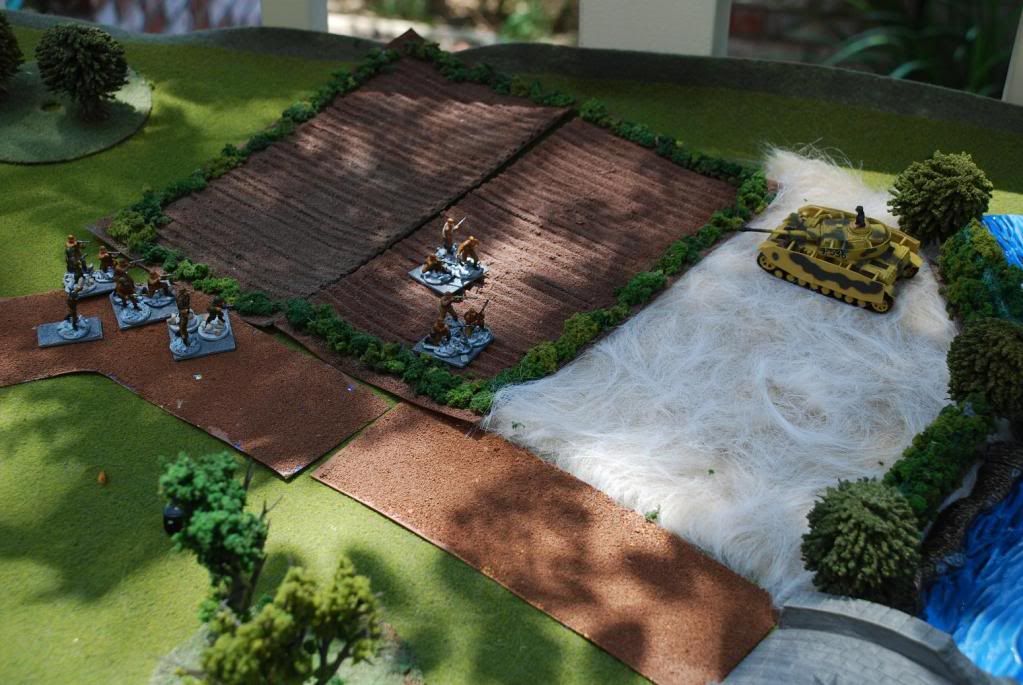
German Panzergrenadier platoon dismounts and crosses the river. They move through the fields against ineffective Russian rifle fire. Then they sprint out and destroy one Russian squad and the platoon HQ in close combat. Before they can destroy a second squad, the German Panzergrenadiers come under fire from the T-34's and are suppressed.
Initiative 2: Seeing that the Germans are fully commited on their right, the T70s cross the river on the German Left in an effort to outflank them. They almost succeed, but the lead T70 is destroyed by a Panzer IIIJ on overwatch.
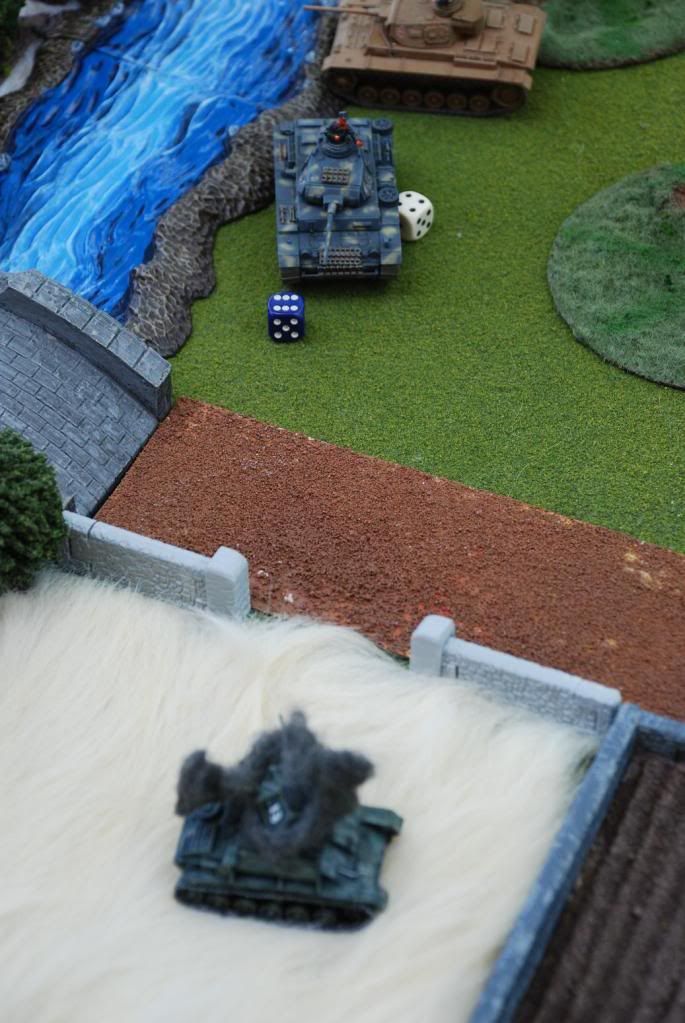
Initiative 3: The Panzer IIIJ tries to attack the other T70s, but is destroyed by them.
This allows the remaining T70's to outflank the Tigers. Their 45mm guns fail to penetrate the Tigers' heavy armor, but they do succeed in causing one Tiger to button up.
T-34 First Platoon tries to follow the T70s for a big push against the German left, but the last one gets bogged down trying to cross the river.
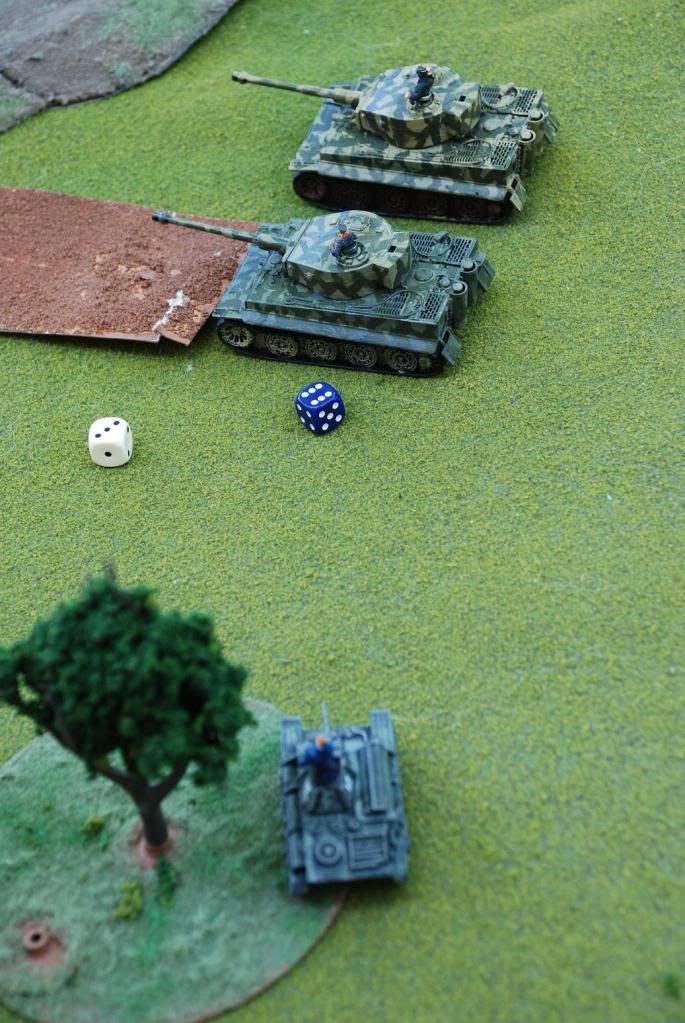
Initiative 4: The Tigers turn to defend themselves against the T70s, but as they approach they come under a hail of 45mm shells, forcing the commander of the second Tiger to button up.
Initiative 5: T-34 First Platoon successfully crosses the river but the rear tank gets hit by a non-penetrating 50mm shell, forcing it to button up.

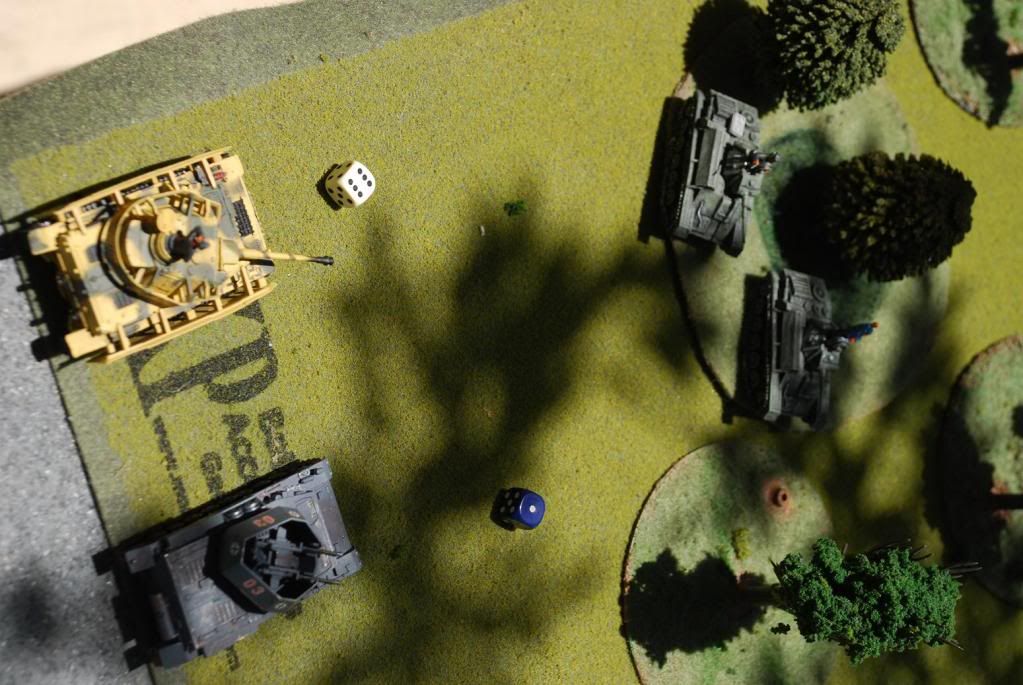
Initative 6: A Panzer IV tries to come to the aid of the Tigers but is hit by non-penetrating 45mm shells from the T-70s.
Initiative 7: The T70s continue to fire at the Panzer IV, but fail to penetrate its armor.
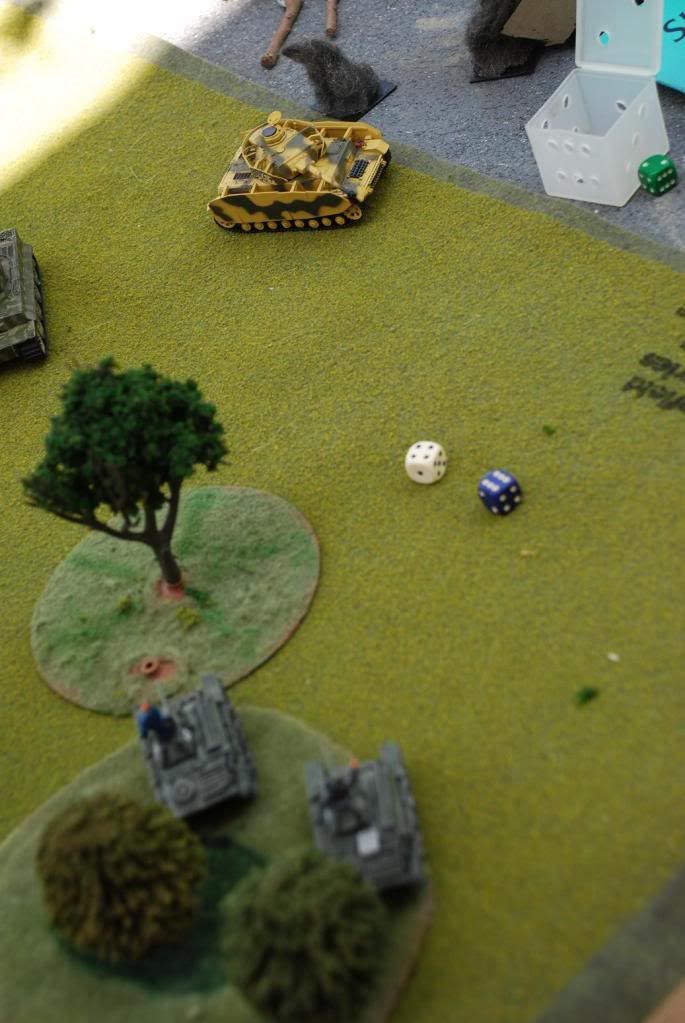
Initative 8: German reinforcements arrive on the German Left: two more Panzer IVG's (Whirblewind is a proxy for a PzrIV). They fail to hit the nimble T70s hiding in the woods.
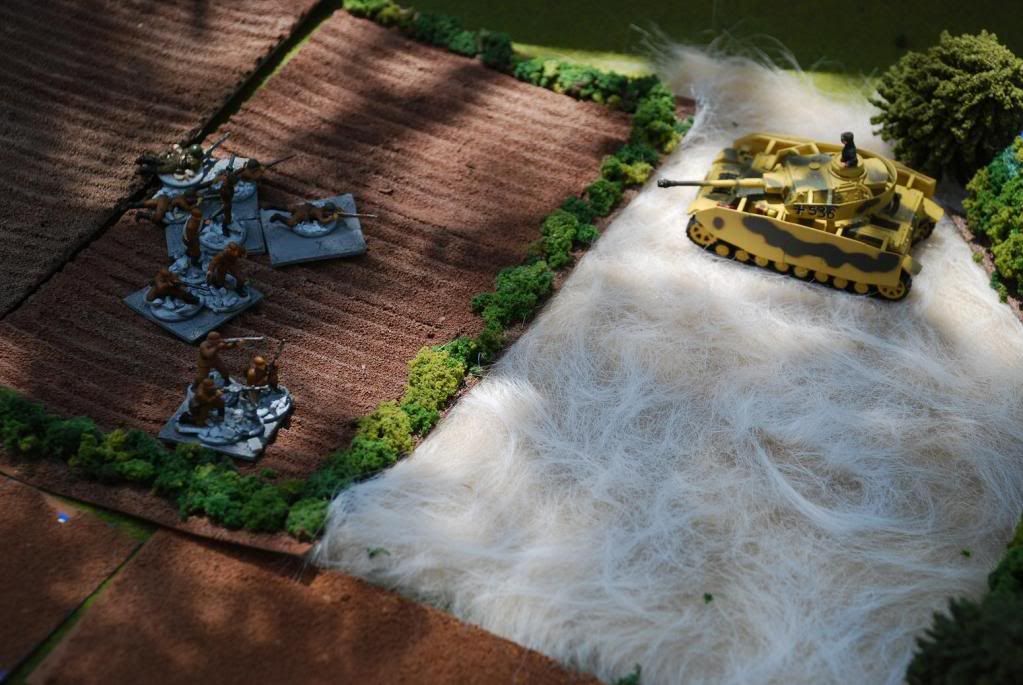
Initiative 9: Sensing that the attack on the German Left is hitting strong resistance, T-34 Second Platoon tries to hit the German right. First they successfully destroy two German panzergrenadier squads still lurking in the fields and ignore the third in a rush for the river. The first tank makes it into the river under fire from remaining Panzer IIIJ.
But the second tank bogs down on the muddy river bank.
Initiative 10: The last Panzergrenadier squad tries to close assault the bogged down T-34. Despite a +1 advantage (for their veteran status) the Panzergrenadiers lose the engagement.
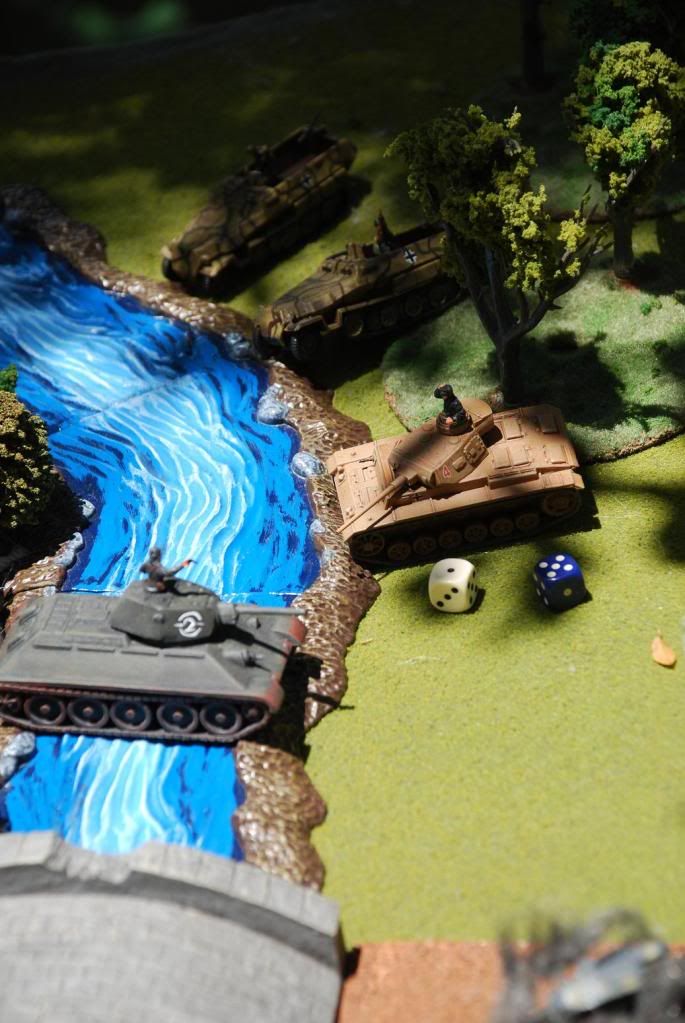
Initiative 11: A T-34 from Second Platoon ignores the Panzer III and destroys a Tiger by hitting it in the rear armor.
The second T-34 finally makes it into the river and destroys the Panzer IIIJ. But the Panzergrenadier's Sdkfz 251/10 bounces a 37mm shell off it, causing the commander to button the hatch.
Initiative 12: A Tiger returns fire and destroys the T-34 that burned its platoon mate.
And then the Sdkfz 251/10 rolls box cars, destroying the second T-34 from second platoon.
It's a bad initiative for the T-34s as a Panzer IV brews up a third, this one from first platoon.
The same Panzer IV's fail to hit the little T70s that are still lurking in the woods, though.
Initiative 13: And payback's a b*tch as the T70 rolls box cars against a Panzer IV.
The other T70 causes the whirblewind proxy Panzer IV to button up but then misses its follow-up shot, losing the initiative.
Initiative 14: A buttoned up Panzer IV brews up a lurking T70. But then it fails its rally roll in an attempt to expose its commander.
Initiative 15: The last T-34 from second platoon pushes across the river and tries to get around on the German right, but it gets tagged by an alert Tiger gunner.
Initiative 16: The wirblewind Panzer IV finally destroys the last troublesome T70.
The Tiger rallies, exposing its commander, and returns its attention to the German Left where it kills another T-34. It looks like it will roll over the table, destroying everything in its path.
However, when it tries to kill the last T34, it misses.
Initiative 17: The T-34's return fire doesn't miss.
Seizing the initiative, it disappears into a thick field, only to reappear on a wooded hill on the German right. It brews up a Panzer IV.
It can't sustain the one-tank offensive, however, and bounces a shell off the next Panzer IV it fires at. Since that Panzer was already buttoned up, the hit has no effect and initiative is lost.
Initiative 18: And that Panzer IV kills the last T-34.
It's two Panzer IV's against a submachinegun platoon. The Panzer IV's know they can just avoid the platoon, but to do so they have to expose their commanders. One Panzer IV successfully rallies; the other fails.
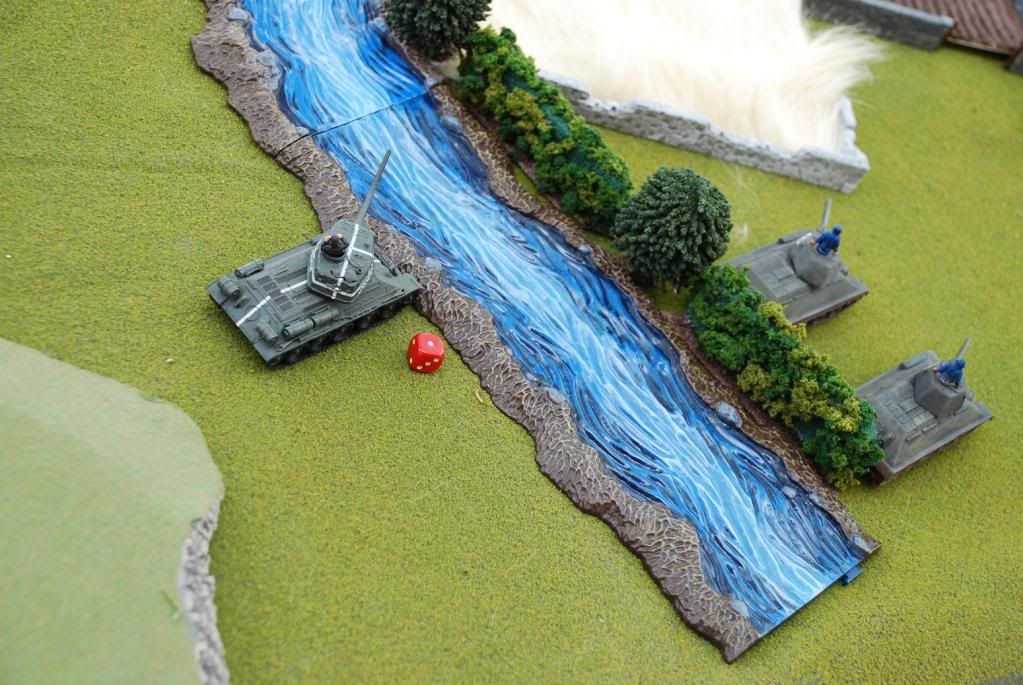
Initiative 19: And as the initiative shifts, the moving clock finally allows the Russians to receive their reinforcements: two KV-1s! Looks like the Russians are back in the driver's seat. They push up to cover the bridge and pass the initiative.
Initiative 20: The Panzer IV again fails to rally.
Initiative 21: The Russians, realizing they're right flank is open, re-deploy to cover the German left.
Initiative 22: The Germans push in on their right, instead, but the second tank bogs down on the riverbank.
Initiative 23: The Russian infantry attacks, trying to close combat the tank in the field.
Unfortunately they don't get far before a group fire from the Panzer IV's main gun and machinegun suppress them.
Initiative 24: The Panzer IV fails to kill any more infantry.
Initiative 25: The KV1 turns to fire at the Panzer IV in an effort to relieve the infantry. It bounces a shell, but succeeds in forcing the German tank to button up.
The Russian infantry fail to rally.
Initiative 26: The Panzer IV returns fire and brews up the KV!

But its platoon mate continues to bog trying to cross the river.
Initiative 27: The final KV moves around on the German left and fires at the Panzer IV...but misses!

Initiative 28: The Panzer IV does not miss.

With all the Russian armor destroyed, the Germans win a hard-fought victory. And the Panzer IV crew, after destroying two T70s, a T-34, and two KV-1s, surely deserve the iron cross!


 Welcome, Guest. Please
  April 20, 2024, 01:55:57 PM


