ALEPH INTELLIGENCE REPORT OPERATION BEACH HEAD
Twelve hours ago communications intercepts reveal a major military operation on Haqqislam Factory Planet 12. In a lightning strike, Combined Army forces lanced on planet and immediately took possession of poorly defended Haqqislam Silk Factories. Haqqislam responded immediately, attempting to smash the Combined Army Forward Operating Bases in "Operation Beach-Head". Naga hackers have cracked the security protocols and provide the following intelligence report on the military action...
Satellite Imagery of Battlefield
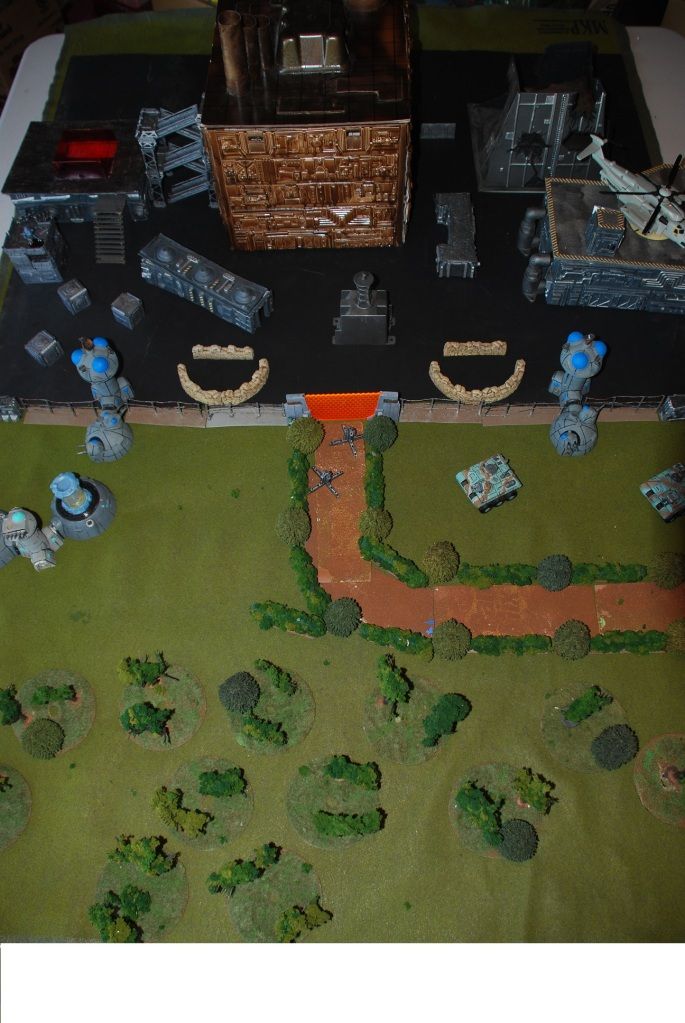
Close-up Imagery of Terrain Features:
Security Fence and Gate
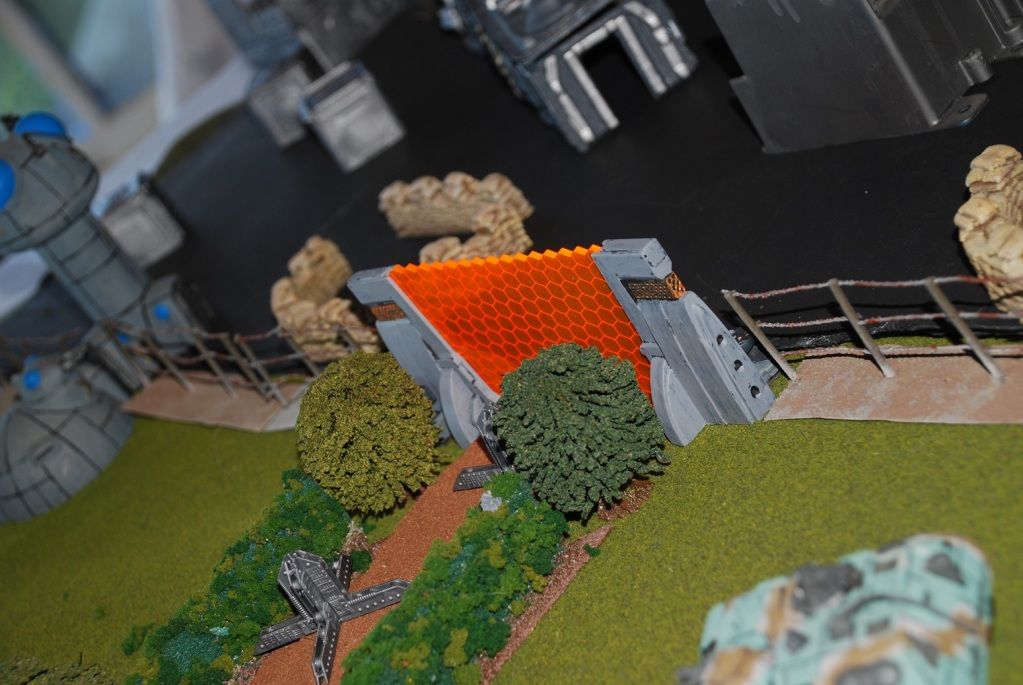
The Security Fence is electrified wire. It is Armor 0 Structure 1 but it can only be destroyed by a Close Combat Attack or by a Template Weapon. Any Close Combat Attack must overcome its Electric Pulse.
The Security Gate is Armor 3 Structure 1. It can be opened with a BTS -3 Hacking or Engineering roll.
Hedgerow
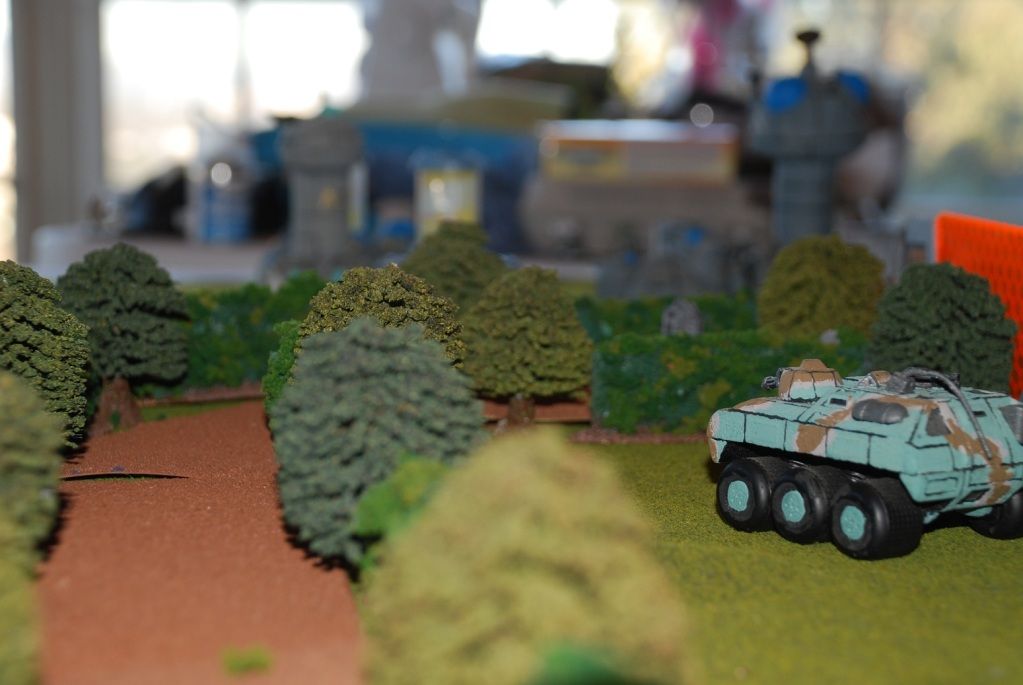
The Hedgerows are a particular alien plant life that disrupts Multi Spectral Visors. As a result they completely block line of fire. Cutting through a Hedgerow is a short skill that requires a PHY roll. Success places the figure on the other side of the Hedgerow in base to base contact with it.
Woodland
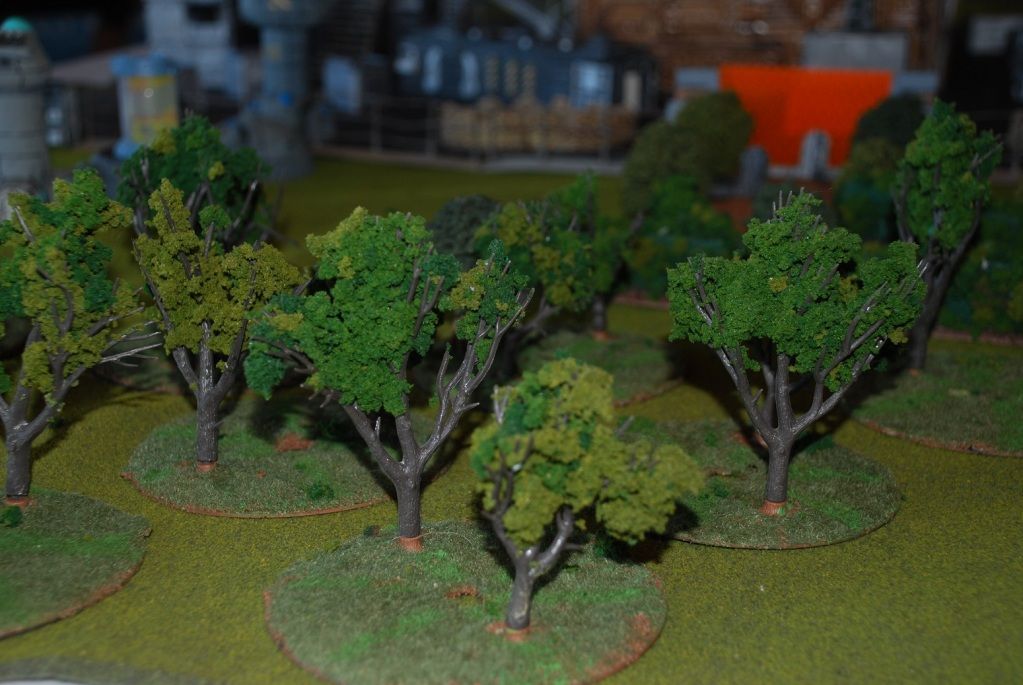
Woodland bases are difficult terrain and a low-visibility zone.
Headquarters Building
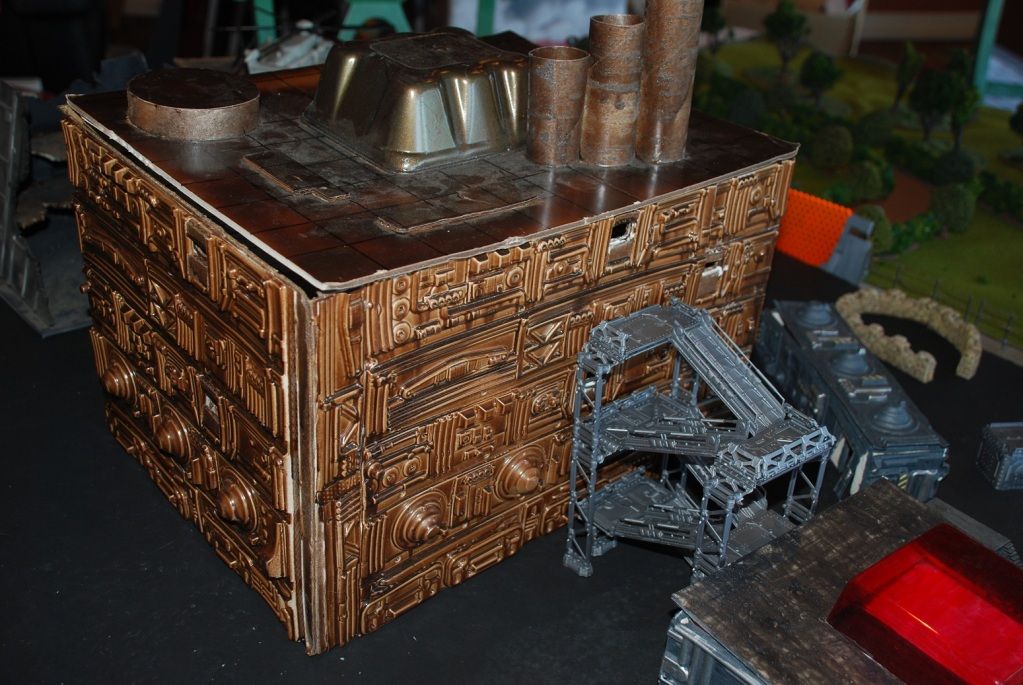
The Headquarters Building has three doors providing access.
Combined Army Defenders
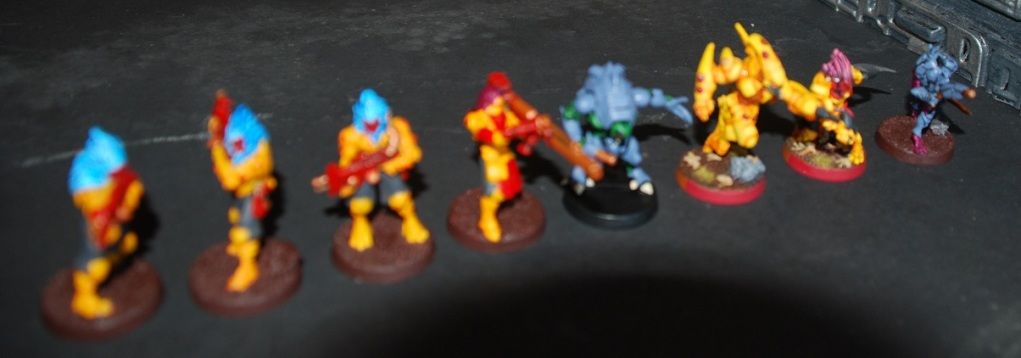
From left to right: Morat Combi Rifle, Morat Combi Rifle, Morat Combi Rifle, Kurgat Autocannon, Vector HMG, Charontid Lt., Daturazi Chain Rifle, Malignos Combi Rifle.
Haqqislam Attackers
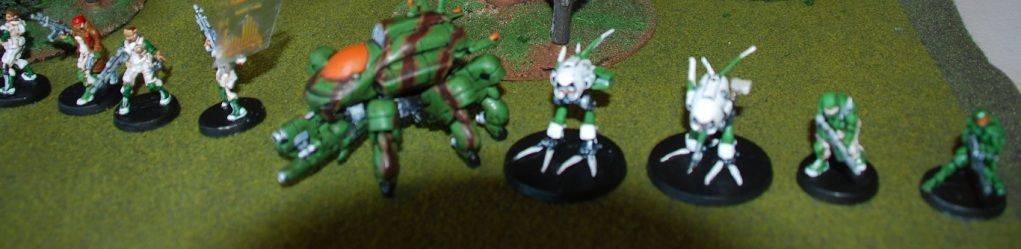
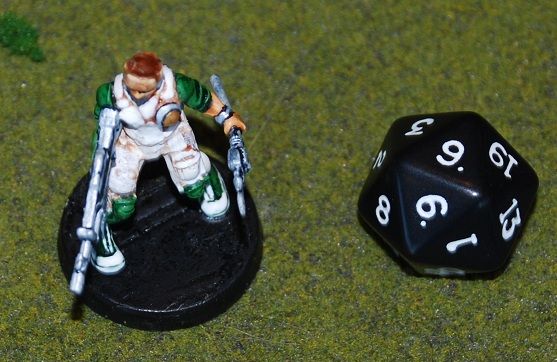
From left to right: Ghulam Rifle, Khawarij Rifle, Hunzakut Forward Observer, Najjarun Engineer (Ghulam Proxy), Maghariba Guard (Multi HMG, Hvy Flamethower), Shaytaniyah Remote (GML), Rafiq Remote (Forward Observer), Djanzaban Doctor, Azra'il (Feuerbach)
Initiative:
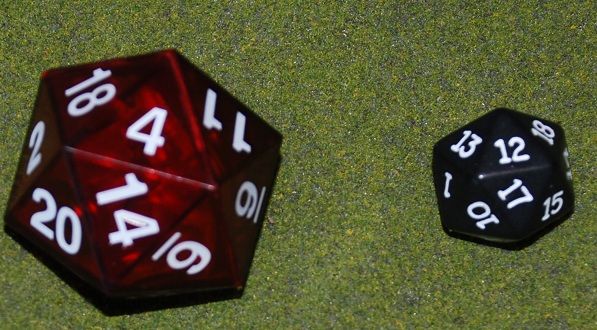
Haqqislam (black dice are Haqq) wins initiative and chooses to deploy second and go second.
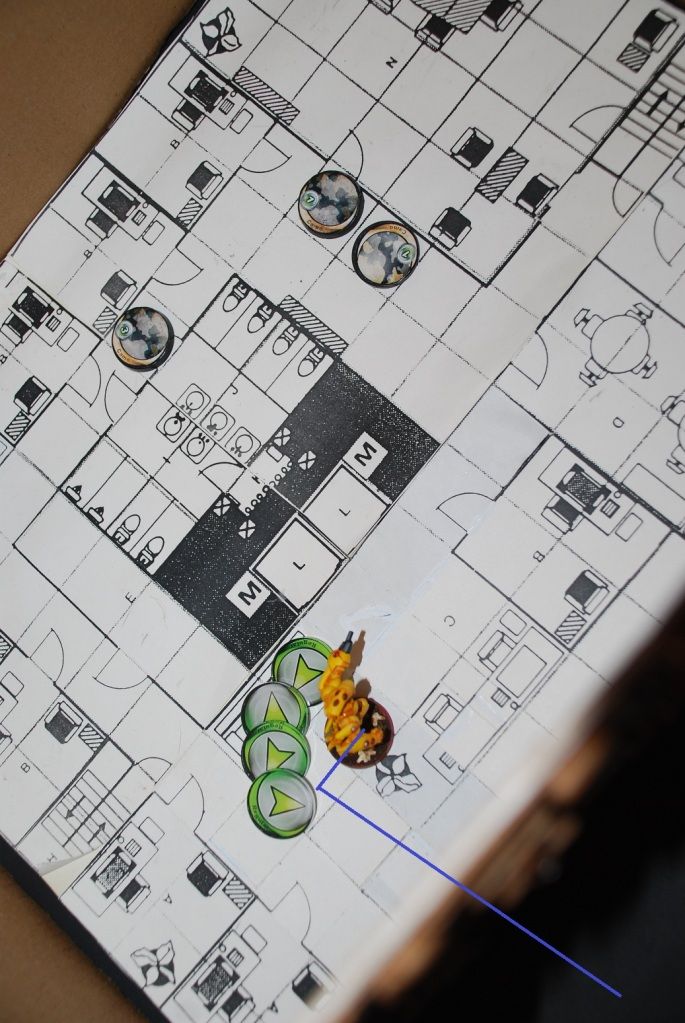
Infiltration
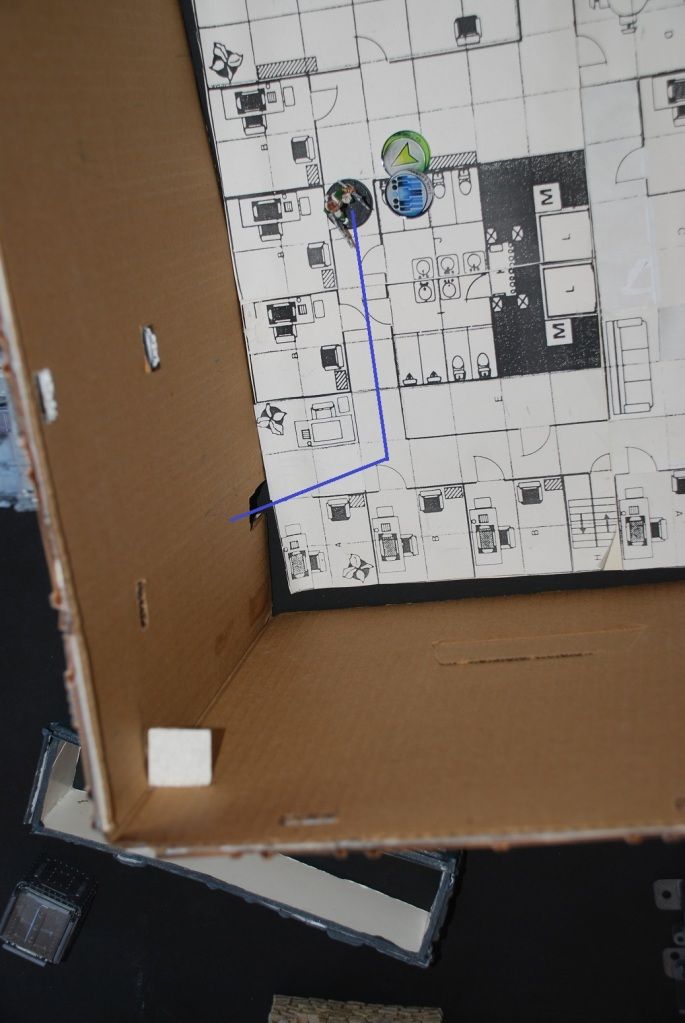
Hunzakut tries to infiltrate right next to the Headquarters building but fails.
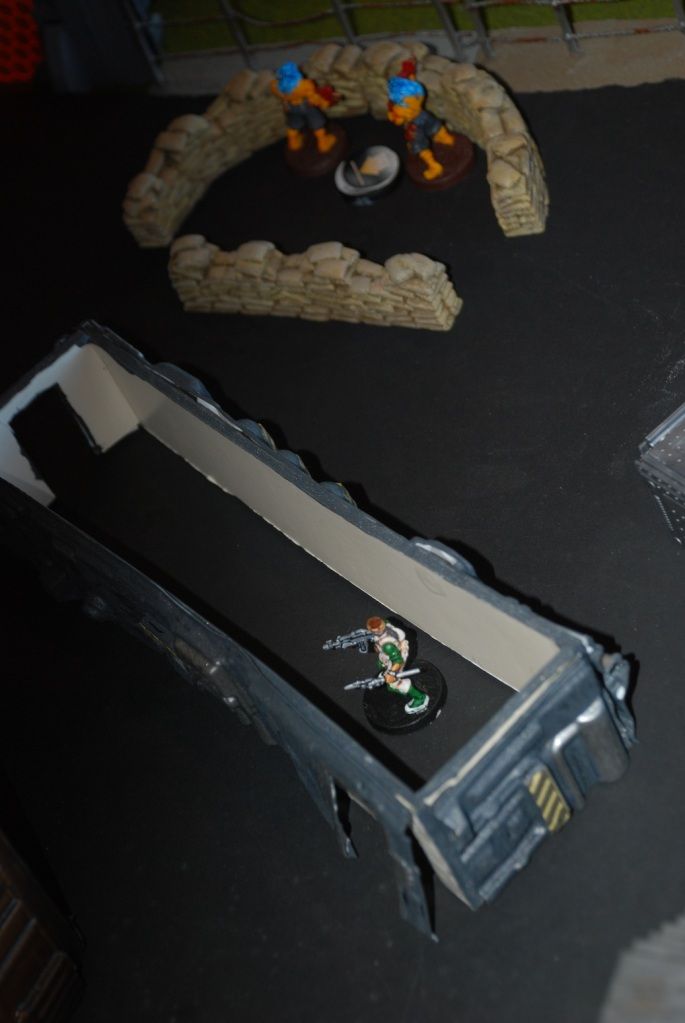
Fortunately for him, he scatters right into the medical building.
Deployment:
After both sides take their deployment, the forces face down in the following areas:
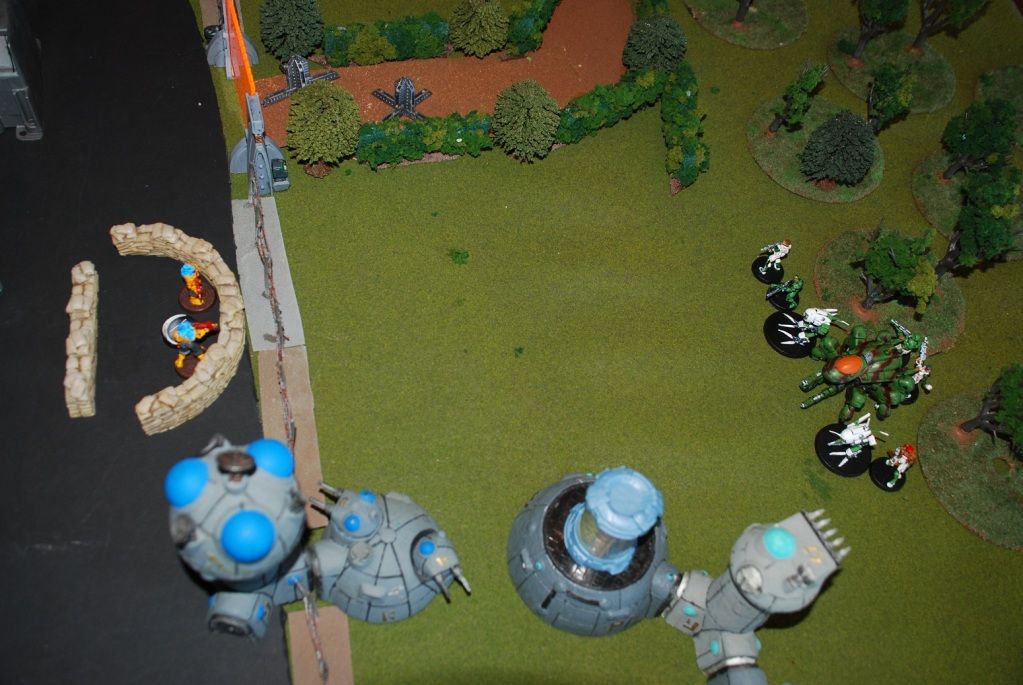
The bulk of the Haqqislam forces deploy forward of the woodlands so as to not slow down the Maghariba Guard. The Djanzaban Doctor and the Najjarun Engineer are riding on the Guard's braces. The entire force is facing off against two Morat in a sandbagged position, both prone and therefore out of line of fire.

The Charontid Lieutenant and Morat Guard are deployed in the sandbagged position opposite the Security Gate. They also are both prone, but even if the weren't their Line of Fire would be blocked by the Security Gate and Hedgerows. The Kurgat is prone atop a power transformer. His elevated positon gives him a clean line of fire to the bulk of the Haqqislam forces.
The Vector Operator is prone on the roof of a storage shed, with the Daturazi Witch Soldier on the ground behind him. Both are opposite the main Haqqislam force but both are out of Line of Fire.
TURN ONE A (Active Combined Army Turn)
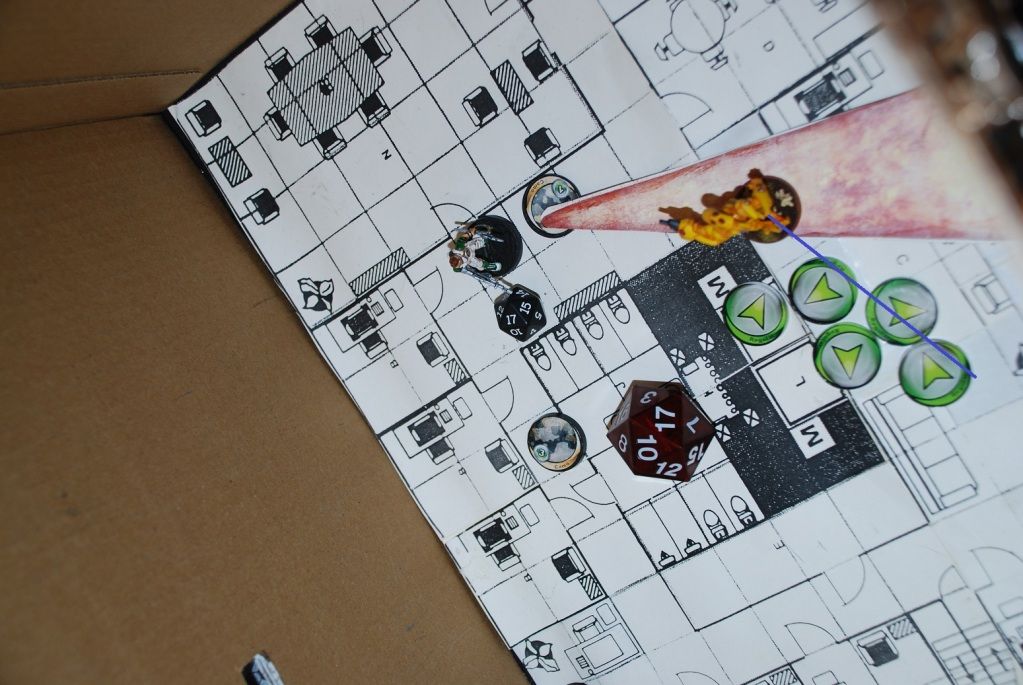
Impetuous Order
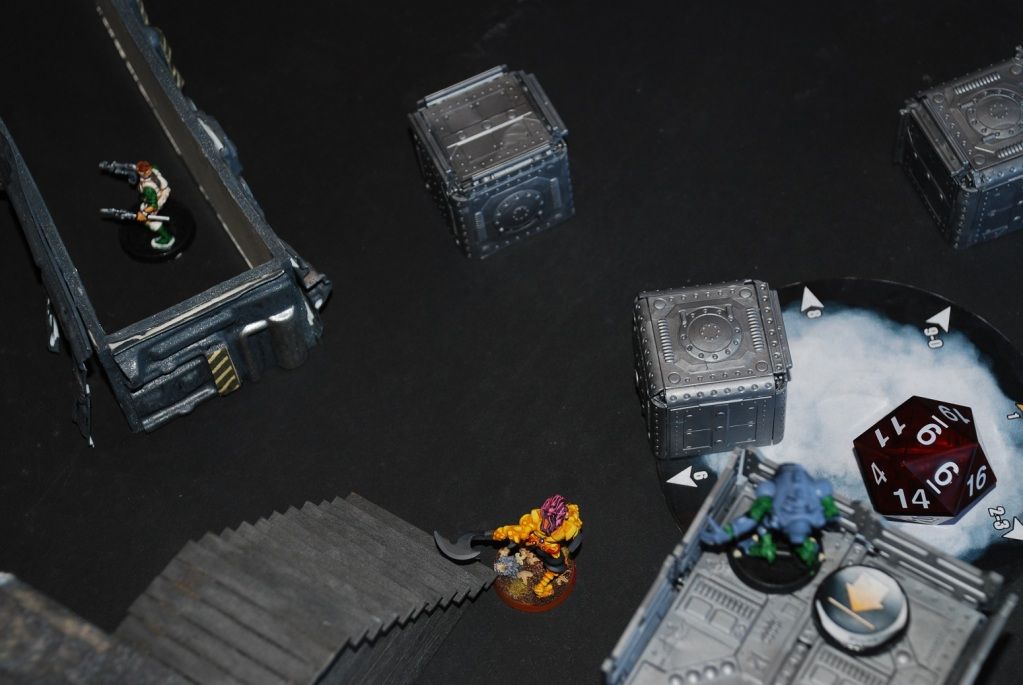
Daturazi Witch Soldier is forced to take its first move directly toward the Hunzakut infiltrator. Its second action is to successfully throw a smoke grenade directly in front of the Vector Operator.
Order 1
The Daturazi Witch Soldier moves again toward the Hunzakut, unwittingly crossing open ground in front of the Ghulam. The Ghulam's rifle is at -6 for range. Mimetism reduces his chance to hit at 2 or less...
...and he misses. The Daturazi successfully dodges, moving an additional two inches toward the medical bay door.
Order 2
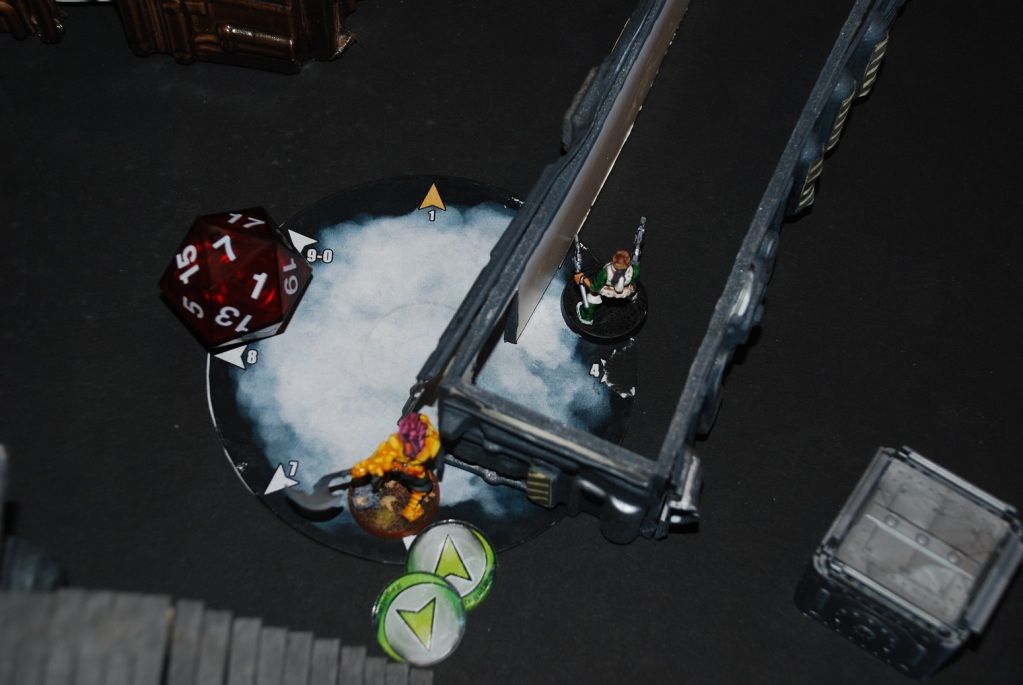
The Daturazi Witch Soldier throws another smoke grenade and then moves up to the door.
Order 3
The Daturazi Witch Soldier attempts an intuitive attack through the smoke with his Chain Rifle. The intuitive attack fails.
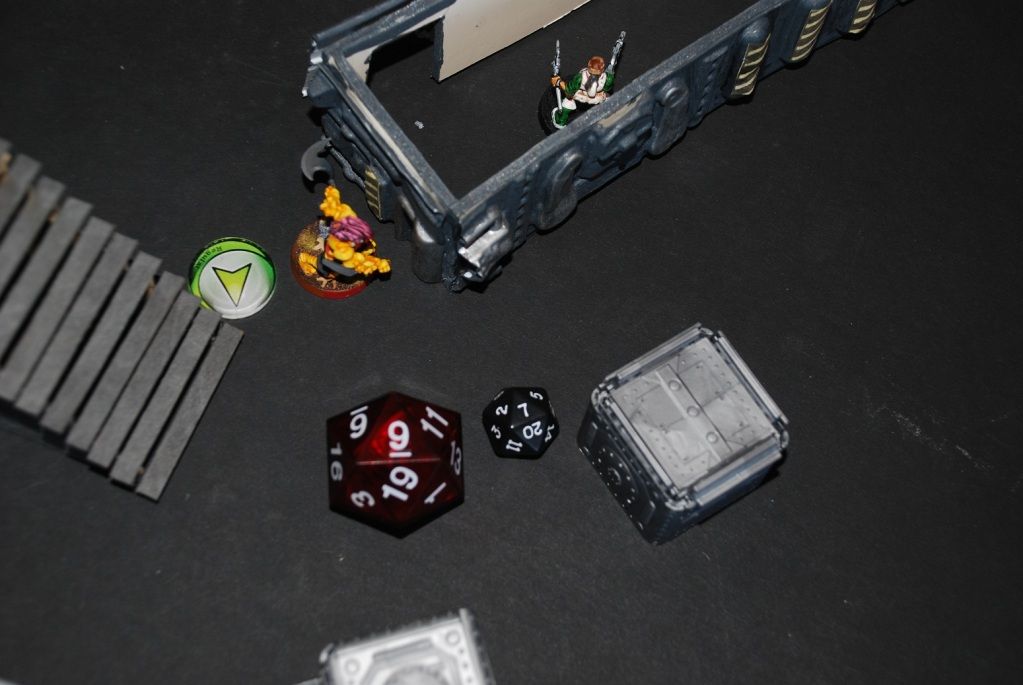
Order 4

The Daturazi Witch Soldier attacks with his Shock CCW, gaining first strike thanks to Martial Arts 4. He hits (14) but the Hanzakut makes his Armor Save (19). The Hunzakut attacks with his knife and hits (9). The Daturazi fails his armor save and is unconscious (2).
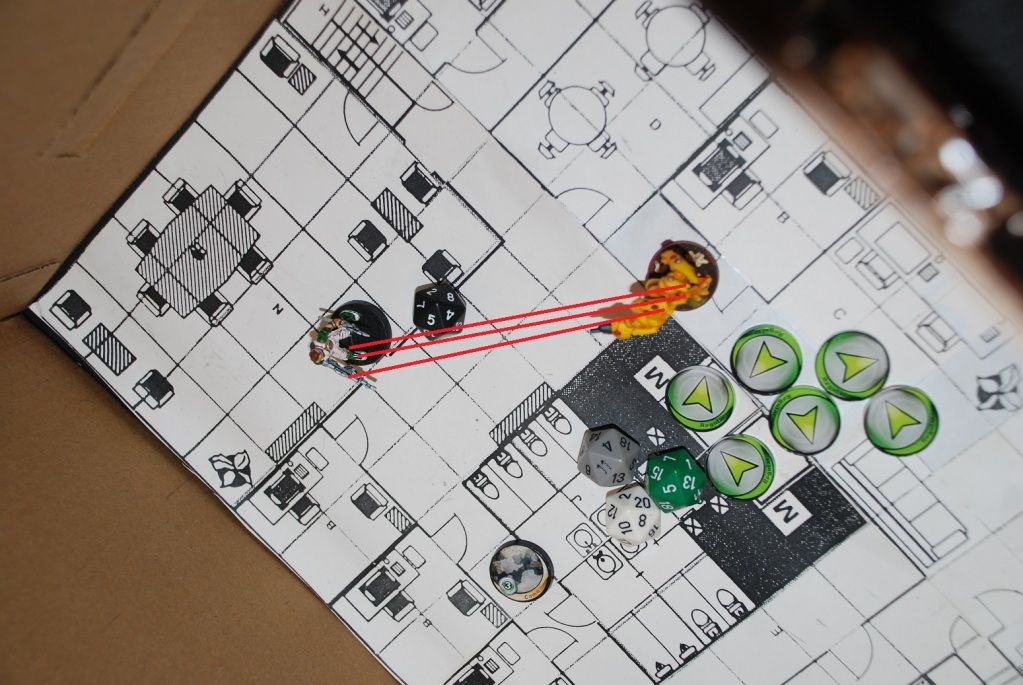
Order 5
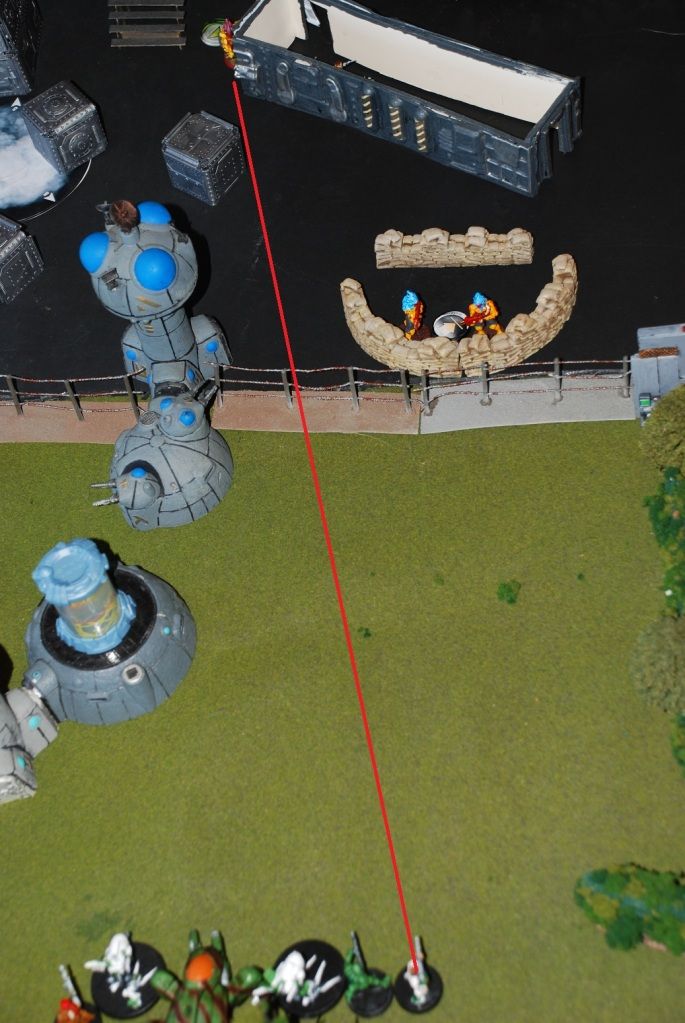
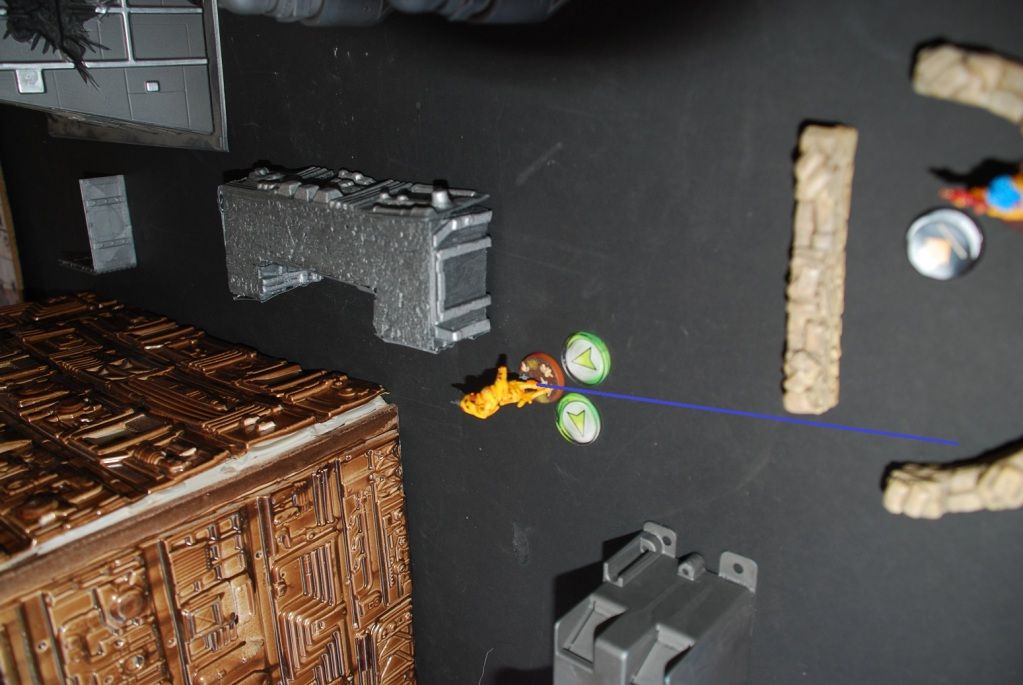
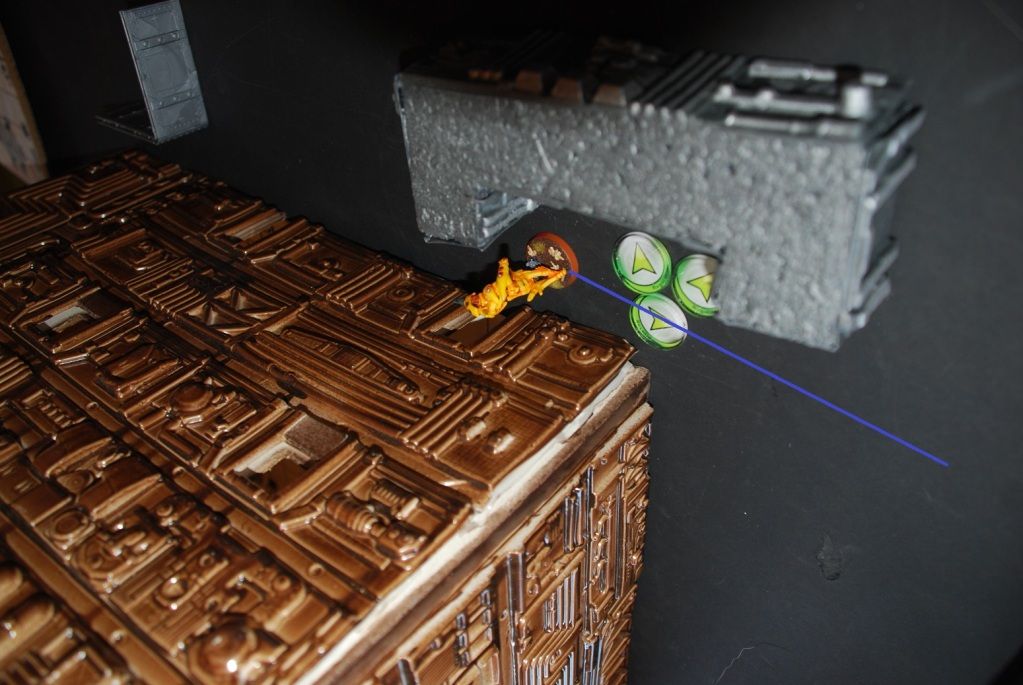
The Vector Operator stands up and opens fire on the Haqqislam attackers, splitting his HMG burst between the Shaytaniyah and Azra'il.
The Remote takes two hits and is destroyed, but the Azra'il is missed. The Azra'il shoots back through the smoke...
...but misses.
Order 6
The Vector Operator opens up on the Azra'il, but the high caliber bullets bounce off the Heavy Infantry's armor.
Order 7
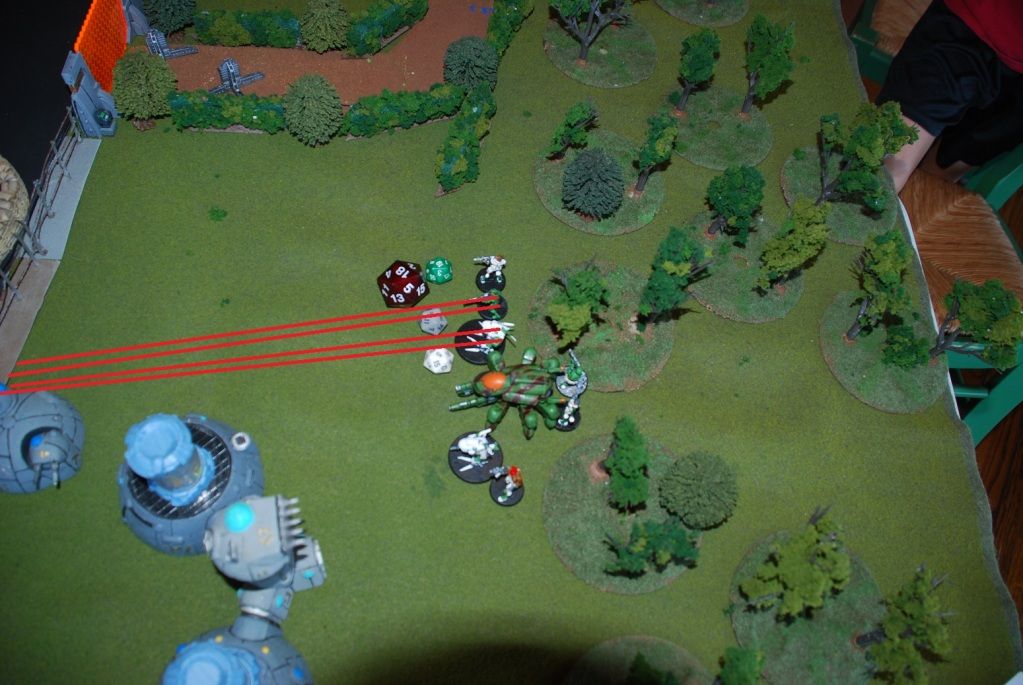
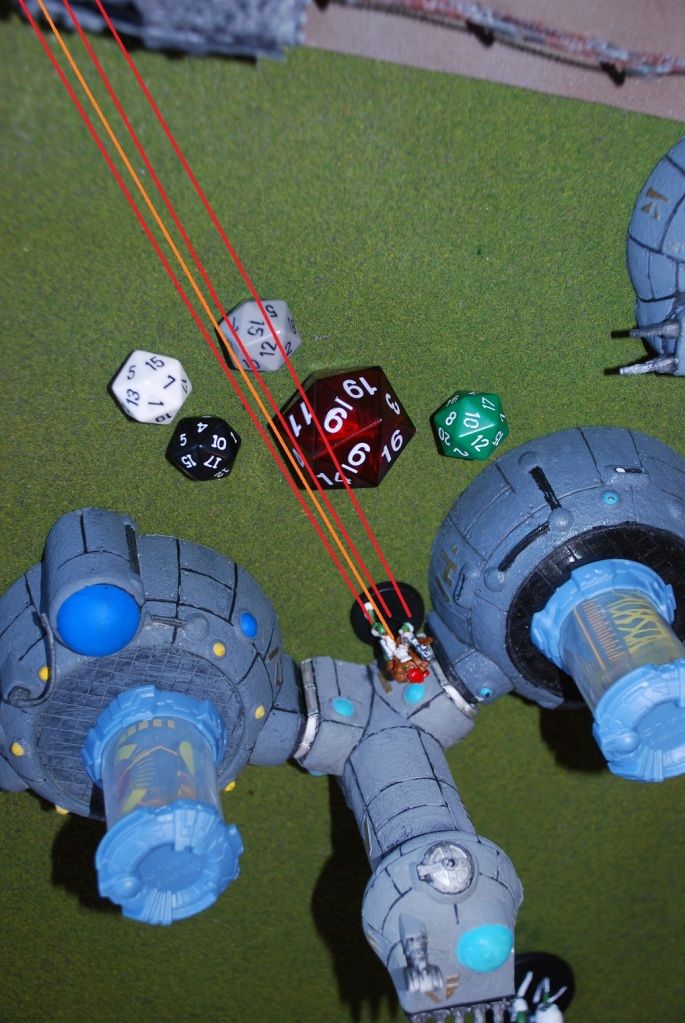
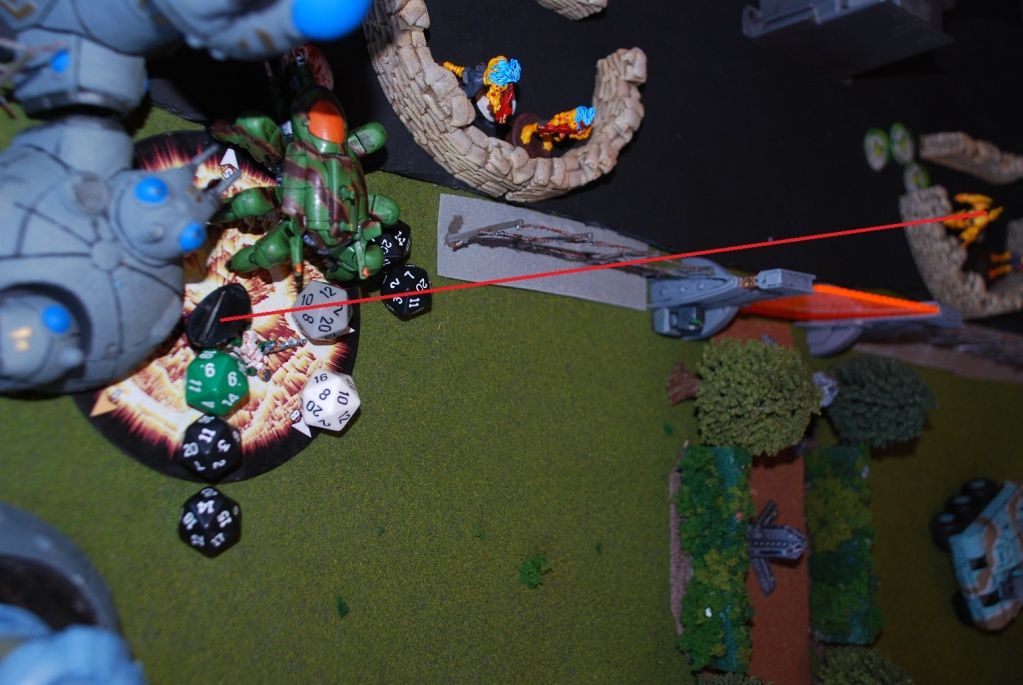
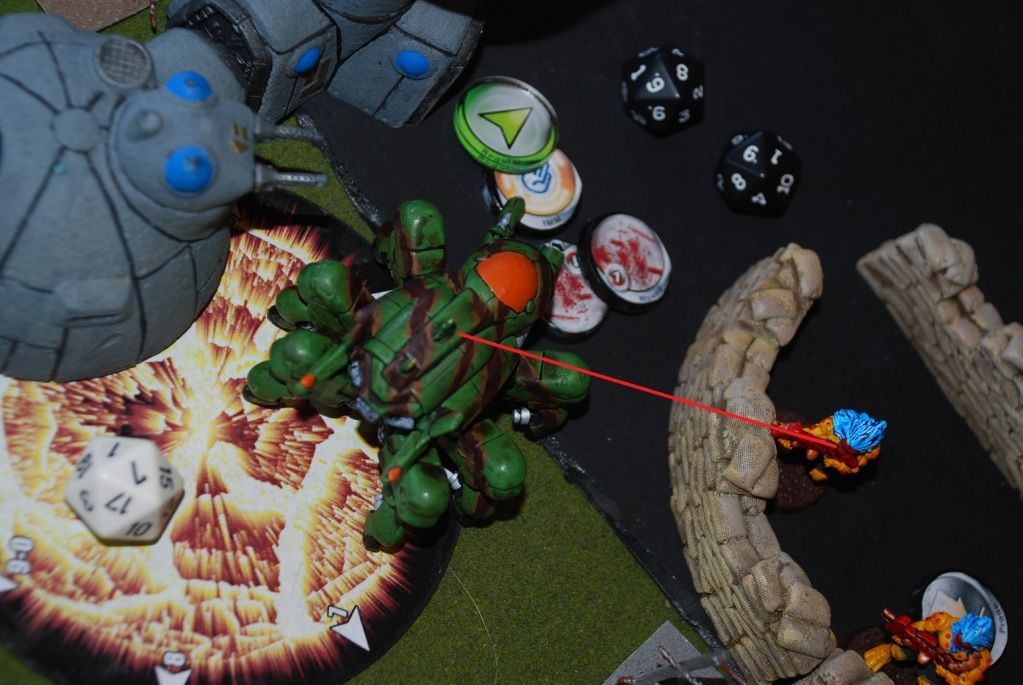
With his last available order, the Kurgat fires desperately at the Maghariba Guard. Doing so draws four reactive fires.

Realizing he's out of position, the Malignos uses his own order to reveal his hidden position and move up next to the Hedgerow.
Order 9
There is no mystery who the Combined Army's Lieutenant is. The Charontid uses his Lieutenant Order to stand and move to the edge of the sandbagged position.
TURN ONE B (Active Haqqislam Turn)
Order 1

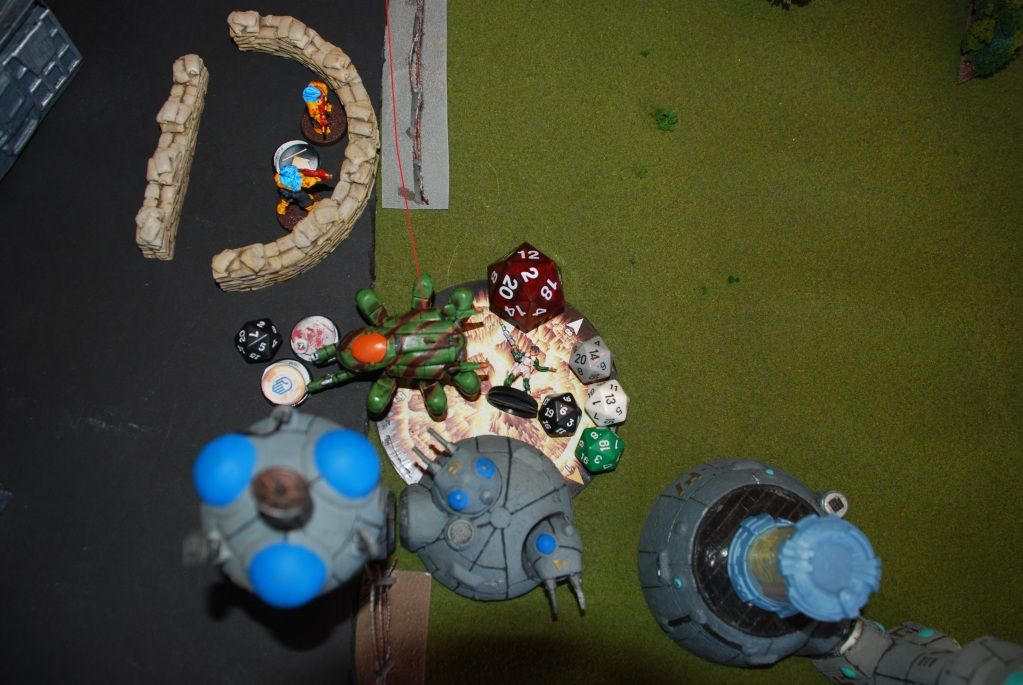
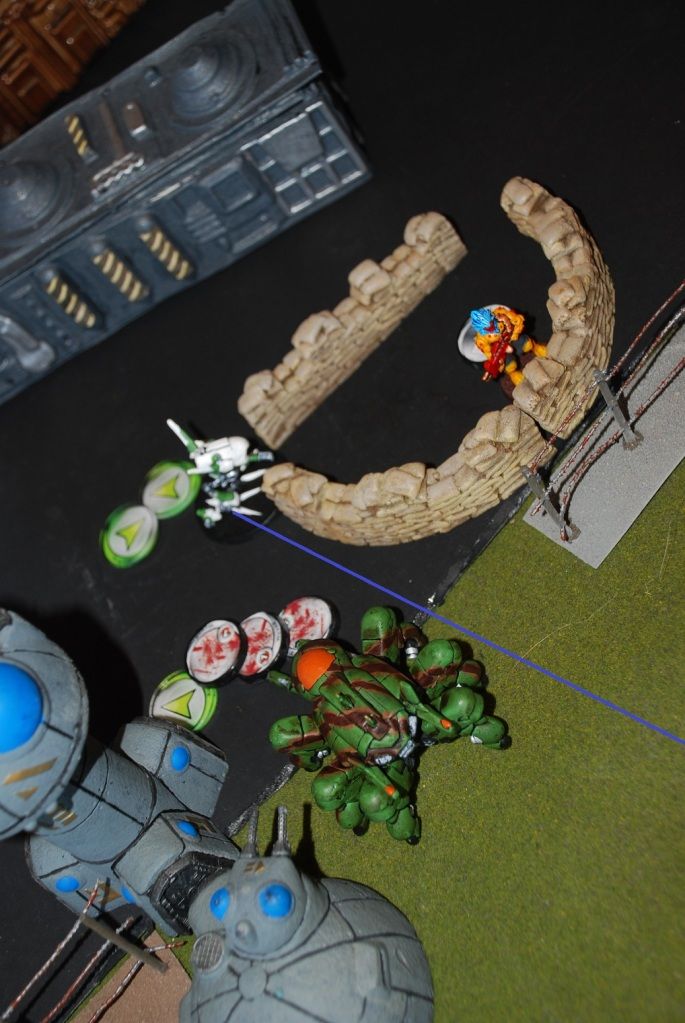
Maghariba Guard moves up and destroys a section of Security Fencing with its Heavy Flamethrower.
Order 2

Maghariba Guard, forgetting that Charontid re-positioned, moves through the breached fence. This opens it up to a reactive shot from the Charontid. The shot damages the Maghariba (armor roll 3) and immobilizes it (BTS roll 2). The Djanzaban, also caught in the blast radius, is wounded (Armor Roll

and has his MSV fried (BTS roll 6). The Najjarun Engineer survives the blast with no ill effects.
Order 3 (Irregular Order...Link Leader Marker Used)

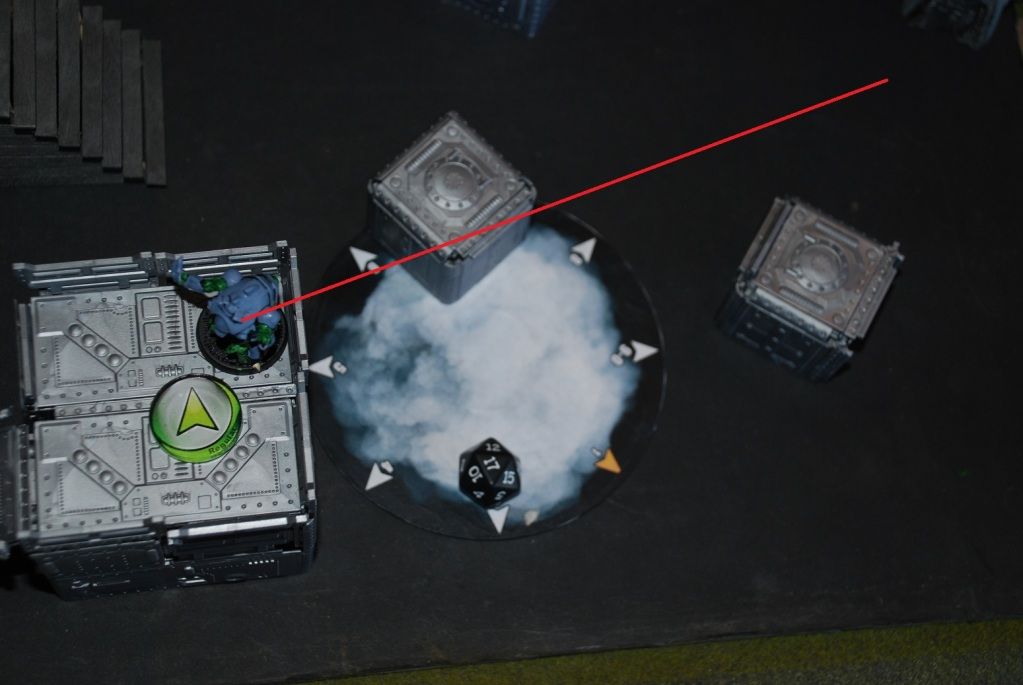
The Hunzakut makes a dash for the Headquarters Building.
Order 4
The Hunzakut successfully secures the objective.
Order 5

Khawarij rushes forward and super-jumps over an anti-aircraft bunker.
Order 7

Hunzakut uses the last order to activate his camoflage.
TURN TWO A (Active Combined Army Turn)
Order 1
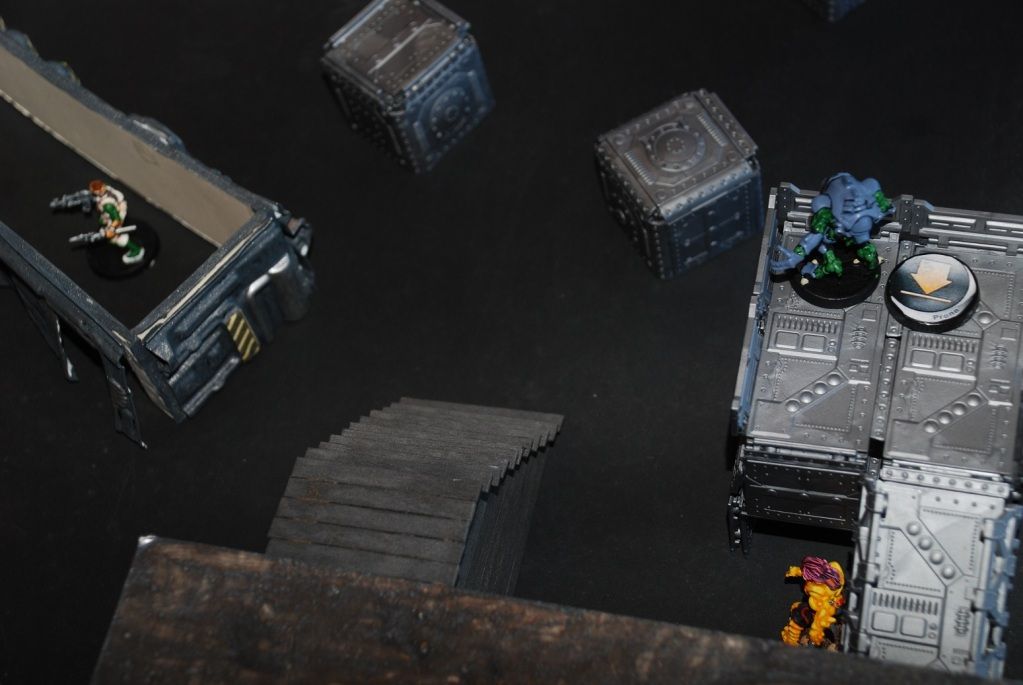
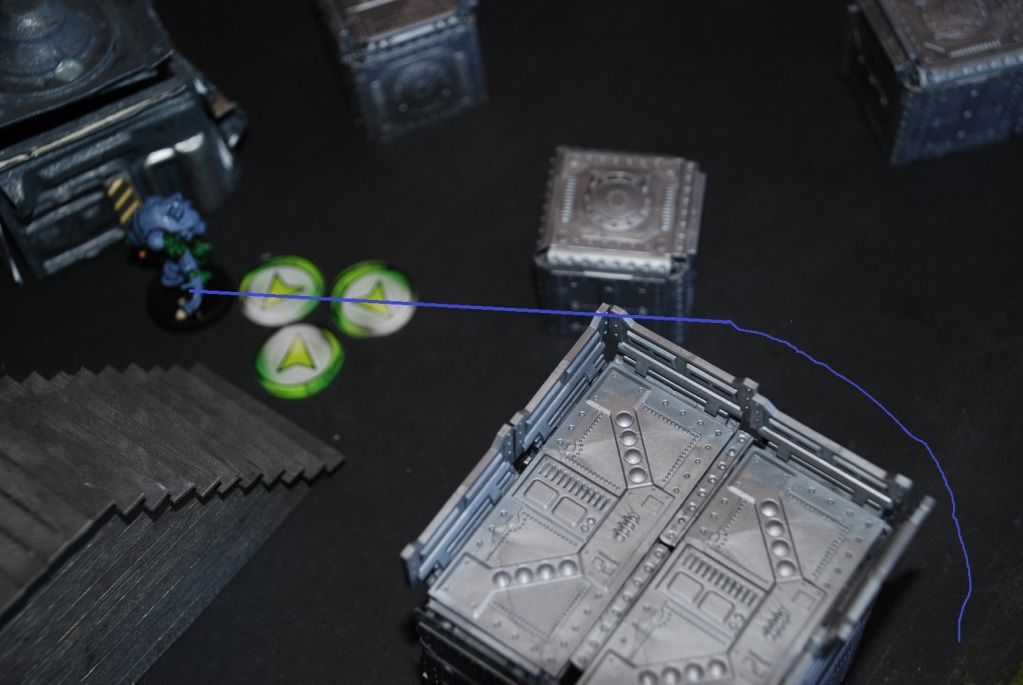
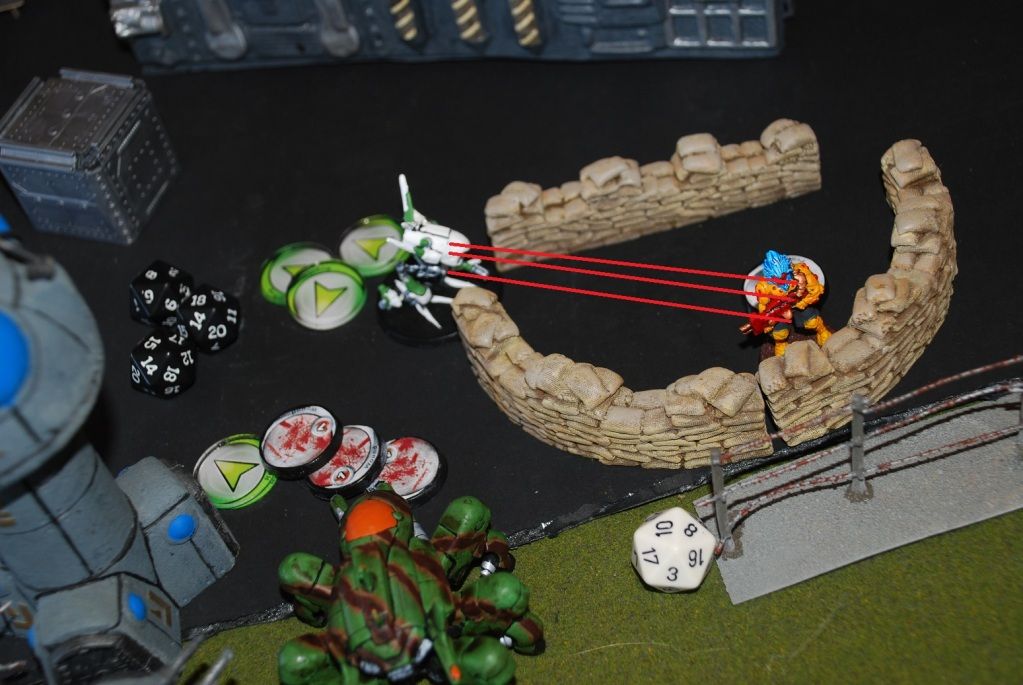
. Najjarun makes her armor roll (19) but fails her BTS roll. Djanzaban Doctor fails his armor roll (6) and is killed. Maghariba Guard makes its armor roll (7 plus 8 armor for fifteen).<br /><br />Order 2<br />The Vector Operator, remaining prone and out of Line of Fire of the Khawarij's suppression fire, crawls backward and rolls off the storage shed roof (super-jump). <br /><br />Order 3<br />[img]http://i241.photobucket.com/albums/ff112/hulkasgt/InfinityBeachHead/Turn2AOrder3.jpg)
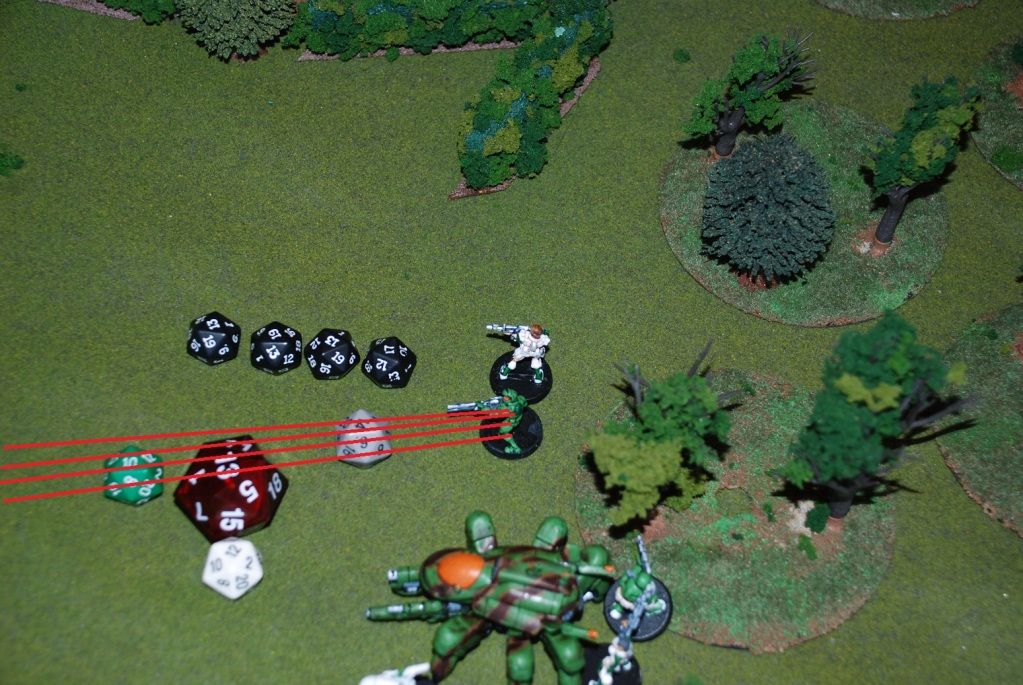
The Vector Operator then moves around the right flank of the storage shed and lines up an HMB burst on the Khawarij.
The Khawarij's return fire misses (17) and takes four hits. He is killed and Haqqislam is in loss of Lieutenant.
Order 4
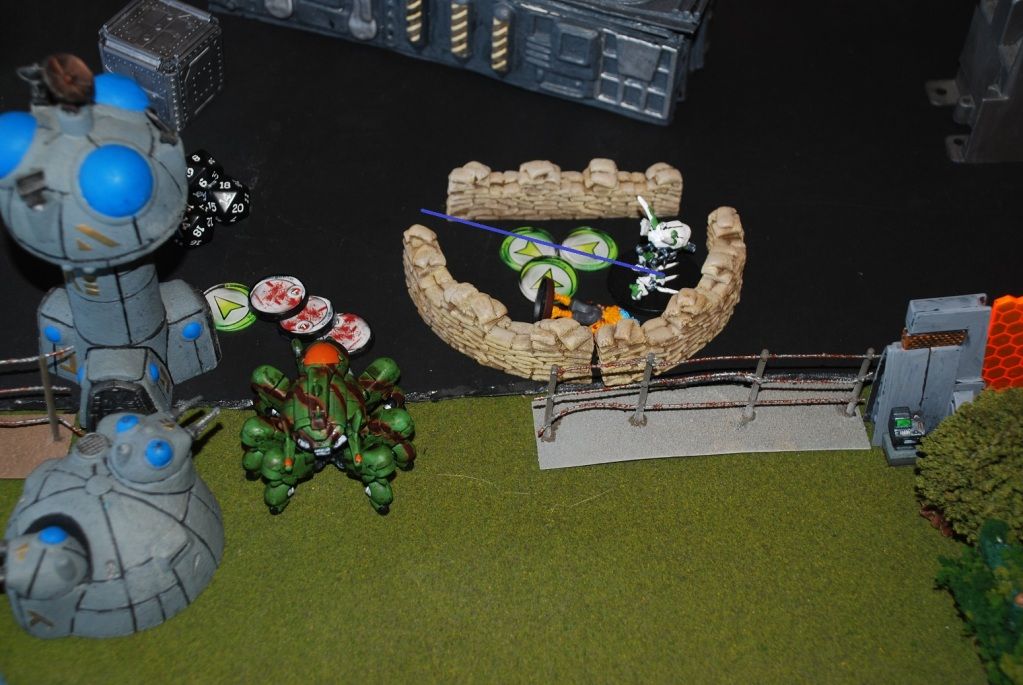
Vector Operator uses its impressive speed to race toward the HQ Building.
Order 5
Vector Operator enters HQ Building but hesitates in face of mines.
Order 6
Charonid fires again at the Najjarun, this time knocking her unconscious. Maghariba saves from the blast.
TURN TWO B (Active Haqqislam Turn)
Haqqislam is in Loss of Lieutenant and declares Azra'il as new Lieutenant.
TURN THREE A (Active Combined Army Turn)
Order 1
Charontid fires again at the Maghariba, failing to damage it, but killing the Najjarun Engineer.
Order 2
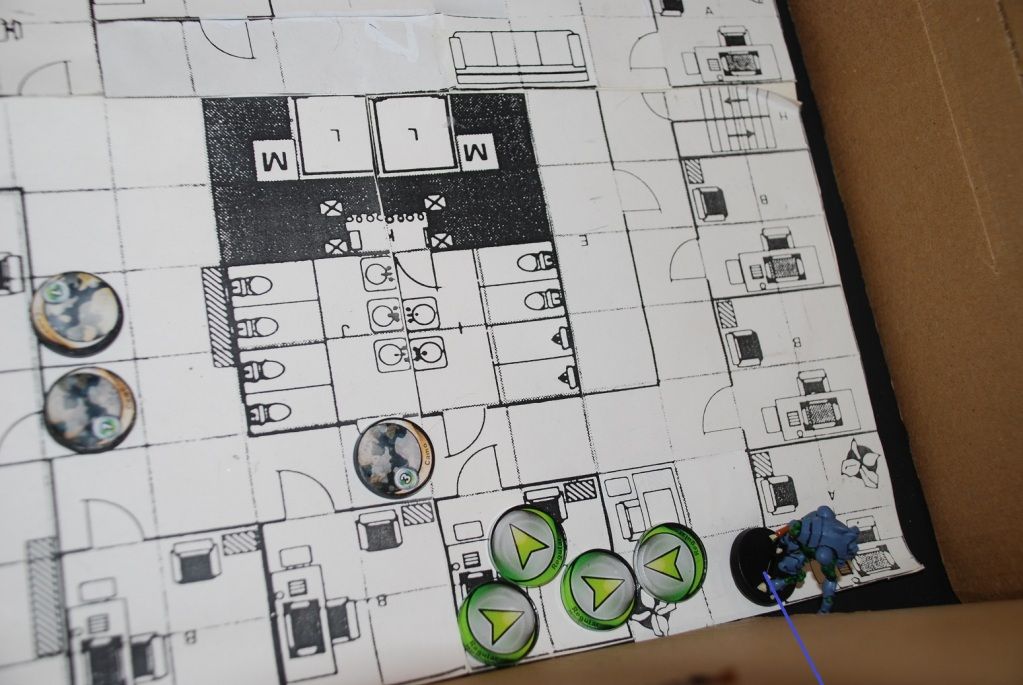
Charontid abandons the sandbagged position and makes a run for the HQ Building.
Order 3
The alien Charontid continues to move toward the HQ.
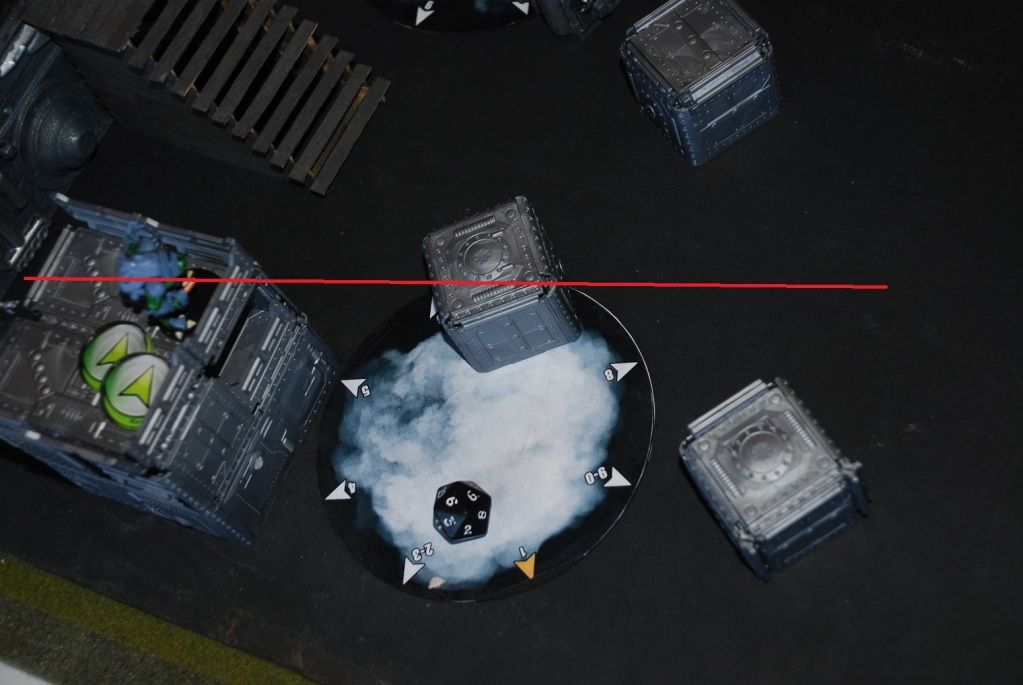
Order 4
The Charontid successfully enters the building opposite the Vector Operator.
Order 5
Charontid successfully saves against an anti-personel mine and declares a discover against the Hunzakut. The Hunzakut declares a dodge and fails, automatically revealing his position.
Order 6
Charontid fires on Hunzakut, who again attempts to dodge but fails the face to face roll. The Hunzakut is gunned down.
Order 7
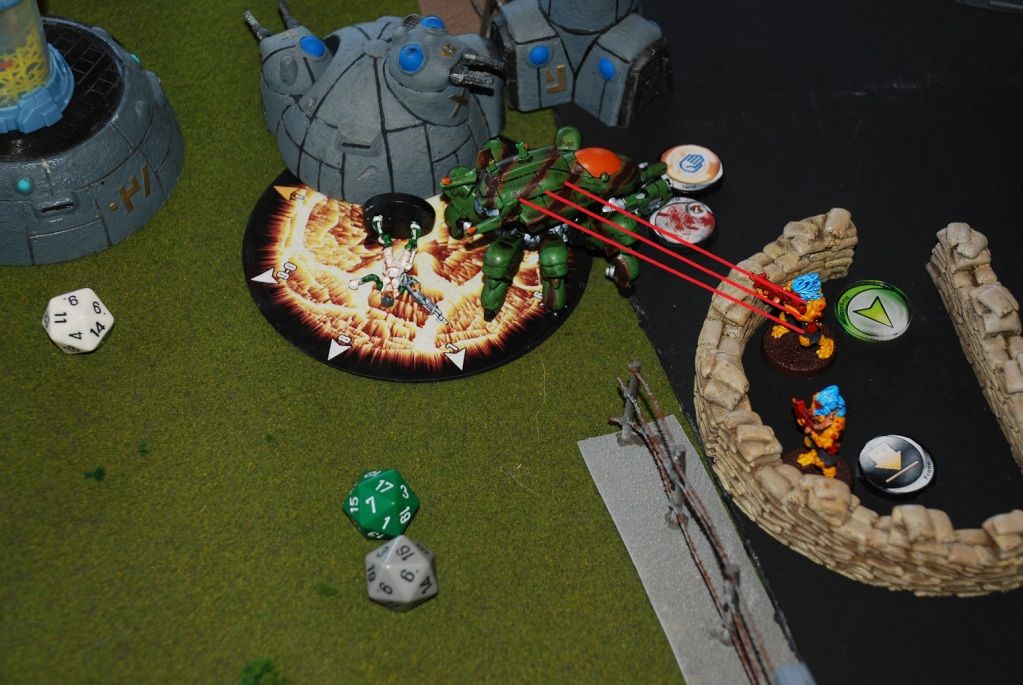
Morat Vanguard Infantry stands and opens up on the Maghariba, succesfully damaging it with its combi rifle(!)
TURN THREE B (Active Haqqislam Turn)
Order 1
Maghariba Guard attempts to re-set, but Morat Vanguard's Combi Rifle reactive fire destroys it!
Order 2

The Rafiq remote charges forward.
Order 4
The Rafiq gets behind the prone Morat Vanguard.
Order 5
The Rafiq kills the Morat Guard with a shotgun blast...
...and then takes position up against the other side of the sandbagged position.
But the Haqqislam lightning attack failed.
The Combined Army maintained control of the HQ building (3 victory points) and thus won the battle.
END OF ALEPH REPORT


 Welcome, Guest. Please
  April 18, 2024, 01:30:40 PM


