Well, after a bit of a break, I'm using the festive season holidays as an opportunity to do more boards for my desert scenery...
The next one is going to be a mountainous area.
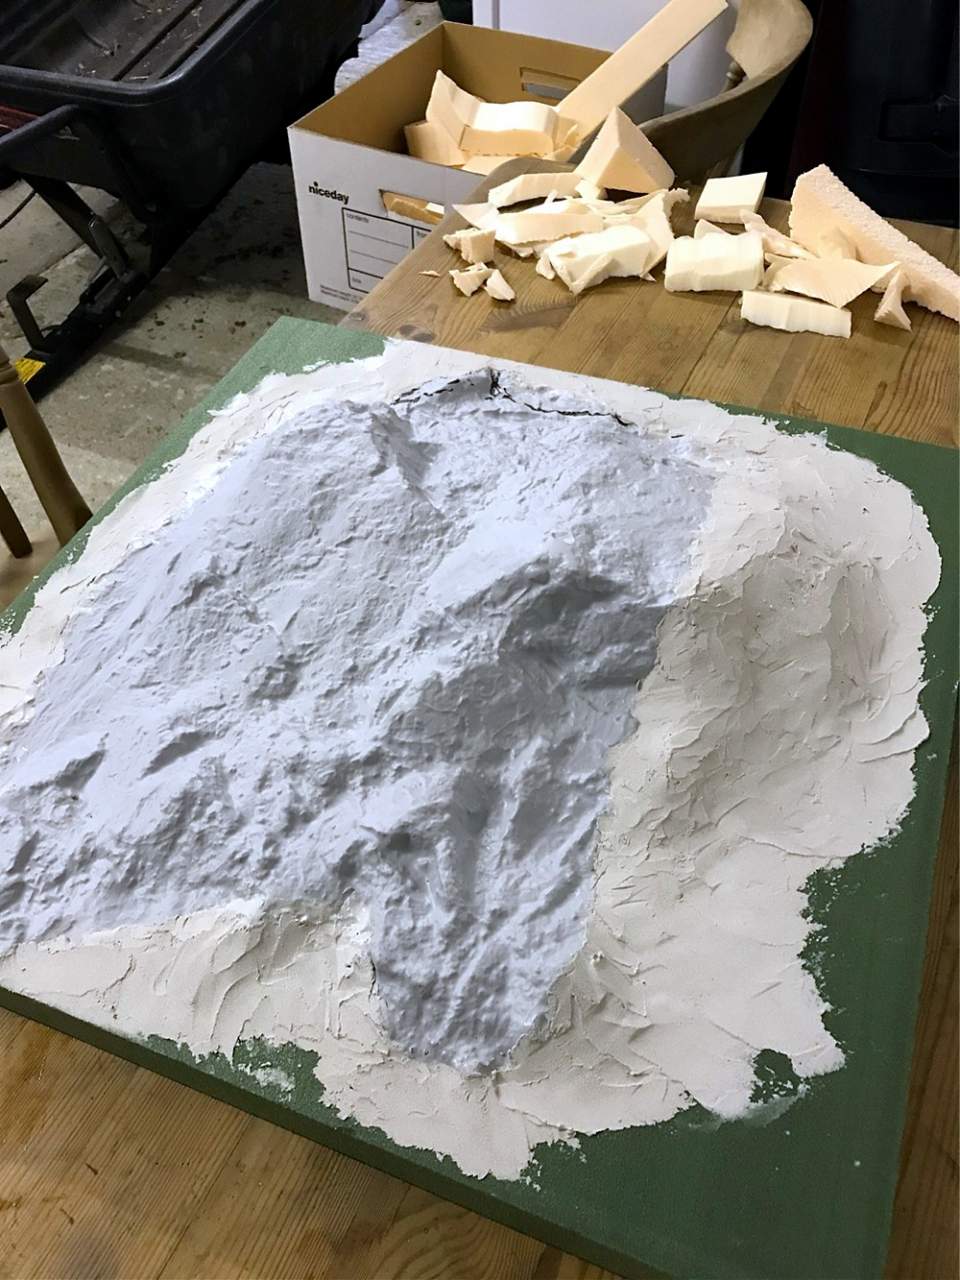
I'm using some off-cuts from some 1:1 scale rock-face moulding used for stage and TV scenery making.
I've worked a lot with this stuff over the years, and always thought some of the textures would make a good wargames terrain surface, so finally decided to give it a try.
First of all, I had to find an area of moulding that not only had relief that would look like hilly, mountainous ground, but also had some relatively flat areas that could be fixed to the baseboard.
So I have glued and pinned my selected piece of the moulding directly onto the foam base, using steel pins and UHU 'POR' foam and plastic glue around the edges. The hills won't need support underneath. The material (ABS) is around 2mm thick and fairly rigid. It's not like thin plastic wargames scenic mouldings...

It probably wouldn't be very durable if left like this, but once I've slathered it with layers of plasticised surface texture and paint, the whole thing should be sealed together pretty securely. Since the boards are unadulterated foam, I don't exactly chuck them around anyway - they are handled very carefully.
Unfortunately I couldn't find an area of moulding that came down to 'ground level' all around, so I had to backfill the open 'rear' of the mountainous area with some shaped foam offcuts. Again, UHU POR, cocktail stick pegs, and some quick carving work with the trusty hot wire cutter... As ever, it doesn't really matter if the foam-work is a bit rough and ready, because the whole thing is going to be covered with various layers of filler and texture...

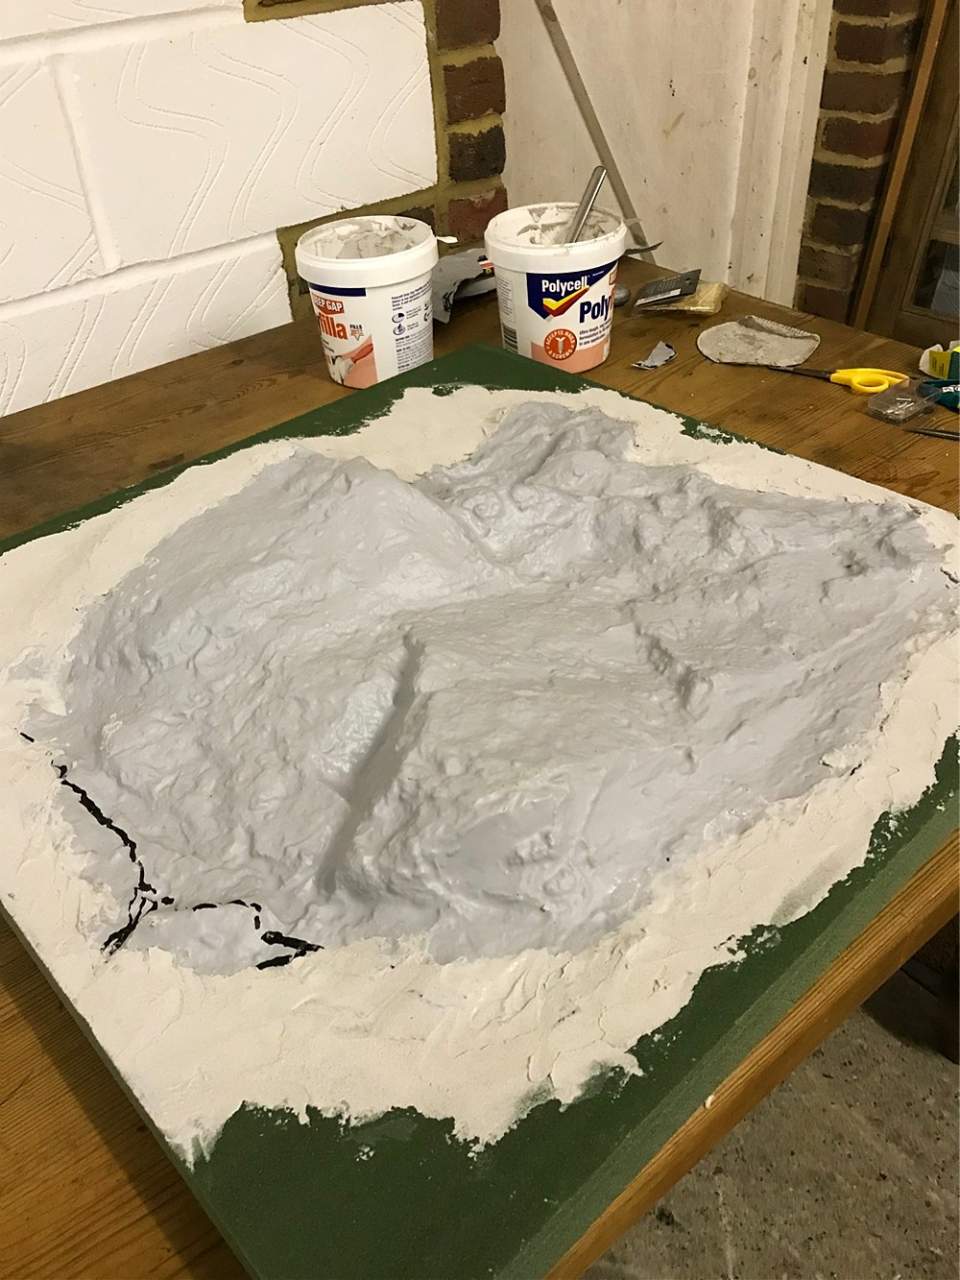
So, the next step is to apply ready-mixed, aereated wall filler to cover up the foam areas and plaster over the joins between the plastic moulding and the foam baseboard.
Here it is with the foam inserts in place and plastered over with filler...
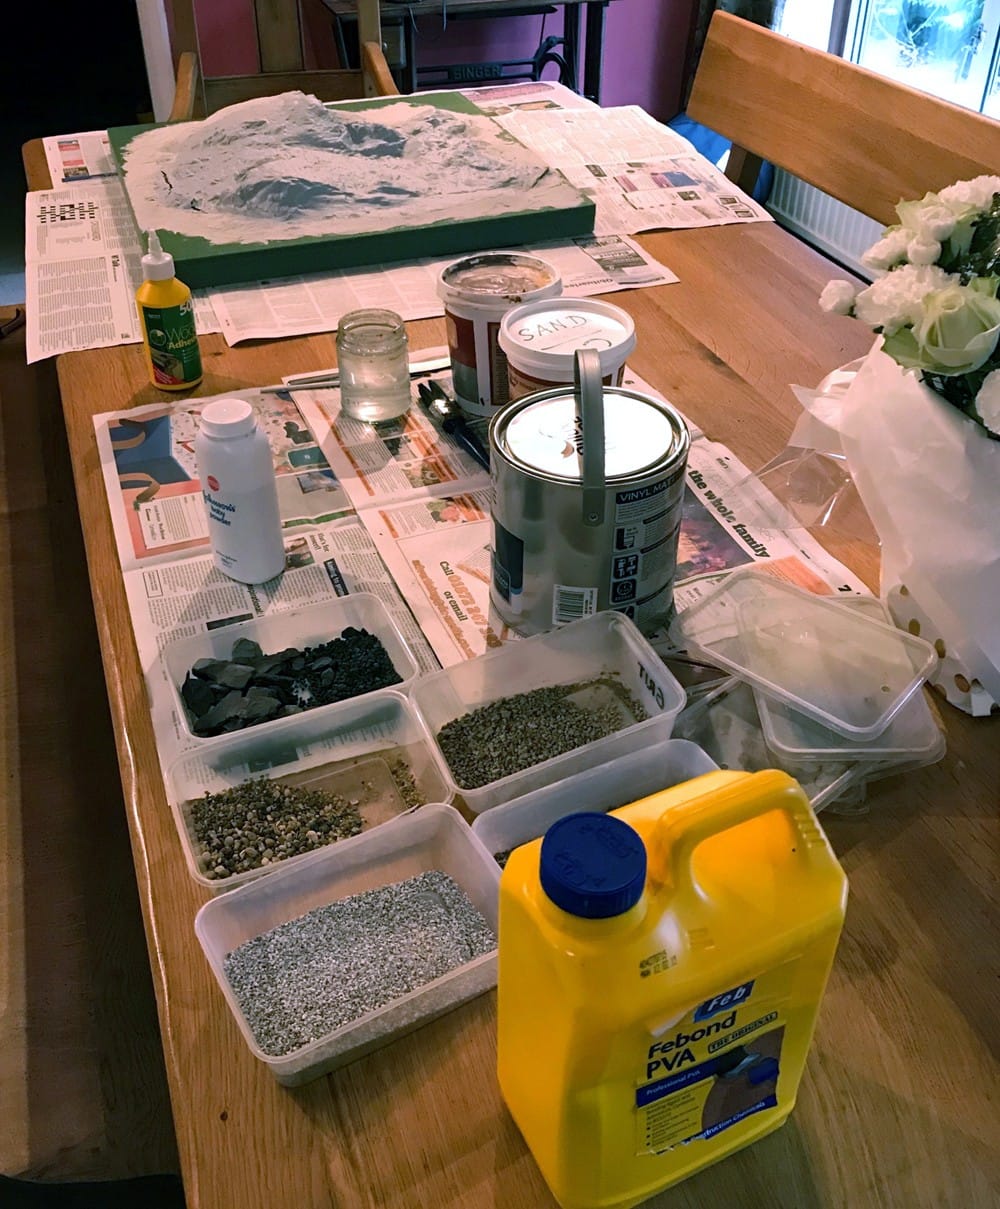
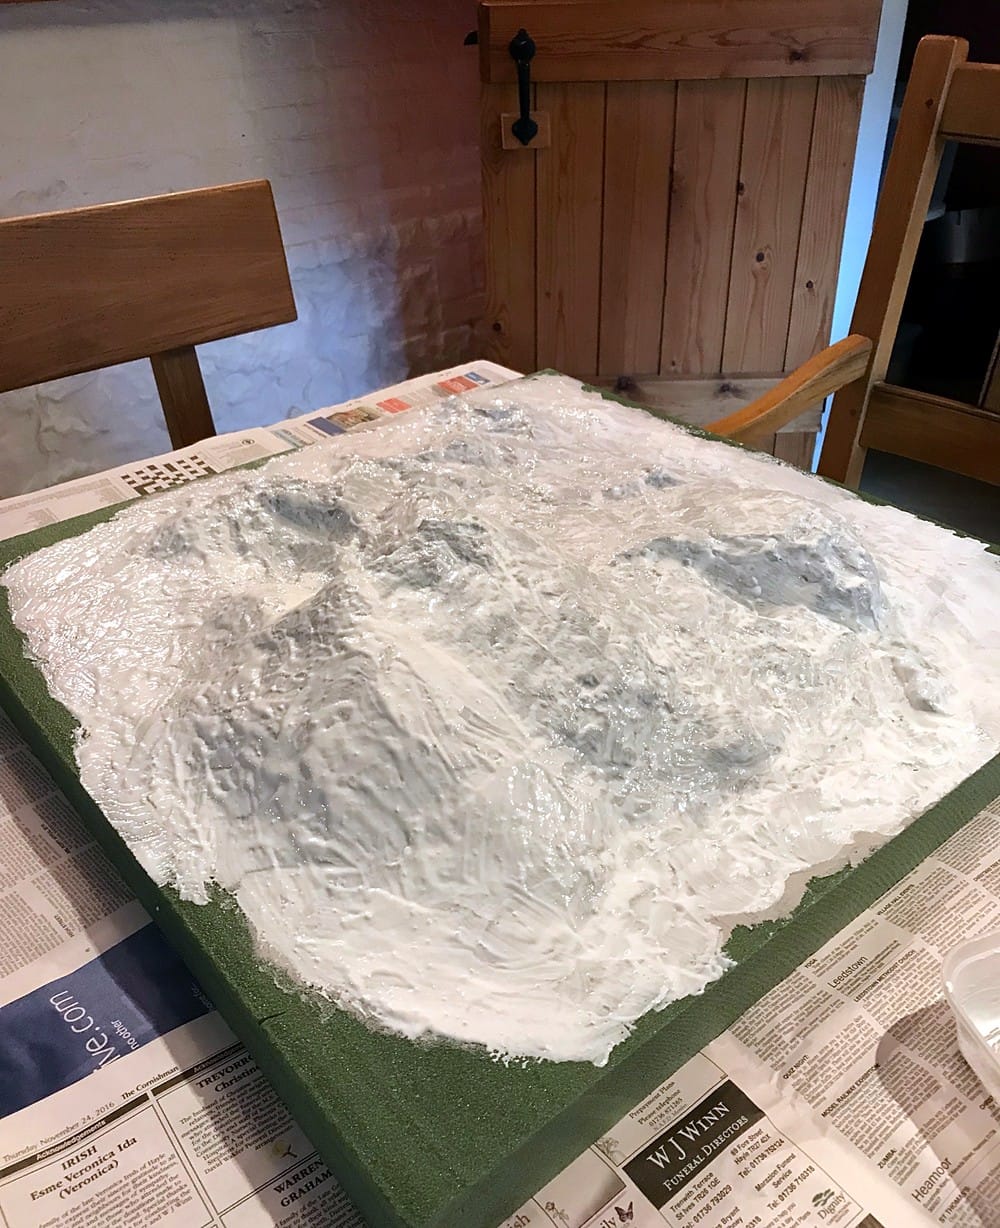
Now, once the filler has dried rock hard, we are ready for titivation... The table is laid ready for action...
The filler has set hard overnight...
First step is to slather the whole thing is 'Glalc'.
'Glalc' is Silent Invader's patent rendering mix - talcum powder, wood glue and PVA.
Laid on as a fairly thick paste over the main areas where I've used filler, it will conceal the join and mimic the smooth surface of the plastic mountainscape.
And over the plastic areas, a thinner coat... As it shrinks and dries, it will provide a solid primer base for painting. (The matt ABS plastic actually takes paint well with no prep, but I'd rather give the paint the best possible base to key onto... )

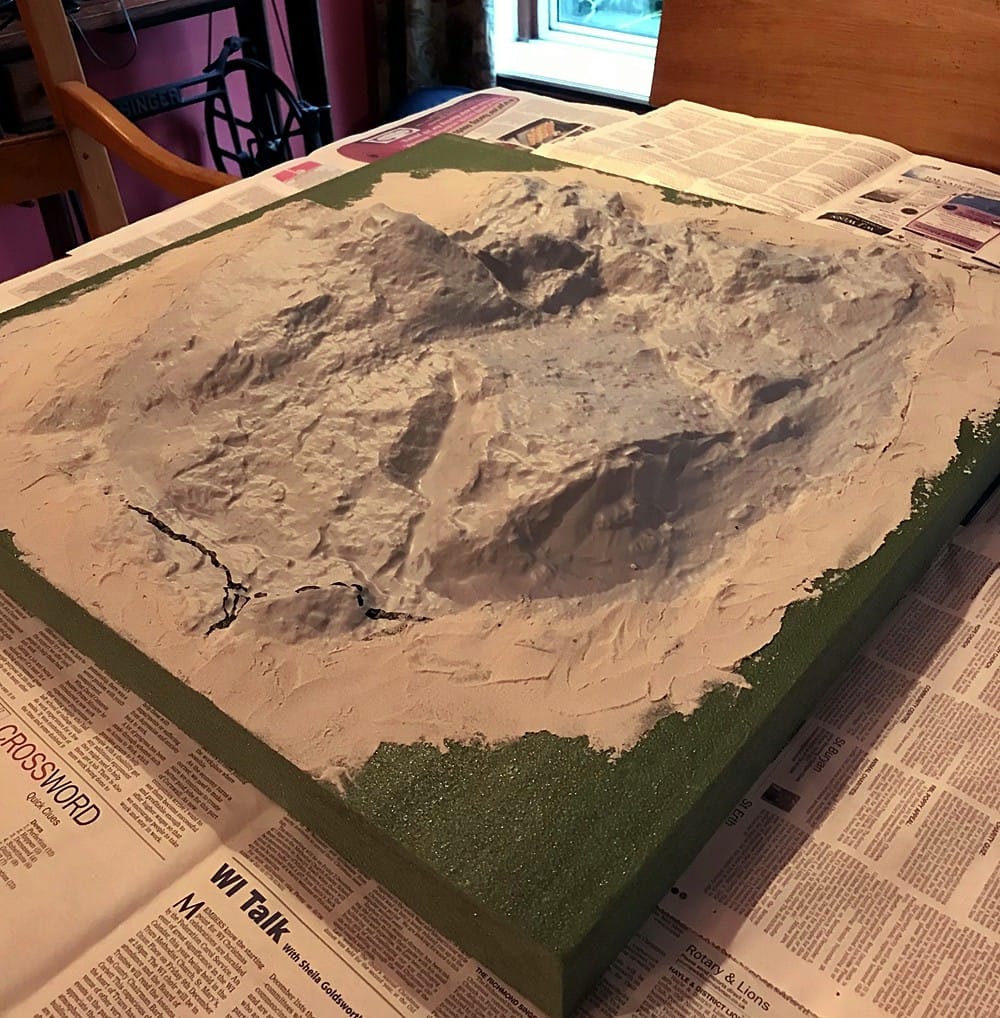
Next step is to add detail to create areas of rocky outcrop and scree in, on, and around the mountainous ground, using an assortment of sizes of talus, grit and pieces of slate...


I've also added Gloop (sand, paint, PVA mix) all around the flat edge areas of the board, and feathered these into the Glalc where the two media meet...
And finally, all the flat areas get a top dressing of sand. That will help the finished board blend into the other desert boards I've already made, whilst leaving the rocky mountainous slopes themselves smooth and sandless...


Once this lot has all dried out overnight, it will be onto the painting...


 Welcome, Guest. Please
  April 20, 2024, 01:21:22 AM


