The club's game for Crisis 2013 in Antwerp will be "The Fort" an episode during the American War of Independence loosely based on the novel by Bernhard Cornwell and the Penobscot expedition (Castine, Maine, USA, January to August 1779). My part will be to build two terrain pieces for the game, a small farm complex and a church. Both will be founded on the Perry plastic buildings, but it was clear from the beginning that the Perry farmhouse alone would be too small to become an eyecatcher.
I started this project some weeks ago, but now my well-earned holidays have commenced and I will have the necessary time to finish the buildings in reasonable time. So what happened till now?
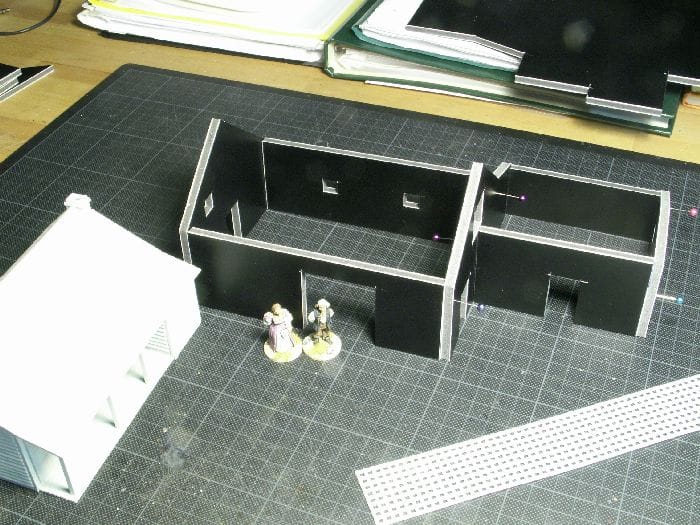
The nice Perry farmhouse was glued together for scale reference and I decided to build an appropriate barn, using black foamcard this time. The benefit of this material should be to save painting it black before cladding it with wood strips and avoid white card shining through the gaps. Window frames would be cut from granny grating plastic mesh. Well, that was the plan ...

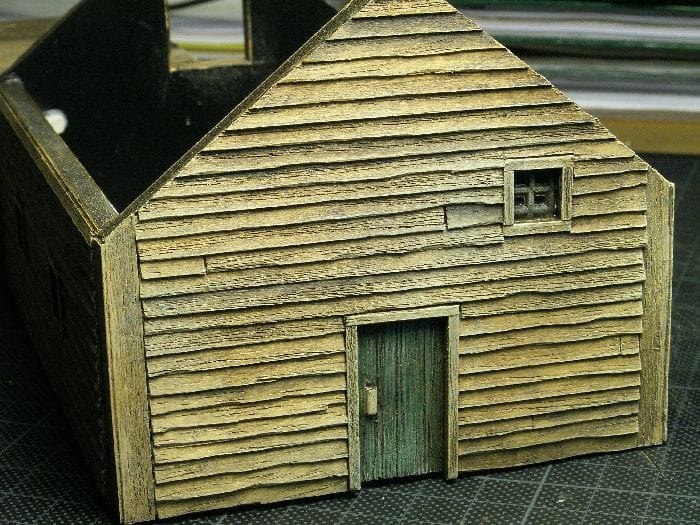
I wanted to get maximum realism for the wood planking, so a lightly coloured thin veneer was used, cut into small strips and glued horizontally one onto the other. Inspiring examples were borrowed from the works of John Boadle (Architectural Miniatures) and David Marshall (TM Terrain). The two miniatures on the next pic are for scale comparison and were masterly painted by the great Steve Dean.


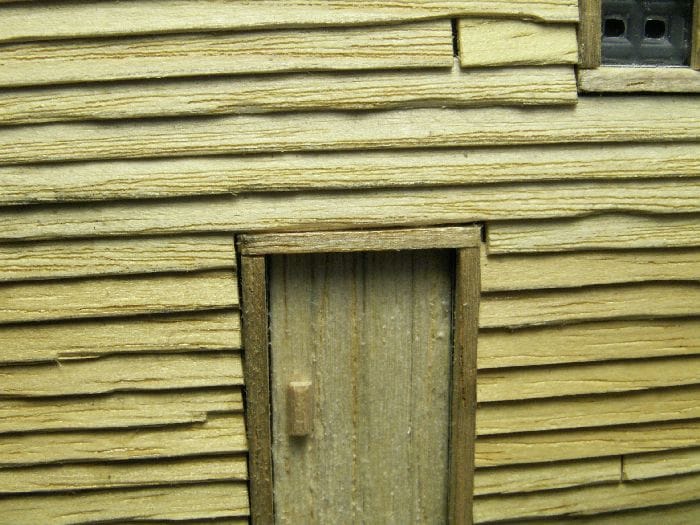

But, to my great frustration, the black foamcard material is so smooth that the PVA woodglue could not adhere to the material properly, so all surfaces had to be roughened up with sandpaper ...

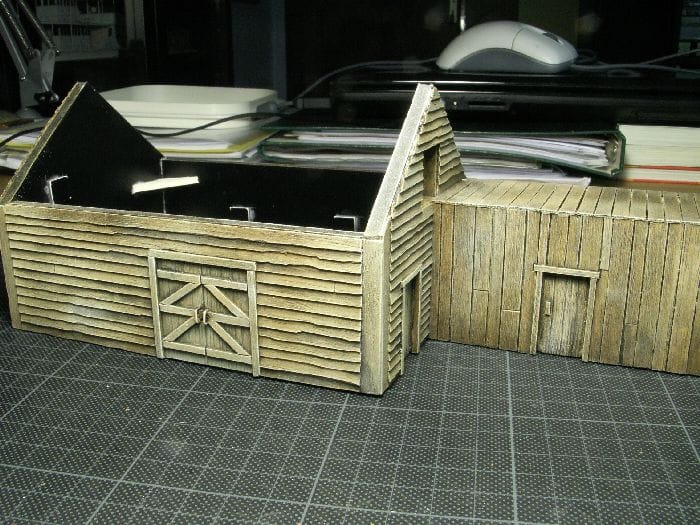
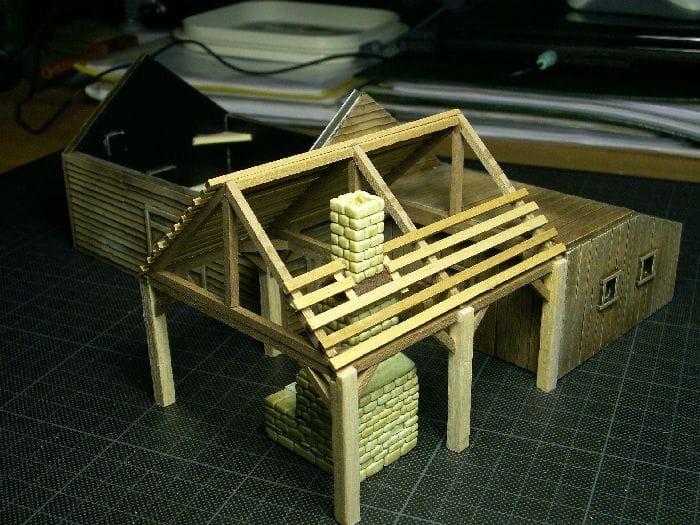
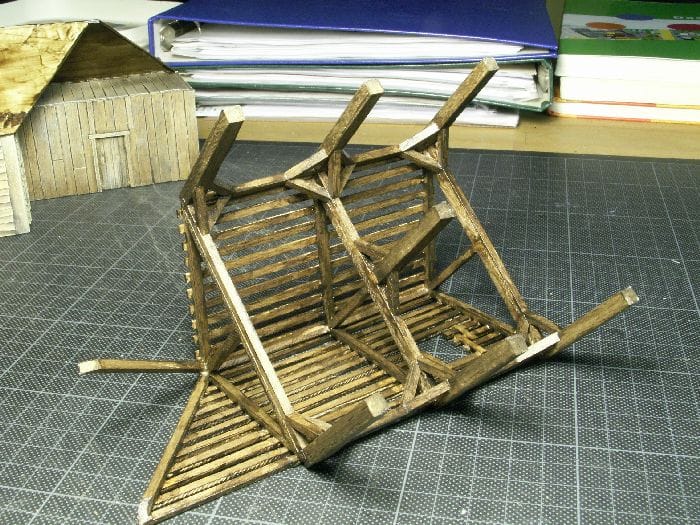
At this stage I decided that the Perry farmhouse plus a larger barn wouldn't be enough, so a smithy's workshop came into play and was integrated in my tiny sketches. German emigrants performing the blacksmith's handwork for generations would be the owner of this farm, hence the name "Schmied" (or smithy in english). First step was to set up an improvised jig for the wooden supports from balsa wood and hardwood strips. As you can see, I used my handy cutting tool to get all the strips equal. Everything was fixed just with tape and needles till the glue dried. For the roof supports I cut another jig from cardboard.


After finishing all the woodwork the building could be painted. As I wanted to preserve the woodgrain, an acrylic household rosewood glaze was brushed on resulting in a very nice and natural scale wood effect. Two lighter drybrushes with cream and off-white acrylics followed to accentuate the edges. The granny grating windows looked ok, but somehow I didn't like them being out of scale.
The forge and chimney were constructed from some pieces of styrodur and fitted under the roof construction of the blacksmith's shop, and brickwork carved into.

To start tiling the roof, heavy cardboard was glued into place. It got a layer of the household glaze to stiffen it a bit more and prevent warping when using PVA glue. Hardest work was to get all the angles right, so I used paper templates first ...
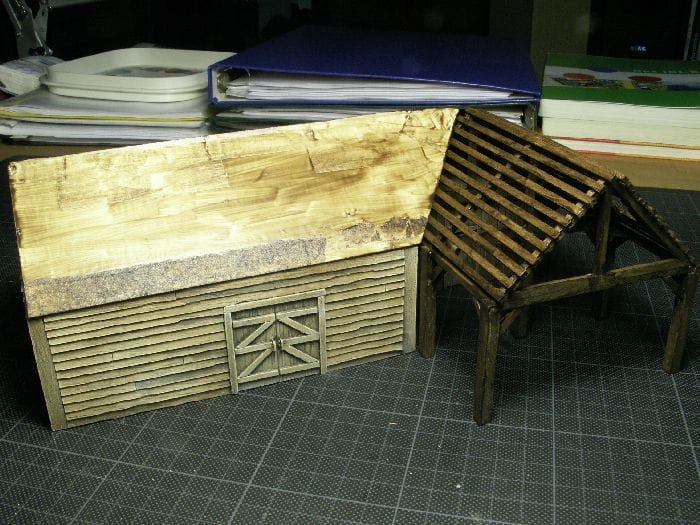


The forge's roof construction needed to be removable to get access when placing all the blacksmith's equipment and detail parts (later ...). It was easier to paint this way as well.


The chimney was undercoated and painted with acrylics quite brightly, only to be washed later with dark inks to look more realistic. It's not finished yet as the caulking has still to be done.


As I told already, the plastic mesh windows were not to my liking, so I ordered my own lasercut scale windows from Andy Slater (
http://www.archeotech.co.uk/catalogue/0002-windows.html) which were such an improvement. Roof tiling was done with another lasercut product, Paper Creek S-scale Shake Shingles ordered from the US. This is a precolored lasercut strip material on special prepared card looking very realistic and widely used by model railroad craftsmen. Unfortunately Paper Creek has closed down its business some time ago, but I found a real equivalent in "Wild West Shingles" who offer a broad range of different coloured variations in HO, S and O scales. S-Scale is 1/64 and highly recommended for our 28 mm "scale".
www.wildwestmodels.com I absolutely love this stuff!

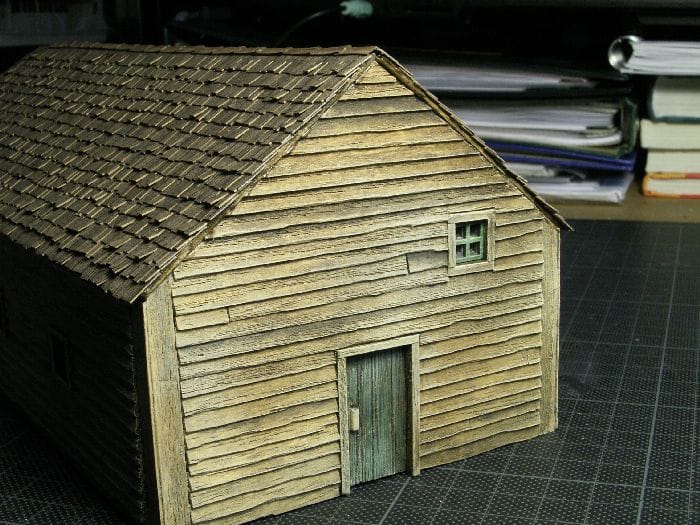
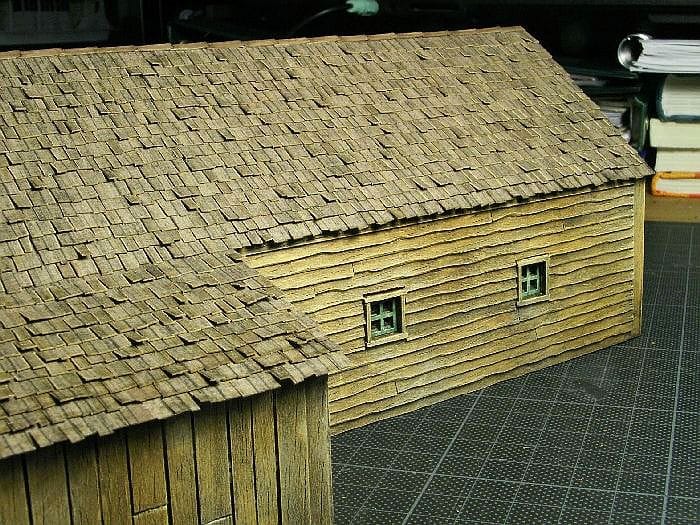
So, that's the state of affairs so far. I hope you like it, and if there are any questions, please just ask. To be continued soon ...
