I'm building an 8' x 4' (extendable to 12' x 4') gaming table for the man cave and thought I'd share the wip shots in case anyone else has a similar project on the go.
Base construction complete: 9mm MDF sheet on a frame of 60mm x 45 mm timbers
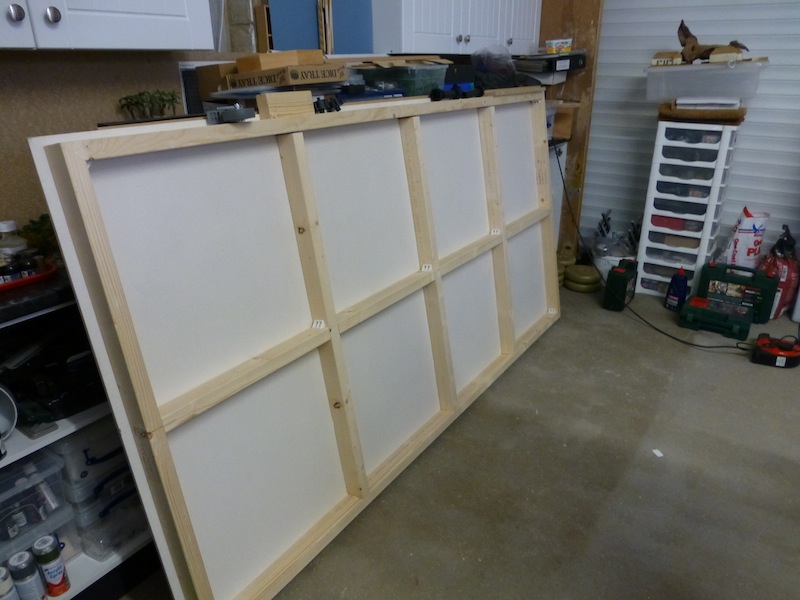
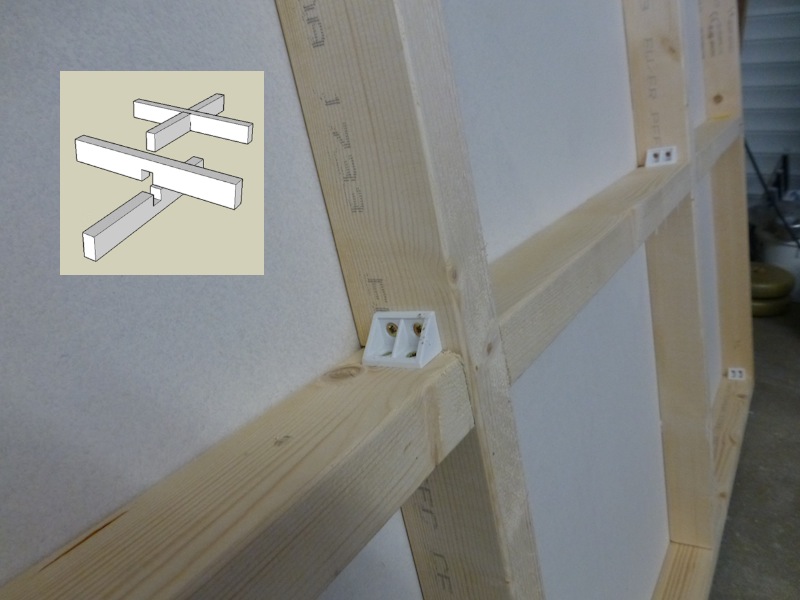
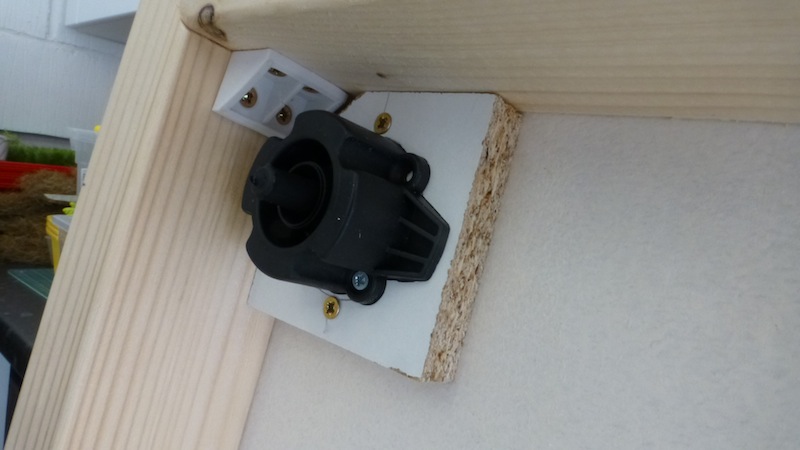
Timbers are joined using a halved joint (see inset for detail) and then strengthened using a plastic joint
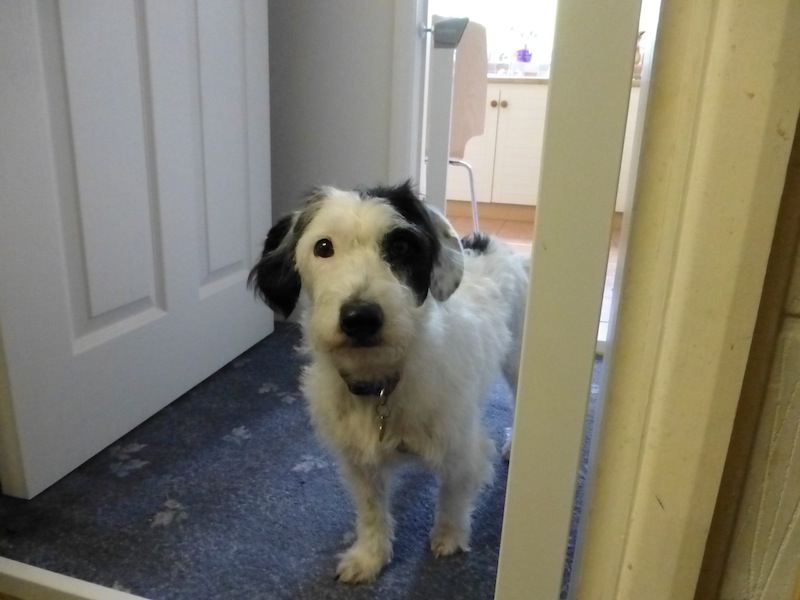
Jessie the dog decided to investigate the activity in the man cave . . .
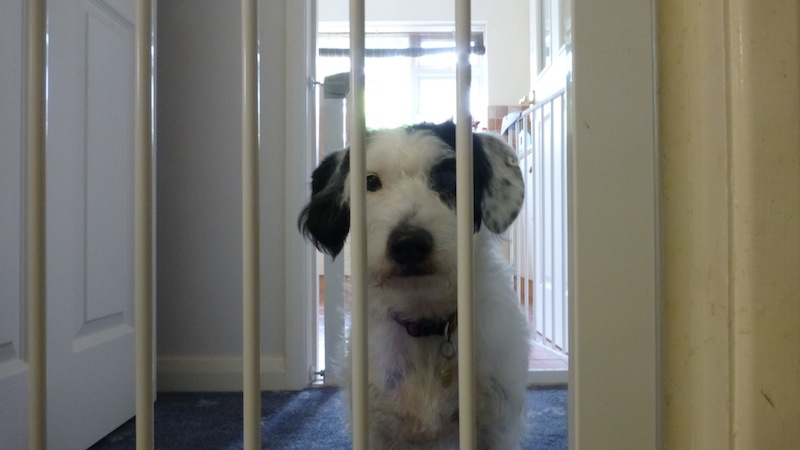
. . . and ended up observing from behind the safety gate on the basis that inquisitive dogs and powertools are not a good combination
Details of the corner - I've reused the legs that came with the ktichen base units to give the base more stability, the chipboard offcuts serve two purposes, they give more length to the leg but more importantly they have a hole in the middle acting as a socket for the peg on the top of the leg which was originally inteded to fit into a hole in the bottom of the cabinet.
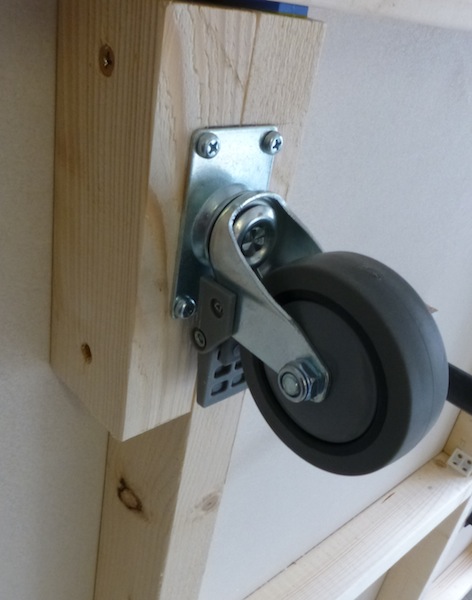
Castors, these are 75mm braked castors that allow me to move the table around the room and give me more floor space if needed. The initial design had 4 casters but I added another 4 (one at each corner) to prevent the weight of the kitchen cabinets (and lead contents) from causing the base to bow.
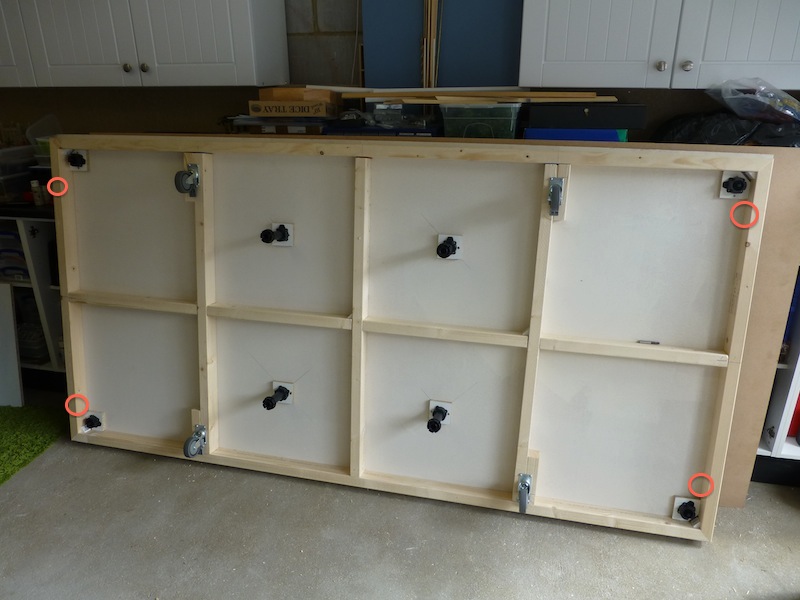
Underside of the base showing location of cabinet legs and original 4 castors, red circles show location of additional castors added after this photo was taken.
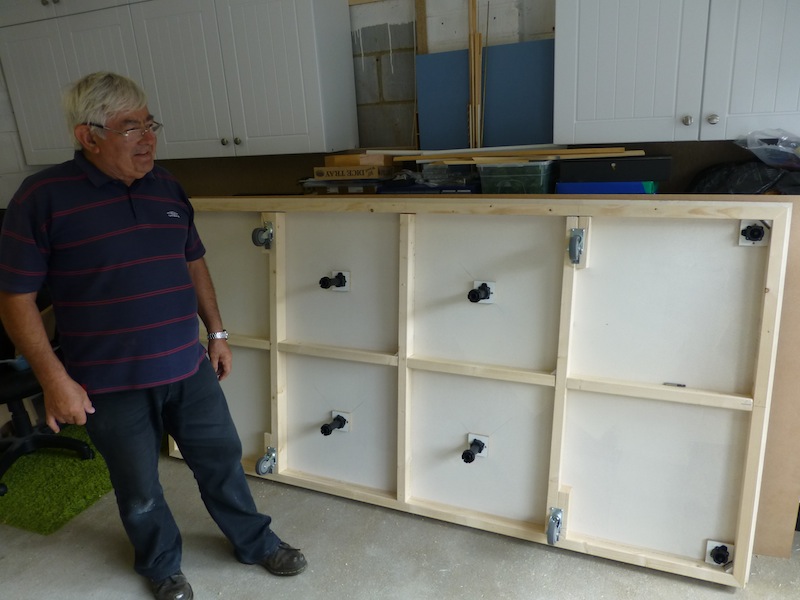
Base with figure for scale

this is my father without who's help I couldn't complete the project. Thanks Dad!
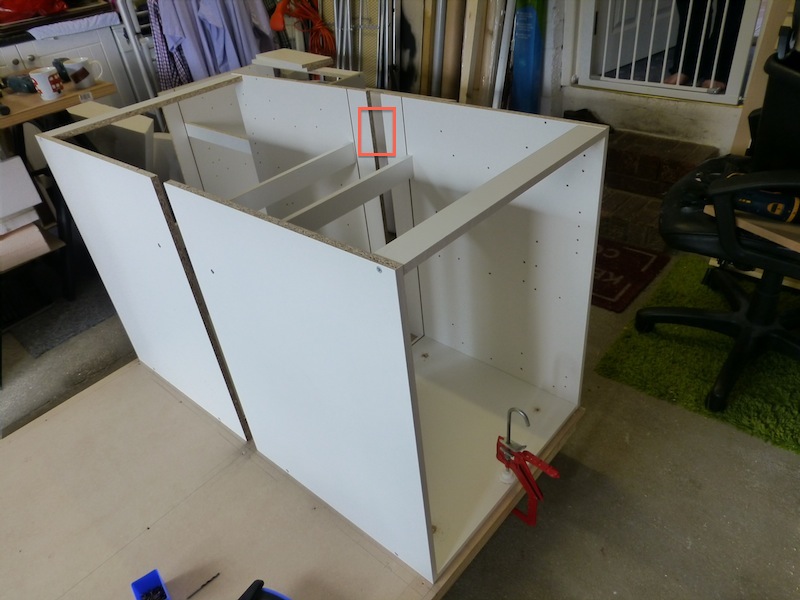
Positioning the kitchen base units, there are 4 x 600mm wide units, one at each corner - they are joined on the innside in their back edges by a strip of white melamine 6" wide that runs from top to bottom. Forgot to photo this part but it's key for the rigidity of the table - the red rectiangle in the picture should give you an idea of the position. I have deliberately left the backs off the units to allow for long items to be stored and to give more storage space. I'll be recylcing them as terrain/building bases at a later date.
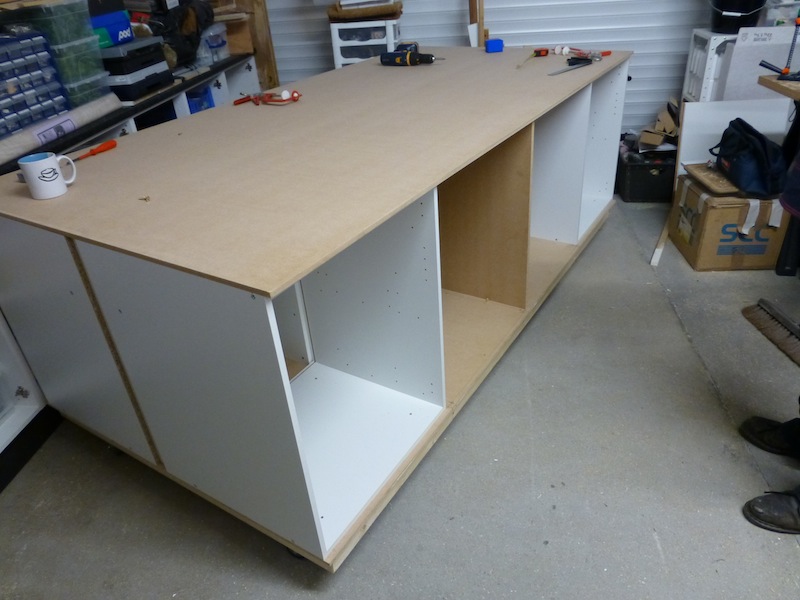
Another view of the cabinets - these are just screwed through the bottom into the base - one requirement of the design is that I have to be able to disassemble it just in case I need to relocate it.
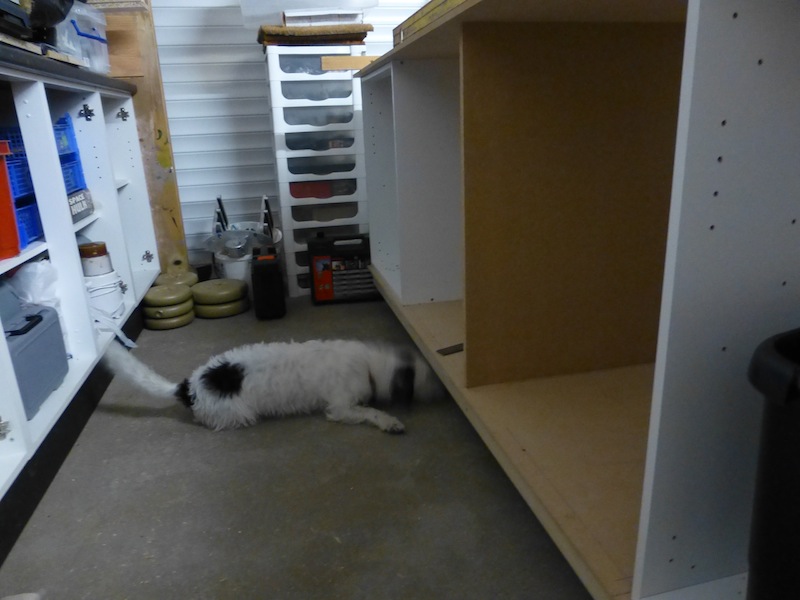
Design fault - the gap under the table is big enough to allow a tennis ball to roll underneath - result a very frustrated dog that constantly interrupts whatever id going on until the ball's retrieved. I will be adding some skirting to reduce the gap
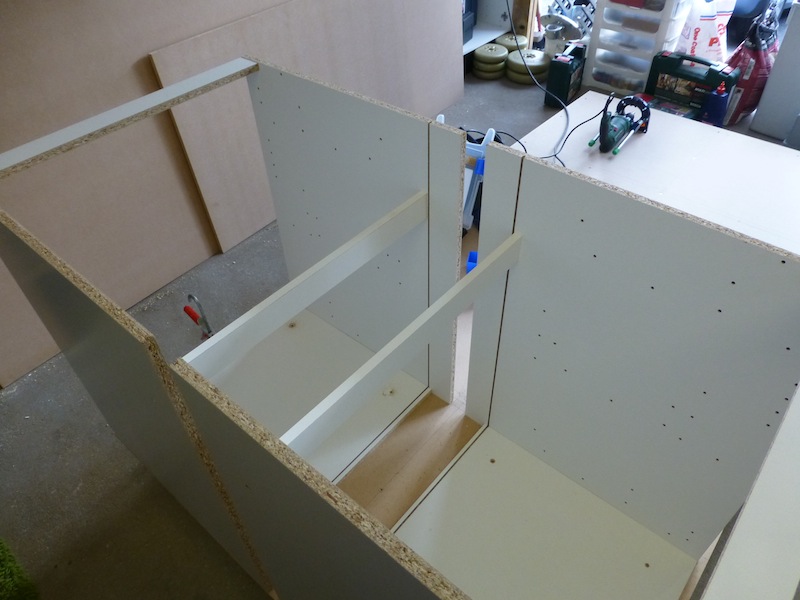
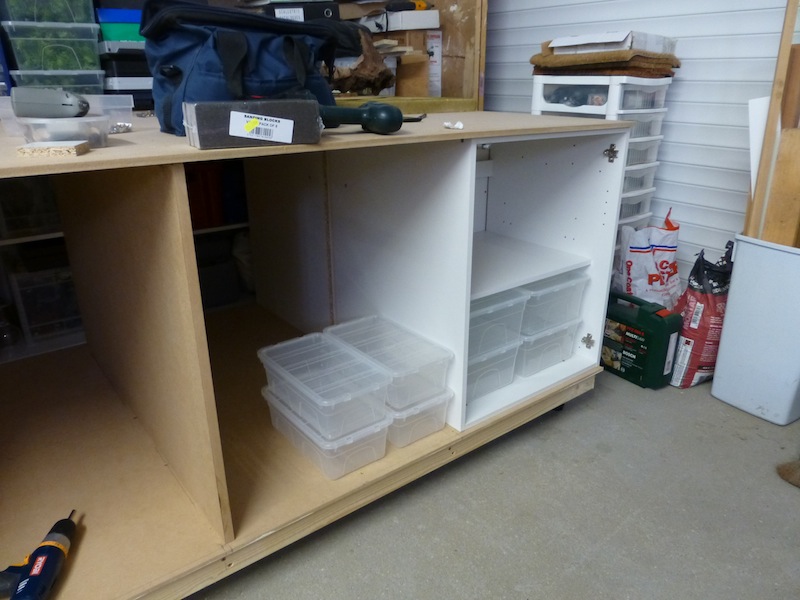
Basic construction complete showing MDF panel that supports the top in the middle and separeates the space between the cupboards into two 610mm wide storage areas. I intend to fit runners/shelves to store terrain modules in this area.
Measuring up storage containers - the local surplus store has a good selection of cheap plastic storage boxes that will allow me to organise the contents of the storage under the gaming table.
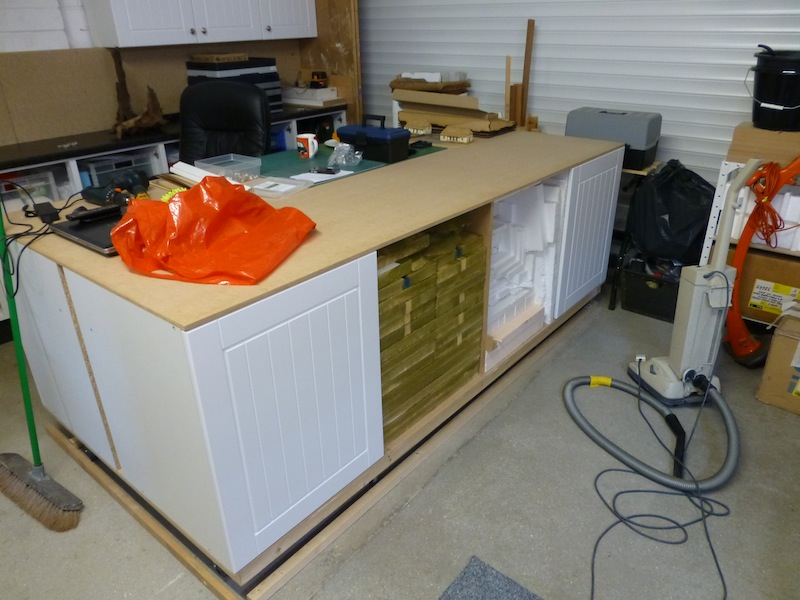
Progress so far ... construction is complete and the kitchen cabinet doors are added. I've deliberately not fitted the door handles, the doors are easily opened from their edges so all the handles will do is tear trouser pockets and or stab vitals so best left off. My old TSS terrain squares fit nicely into one of the central areas and the other contains my 'I'd better keep this polystyrene for my next terrain project' collection.
All that remains to do now is
* paint the top of the table - probably a watery blue colour for naval games and to act as a riverbed/coast when I use terrain boards
* add the 2' hinged extensions to each end (to give me the 12' x 8')
* fit the curtain that will cover the center storage areas
* paint the exposed wood/mdf of the base
* buy some beer and organise some games!
M


 Welcome, Guest. Please
  April 28, 2024, 09:17:20 PM


