Hi everyone - I don't normally take work in progress pics while I sculpt, but I remembered to do it with this one... at least, I remembered eventually; I forgot to take any armature pics.
Anyway, I'm running a Kickstarter project
http://www.kickstarter.com/projects/oathsworn/oathsworn-miniatures-heroes and I'm showing the backers the sculpting process - I thought I might as well show it here as well...
What I'm doing is making a dragon for my 28 / 32mm range. I want it to be castable in metal, in a standard 9 inch mould. But making a dragon sculpt for casting in a 9 inch spincasting mould places certain constraints on the design.
Firstly, there's the size - there's only so much space in the mould. Secondly, it's flat - and this means the model has to be either tall and thin, or low and wide... or in lots of pieces, and I want to keep it down to 4 pieces at most. Thirdly, no single piece can be more than about 27mm thick at the widest point...
I experimented with a tall thin design first of all, but it was proving very difficult to achieve a good look without being in lots of parts. And with metal models, you want to avoid that really.
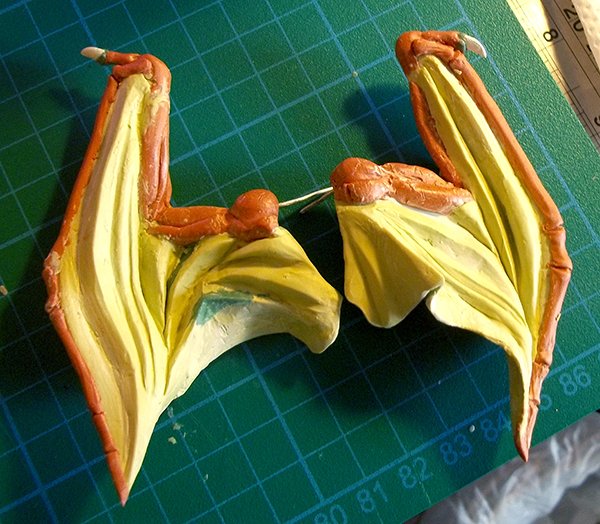
So I switched to the low, wide design. I also decided at this point to do something a bit different - to try and make a (nearly) physically-possible dragon, or as close as I could get within the design limits... and this means no more than 4 limbs, so the arms have to be the wings. And I went for a pterosaur-style wing, with an elongated finger down the outside edge. I also decided to make the dragon in a crawling pose, to get him on a level with the other figures in the range.
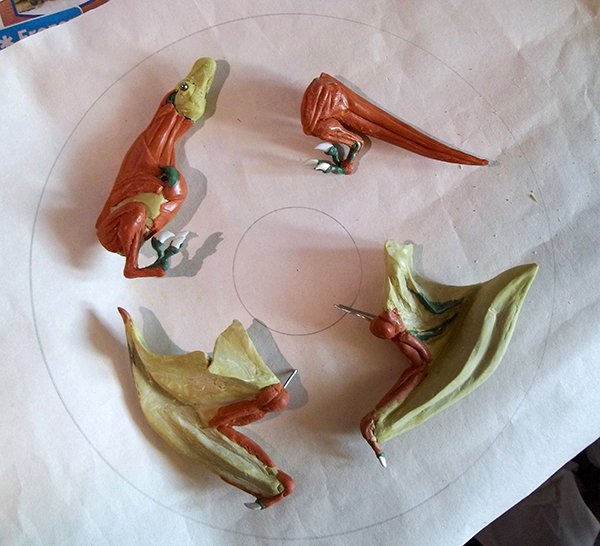
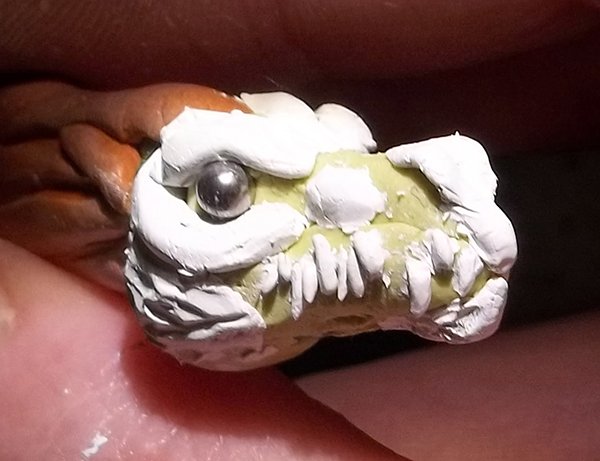
So I bent up some armature wire, and mixed up some Milliput putty, and made the basic shape. Then, using a different colour Milliput, I modelled the main muscles onto the dragon. Finally, I attached a couple of ball bearings for eyes. Then I laid the pieces out onto a sheet of paper with the shape of a 9 inch mould drawn on, to make sure it would fit!
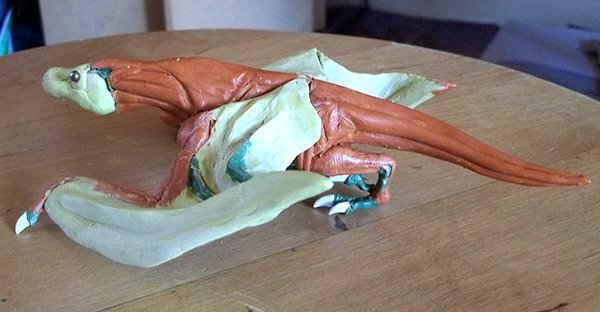
Next I stuck the pieces together to make sure it would work as a model...

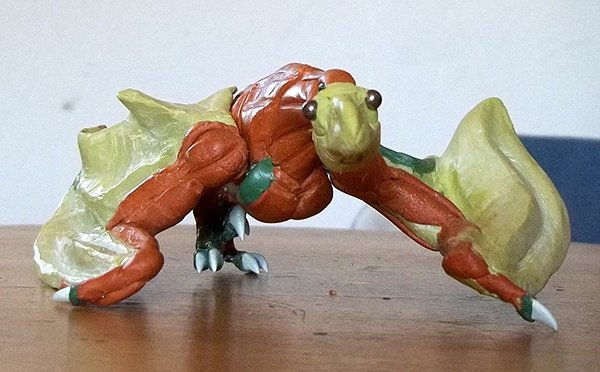
And here's an adventurer's-eye-view... more cute than menacing at the moment, really!
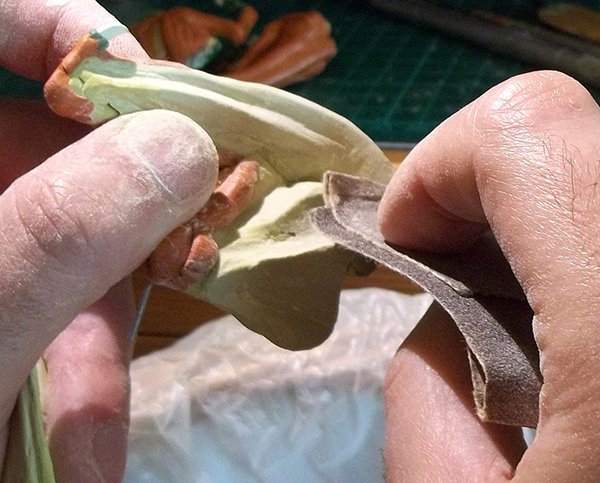
I decided to clean up the wings after that... added a few more folds, and sanded them down.
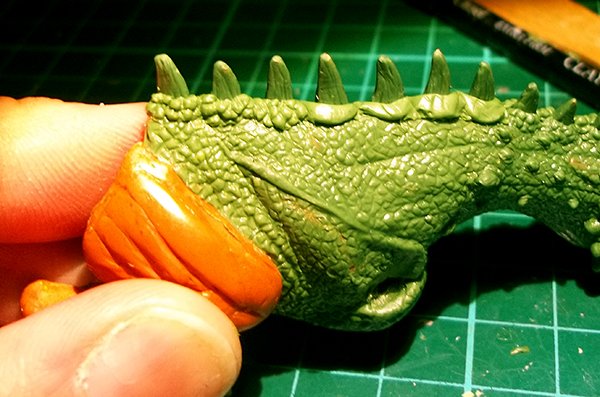
Next I began working on the head... firstly I added some more Milliput (White, this time - no real reason, but it's easier to see I guess!) to give some shape to the skull.
Once the Milliput was dry, I started working with Green Stuff over the top...
First layer:
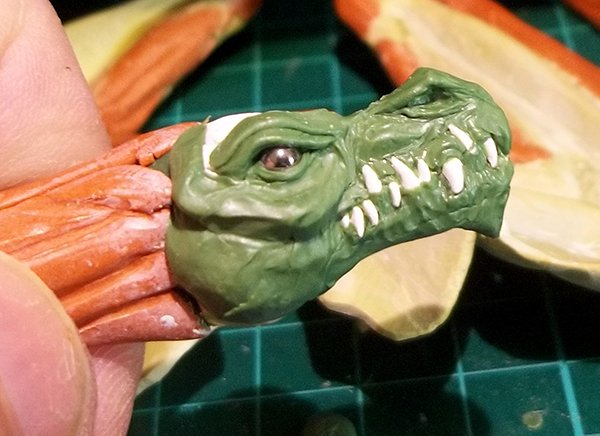
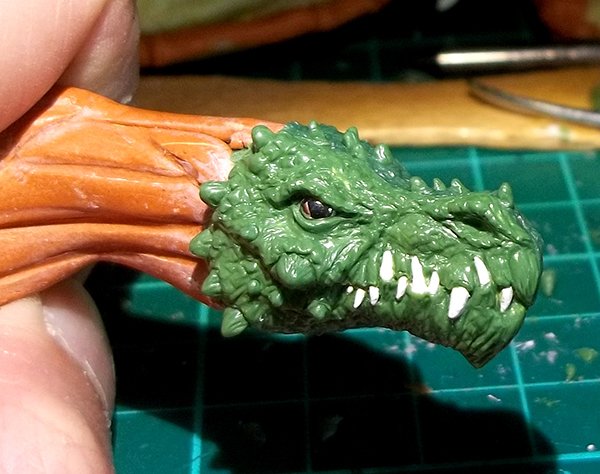
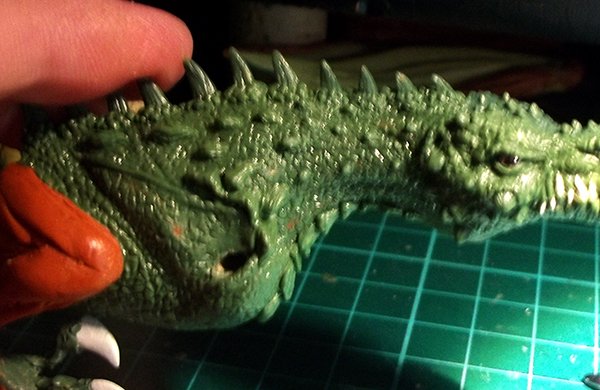
Then while it is still soft, sculpting details into it:
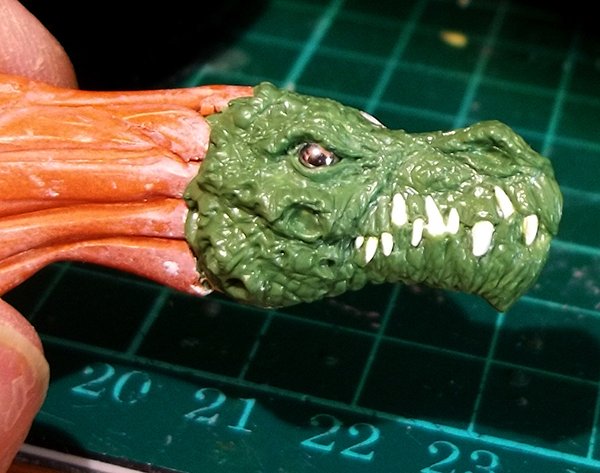
...and adding a few extra details...
Then I decided he needed a row of spines down his back, so I drilled a lot of holes, and attached little bits of brass wire.
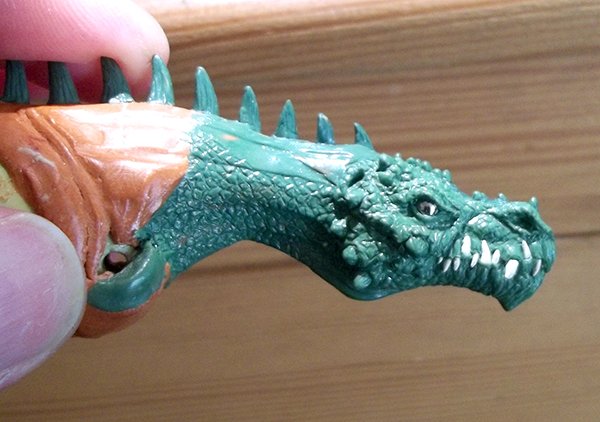
Next, I sculpted the spines, and started working down the neck...
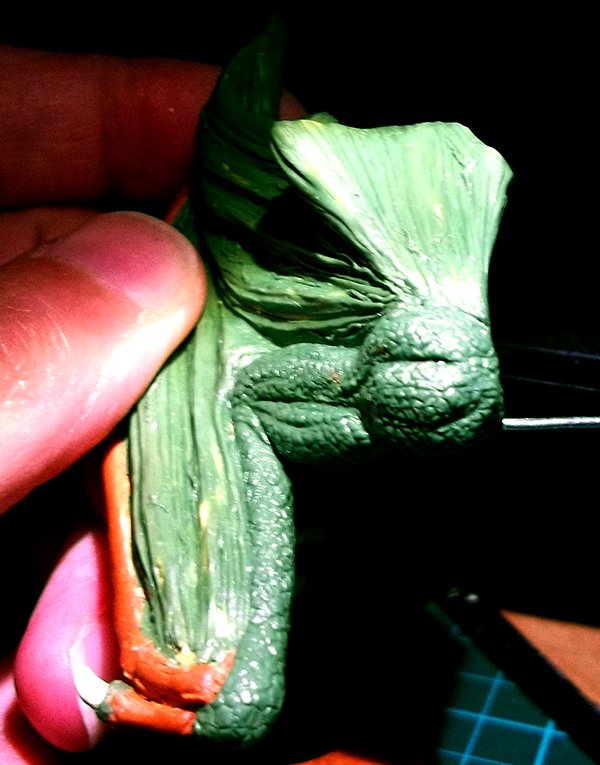
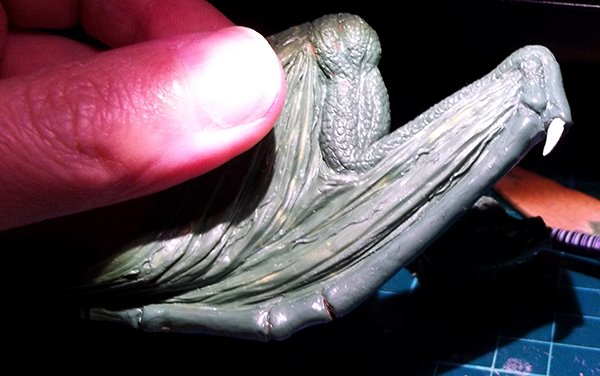
While that putty was curing, I made a start on the wing membranes.
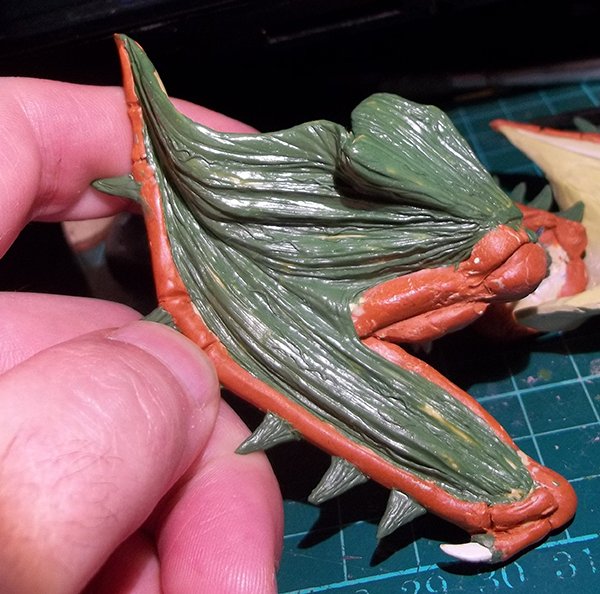
(You can see there that I added spines to the wing edges as well... but I decided they didn't really work, and have cut them off.)
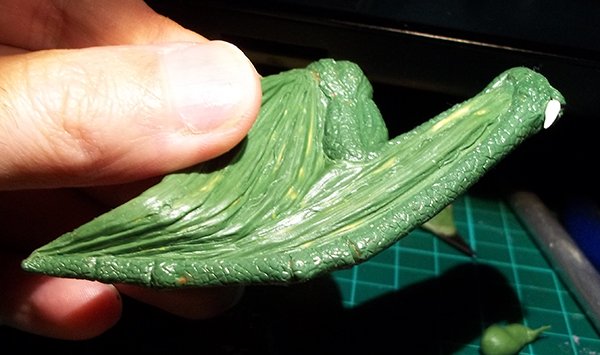
And I started on the body again:

And onto the underside of the wings...

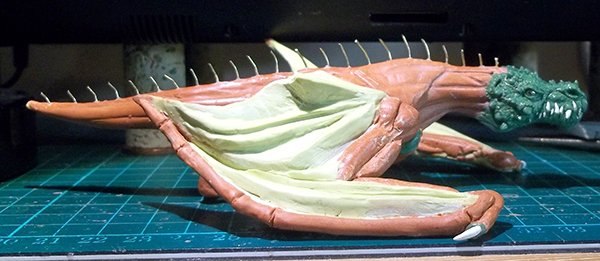
And then, a quick test fit - now the adventurer's-eye-view looks a bit scarier!
Next I continued working on the body, and got one of the wings finished.
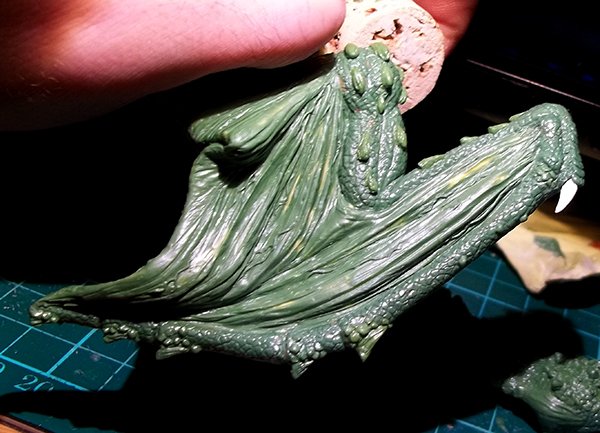
I started by extending the skin down the side of the body:
Then I added a strip of putty to the spines, to blend them in a bit:
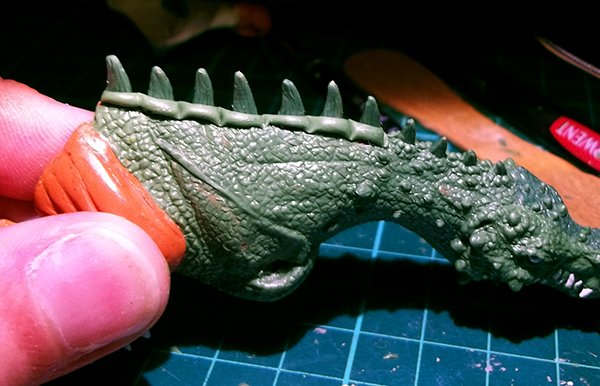
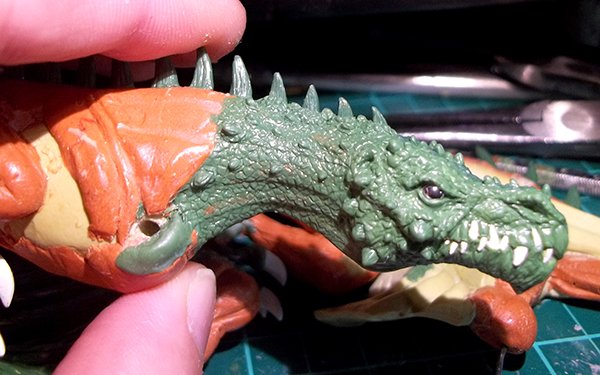
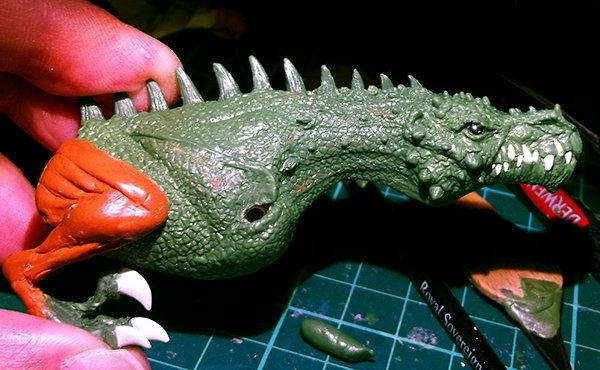
Then I started adding a few more large scutes / osteoderms to the body, and shaped them:

Next I started on the wing - I covered the shoulder and upper arm in putty and sculpted the scaly skin pattern:
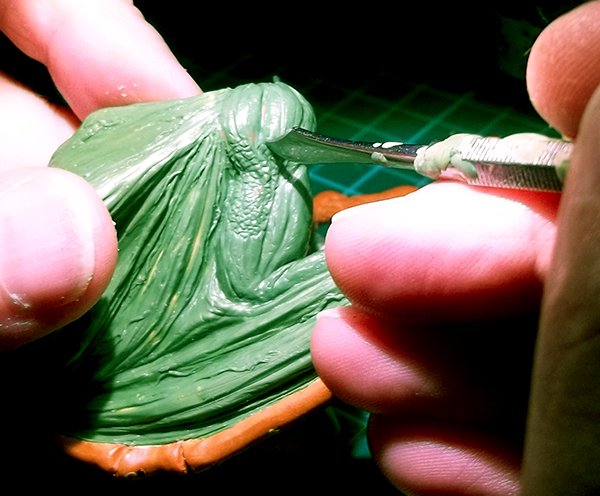
Then I did the same for the rest of the arm - a layer of putty, then marking out the scales:
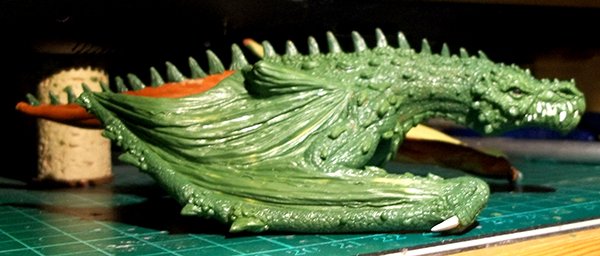
Then I added a bunch of extra scales, to make it look a bit more 'dragony':
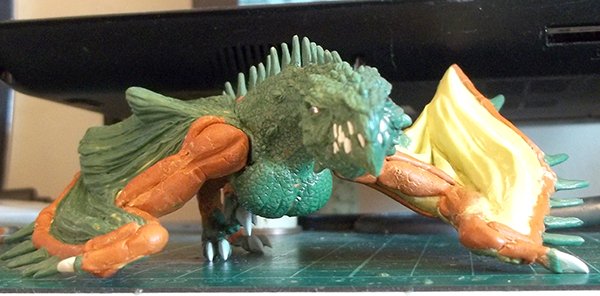
And putting it together - this is where we are at so far:
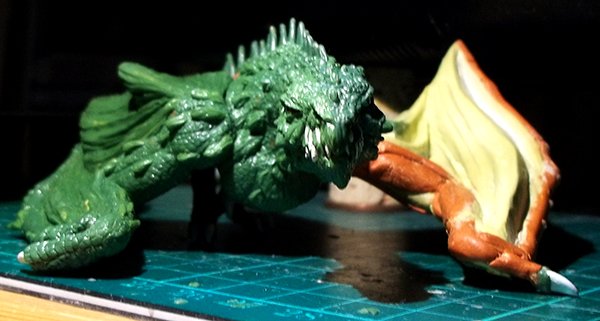
I'll get back to sculpting now... I've got a leg to do next. I'll post more when I've done it.
cheers
Michael
Oathsworn Miniatures
http://www.kickstarter.com/projects/oathsworn/oathsworn-miniatures-heroes


 Welcome, Guest. Please
  April 27, 2024, 06:58:30 AM


