Played a fun, lively game of Great War Spearhead (2nd edition) last night with my two sons and best friend. The three had not played GWSH in a while and so the game lasted a bit longer than would normally be the case as people became re-acquainted with the rules. It took 2 hours (2 1/2 really) and it was roughly the equivalent of a corps on each side.
Orders of Battle:
German 42 Infantry Divisions with 3 Regiments each with 12 Infantry companies, 1 MG company, 1 HQ company
Divisional Support: 2 x Cavalry Squadrons, 2 x 15cm Howitzer Batteries, 9 x 7.7cm gun batteries
Bavarian 142 Infantry Division with 3 Regiments each with 12 Infantry companies, 1 MG company, 1 HQ company
(no divisional support as it was still de-training behind the battle lines. 42nd Div attached 1 Artillery Regiment (3 x 7.7cm gun batteries) to the 142nd for the battle.
--------------------------------------
Belgians
2nd Infantry division with 3 Regiments: Carabinier with 12 Infantry companies, 1 MG company and 1 HQ Company
8th Infantry Regiment with 12 Infantry Companies, 1 MG Company and 1 HQ Company
9th Infantry Regiment with 12 Infantry companies and 1 HQ company
divisional support 3 x 75mm gun batteries
BEF
BEF 4th Division with 3 Brigades: 2 brigades with 16 Infantry Companies, 4 MG Companies and 1 HQ Company
1 Brigade with 12 Infantry Companies, 3 MG Companies and 1 HQ Company
Divisional support: 2 Cavalry Squadrons, 2 Artillery Brigades each with 2 x 18 pdr batteries
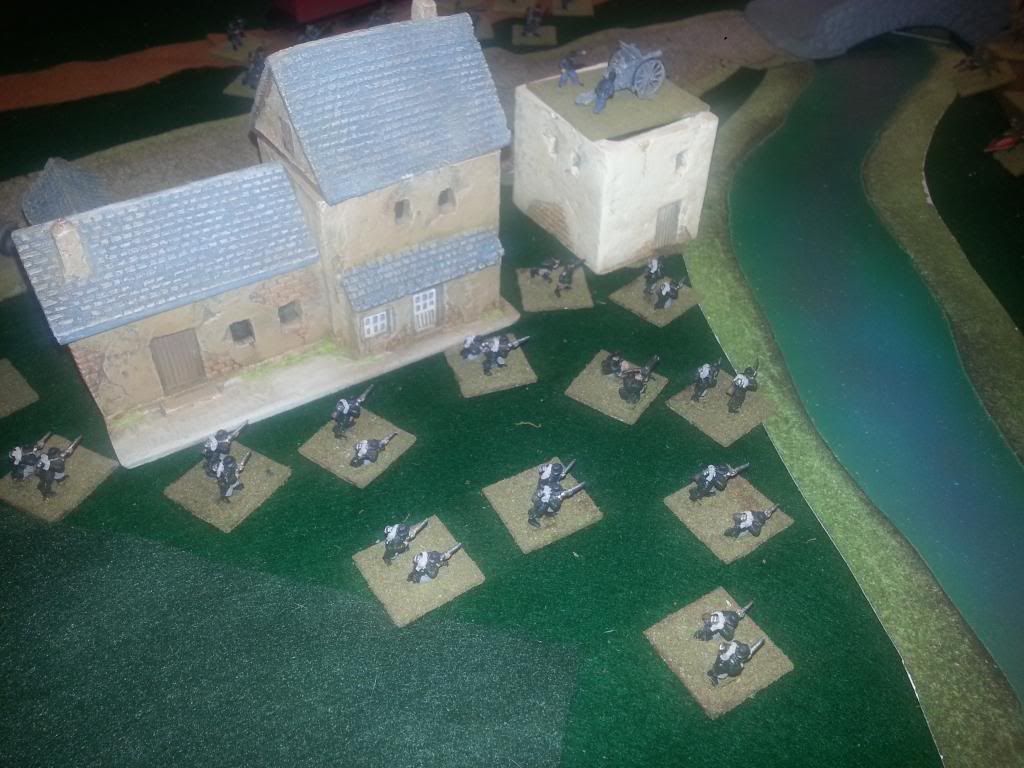
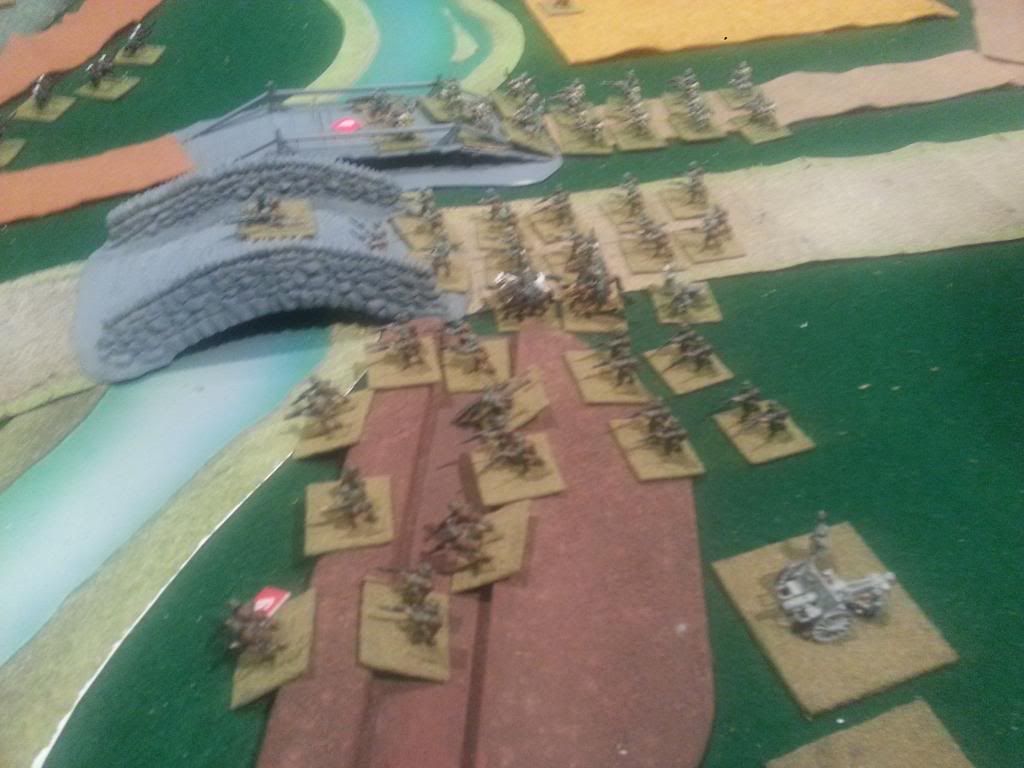
The Belgians had centered their defences on a railhead town near a river crossing. High ground across from the bridges on the Western side of the river made it ideal for supporting fire from Belgian artillery.
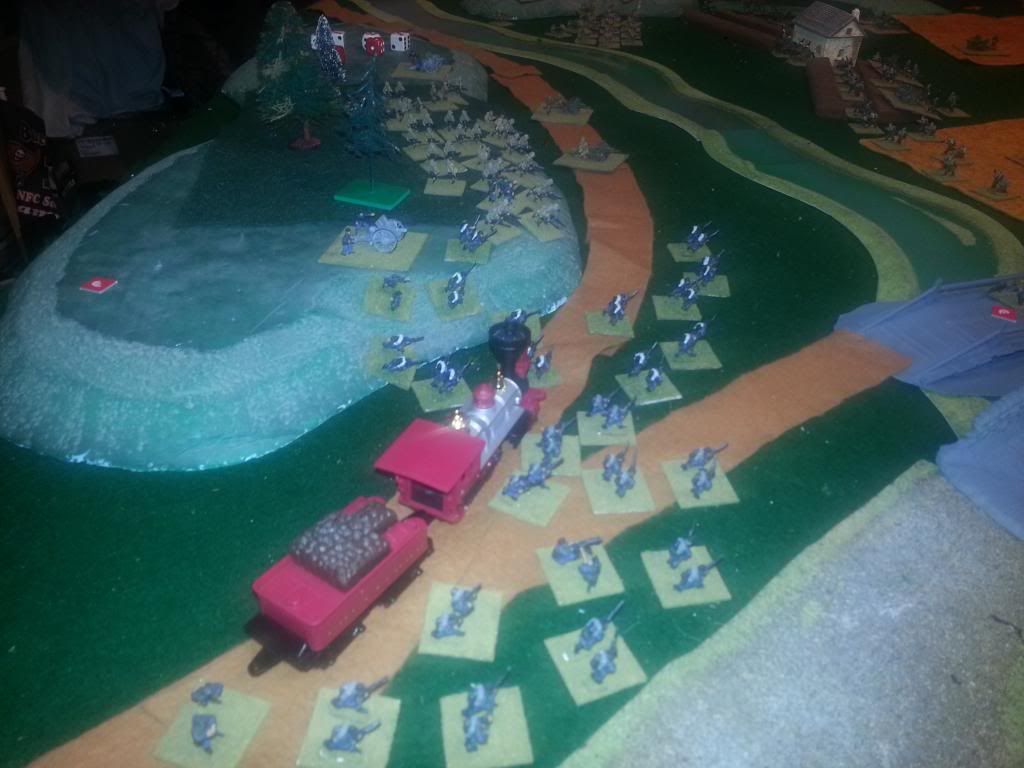
The Carabinier were held in and around the town to ensure it was safe from German assault.
The BEF, German and Bavarians marched in from their respective table edges to try and effect their own battle plans. The BEF primary objective was to stop the Germans from controlling the Northern portion of the battlefield as this could cut off the BEF from Antwerp and possibly the channel ports. Secondary was to ensure the road and rail bridges remained in Belgian hands to allow from future counter attacks.
German 42nd Division was assigned the role of taking the North Western portion of the field to block any further BEF/Belgian progress towards Antwerp. 142nd Bavarians were to simply take the bridges and railhead town.
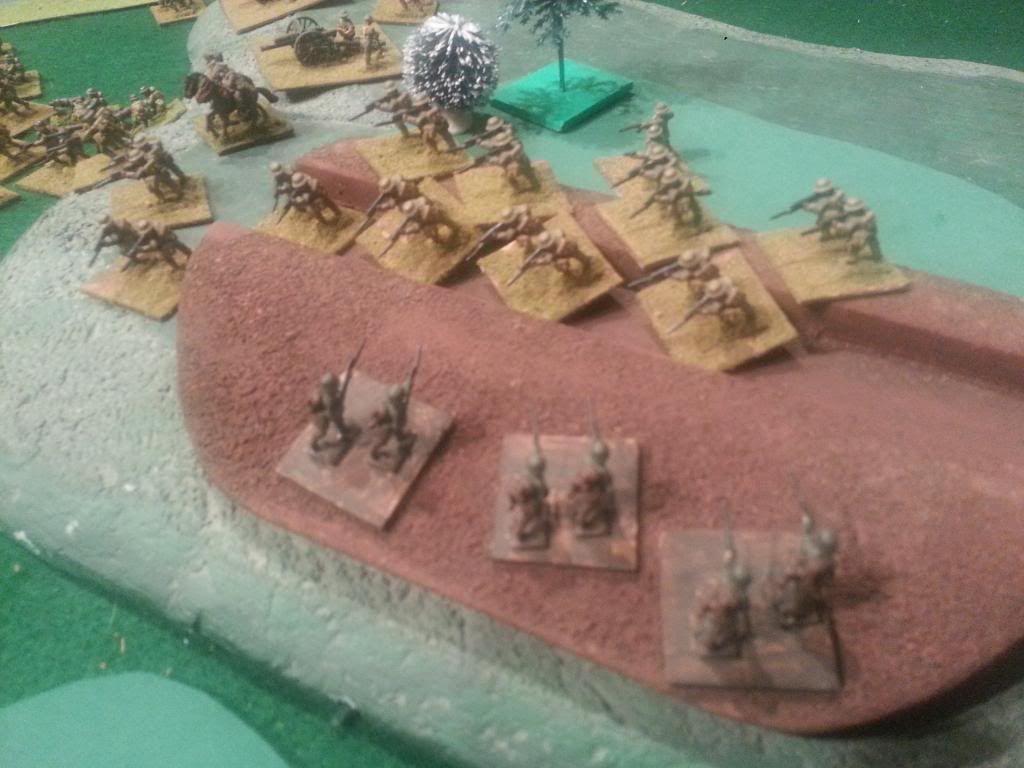
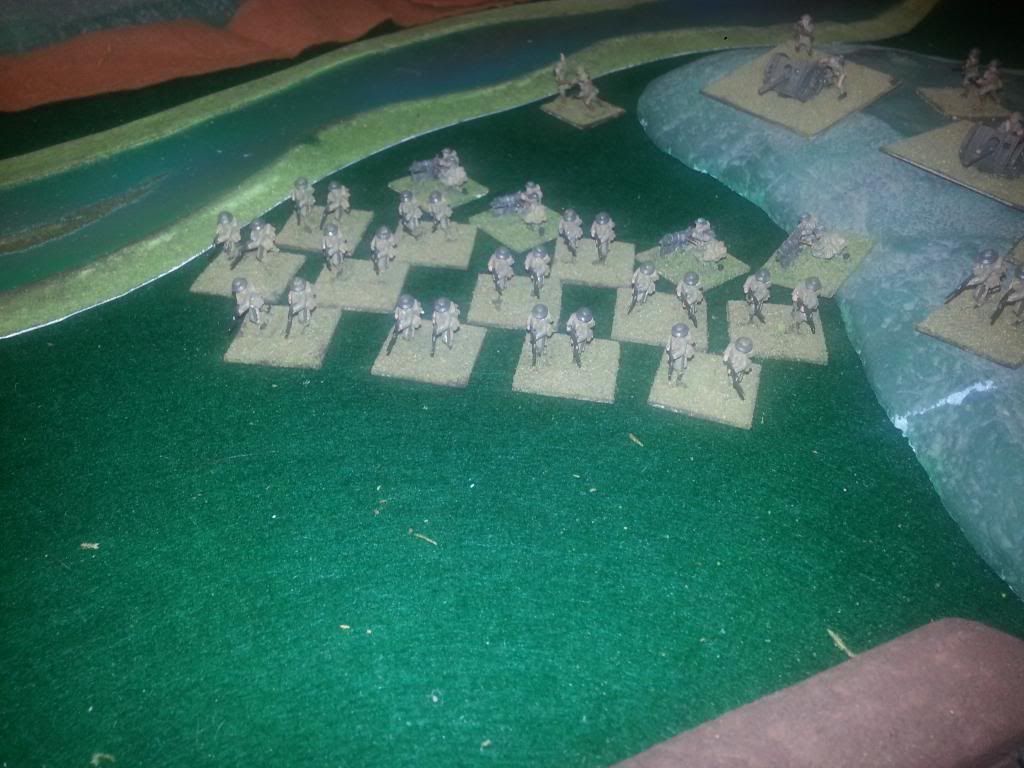
Manoeuvering in position to best control the field both the BEF 4th Div and the German 42nd Div made contact at approx. 1130 in the morning (each game turn is approx. 30 minutes, 1 inch is 100 meters) with the BEF managing to take the high ground and the Germans going immediately into assault mode.
The Bavarians advanced on the Belgians who held fast to the defences in and around the bridges and railhead.
The 4th and 42nd exchanged fire and see sawed back and forth over the hill top, but the fire from the 2 15cm batteries began to have an effect on the BEF 3rd Brigade. Close assaults on the hill left the 3rd brigade in a bad situation but they passed their morale test to stick around. During this time the 2nd Brigade advanced onto the German line putting German 2nd Regiment under immense pressure.
The Belgians fire had increased and they were starting to cause mounting casualties on the Bavarians as they attempted to take the Bridges by storm!
The fight for the high ground finally saw BEF 3rd and 2nd Brigades break after 5 hours of intense combat and this caused 4th Div to shatter and move quickly towards the channel ports The Belgians had no choice but to withdraw as they were now outflanked. The Bavarians and Belgians had really had a nasty fight going with each side losing a regiment.
It was a fun fantastic game. It is very interesting to watch as full divisions of troops move about on the field of battle to try and get the best position to run off their opponent. GWSH really excels at giving the full perspective of those large scale actions to the gamer. Can't wait for the Mega-Marne game next year!
Shawn


 Welcome, Guest. Please
  April 28, 2024, 09:56:41 PM

