We ran a Great War Spearhead II game last night. It is from the summer of 1914, the Germans are pushing hard to cross Belgium when the 1st Belgian Infantry division performs a blocking action at the Town of Tirlemont, along the Gette river.
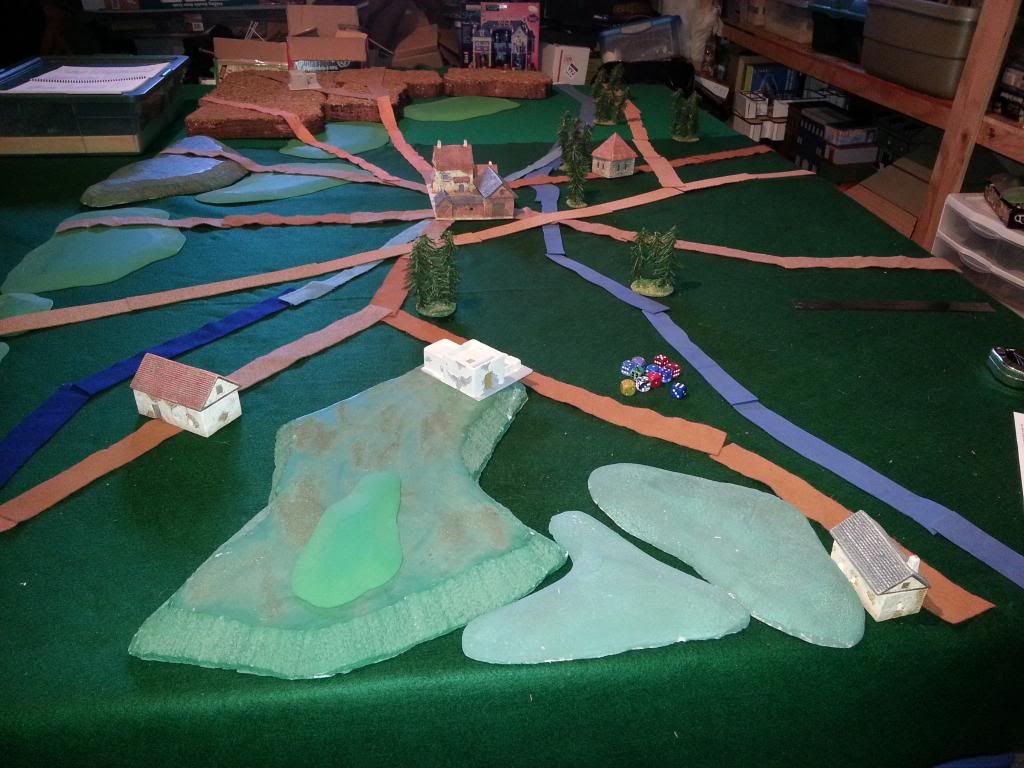
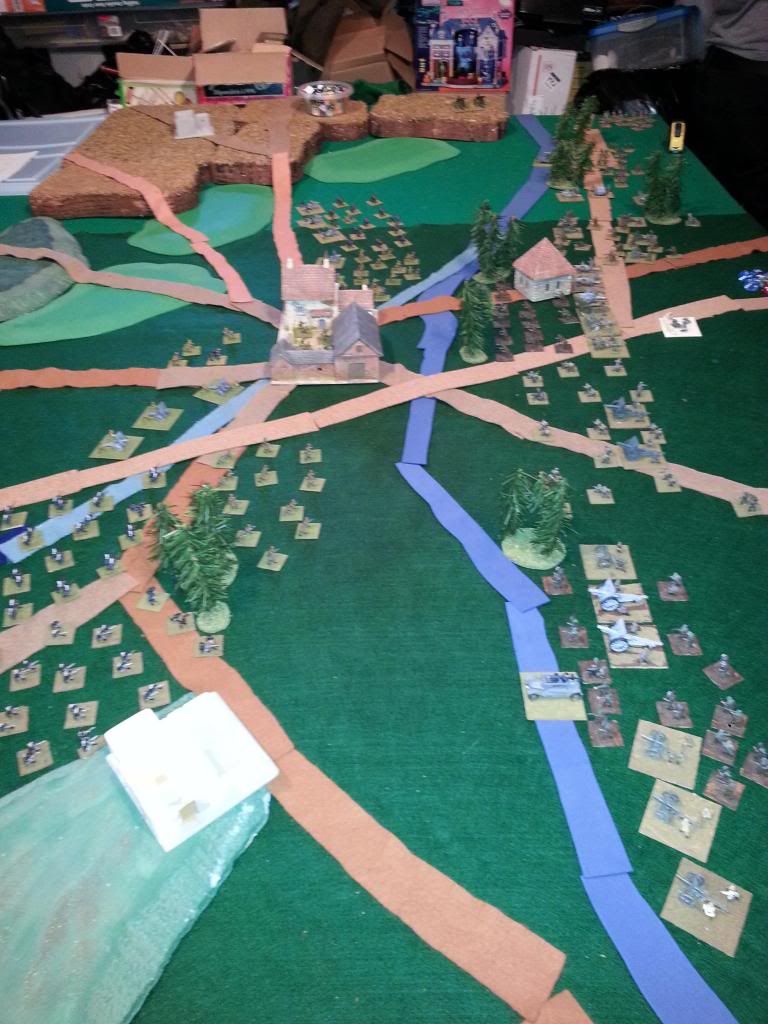
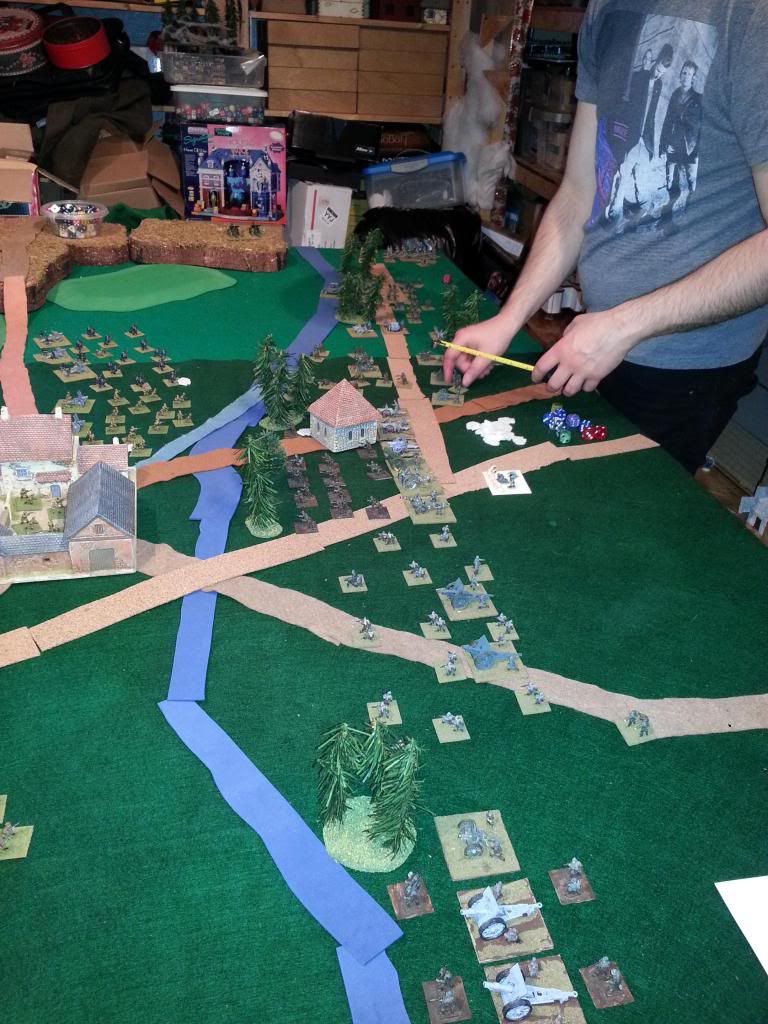
A shot of the whole table. The area was rife with roads and rail lines. The river can only be crossed at bridges or by a pontoon bridging company.
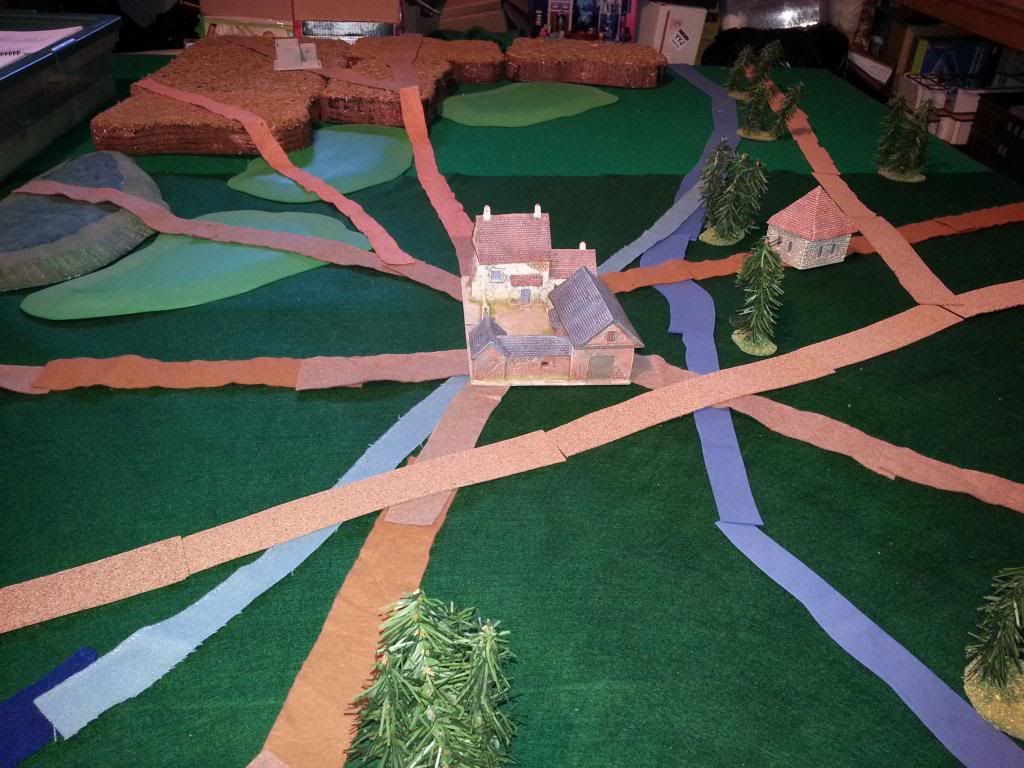
The big building in the centre is Tirlemont and it represents 2 town sectors in GWSH terms - that means it can hold 6 companies inside each sector and you can have 1 company in the outskirts of each - so two battalions worth of troops. The Belgians deployed to the left, the Germans came on from the right table edge.
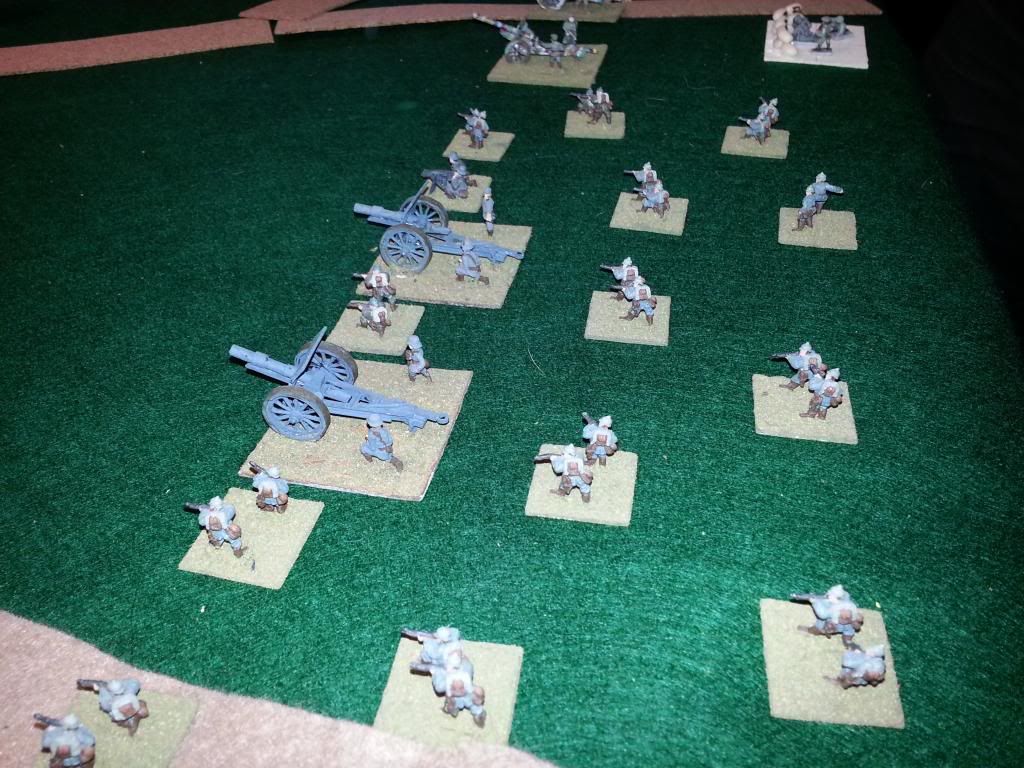
The Germans of the 17th Infantry Division advance towards the Belgians lines.
Germans of the 18th Infantry Division prepare to advance on the Belgian defences.
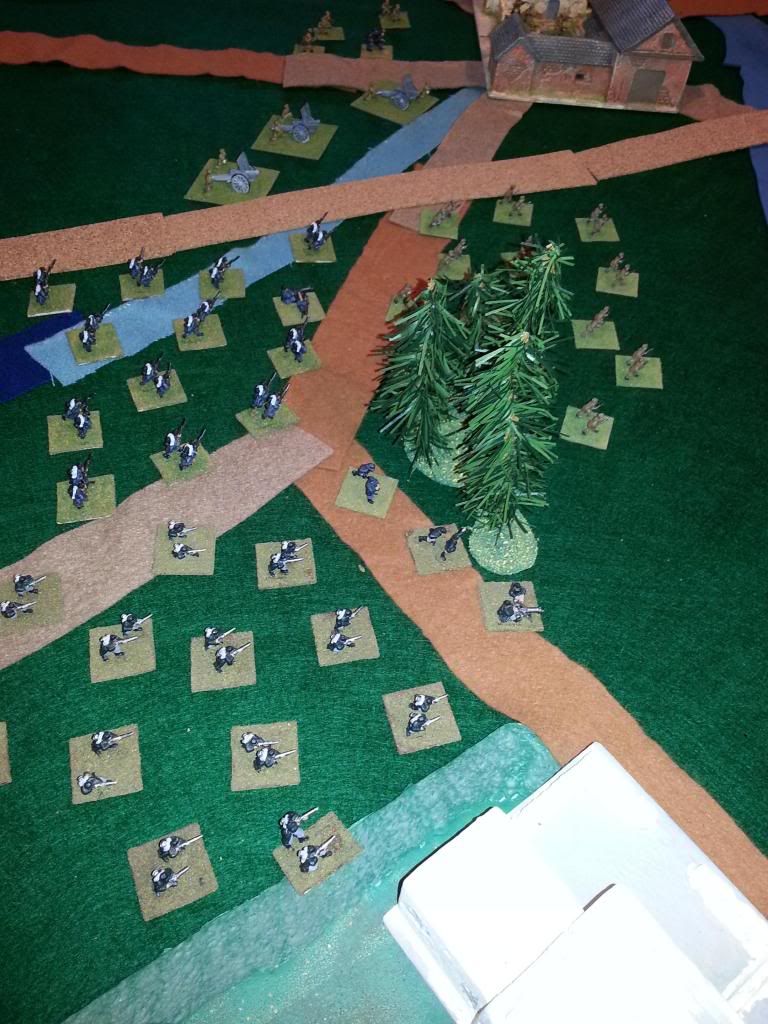
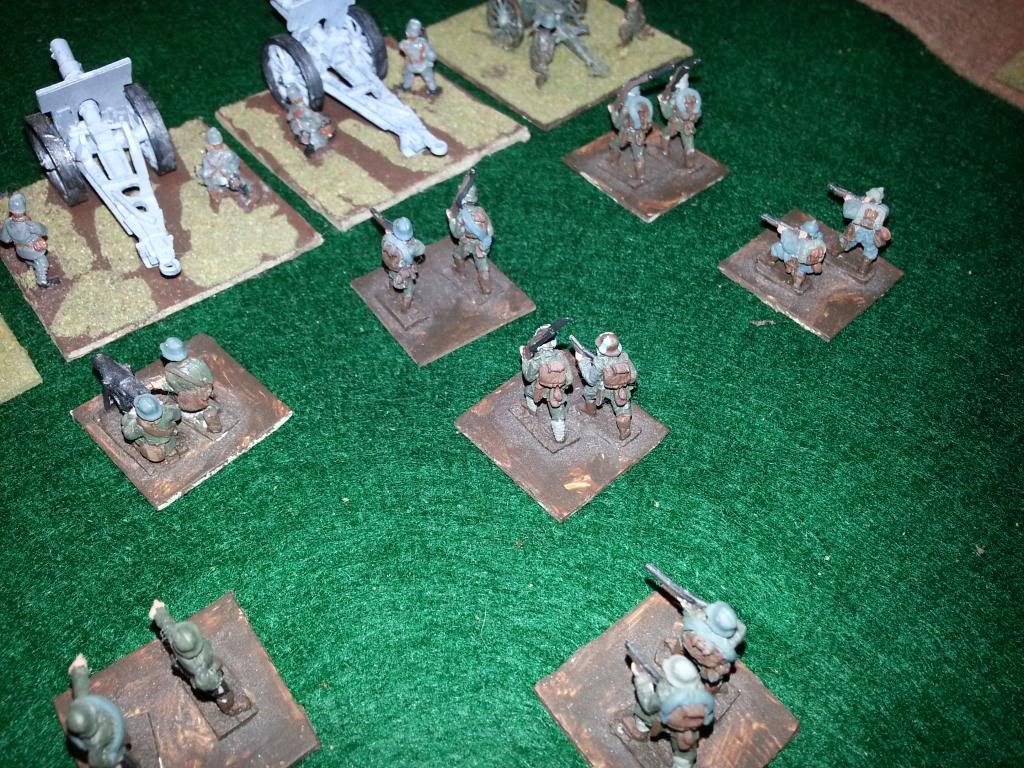
Three Regiments of the Belgian 1st Infantry Division prepare to halt the German advance.
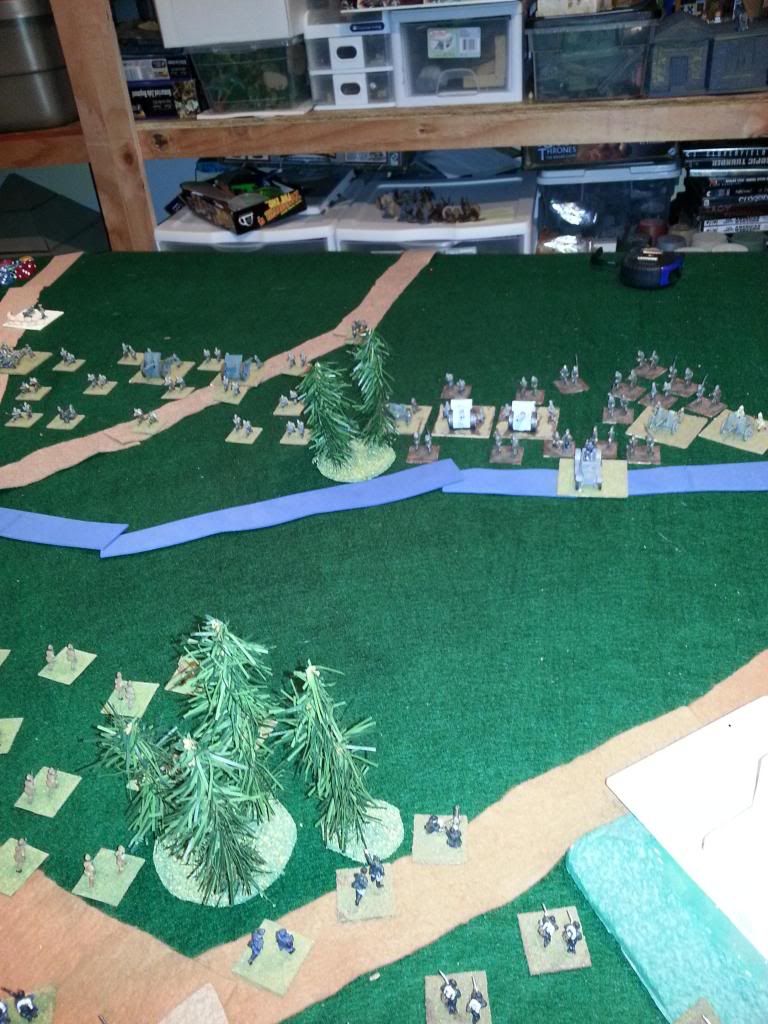
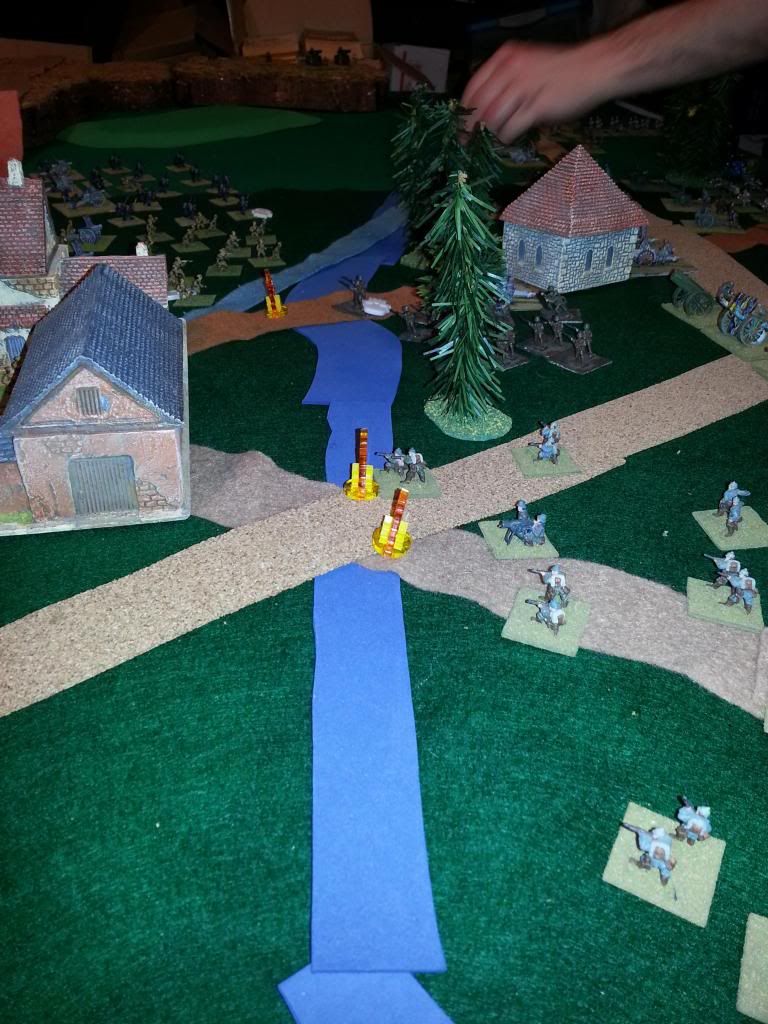
A great shot of the battle lines closing. The Germans pontoon bridges (represented here by Belgian armoured cars - ironic eh?) are moving into position.
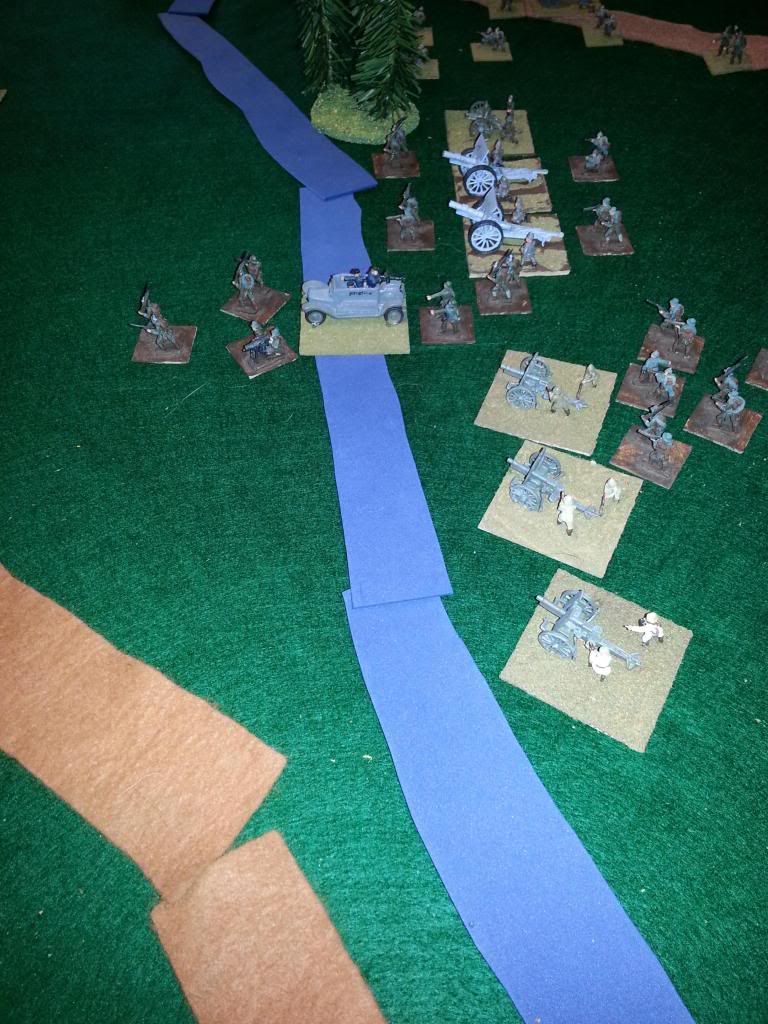
Great shot of the 17th German ID advancing. The 15cm howitzers to the left of the line played nasty havoc on the Belgians later in the day.
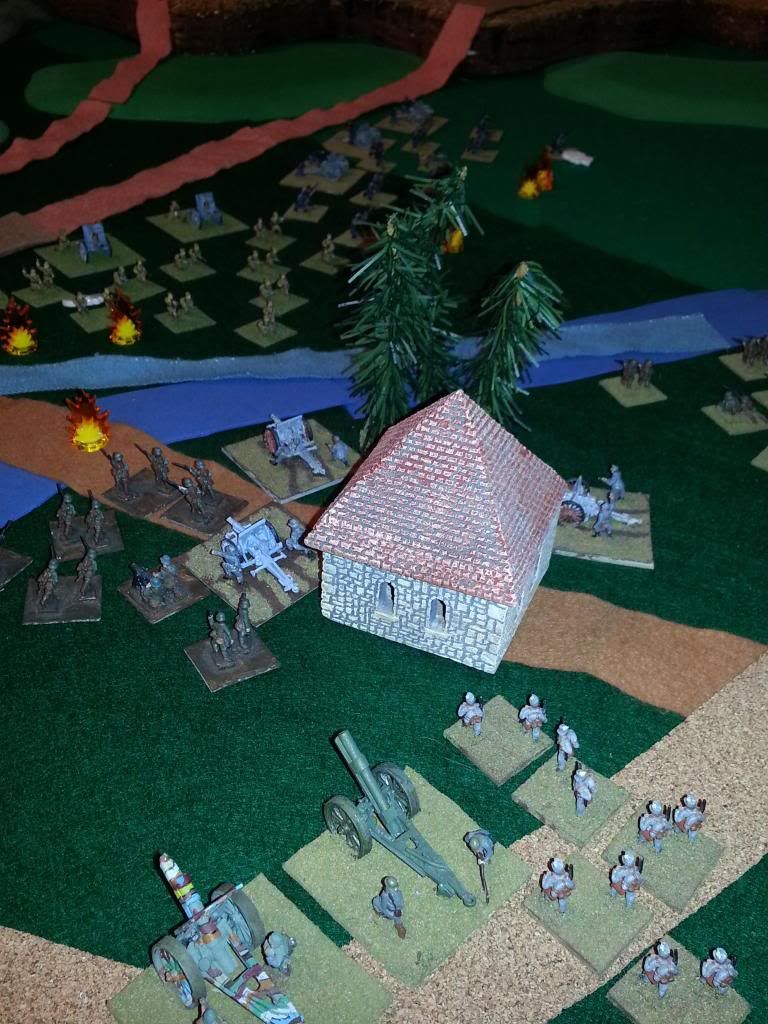
The defenders of Tirlemont, supported by an entire regiment of 75mm guns.
18th German ID pour across the pontoon bridge and commence to flank the Belgians.
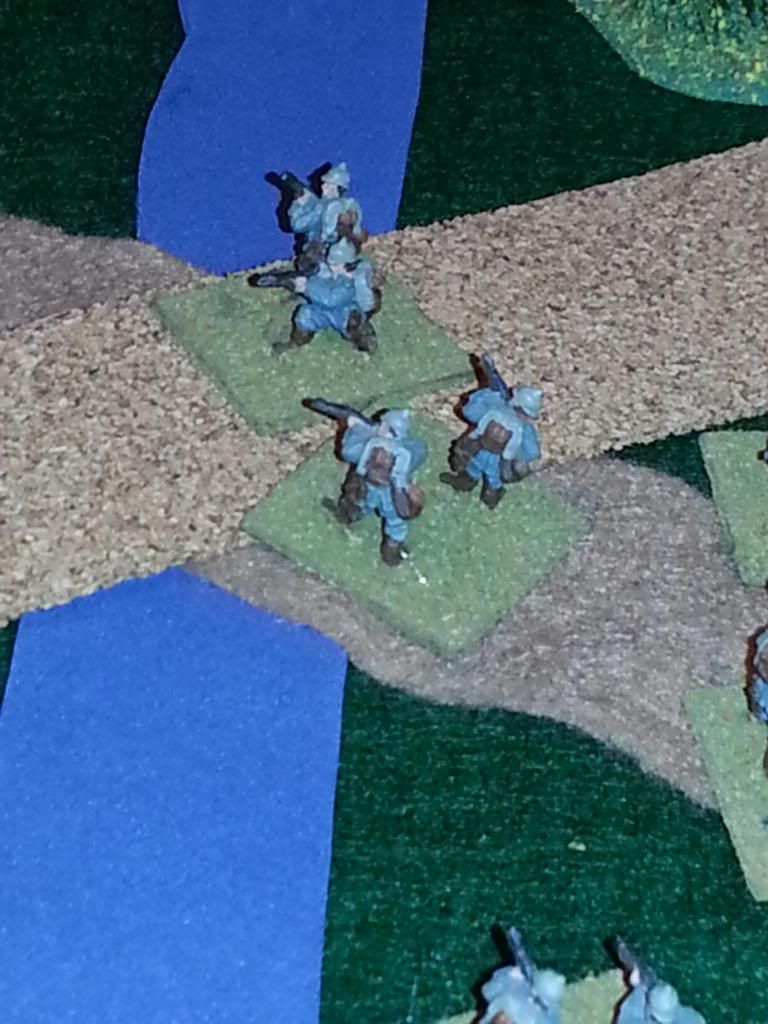
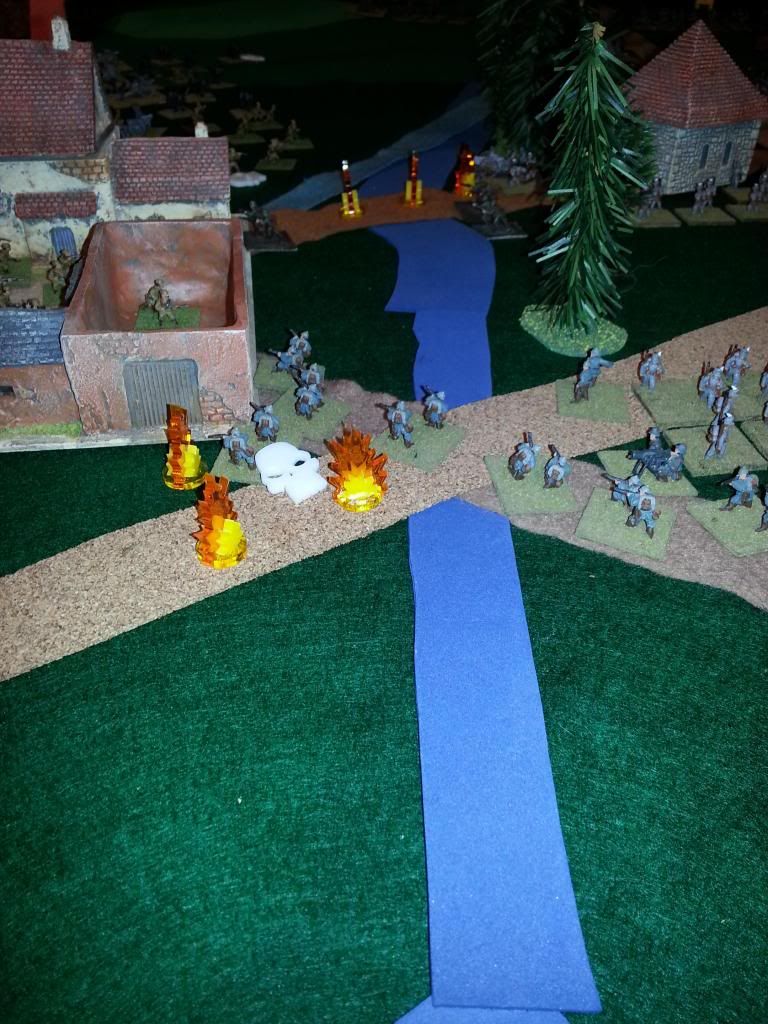
Opening shots are starting to happen, you may not a large "white thing" laying next to a Belgian stand, it is a skull we use to mark Suppressed units

Artillery strikes start to tell on the Belgian lines.
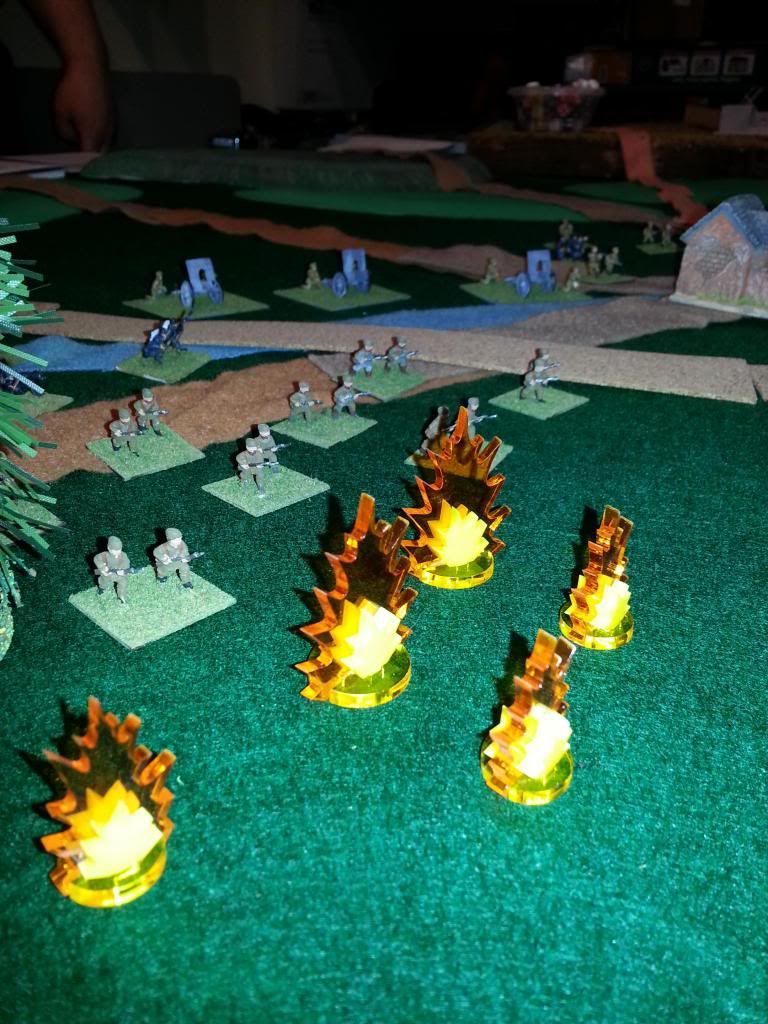
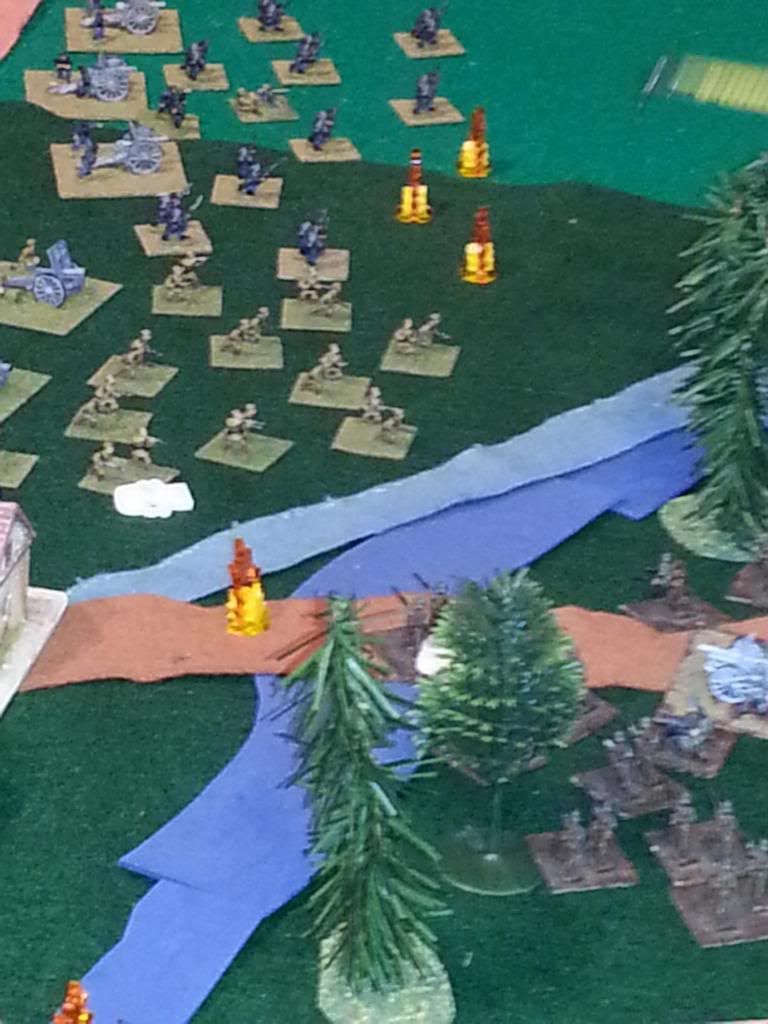
Gaps start to appear, with the Belgians suffering from the heavy fire from the Germans. Note the two difference sizes of blasts, one is the field guns (smaller) the other the 15cms.
But its not just the Germans doing damage, the Belgians open up effective fire stalling a German assault.
More Germans charge across the Bridge trying to assault Tirlemont.
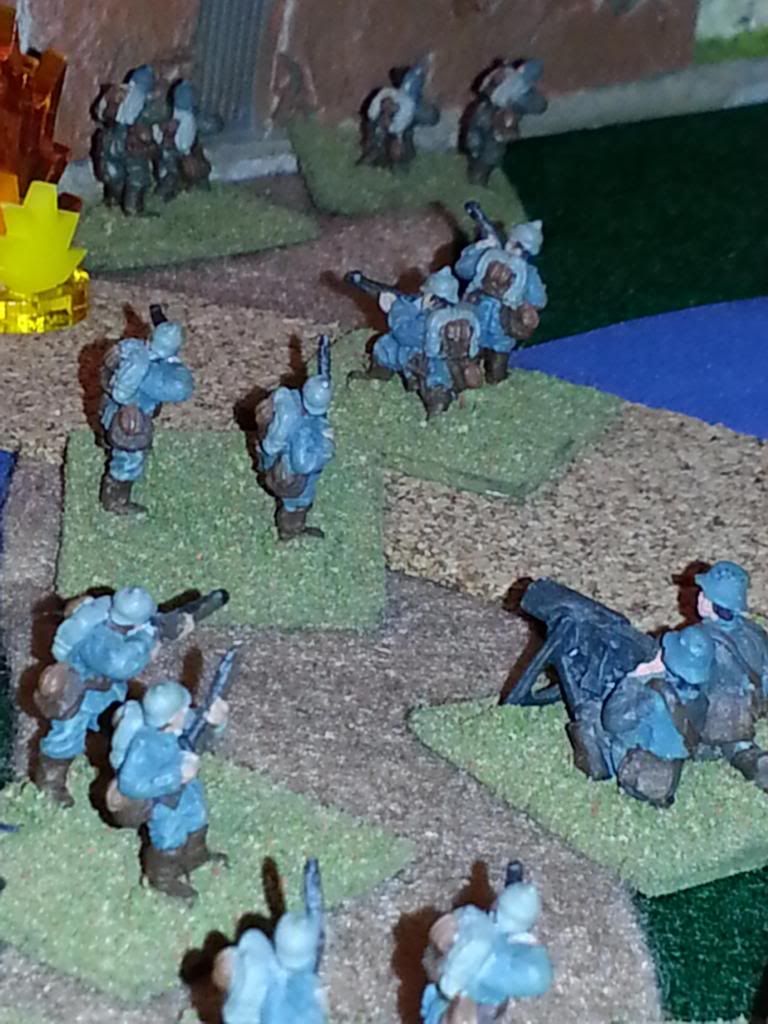
Taking cover behind the rail line, the German infantry do their best to seek cover before launching yet a third attack on Tirlemont.
The 17th have taken heavy casualties but have also broken two regiments of Belgians, here they are massing for a fourth time and this time actually getting into the grounds of Tirlemont.
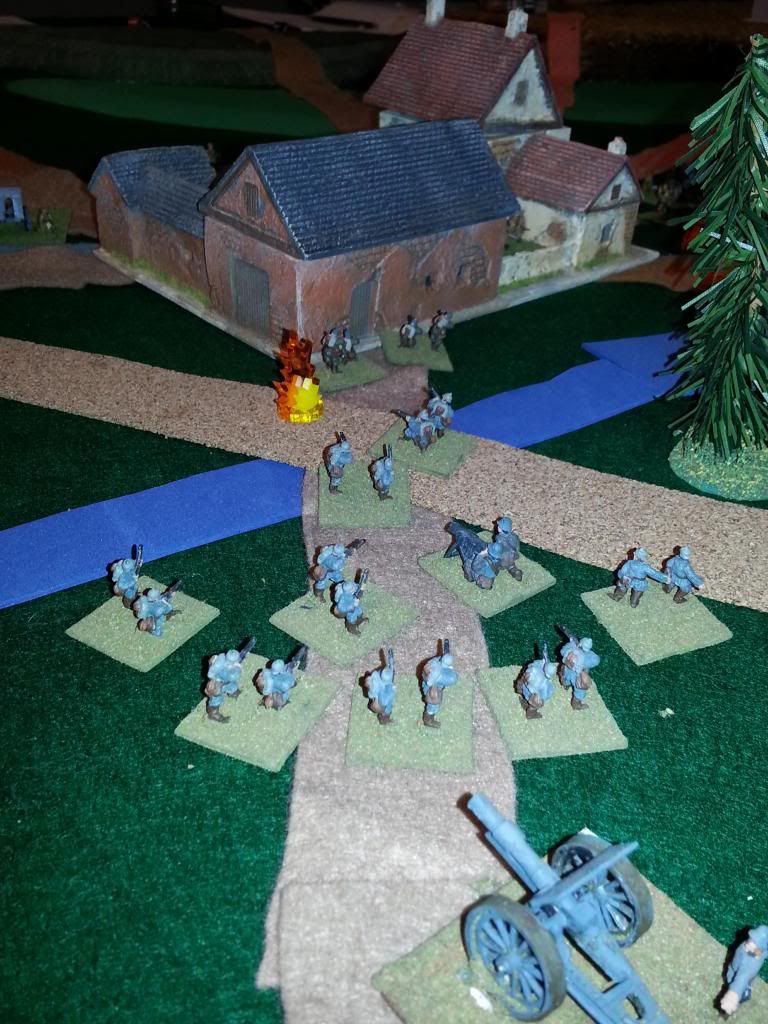
Great view of the German lines looking at Tirlemont as the fourth assault goes in.
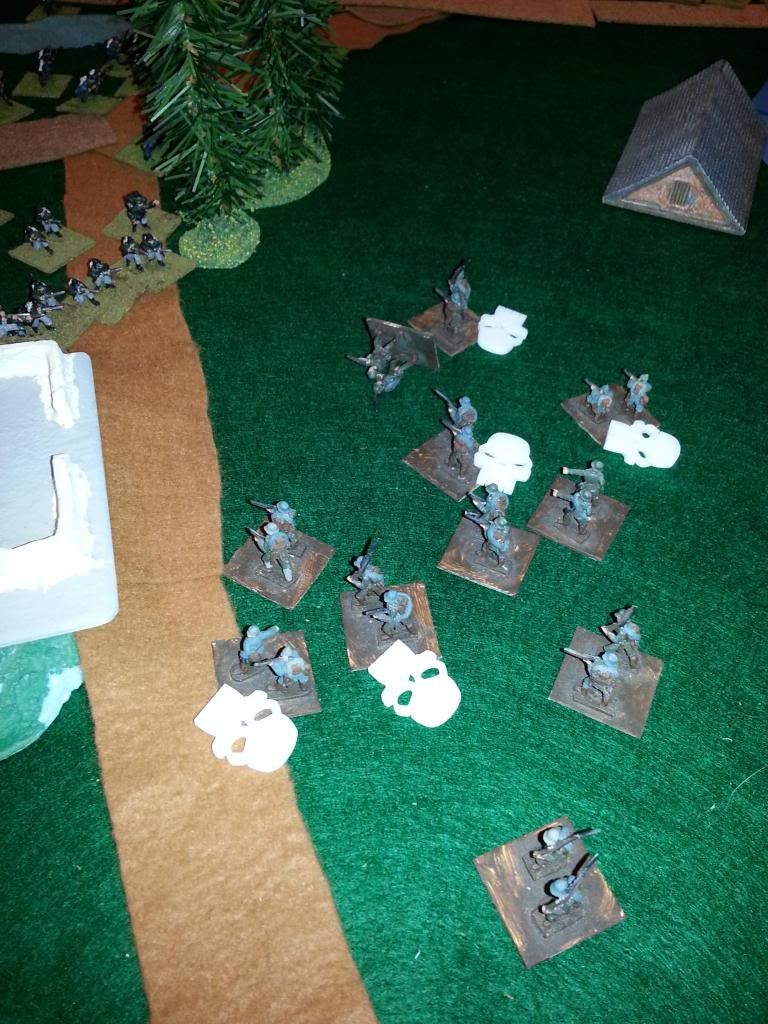
Meanwhile the 18th are causing absolute havoc amongst the Belgians, but they can't seem to break them.
The fourth assault made it in but the Belgians fought tooth and nail to hold on and did. The fifth assault was also defeated and the Germans had to concede that they would need to back off before dark.
Germans came under intensive fire from the remaining Belgians and this left the field as it began - in Belgian hands!
The was a fantastic scenario, plays very well and the balance is perfect. The Belgians won but, the fighting was almost dead even. Germans lost a total of 57 stands (Infantry, MGs and Artillery while the Belgians lost 51. The 15cm howitzers of the German army were simply put BEASTS! The Belgians started the game with 91 stands in total, the Germans 70 per division for 140 total. Some superlative morale dice kept the Belgians in the fight and able to win the day!


 Welcome, Guest. Please
  April 27, 2024, 08:27:06 PM

