This is probably a little behind the times as there are loads of nice Zombie Painting tutorials out there, but I thought I'd share my way of churning out reasonable "Table-top" quality zombies for Zombicide.
Including "prep" and drying time, these took about 3 afternoons.
Step 1:
I washed the zombies in warm soapy water to remove any grease from them. This is a habit I got from painting resin and always do it with plastics. At this stage I also use hot water to bend any minis which are twisted etc. Rinse with clean water and allow to dry.
Step 2:
Mould Lines. I removed any major mould lines with a sharp scalpel. As these are meant for a tabletop board-game I wasn't overly fussy.
Step 3:
Base-coating. I used "Army Painter" Necrotic Flesh primer to base-coat the minis. I attached them to card strips using blu-tac so that I could turn them whilst I sprayed them. The minis were sprayed inside a spraying box in a well ventilated room .The key is not to over spray as this will destroy details. Allow the minis to dry properly before handling.
Step 4:
Base Colours. This next part took a lot of willpower on my part as I'm used to building up colours in layers. In this instance I just painted "flat" colours as I was going to "Quickshade" for the shading. I tried to stay neat as possible because although the quickshade is good, it doesn't cover all your mistakes!!!! A good thing to remember is that the shade will darken the mini so try to use lightish colours. If you do want dark colours give them a drybrush highlight ( don't worry about blending as the quickshade will sort that out). Once I finished base colouring the minis I added some blue ink to the eye sockets which will make them really dark when they are shaded.
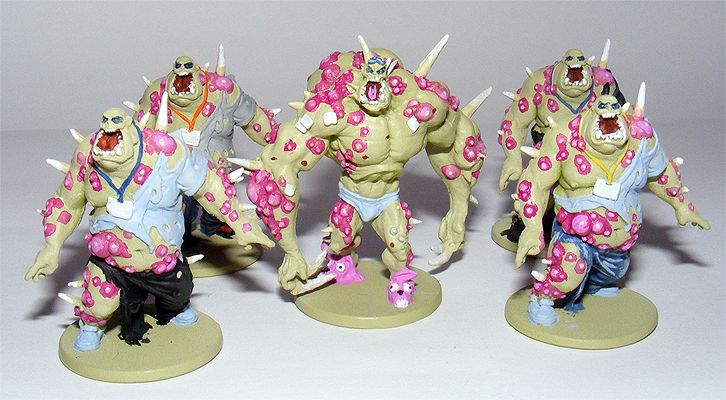
For the boils I used watered down vallejo model color magenta with a pink highlight on top.
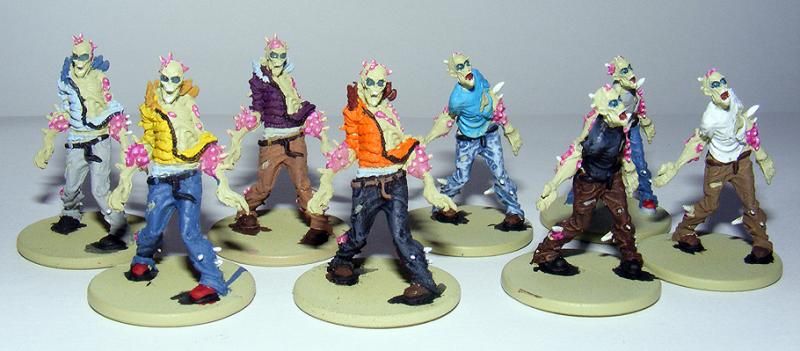
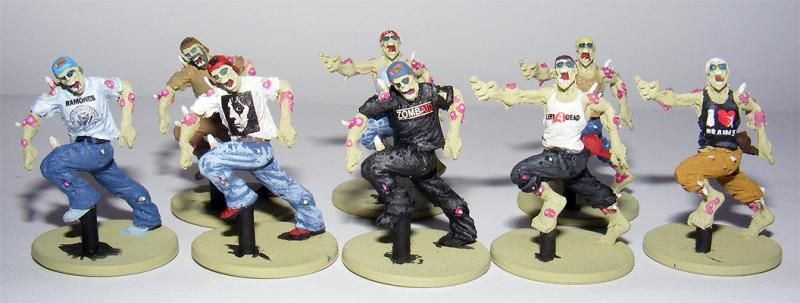
For the Runners I added some home-made waterslide transfers. Remember if you are using clear transfers you will need a white background behind the transfer. Once the transfers were dry I used some clear acrylic varnish to seal them and to stop the quickshade lifting them off.
Step 5
Quickshade. For these minis I used quickshade "Strong Tone" applied with a brush. I find it easier than dipping and not as messy. Use an old brush as this stiff can really mess up a decent brush ( clean with thinners).The key is not to let it pool on raised parts of the mini. Once the quickshade is applied leave the minis for 24hrs. It's real tempting to want to get on once they are touch dry but they do need to dry properly.
Step 6
Varnishing. You will be looking at the browny shiny mess that the quickshade has made of your mini wondering what you have done. Don't panic! A coat of mat varnish will work wonders!!!!! I use TESTORS Dullcote in a spray can ( although Army Painter matt varnish is supposed to be ok). Use short sweeping bursts and move the minis ( I attach them to a board with blu-tac) to get a light but even cover. The effect is amazing!
Step 7
Finishing off. Once the varnish is dry it is time to finish your mini. I use a small dot of white for the eyes and a small amount of GW Rotting Flesh to pick out cheek bones, noses etc.
For blood I use Tamiya Clear Red mixed with some black acrylic paint. The addition of the black will cause it to dry quite quickly so don't mix up too much at a time. It gives a nice wet looking finish with the black mixed it an "old" blood look.
For basing I use clear acrylic bases ( 25mm X 2mm ) with the minis attached with "Foam Safe" superglue. The foam safe glue doesn't fog the acrylic like normal superglue. I carefully cut the minis off their base with a sharp scalpel and apply a small dot of glue to the feet. I then dab the mini on some paper so that there is only a small amount of glue left. This stop the glue spreading when you attach the mini to the base.
Obviously if you don't like clear bases you can paint or texture your bases as you like!!!
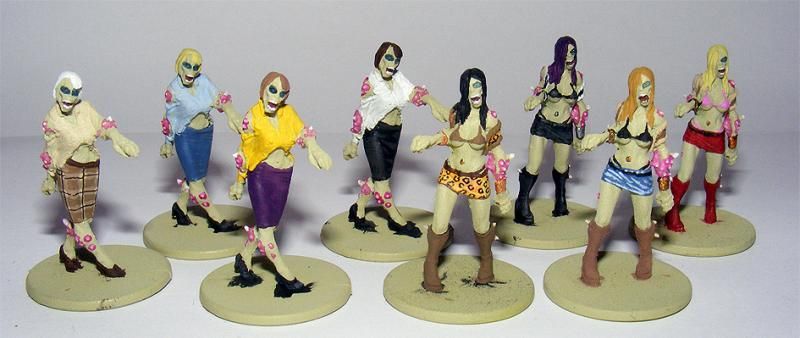
Anyhow, here's my completed minis:
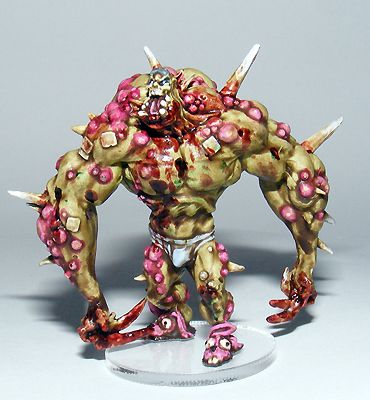
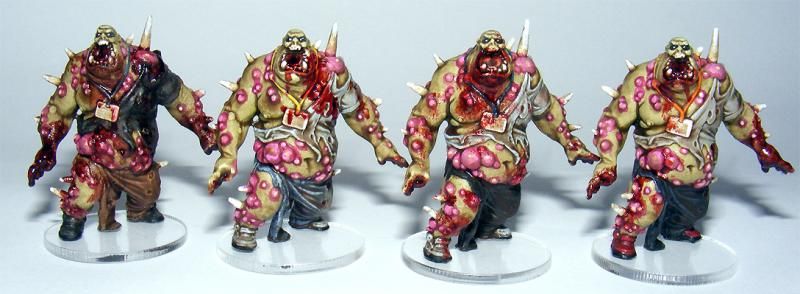
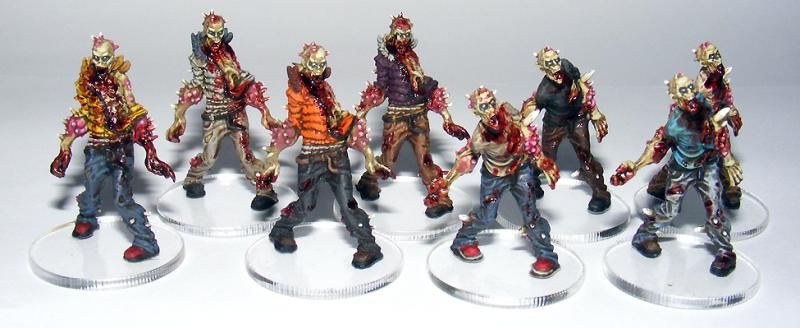
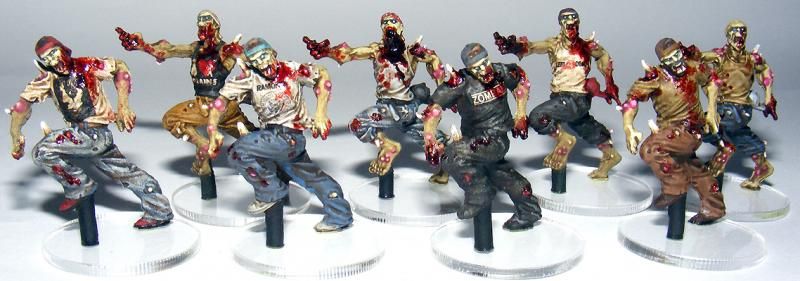

Hope you like them.
Any questions feel free to ask.
Regards
PM


 Welcome, Guest. Please
  April 26, 2024, 09:05:55 PM


