The Battle of Strasbourg, also known as the Battle of Argentoratum, was fought in AD 357 between the Late Roman army under Julian and the Alamanni tribal confederation led by king Chnodomar. The battle took place near Strasbourg (Alsace, France).
Here is a brief overview of the historical outcome:
Although probably outnumbered by a substantial margin, Julian's army won a complete victory after a hard-fought struggle. With negligible casualties of their own, the Romans drove the Alamanni beyond the river Rhine inflicting heavy losses. Julian's force, the imperial escort army of Gaul, was small but of high quality. The battle was won by the skill of the Roman infantry, with the cavalry initially performing poorly.
(from Wikipedia
http://en.wikipedia.org/wiki/Battle_of_Strasbourg)
Last week we did a refight of this battle using my Sword & Spear rules.
http://polkovnik.moonfruit.com/sword-spear/The Roman foot was deployed in two lines, with a mixture of average and veteran/elite auxilia and legionaries (7 units in total). There was quite a significant cavalry contingent, including some clibinarii (cataphracts), so I gave them a unit of cataphracts, a unit of normal cavalry and two units of light cavalry. The Roman cavalry did not perform well historically, as it was beaten by the German cavalry (who had infantry mixed amongst them). To reflect this I made all of the cavalry D4 and I didn't give the cataphracts the Impact characteristic. The Romans also had two units of light foot archers.
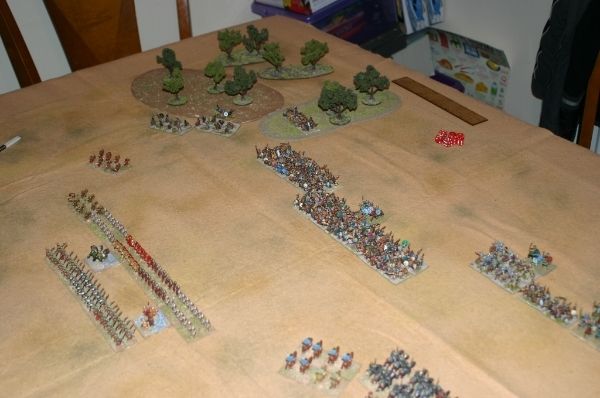
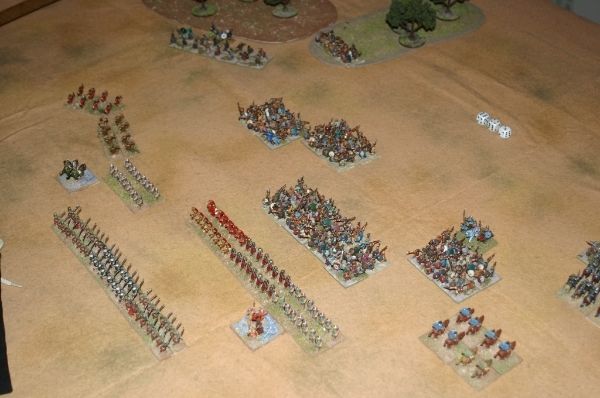
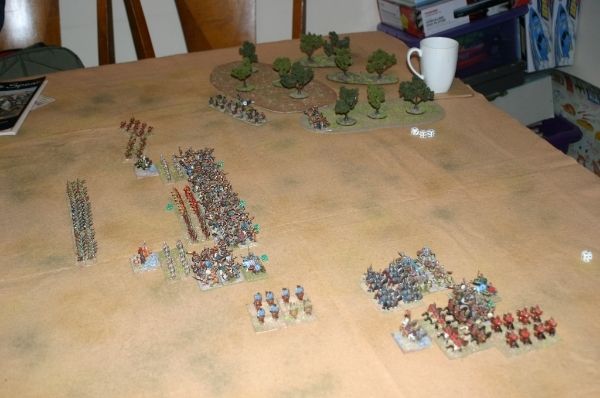
The Roman Army at deployment:
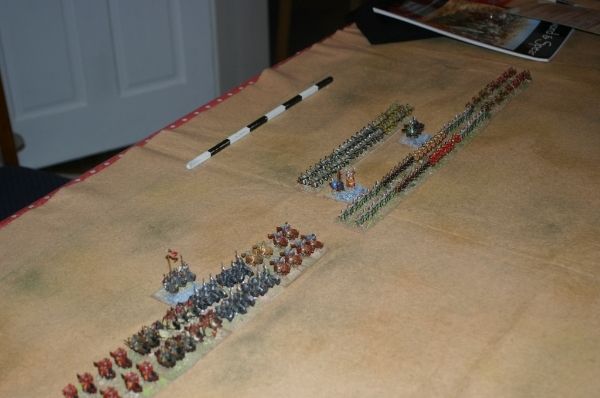
The Roman cavalry on the right. Light horse flanking the heavy cavalry.
Roman auxilia and legionaries in the centre.
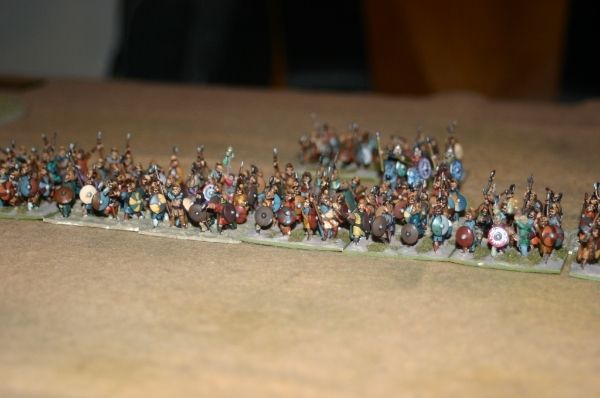
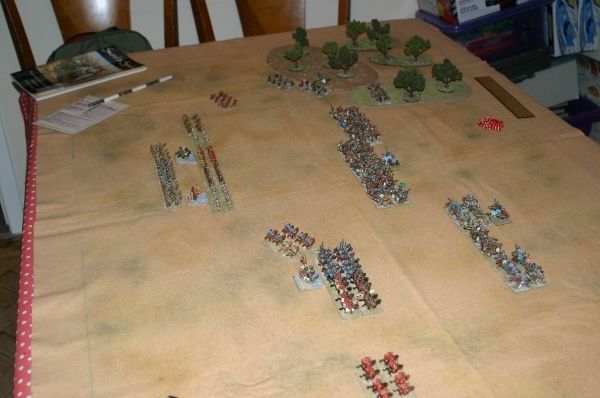
The main body of German infantry. Large units of heavy foot with the impact characteristic.
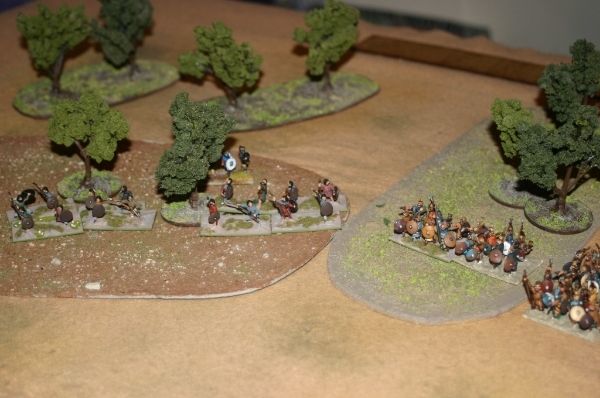
The German right flank is secured on a wood. Two units of light foot javelinmen lie in ambush in the wood. Historically it seems the Romans were aware of this ambush and didn't approach the wood, so we deployed them with the rest of the army.
The German left. There is a unit of heavy foot deployed between the two cavalry units, representing the foot troops that were mixed in with the cavalry in this battle. Originally my opponent deployed this unit of heavy foot behind his main infantry line (which you can see in the photo of both armies deployed) but I suggested he change his deployment and have it with the cavalry. This would mean his cavalry were not likely to be overwhelmed by the Roman cavalry opposite, and should perform more in line with the historical outcome (where the German cavalry won the battle on this flank).
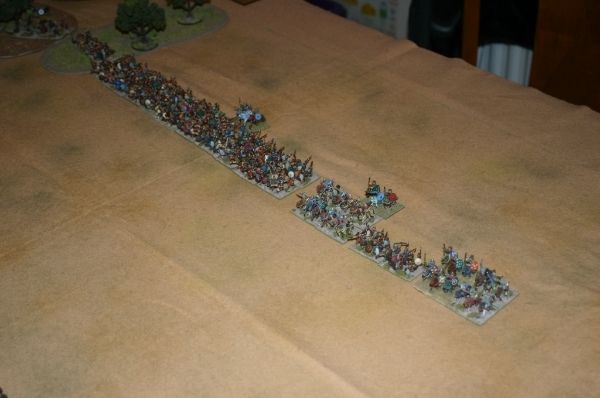
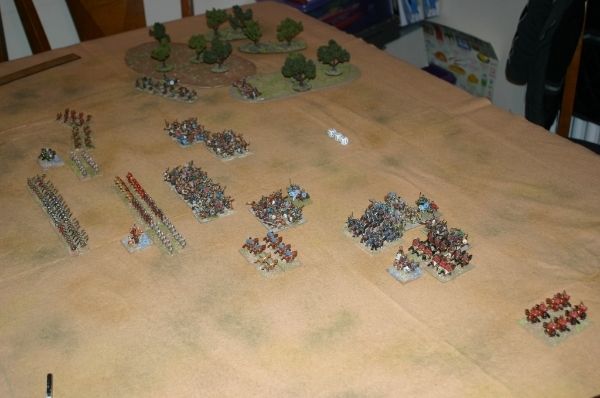
Both armies at deployment.
In turn one the German foot pushes forward in the centre.
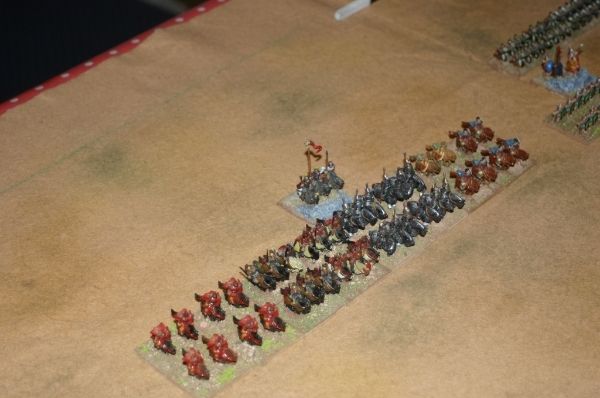
On the Roman right the cavalry advances. The aim is to cause some shooting casualties with the light horse before charging in with the heavy cavalry.
In turn two the Roman archers advance to shoot the German light foot, who leave the protection of the wood. Throughout the game the Roman archers snipe away at the Germans, causing casualties which the Germans keep rallying. However, this ties up a German general who would have been more useful with the German infantry line. Elsewhere the German foot in the centre and Roman cavalry continue to advance.
In turn three the German commander makes a costly error and moves his cavalry forward, without the supporting heavy foot unit. The Roman commander (me) seizes the opportunity and charges with his cavalry. The Romans get good combat dice and rout the end unit of German cavalry. The cataphracts also charge and the light cavalry move into position to charge the German flank.
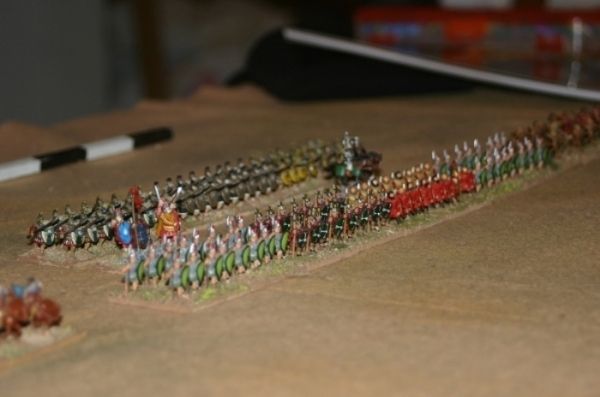
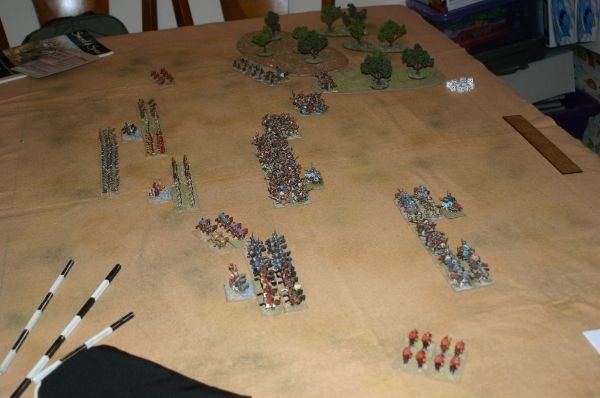
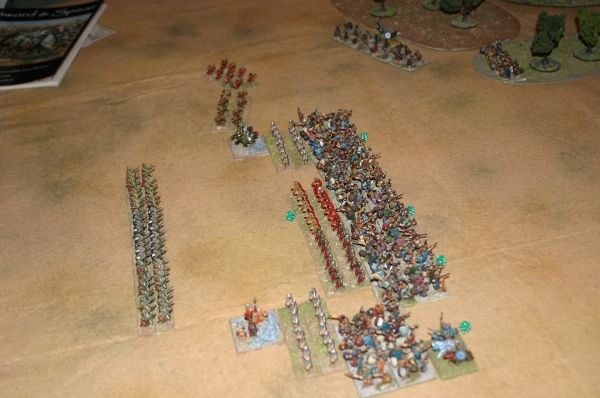
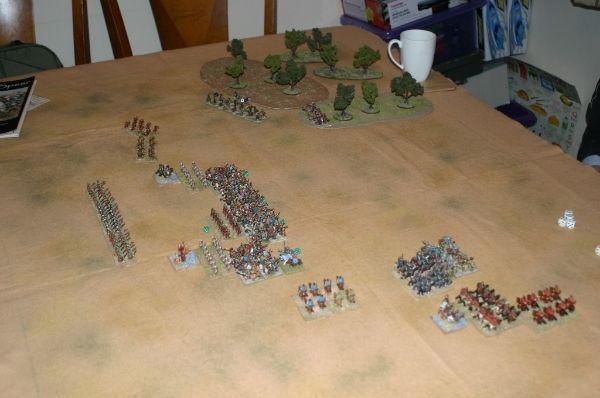
The German foot in the centre continues to advance, but their line gets a little fragmented. The Roman front line advances to meet the Germans.
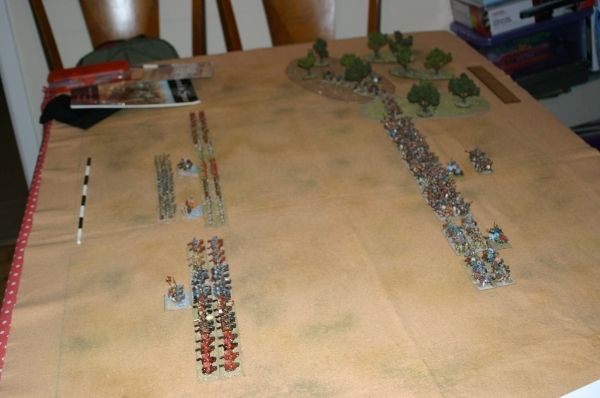
At the end of turn three, the main foot lines are within charge range.
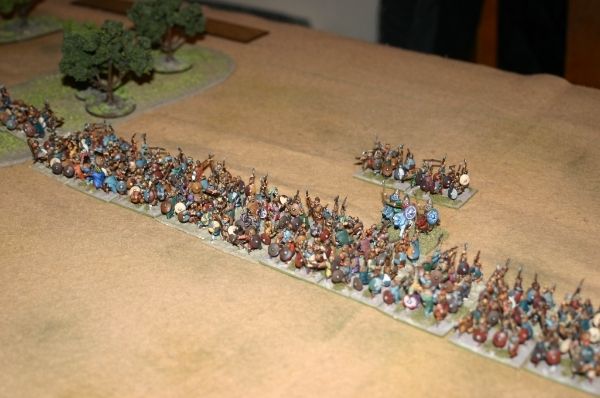
In the first phase of turn four the Romans get good action dice and charge, denying the German foot their impact ability. The centre Roman unit suffers casualties and is close to breaking, but elsewhere the Germans come off worse.

Even where the Germans did get to charge with impact (the nearest units in this photo) they lost the combat.
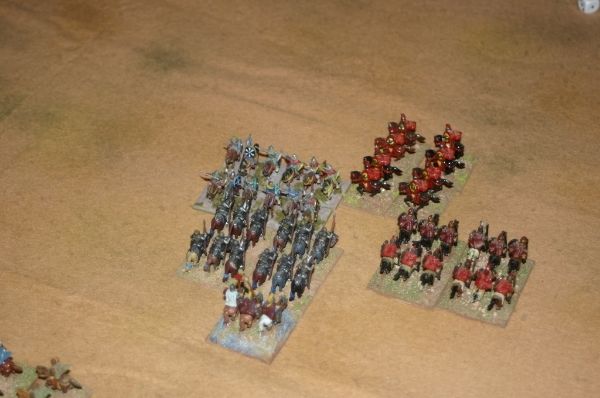
The Roman light horse charges the flank of the German foot, but the combat on the Roman right flank is inconclusive.
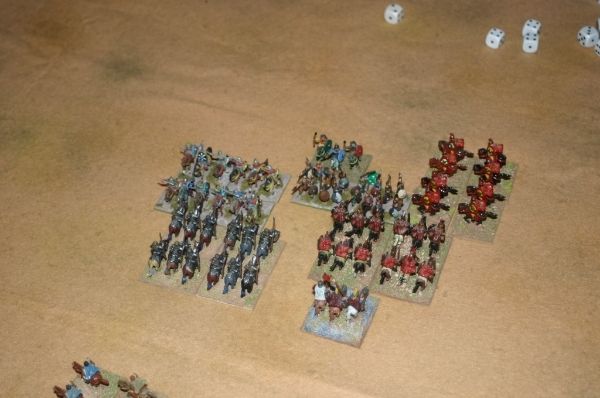
The other Roman light horse gets into position to charge the flank of the main German infantry line. Things are not looking good for the Germans.
In turn five the Roman foot in the centre breaks, and the Germans lose one unit of foot and continue to suffer casualties on the others.

On the Roman right the German foot unit succumbs to the combined pressure from the two Roman cavalry units and routs.
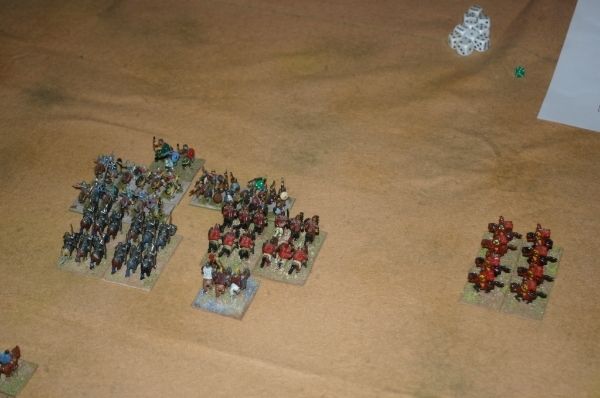
In turn six the Roman light cavalry charges the flank of the remaining German cavalry, who continue to fight heroically and survive the flank charge.
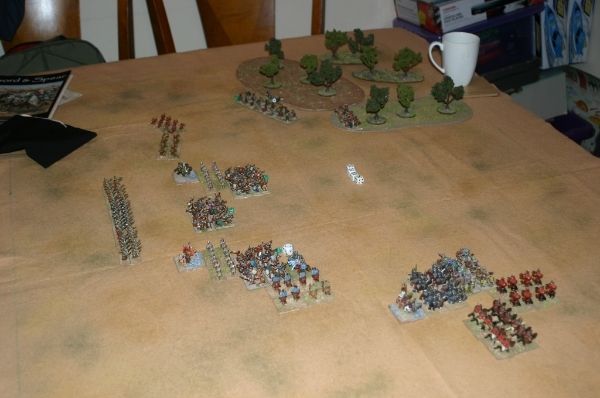
In the centre both sides lose another infantry unit. The centre German unit is close to breaking and is now facing the fresh Roman second line. Roman light horse charge the flank of the German foot who are fighting the veteran Auxilia Palatina.
At the end of this turn the mounting German casualties mean they take an army morale test, and losing one more large unit of foot will take them to the break point for the army.
In the first phase of turn seven the veteran auxilia battle against German foot who have suffered three hits (with six required to rout them).
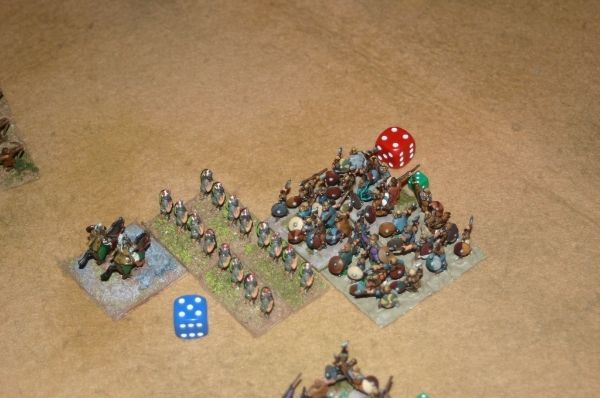
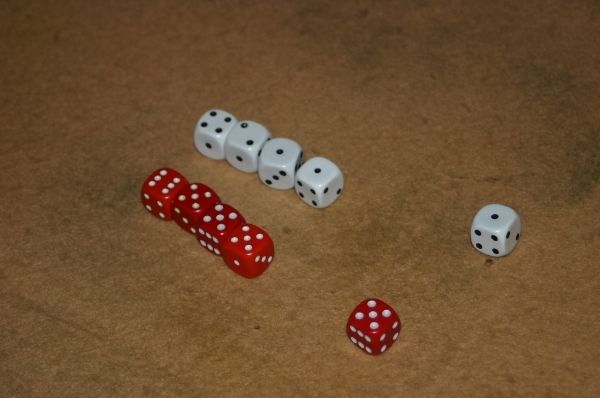
It was five dice each in the combat and the combat dice were a typical example of how things had gone throughout the battle for the Germans. Three hits and the unit routs.
That meant the German army had had enough and fled the field to give the Romans a victory.

It was another good game of Sword & Spear and it was good to do a historical refight for a change. The outcome seemed quite feasible, and was not that far off from the actual historical outcome. Historically the Germans won the cavalry battle but that didn't seem to have much effect on the rest of the battle. Their infantry broke through in the centre (as happened in the game) and were defeated by the Roman second line. In the game the Romans had the best of the dice, both action dice (especially on the crucial turn when the infantry lines were within charge range) and combat dice. It looks like the Germans really weren't up to it on the day.
We'll probably play the same battle again in a couple of weeks, swapping sides next time.


 Welcome, Guest. Please
  April 19, 2024, 06:38:05 AM


