ok, a quick how-to-do:
1. sketch outline - edge of water, different zones (beach, vegetation, road, dense jungle), doesn't need to be precise, although where links up with new boards is worth paying attention to).
2. Attach 5mm battens to land edges (except for the beach zone which is lower level). Gives some depth and makes matching the edges up easier later on.

3. build out from one landlocked corner, adding large pieces of vegetation, poly fillered road etc. Glue for the vegetation sections is wood glue.
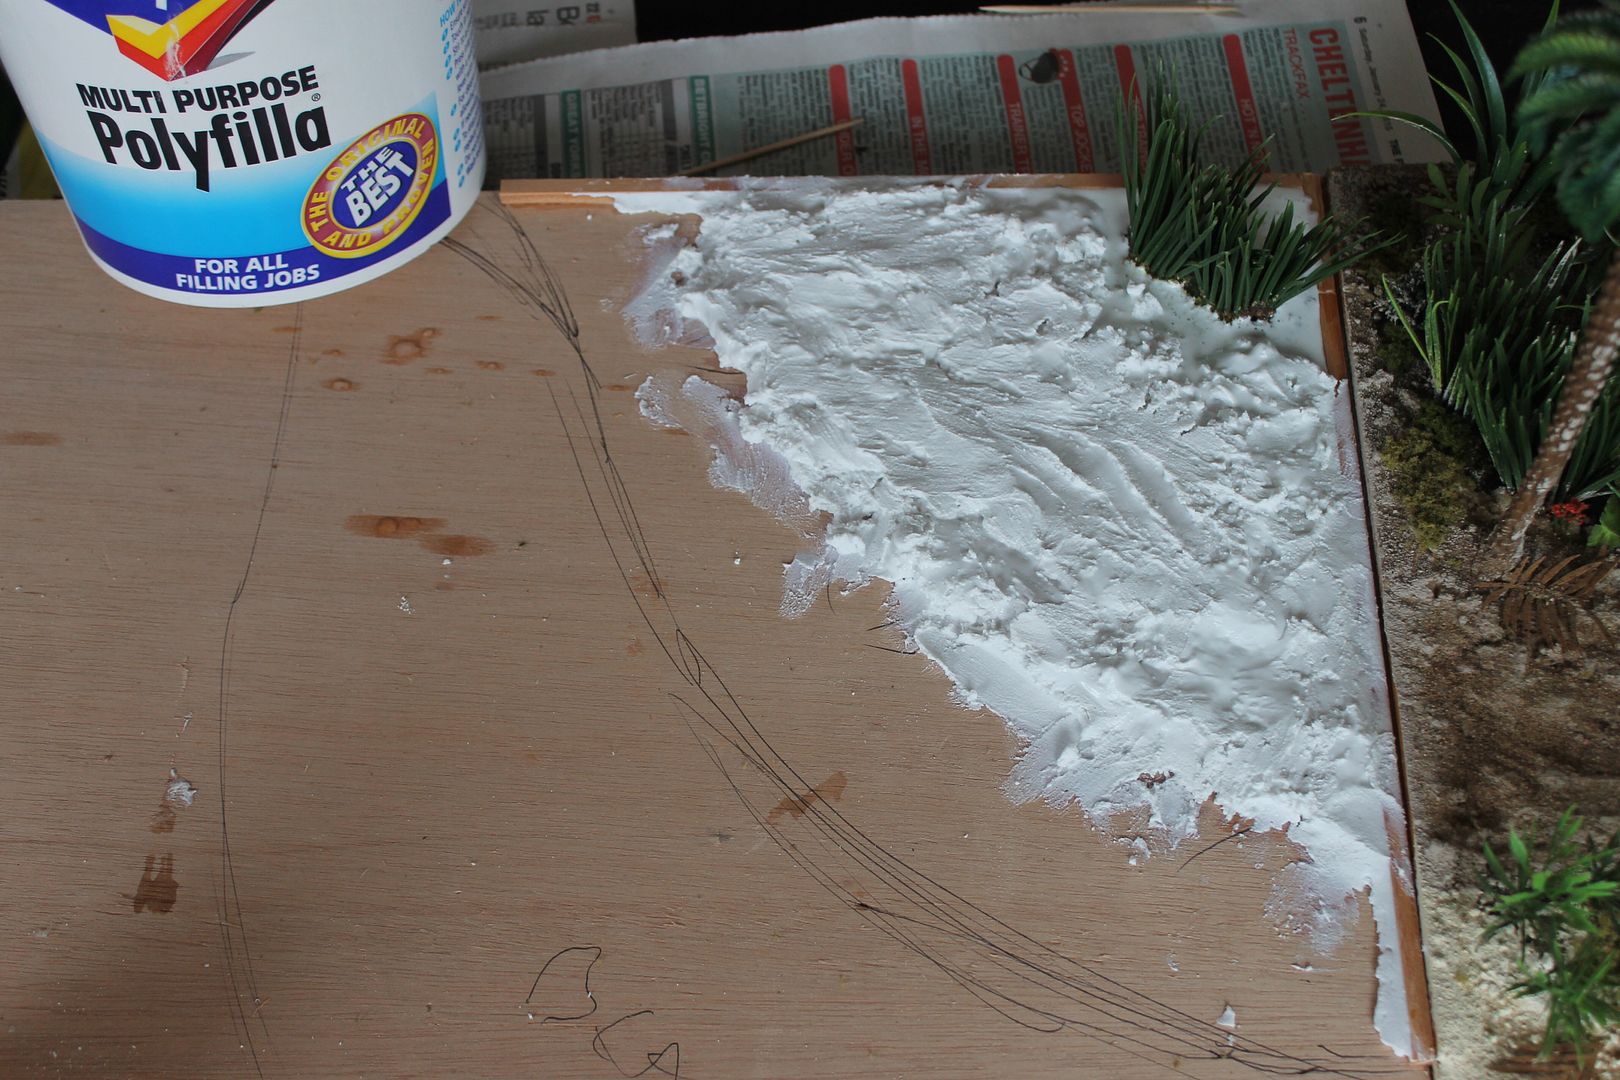
4. , Add a fine layer of polyfiller to the sea zone. Let dry, then sand
(help to seal before add resin water effects later).
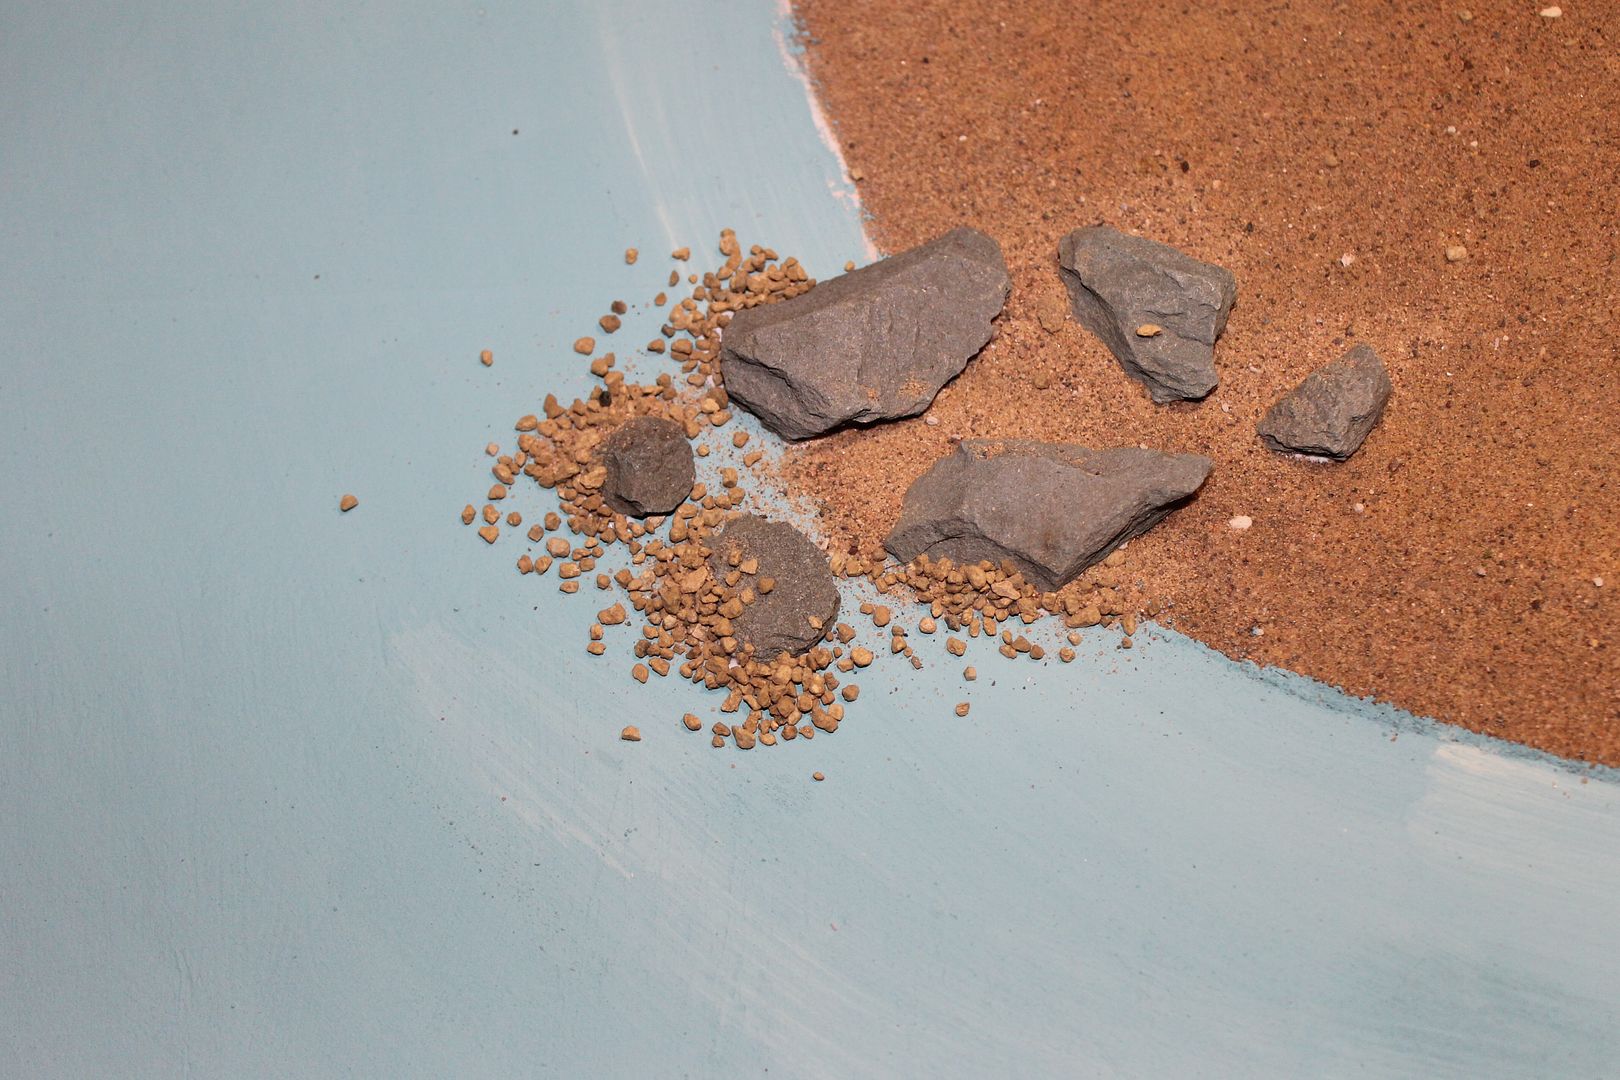
5. Add Glue for the beach (more wood glue).
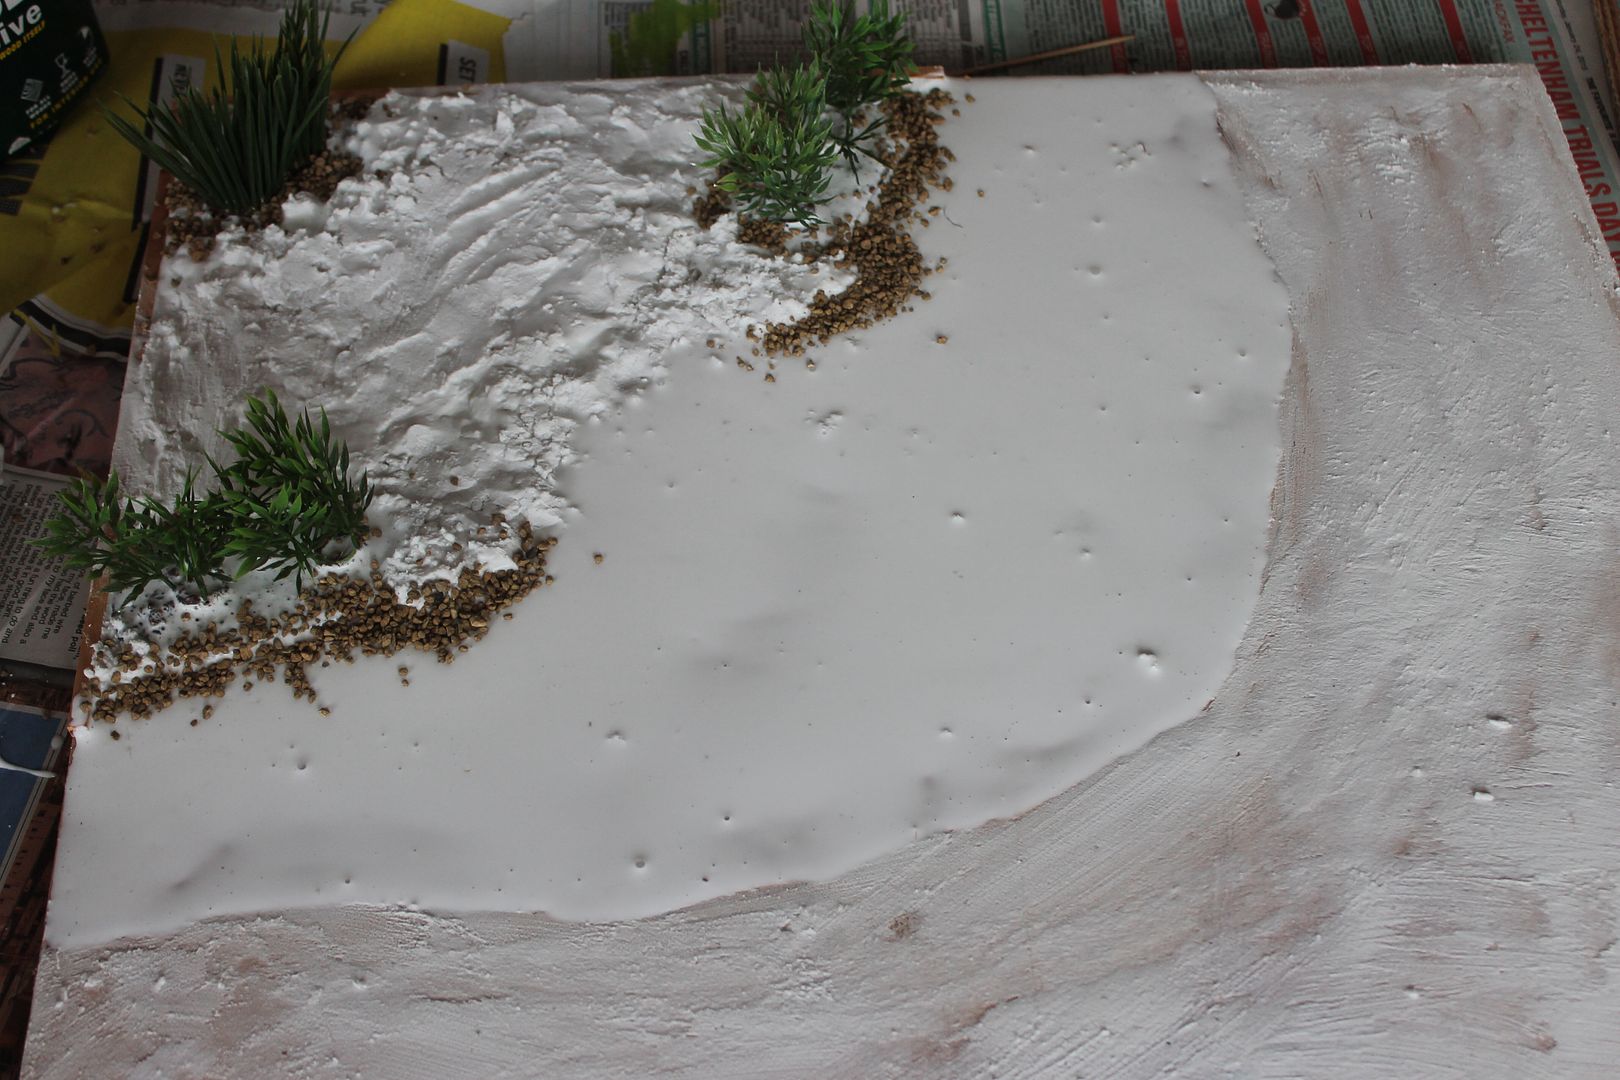
Add larger grade stone first (edges of beach, vegetation), then fine sand for the beach. Sprinkle some onto the still wet polyfiller road to add texture.
And let dry.....(can be working on another board at this stage)
6. tip off excess sand
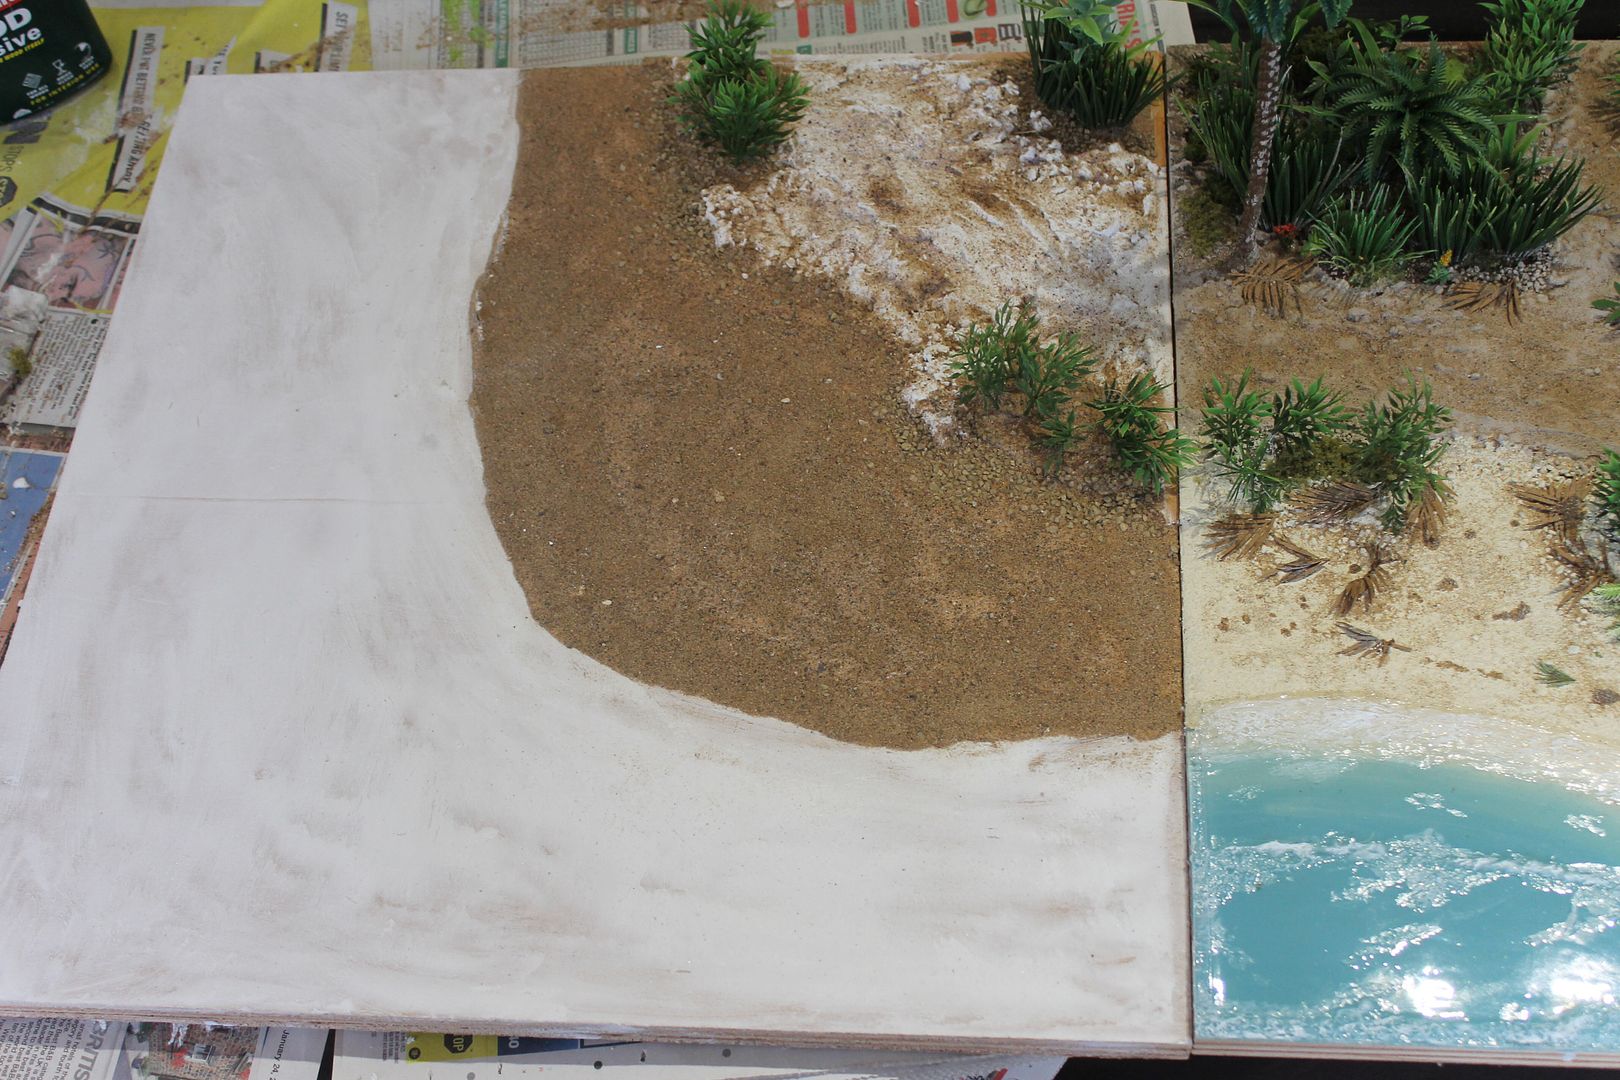
7. Paint sea with base colour
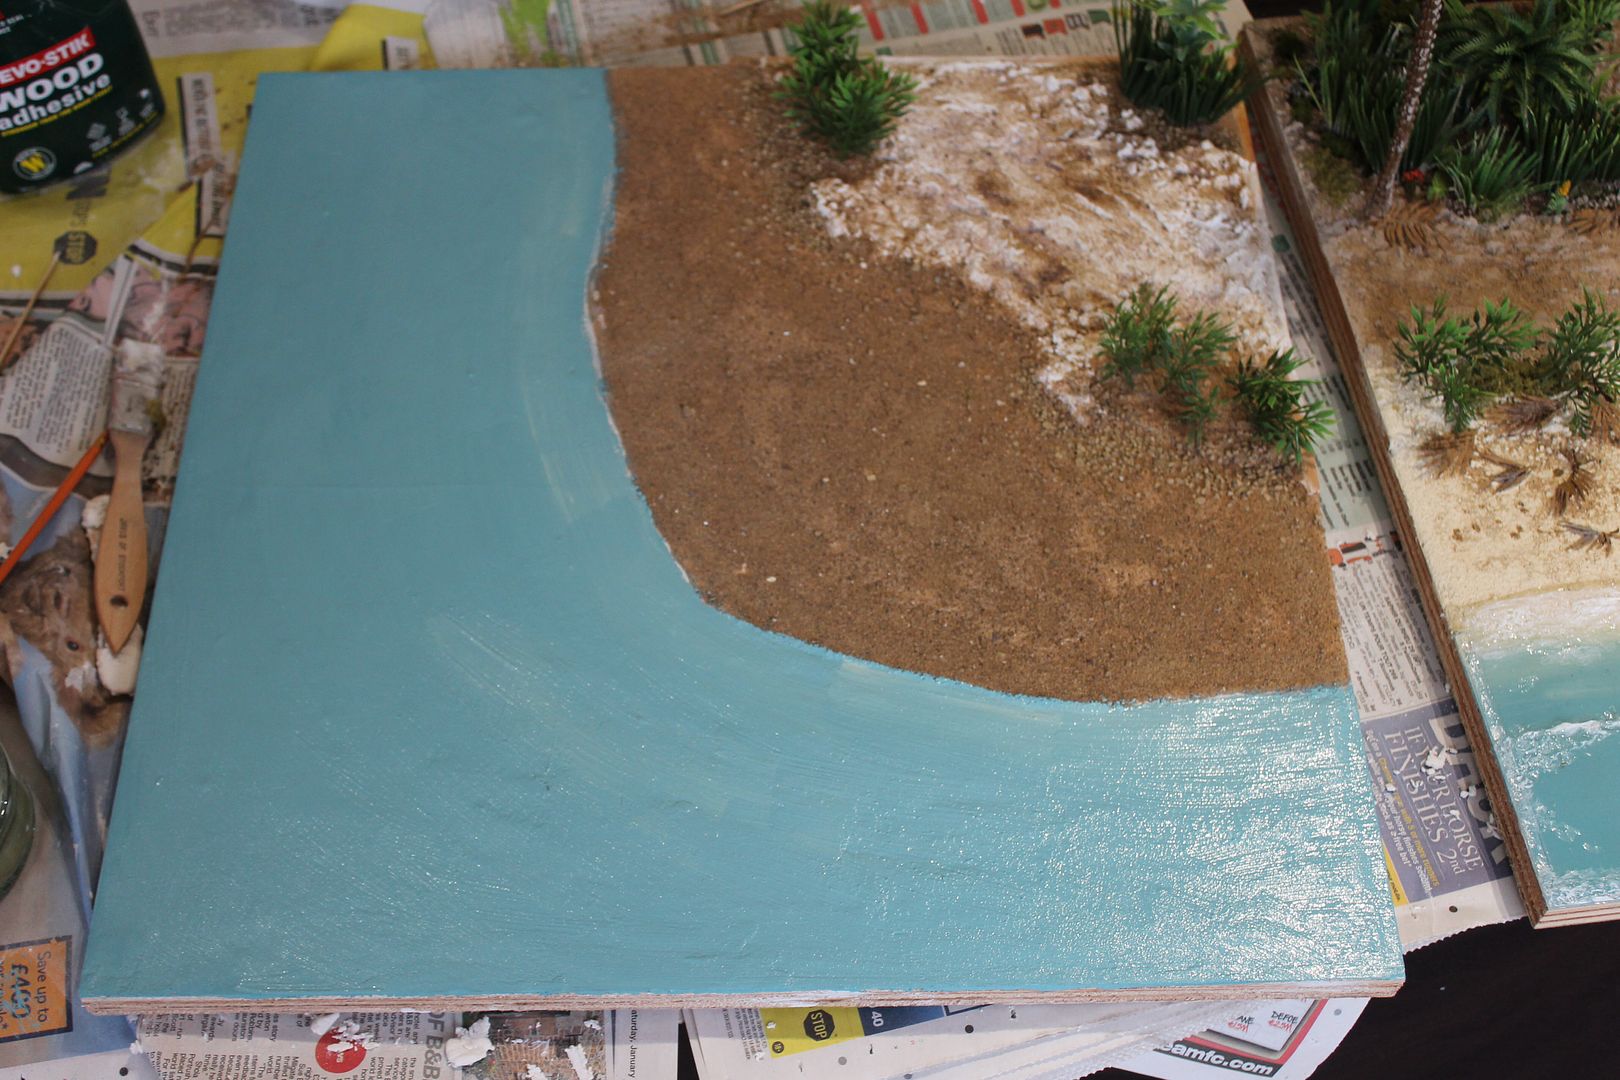
8. Paint beach with base colour, and blend into sea to give impression of the beach extending slightly beyond the sand into the water. Wait until dry. If want any rocks coming out of the sea, now is a good time to add them. Paint the road base colour. Sprinkle some fine sand into the still wet paint to add depth/colour variety.
9. Add Perspex strip (2-3mm deep) to water zone borders. Not entirely necessary, but help to stop the resin water from decorating your floor/table when you add it later.
10. pour resin water into sea zone. And let dry. Always worth checking your board with a spirit level before you do this! Floating debris can be added during stage 9/10 depending upon what effect you are trying to create.
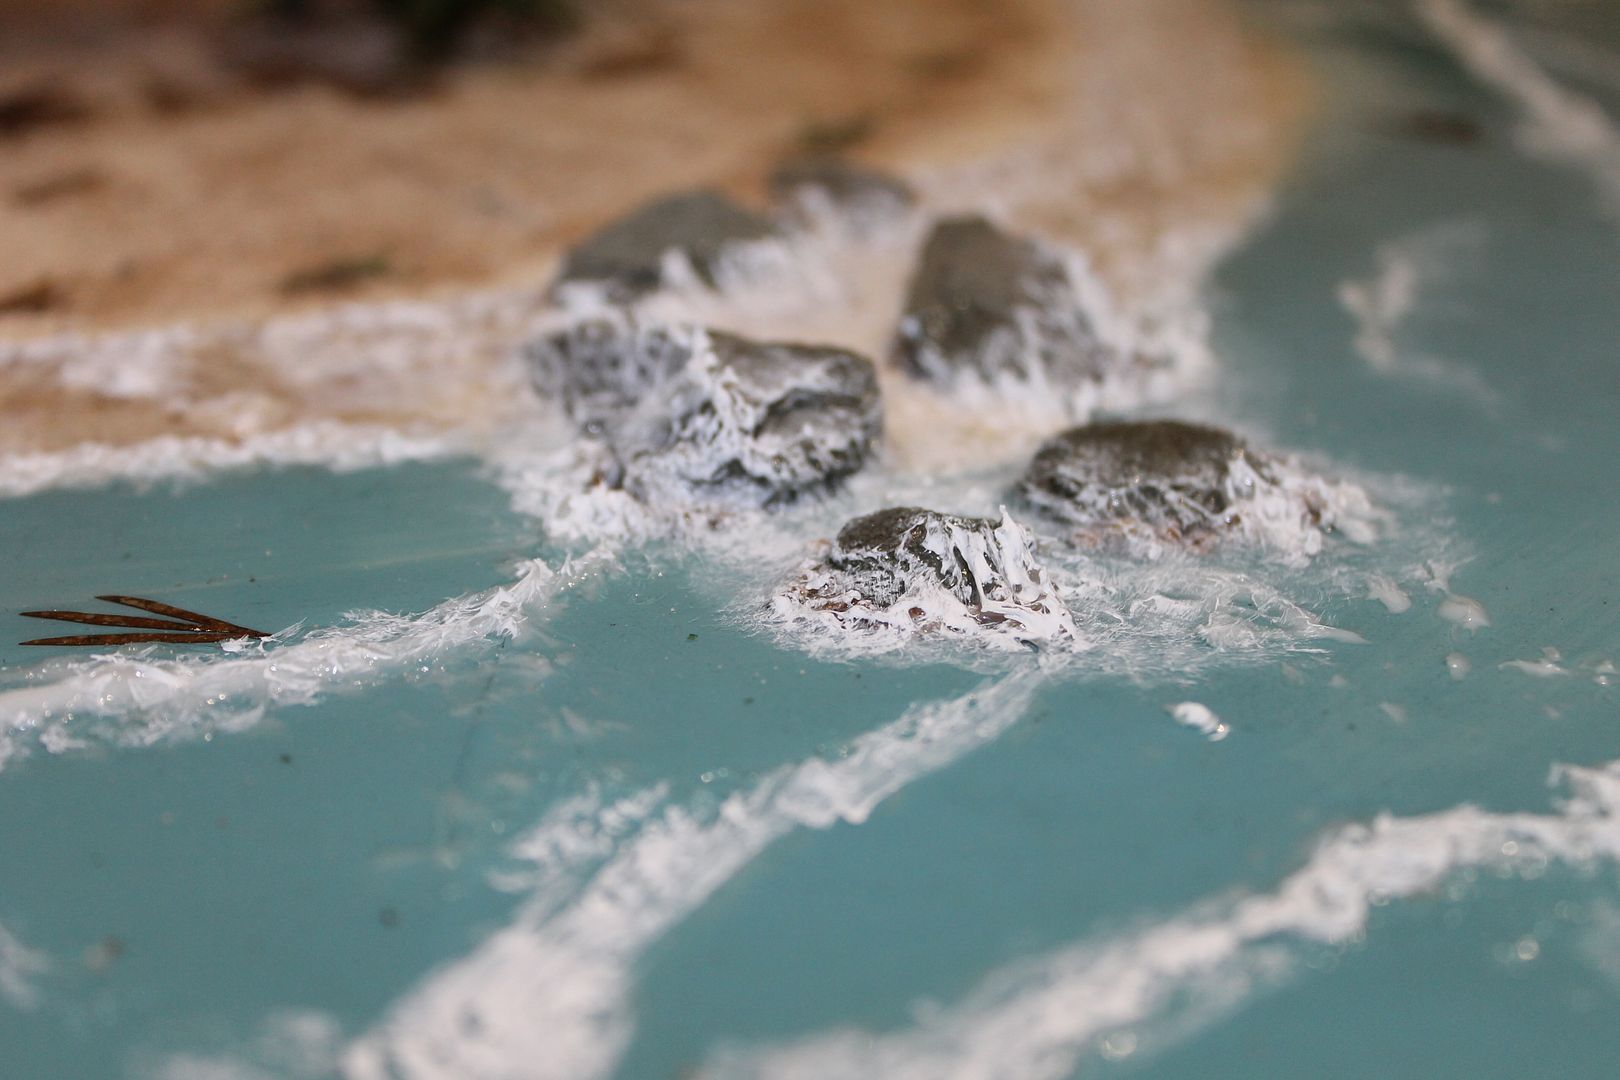
11. Once resin water is dry, can add wave effects using another type of resin water (typically used for the likes of waterfalls) - both are sold in most railway/hobby shops. Apply like a line of toothpaste and then use either a cocktail stick or thin brush to tease into shape.
12. Once waves are dry, dry brush the wave crests with white paint.
13. Add additional vegetation, fallen palm leaves, debris etc.
 Painting
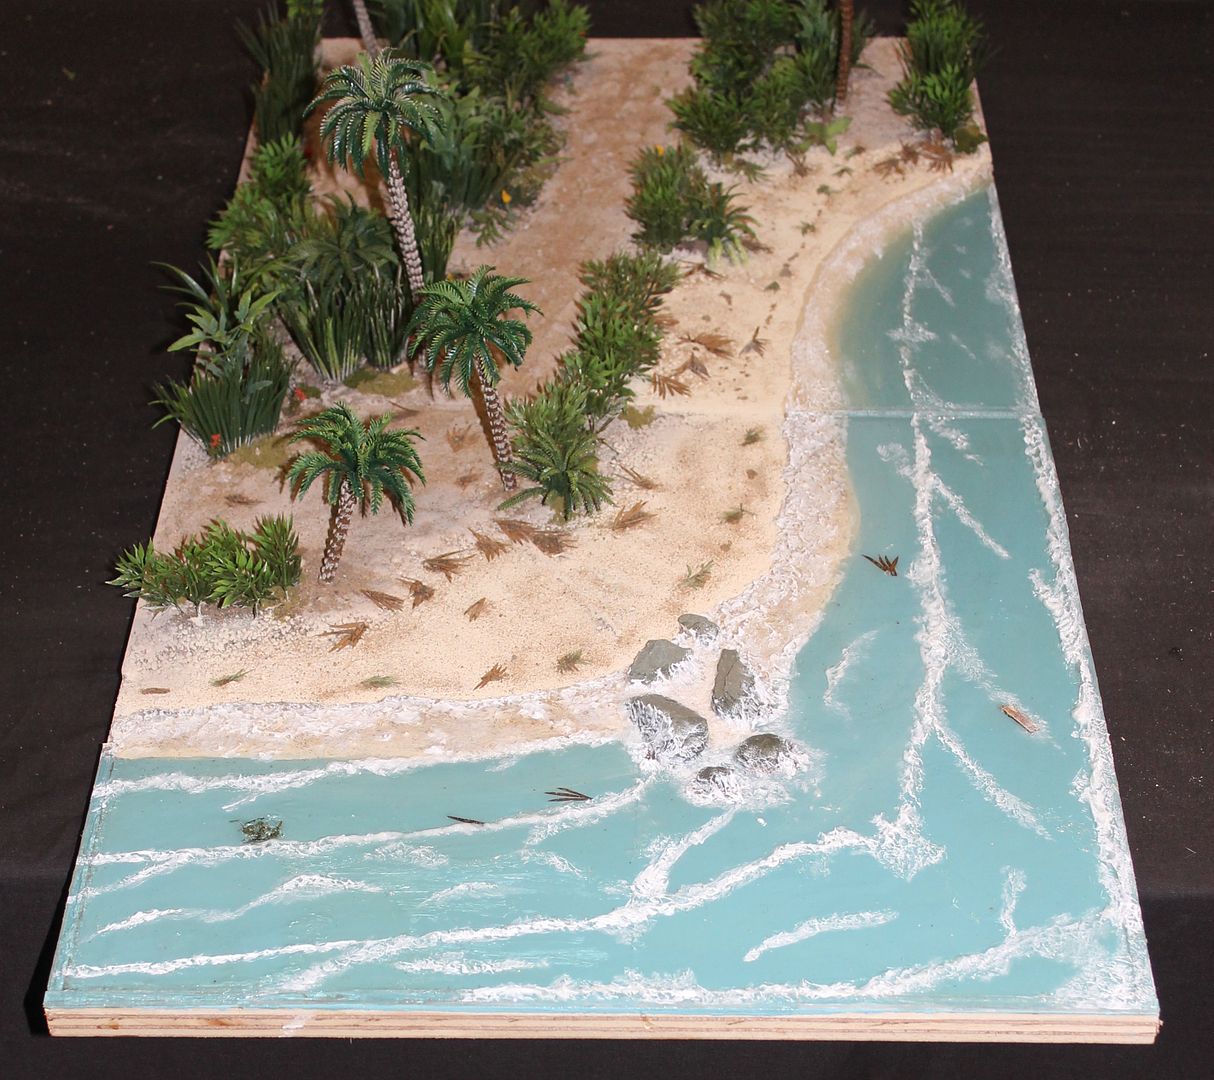
 - embarrassingly simple. I wanted something I could replicate again and again.
There were only 4 colours used on the entire board: Crown tester pots - "Tropical Ocean", "Pale Gold" for the beach, "Picnic Basket" for the road, and white for the waves. The colour variation comes from sprinkling fine sand while the beach/road is still wet.
Vegetation - again very simple, the key is variety. I've hoarded over the years 6/7 different types of plastic aquarium plants (shows and the web) plus bought a sackful of plastic Palm trees which can be cut down to size as needed. I've also used a couple of different types of commercially available ground clutter (railway model shops) plus some laser cut paper leaves from Fenris Games.
Water - yup, you guessed it..simple also. Regular resin water (Woodland scenes C1211) with "Running water" resin (Woodland Scenies C1212) for the wave crests, then dry brush the wave crests white.
Details - tide line debris, the odd flower or two (but don't overdo). This board also contains a mysterious half buried cable from the sea (near the rocks) into the jungle....
Plan of the tiles - ive got a rough idea of what the island will contain, but haven't drawn a tile by tile plan yet, daft as that may sound. I've got 40 tiles to make and the individual features are likely to be amended as I go. The following link will give you a good idea of what I have in mind (I'm building a set table rather than a completely interchangeable set of tiles - the latter option would be limiting in my view).
http://apocisle4.blogspot.co.uk


