Comm/ops Centre sceneryI've been slowly working on this bit of scenery since late August last year I'm starting back on it now after my usual end of year hobby hiatus.
Here's all my progress up to this point. Warning its a big post.
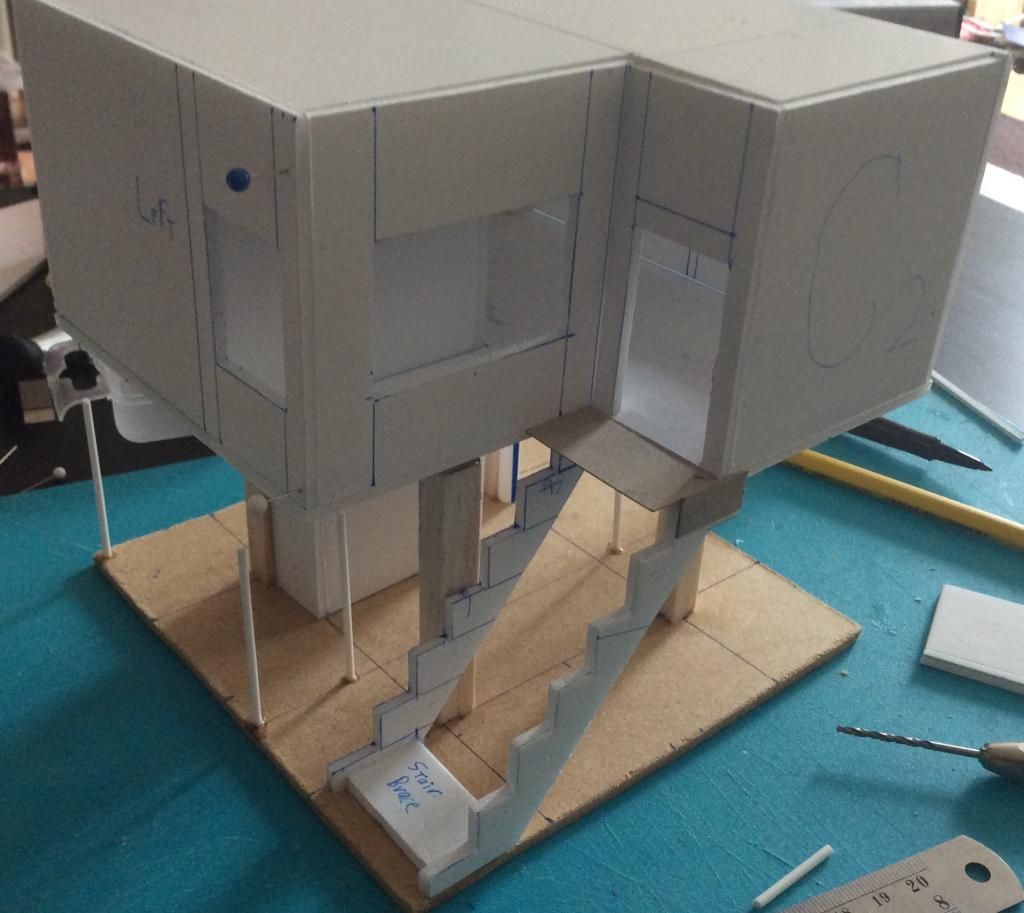
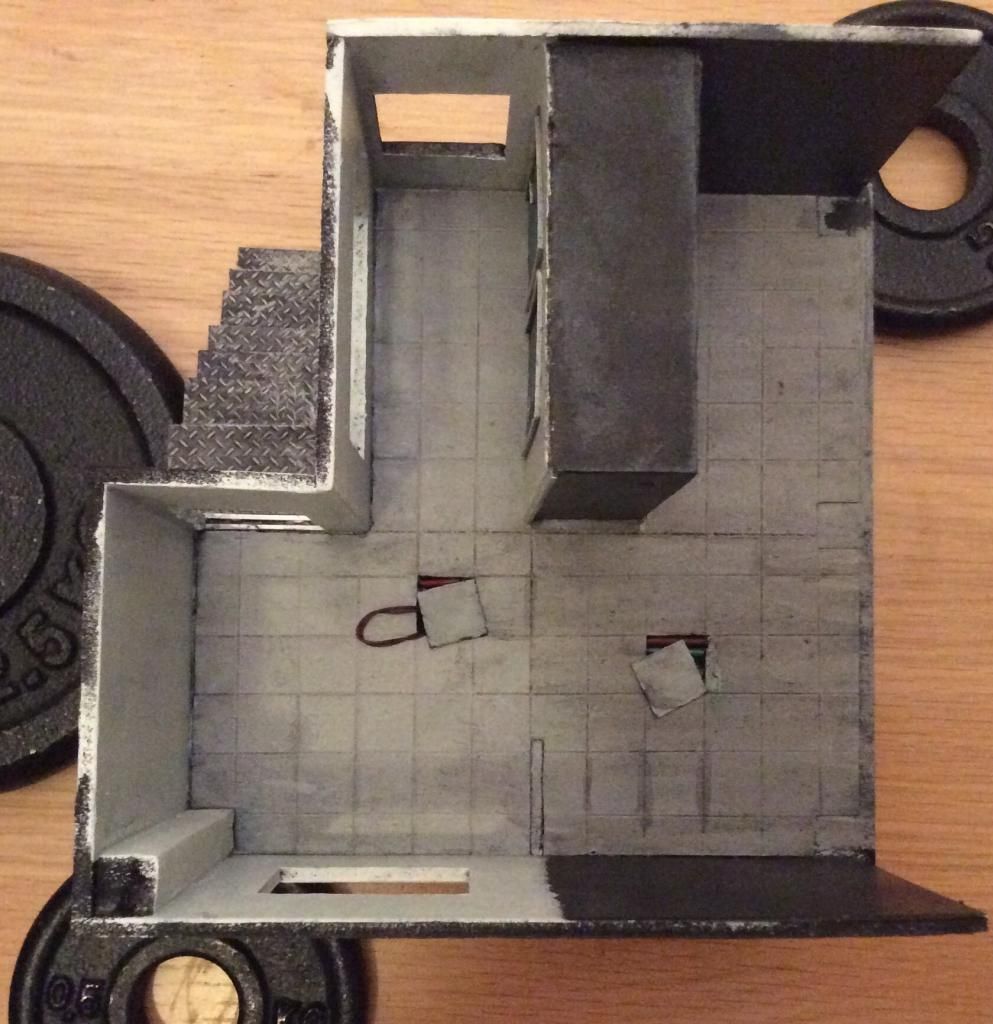
The plan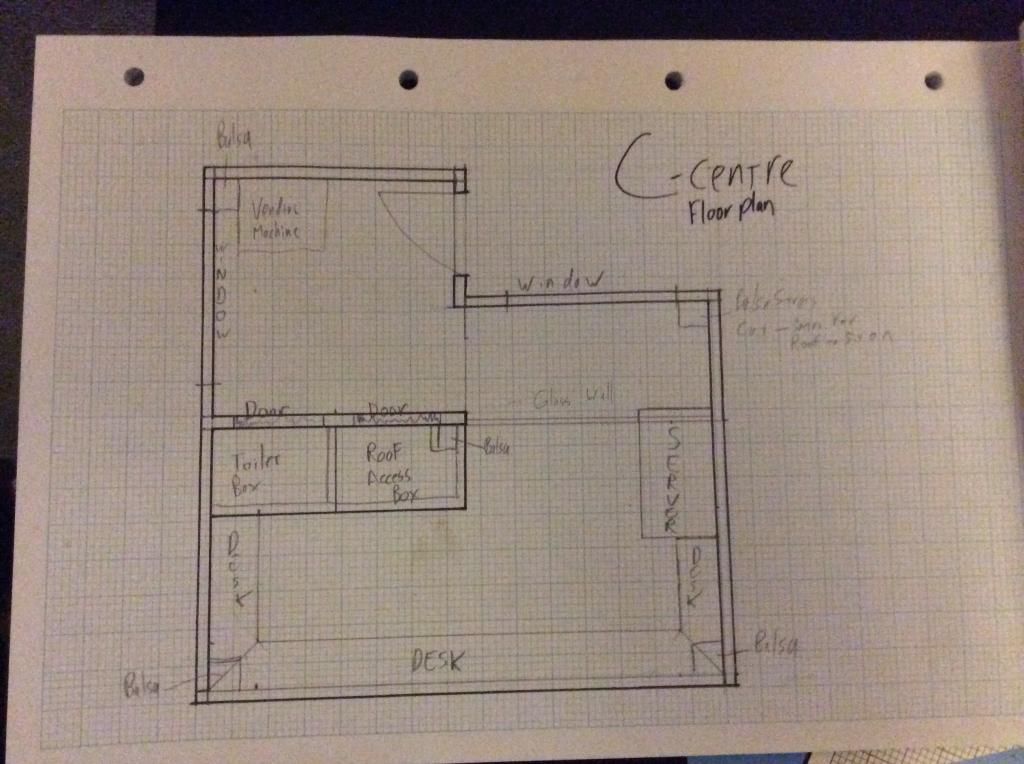
it's going to be an L box on stilts with a radio/satellite tower on the roof so it's an unusual shape that can be small(ish) but is still interesting.
The roof will be removable so you can play inside.
As I want to be able to use this in Deadzone I need to keep the 3" cubes in mind. So the 1st floor will be on 3"stilts, the room will then be 3" to the roof and the tower will be mother 3"
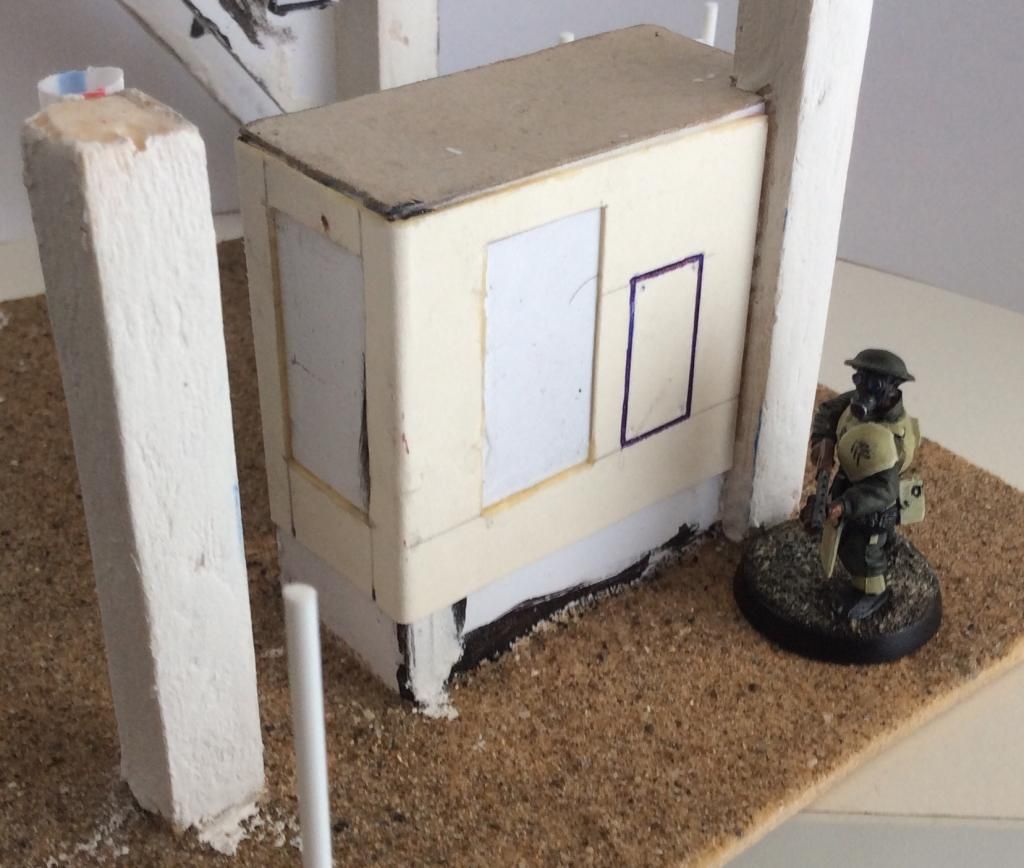
Initial shapes cut and assembly started
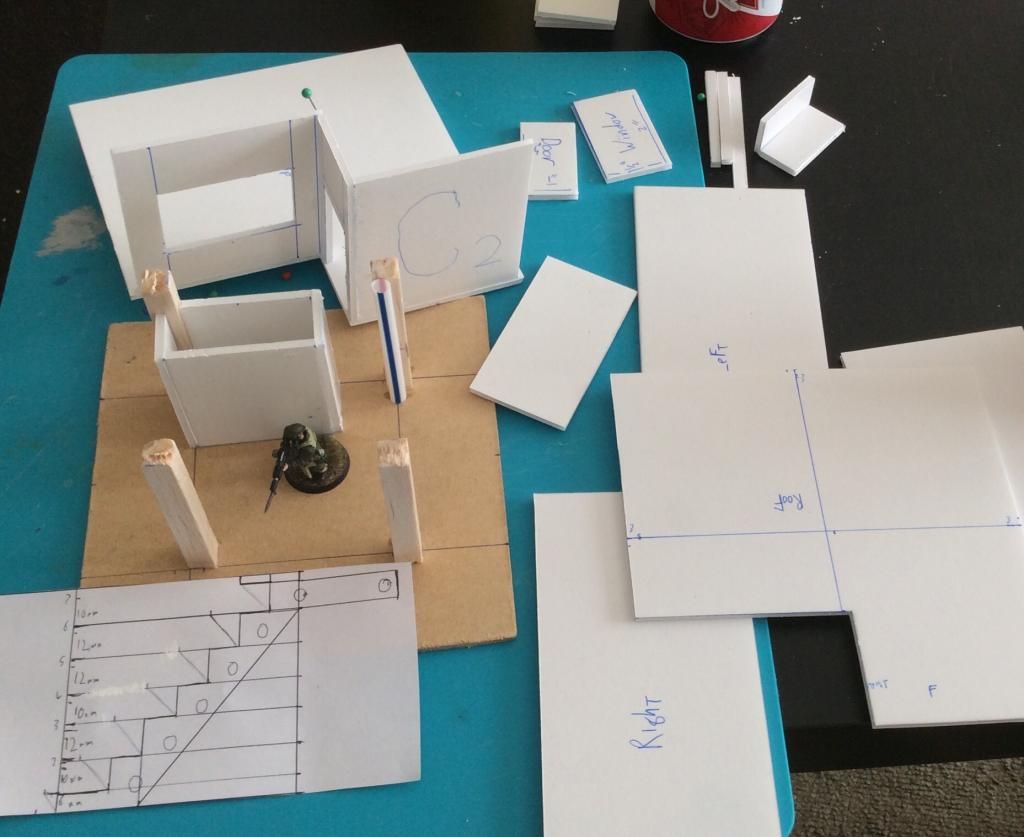
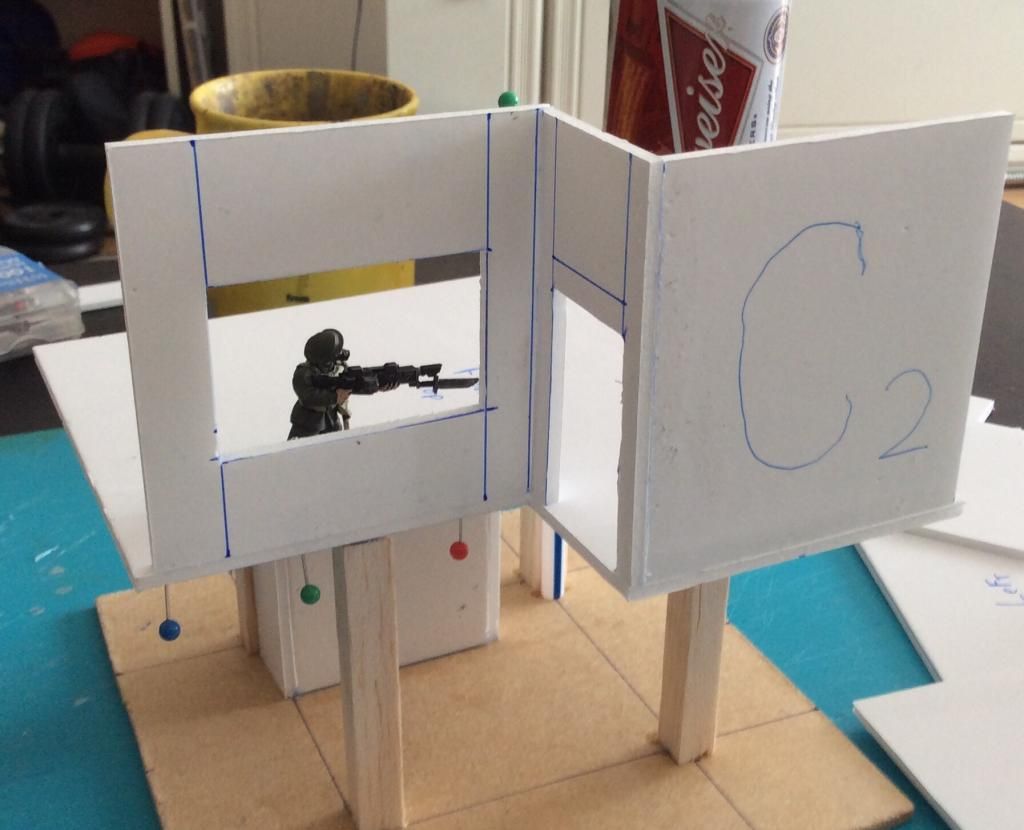
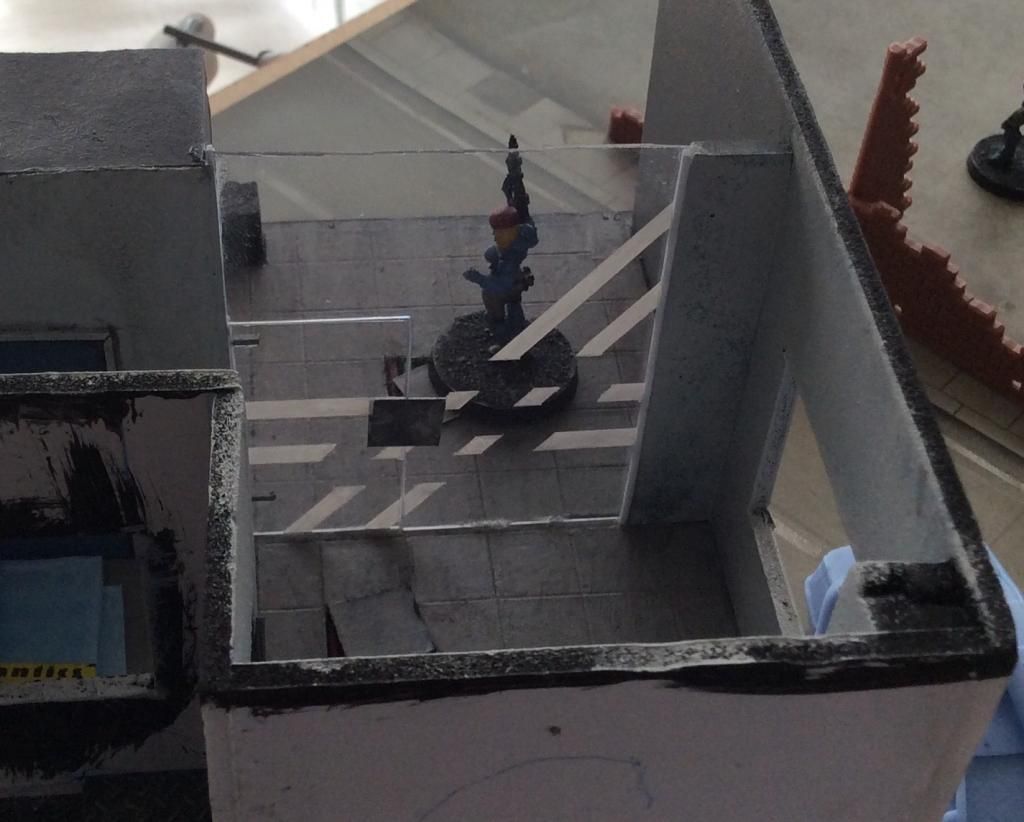
Test fitting the 1st floor to the stilts
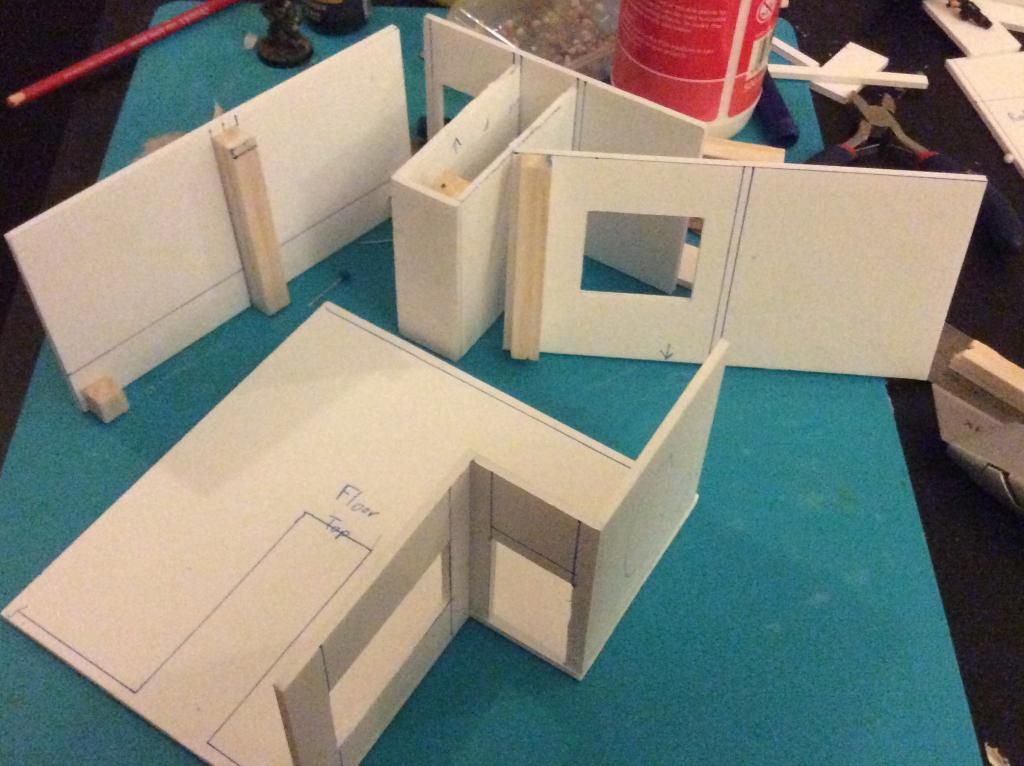
Given the position of the large window and the actual ops room (the door and most of the wall I want to have as glass aka clear plasticard) I've moved the toilet/roof access cube to the opposite side of the building.
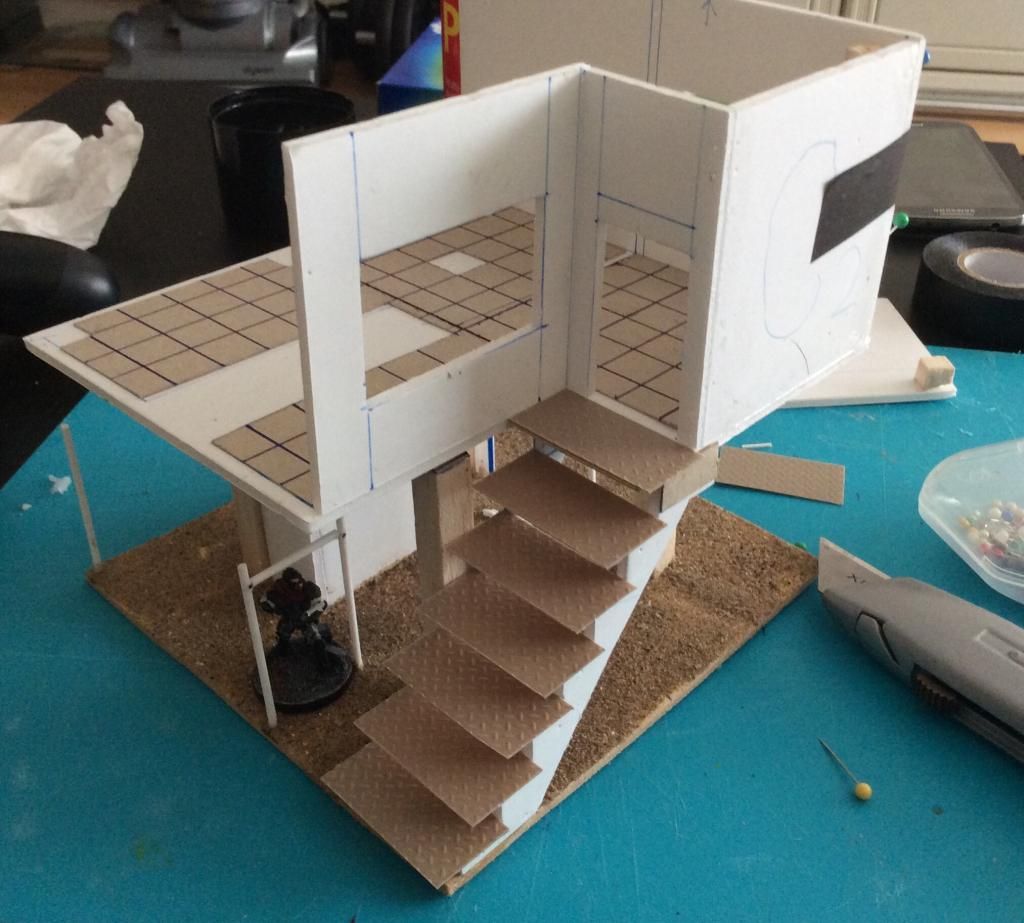
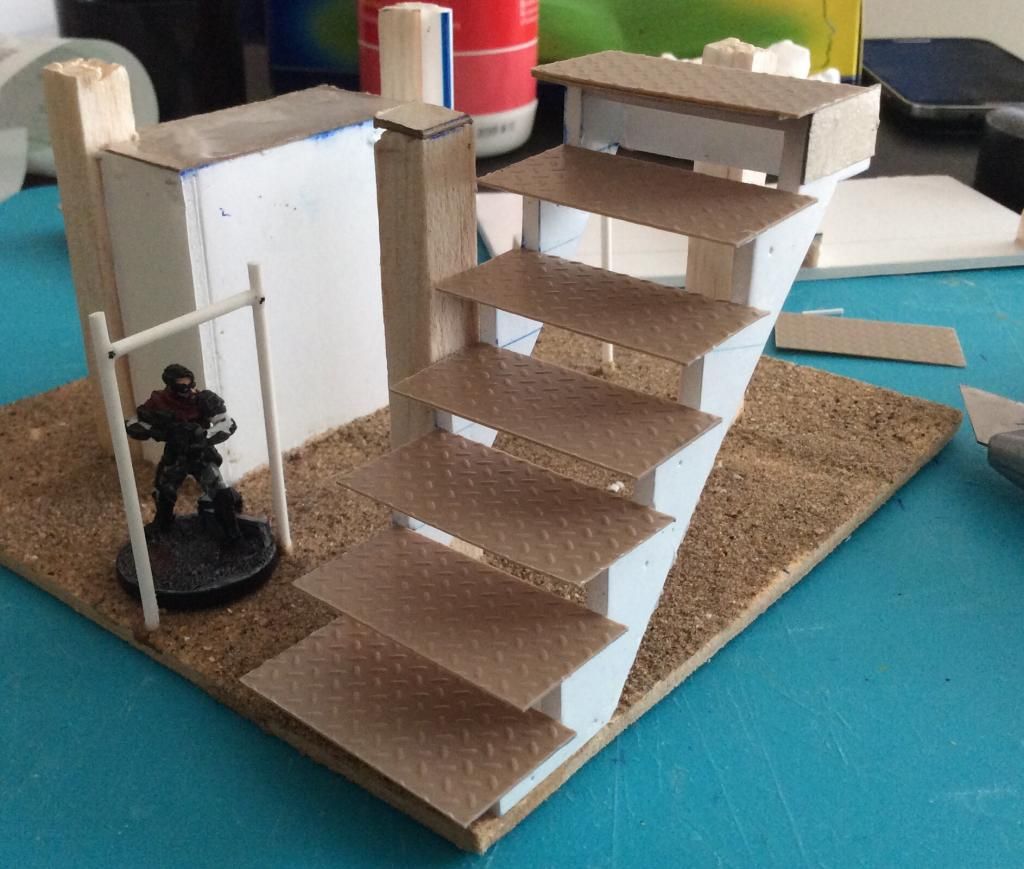
StairsI decided to go with stairs that you can place a model on rather than realistic ones. ( some of the steps work out as being about 2 foot apart at 28/30mm scale)
Here's the frame for the stairs I was initially going to have the stairs as just card but I decided to go for single tread embossed plasticard to add a bit more detail.

Stairs attached to the 1st floor
Now comes the slow and painful bit of detailing the interior.
For the basic floor I went for a panel look in the end. (I was going to get some sulaco floor grating from fenris but it just cost too much)
I cut out 2 of the panels for me to get some wires/pipes added underneath for more depth. (And make the plain floor tiles less boring)
Also I cut out the steps from some embossed plasticard, here's the step panels dry fitted.
Close up
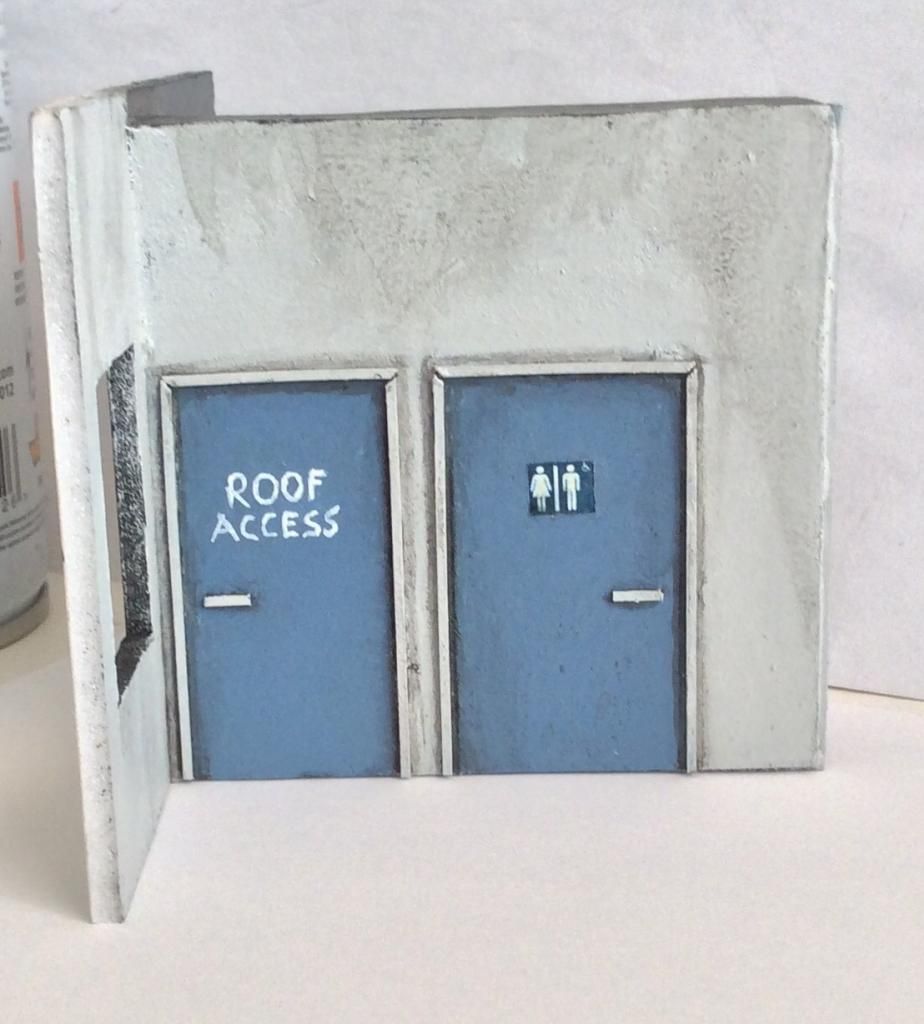
the doors for "roof access" and the "toilet" also start to take shape.
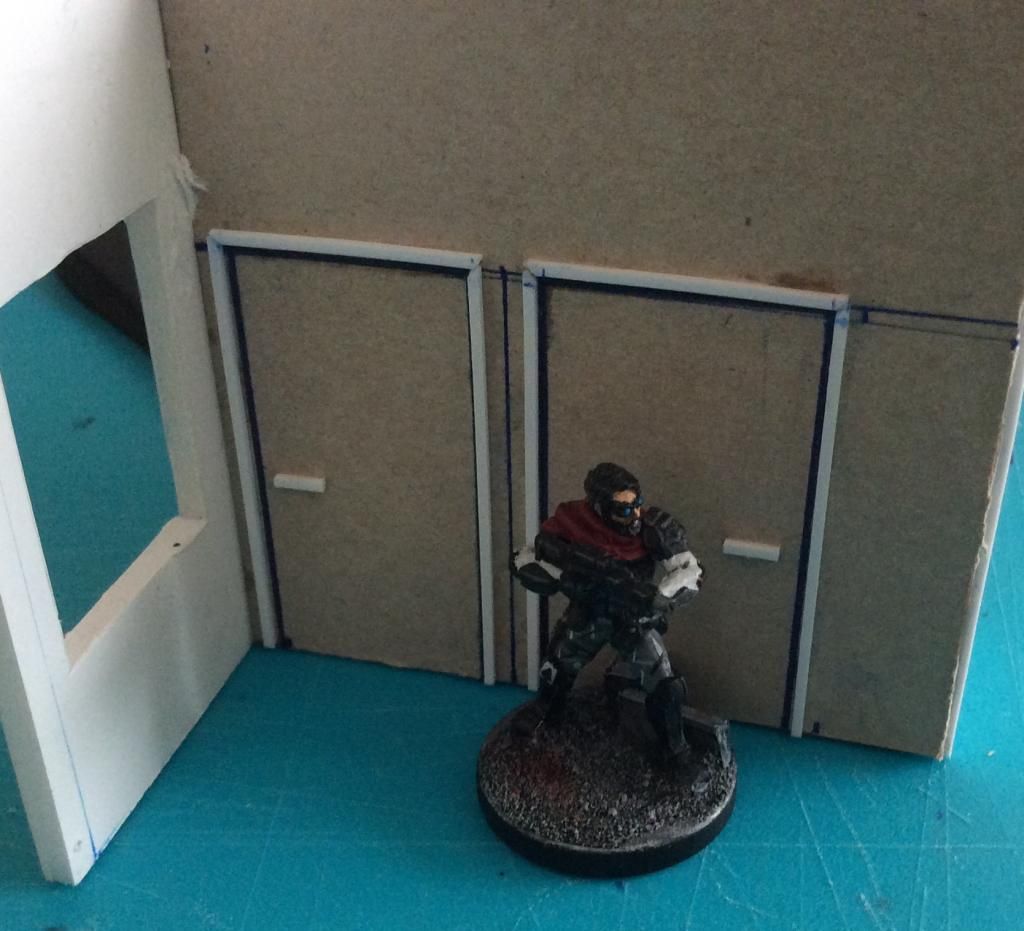
Then I Painted the toilet/roof access wall
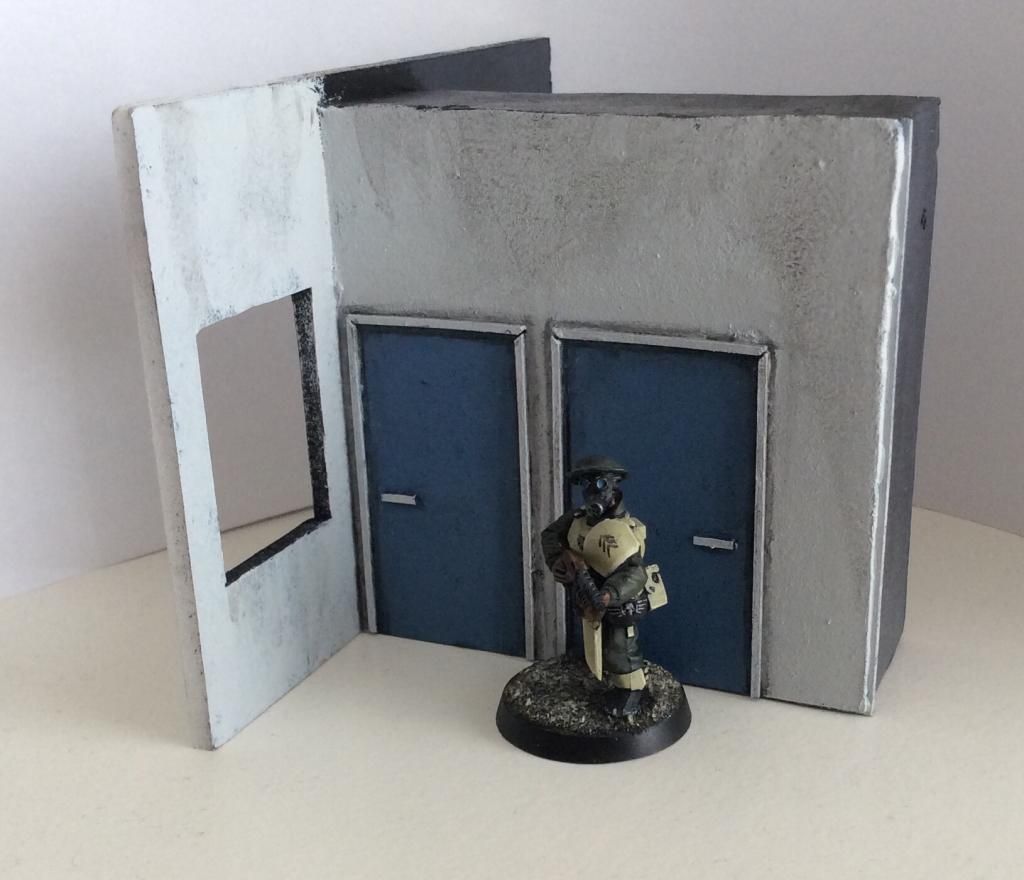
I'm happy with how it looks, the area before the actual ops room will be in this light grey colour. With the ops room being a dark grey.
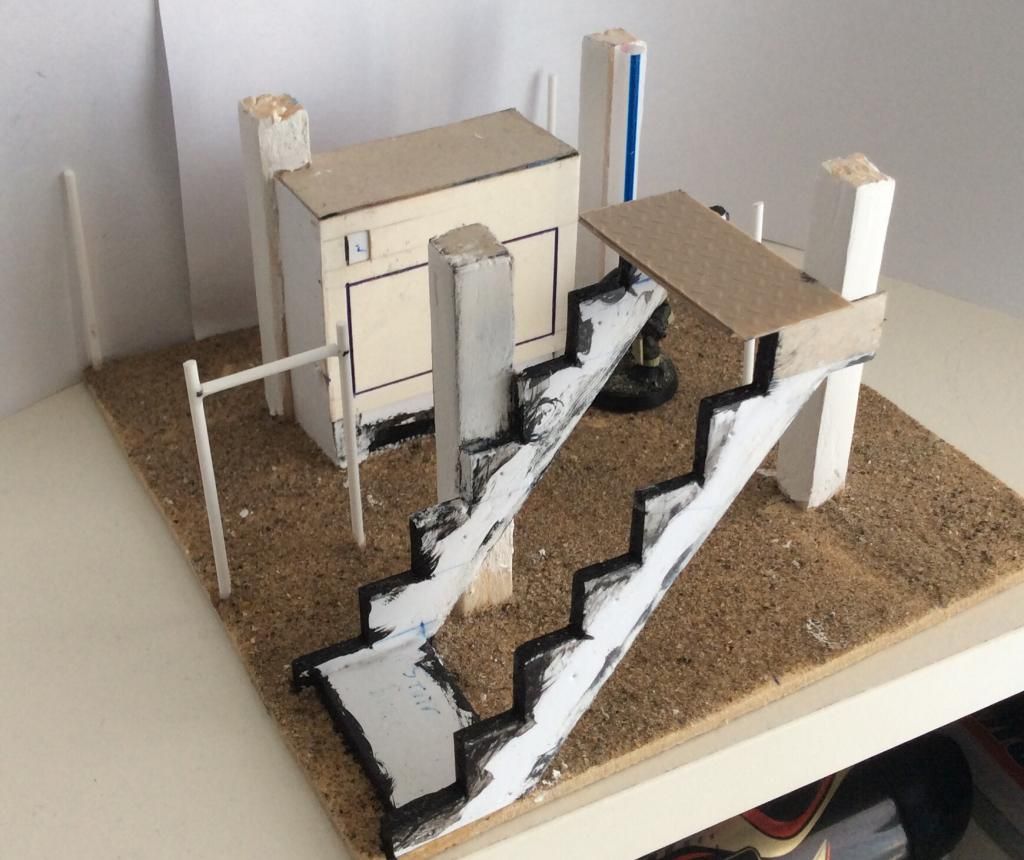
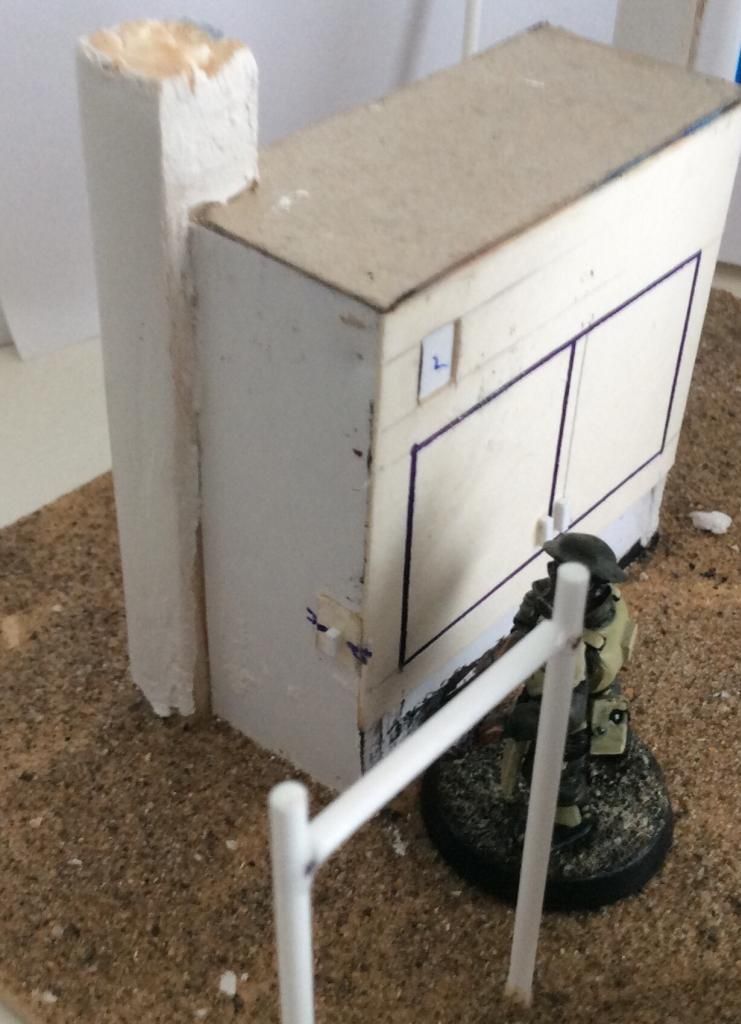
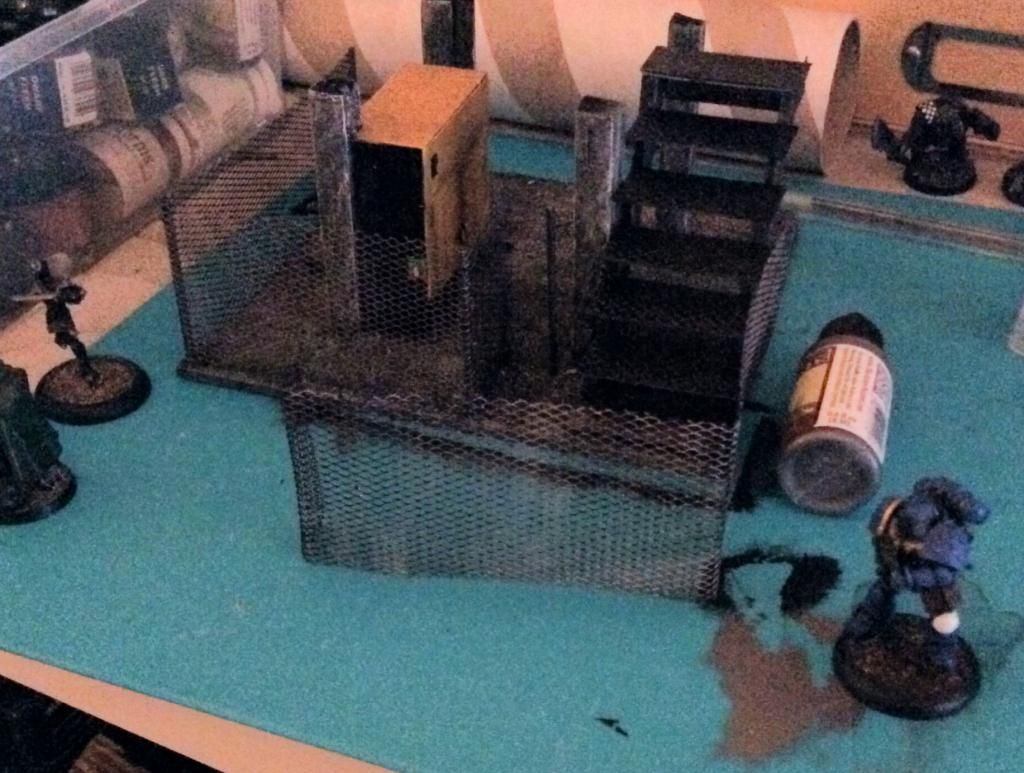
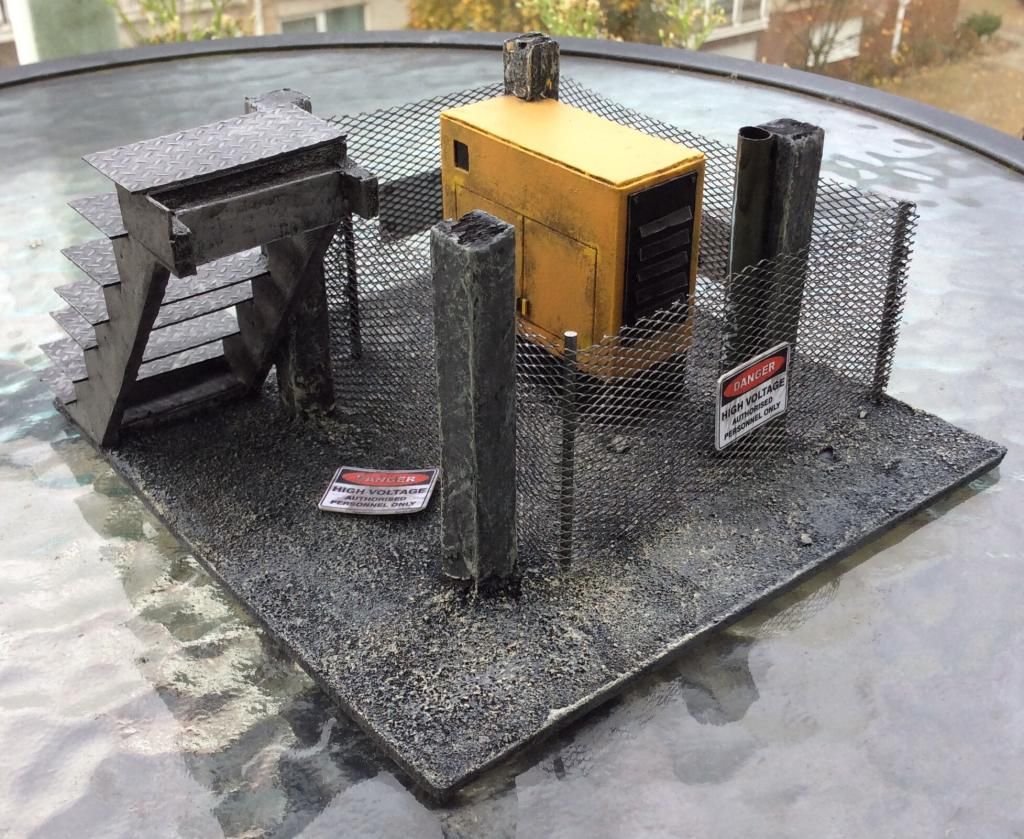
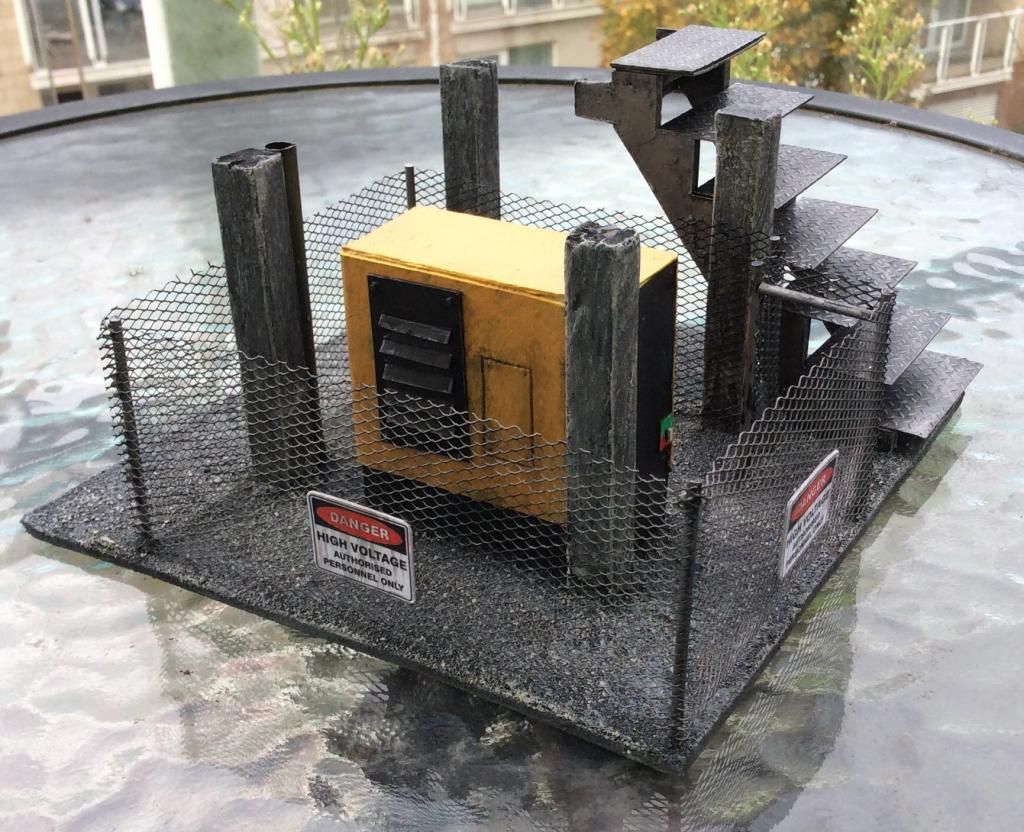
I've also added detail to the emergency generator on the ground floor, and plastered the balsa stilts.( I would have left them plain but when I tested one the wood grain came through too much to count as steel girders)
Close up on the access hatch, just card embossed with a bic pen and plasticard handles.
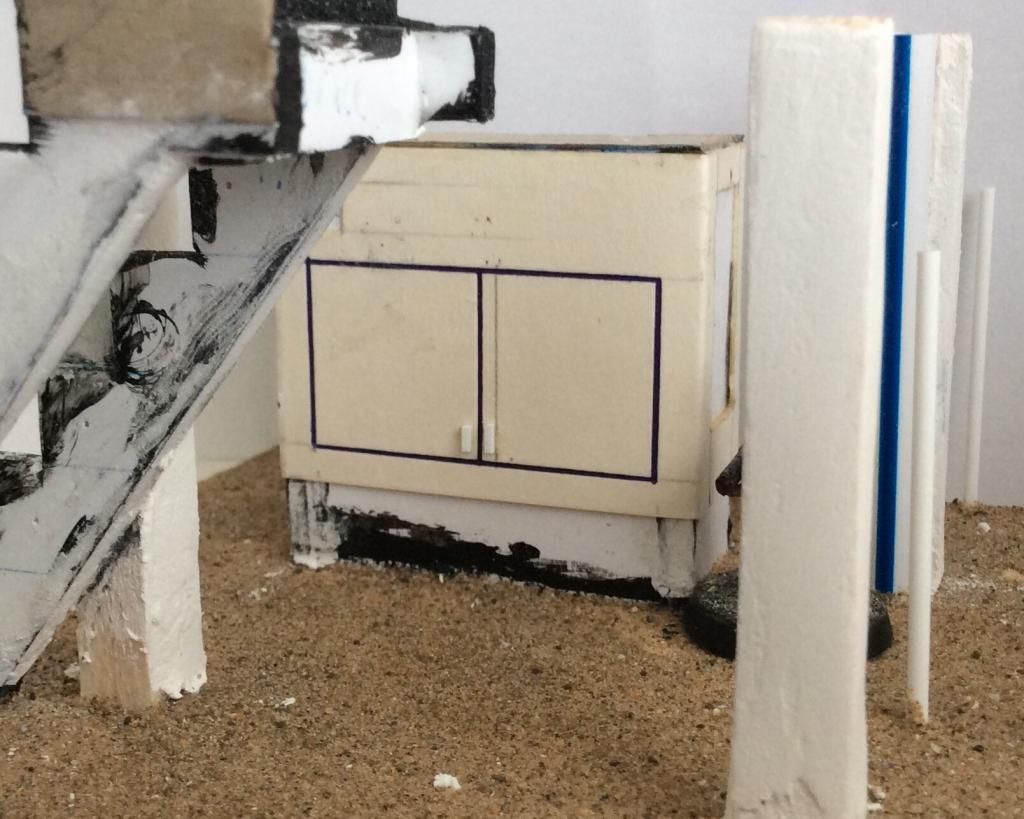
Close up of the on off switch.
The square gap over the hatch will have one of those AK interactive headlights acting as a warning light/ generator is on or off light.
Other details
The gaps will be vents which I'll make and add after I've painted the rest of the generator (like the wire fences, and steps).
Base colours on the ground floor
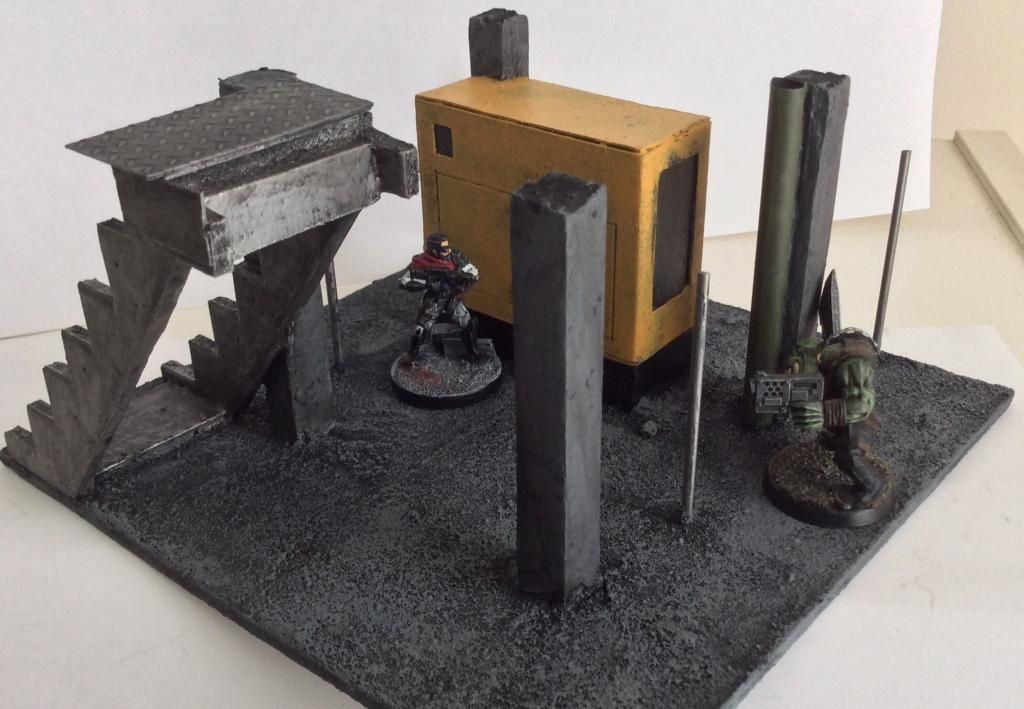
I wanted the emergency generator to look like one of those CAT ones, still lots of painting and washing to do.
Slight problem, the gap between the generator and the fence is only just big enough for a 25mm base as I'm going to be using a lot of lipped bases in AVP and on minis I want to look extra pretty I'm going to have to extend the fenced area to the pillar by the stairs this should be easy it just means I have to drill 2 holes and add more fence posts.
(And the OCD reason is that there wouldn't be enough room for anyone to open the generator hatches to do maintenance :*) )
Mostly just things getting painted after this point so
WIP picture montage starts..........
Now

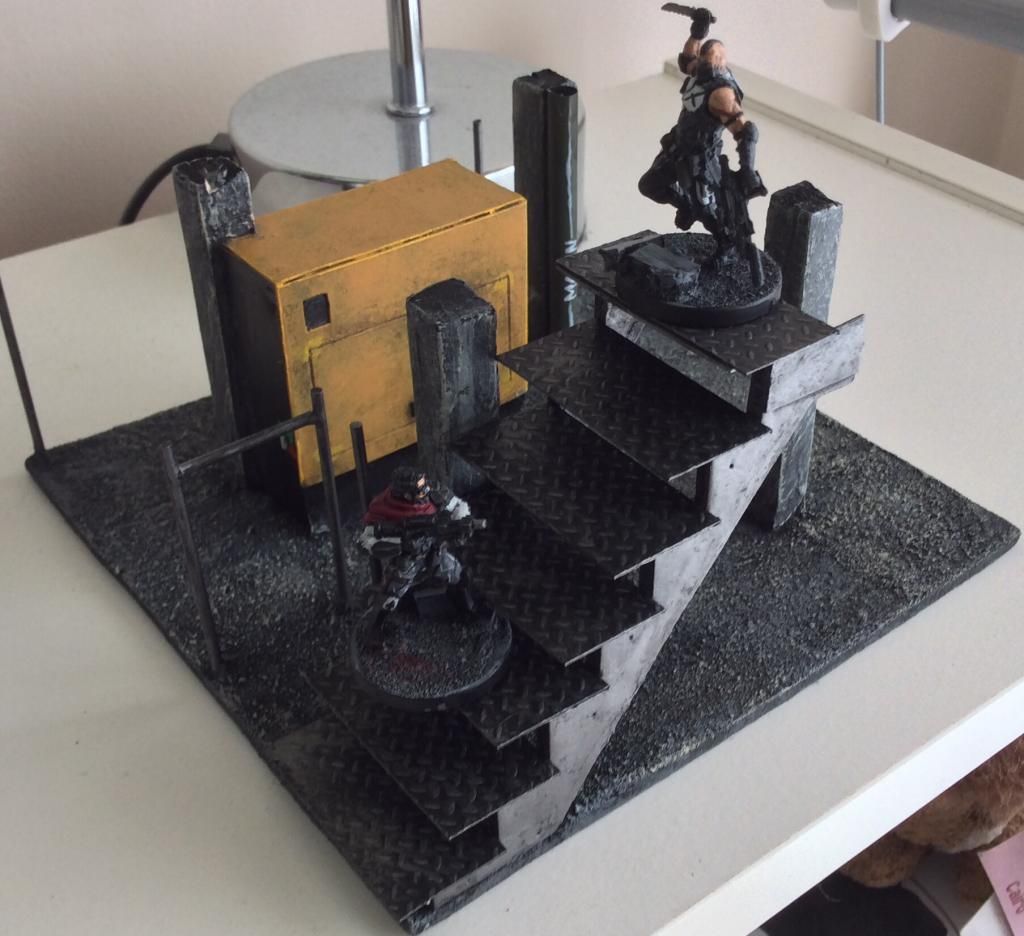
Glass wall and dood to the opps room
And that brings us to the current state of play
For the ground floor I need to add a light (red ak interactive lense) to the generator, and add the fence door and the ground floor is done.
I need to now start work on the opps room, And get window frames in place for my plastikard windows.
Thanks for looking


 Welcome, Guest. Please
  April 28, 2024, 03:13:54 PM


