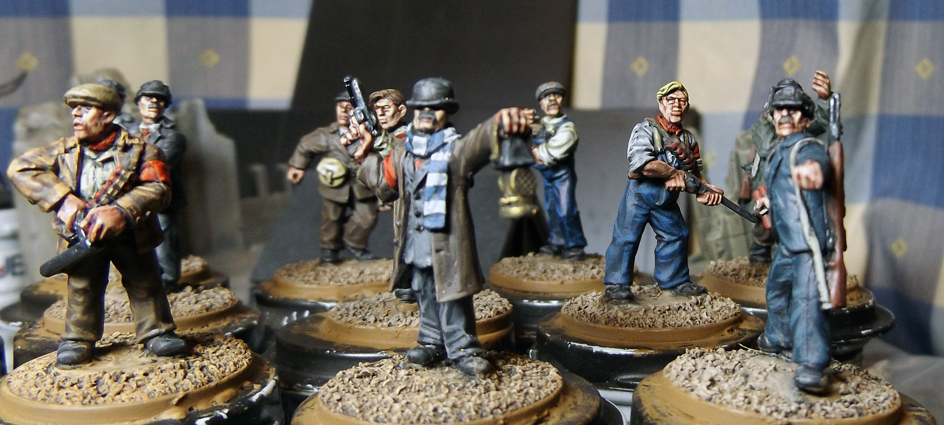
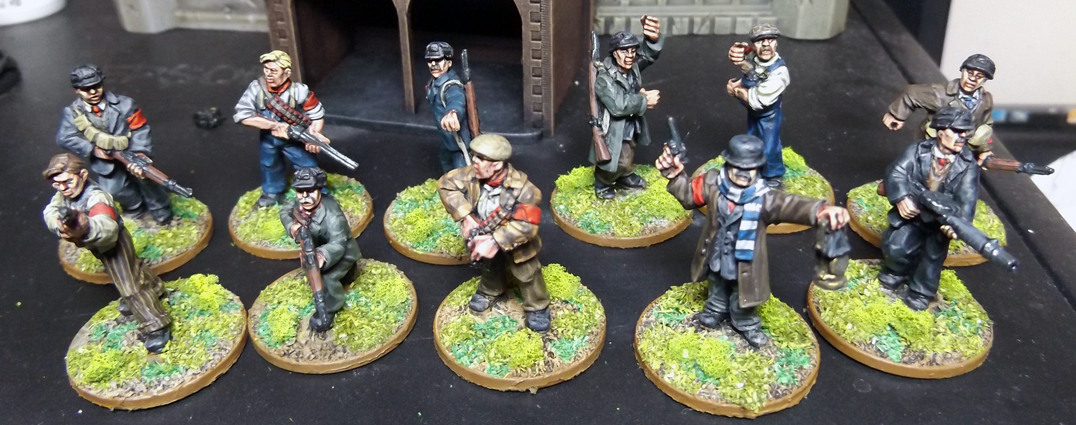
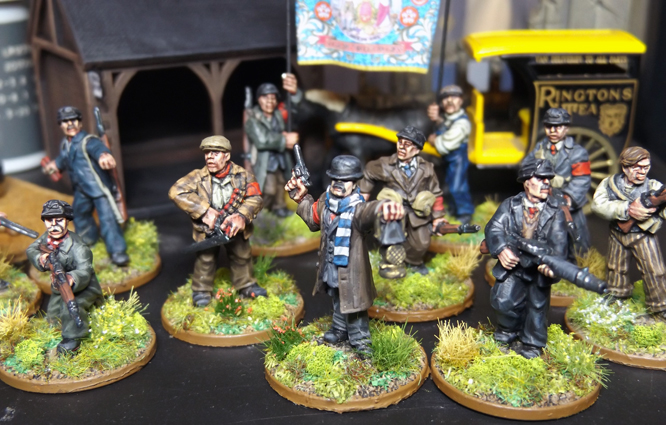
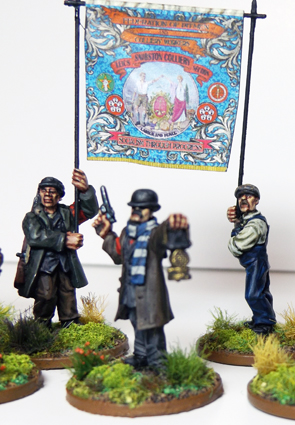
Well I am close and I mean very close to the end on this and really all I have to do is to finish the basing and add the banner for the Colliery workers and bingo they are finished. So this post is going to be mainly on how I do my basing and I hope it is going to be of use to some of you.

Firstly I think that the base is just as important element as the figure as a well painted figure can be ruined by a poor base and a good base can help raise an average painted figure. Now this is different to the basing tutorial I did a couple of years back as I have refined it a bit and actually produced a more natural look to the base. Please remember that these bases are rural bases for British countryside as I play Very British Civil War but they should work for any green and pleasure land around the world.
So the actual bases and what I use. I actually use 2 pence pieces for the base for a number of reasons but mainly I like the weight the 2 pence adds to the figure, which can be very useful with plastic miniatures. Then a simple PVA glue sand, one medium coarse and one fine coarse which I mixed together to give a good, nice ground mix and I set to dry for 24 hours. After this I undercoat the figure and base black and then I drybrush, actually it is more a wetbrush, like a drybrush but not all the paint is wiped off the base using Vallejo Model Colour, Flat Earth. After this I drybrush Vallejo Model Colour US Tan Earth to give it that more earthy colour and a final dusting of Vallejo Model Colour Iraqi Sand for the highest highlights. I finish the base by painting the outer edge of the base with Vallejo's Flat Earth to tidy up the base.
Now once the base has dried fully, I usually wait two hours or more before I start on the next stage of adding the basing materials. I now that I could probably get away with doing less stages than what I use but I think that since you have spent the time and enough paint the figure nicely you should do the same with the base.
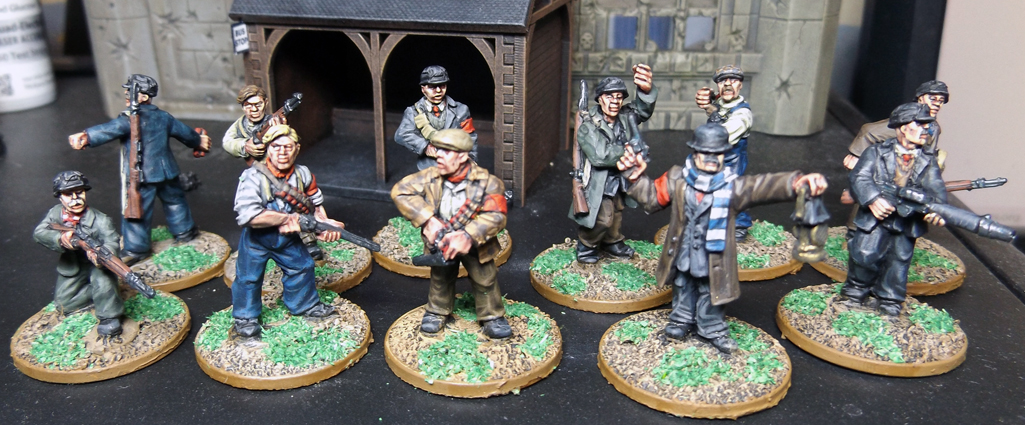
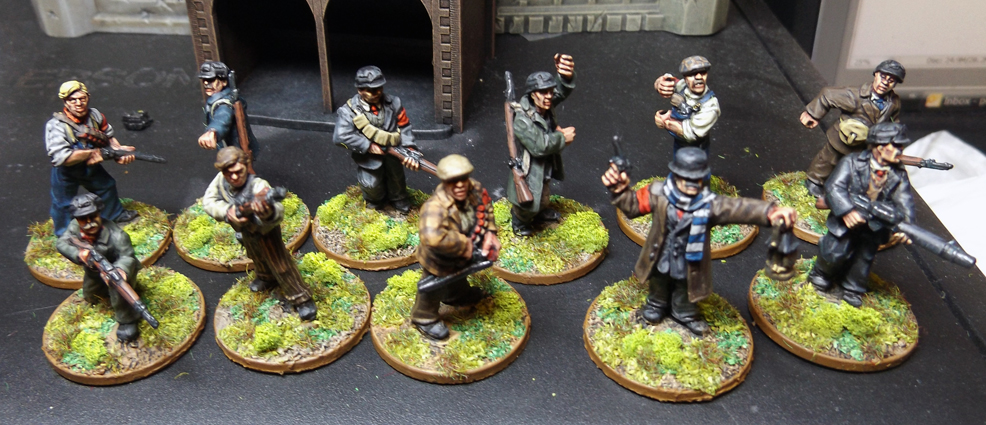
So the first stage I do is quite simple and that is to build up the feel of the base and I do this by using Army Painter's Battlefields Moss Green flock. I dab PVA glue randomly on the base to form large areas of dark green flock to give the impression of different colours and patterning.
Once this has dried I apply another level of flocking but this time I use Army Painter's Battlefield Grass Green flock. Again I dab PVA glue on the base randomly but this time I aim to cover most but not all of the bare area and also go over the darker green flock that has been already applied. I am aiming for that two tone grassy effect that you see in nature. Now you can leave the base there and it will be serviceable but if you want to take you base to the next level read on.
Now remember I said it about levels and you have created a good grassy, mossy base and now it is time to add to this. So the first level I add is not really needed but I like the look to the base with this added and it uses the base a bit of height and texture.
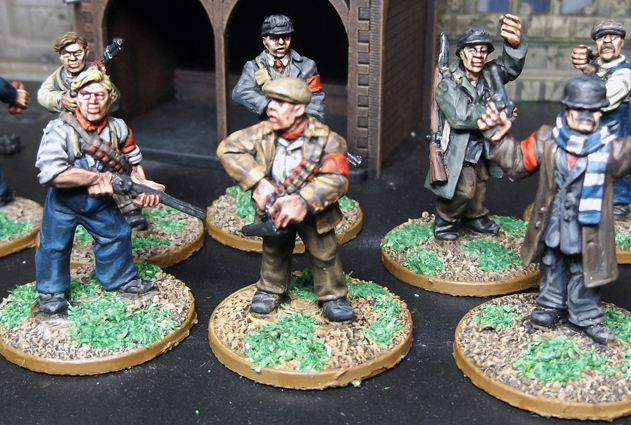
I add clump foliage to the base is a couple of areas to break on the flatness of the base. Now only do this is one or two areas as it can overpower the base, which you do not want and remember that this is only the first level. So I superglue to glue down these tiny bits of clump foliage as the make then hard which is needed and once the superglue has completely dried I drybrush the foliage with Vallejo Model Colour Yellow Green to highlight it and make it more natural.
After this the next thing I add is some static grass. The first colour I add is Army Painters Battlefields Steppe Grass, static grass to give that feel of grass. I again dab PVA glue in small little blobs between six and eight of them and then I apply the dark green grass to the base. This should give the feeling of a grass field and actually you could stop now as the base looks natural and effective but I add more levels to it.
I add another level of static grass this time a light colour, Army Painters Battlefield Field Grass, static grass to give that real feel of grass as grass is never uniformly one colour. I dab PVA glue around the base in the same way as the dark green grass but this time I only have between four and six blobs. The gives a very natural effect and you could leave the base as finished here but there is a couple of more things that I add to the bases.
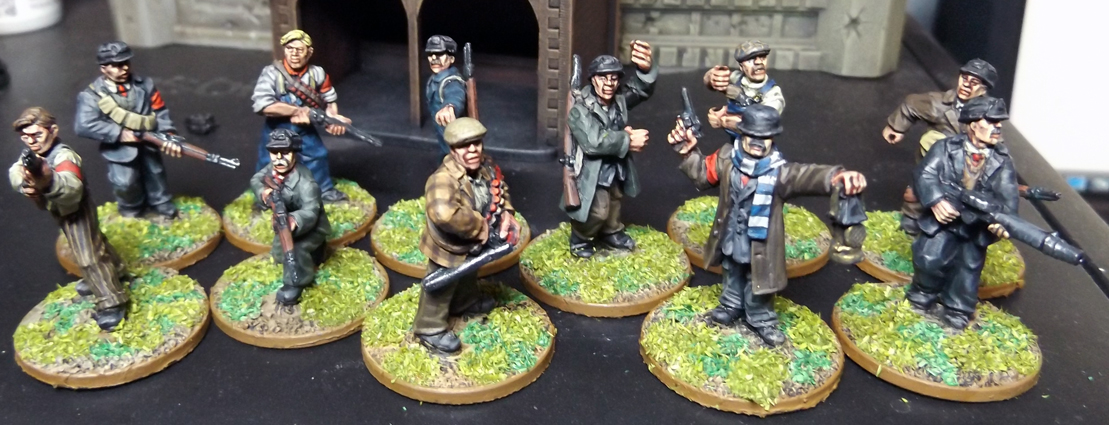
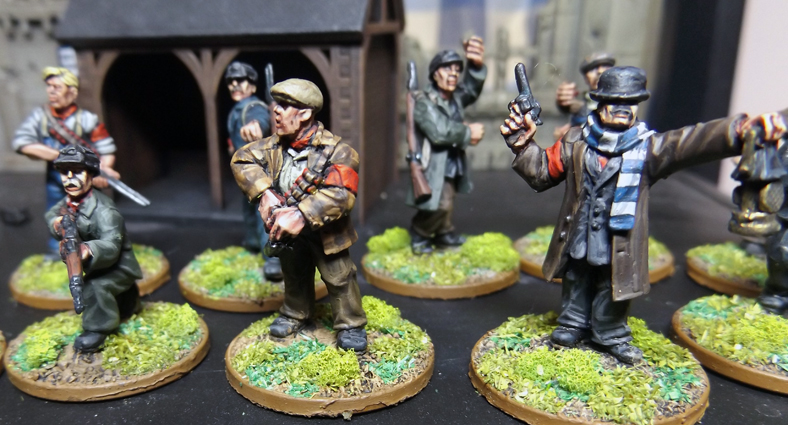
The final stages I add to the bases are things that give height and colour to it. The first thing that I add is some tall grass and I usually only one clump of it. Now I use one of two colours for it either Noch Rough Grass Beige or Noch Rough Grass Dark Green and I only use the one type and clump as I usually add something else to the base to even things out, but I am not adding anything else then I would consider adding two clumps of either the same colour or one of each.

I apply these grass clumps using PVA glue and once they are dried I gently drybrush them to highlight them and to make then more natural. If I have using the Noch Rough Grass Beige I usually highlight this with Vallejo Model Colour Sand Yellow and if it is Noch Rough Grass Dark Green I highlight this using Vallejo Model Colour Yellow Green. I aim to highlight more towards the top of the grass leaving the bottom in the dark colour.
The other piece I add to the base is flowers. Now you can get them for all other the place now but I tend to use either Army Painters Battlefield Meadow Flowers or Mininatur flower range. I find that adding flowers to the base just lifts the base and adds some colour to it without it feel unnatural and false. I other add a single clump of flowers to balance the tall grass clump and finish of the base.
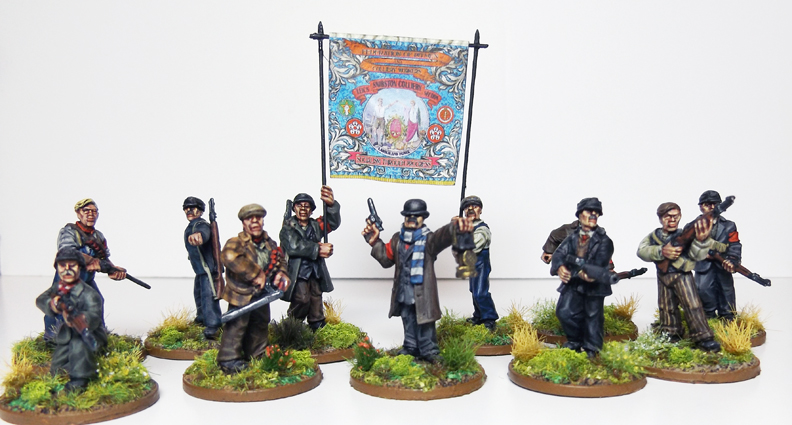
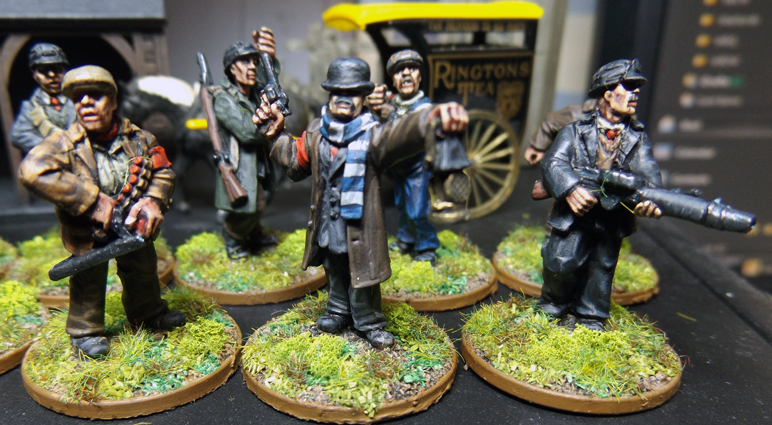
I hope that you find this very helpful and useful and breaks away the mystery on how I do my basing. As you can see that it is not very difficult, it is simply just adding levels to achieve that natural look and feel.
Have a great day.
PK


