A few nights ago Martin and I met up to remind ourselves how to play To The Strongest! for our demo game at the Hereward show next weekend. While we're planning an ambush scenario for the show with some suitably mountainous terrain, for our practice game we had to settle for what we could fit on a 6x4' on my kitchen table.
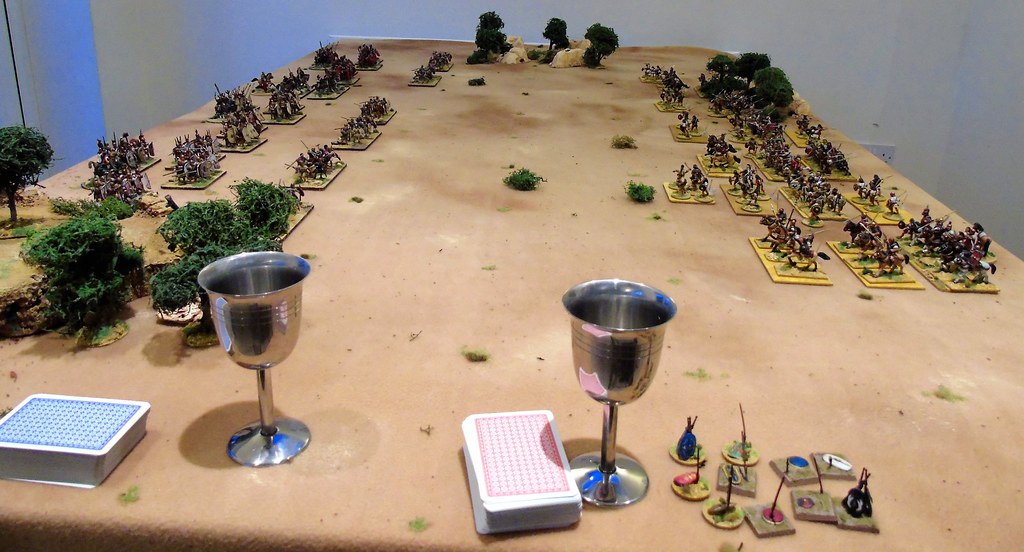
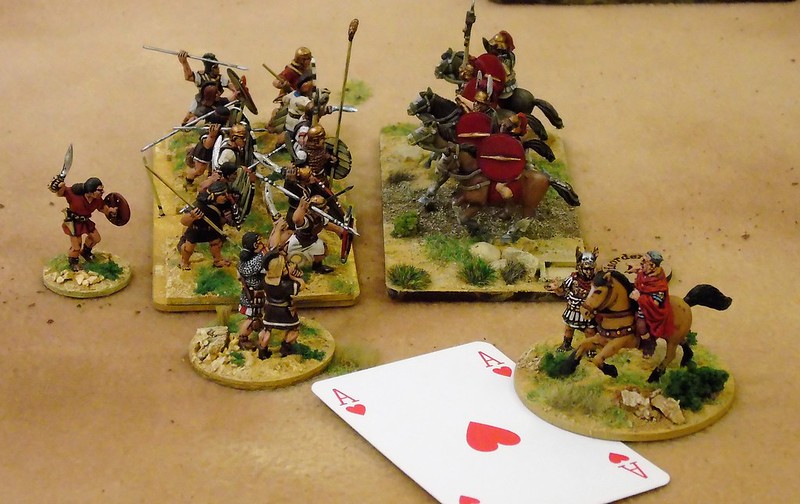
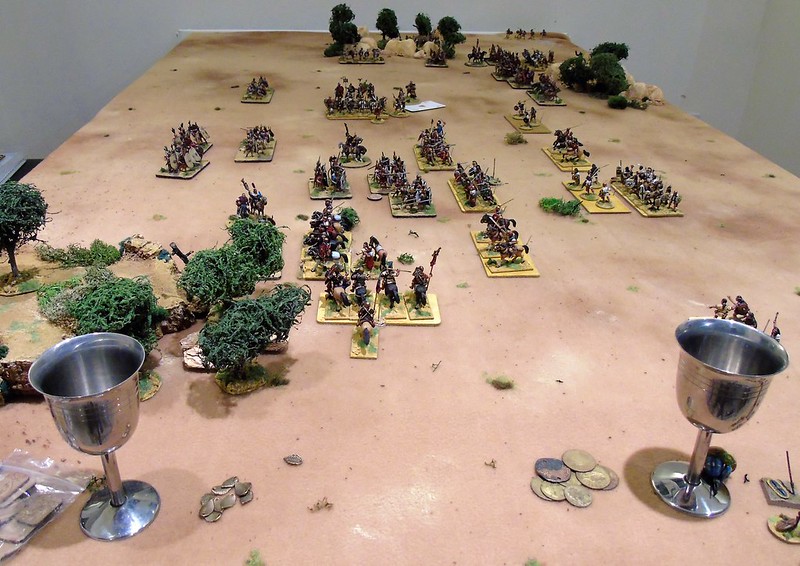
The armies deployed - Romans to the left, Lusitanians to the right. In the foreground are the goblets containing the Victory Medals - if you lose a unit, you lose one or more medals. When they are all gone, game over.
I've been doing a lot of reading recently about Viriathus (aka Viriato) and the Lusitanian war of the 2nd century BC/ BCE, so that's what our armies were based on. One of Viriathus' first actions was to ambush the Roman army of Praetor Vetilius at the battle of Tribola in 147 BC, after which Vetilius was captured and killed (apparently because the Lusitanians did not believe that an old, fat man could be the general...)
We set up a fairly standard ancient battlefield with a few areas of rocky woods towards the flanks. We decided that the Lusitanians would have the strategem cards 'ambush' and 'flank attack', allowing a couple of units to be left off table. The Romans forewent any stratagem cards and we got down to playing.
Armies were as follows:
RomansPraetor Vetilius, commanding two Roman cavalry units
3 Roman detached generals, each commanding a 'legion' of 1 x Triari, 2 x combined units of Hastati/ Principes, 2 x Velites
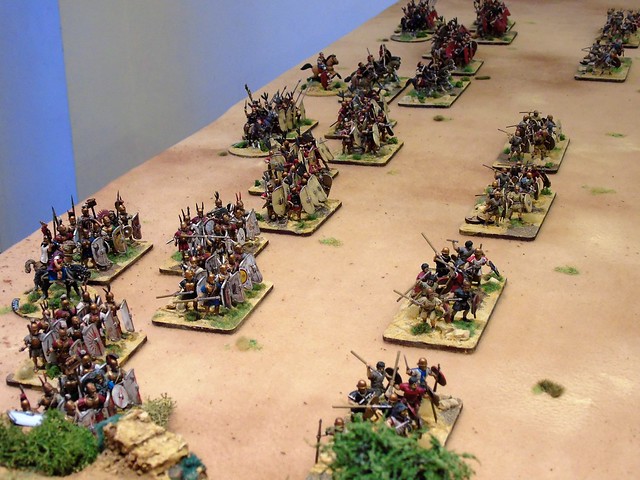
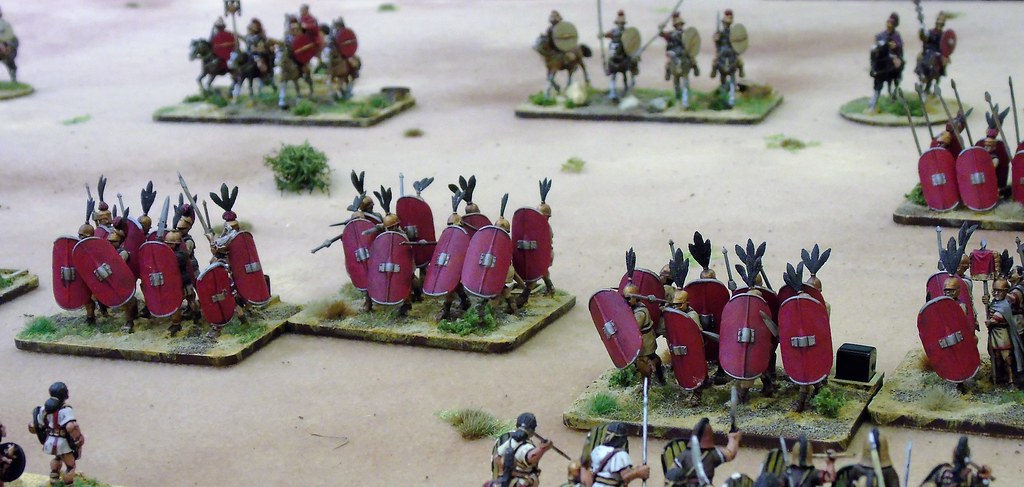
Romans in battle formation. You can see the grid here - I've stuck different types of grass/ flock at the corners of each 'box' on my gaming mat.
LusitaniansViriathus, commanding two heavy cavalry and one light cavalry unit
3 attached Lusitanian chiefs
3 x Light cavalry
7 x Scutarii
6 x Caetrati
3 x Slingers
...and the Lusitanians.
It all looked very jolly when laid out on the table.
My plan was to draw the Romans forward so I could spring my ambush (a Scutarii unit hidden in a wood on the right flank) and launch a cavalry flank attack on the left. Martin was trying to keep his line intact and deliberately clung to the cover on my left flank as he had correctly guessed that was where the flank attack was coming from!
Light troops advance to harass each other. The rings on the back of the cavalry unit are ammunition markers.
Consequently we had a fairly cautious start to the game. We both sent skirmishers forward, who shot at each other without much effect, but a Roman Hastati/ Principes unit that had advanced a little too far suddenly found itself stripped of its Velites cover. Although the Lusitanians could not charge its flanks (it was only 1 'box' forward of its flanking units, so they still controlled movement to the flanks - one of the joys of playing a gridded system like TtS is that it is crystal clear what units can and cannot do), they could all shoot at it. With a decent hand of cards I sent three light units forward, managed to hit it once - unsaved by Martin - then hit it again - also unsaved. With that, the unfortunate legionaries broke and fled.
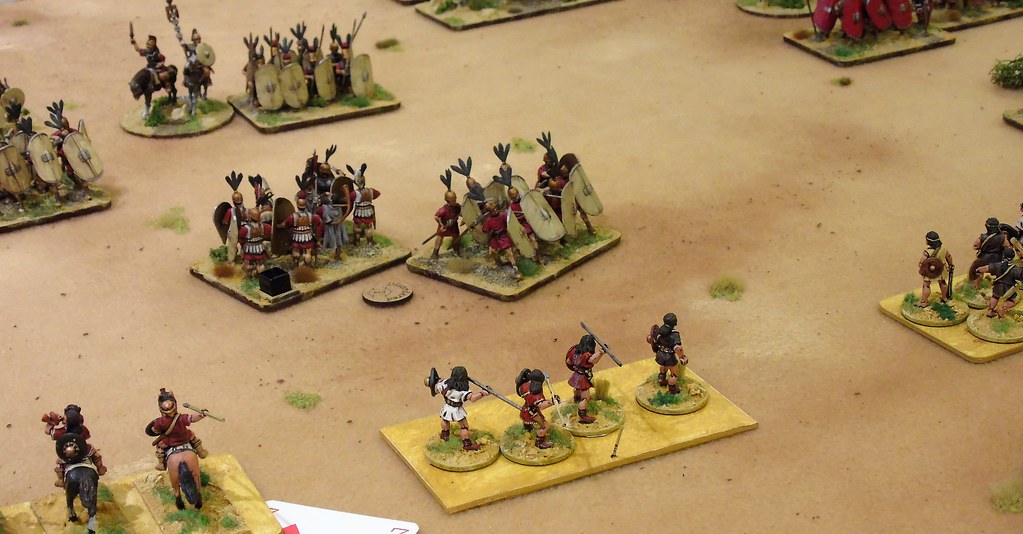
Unsupported Roman legionaries get stuffed by javelin, javelin and sling shot!
Simon Miller has recently been developing the TtS army lists to reflect the new research that has been apperaing in Slingshot. Basically, the Principes and Hastati, which had previously been separate 'small' units under TtS, are now combined into a single unit, representing the close cooperation between the two lines. When disordered, the Hastati may (upon a successful Rally check) swap lines with the Principes, which replenishes the pila and increases the unit's armour save. Had the Lusitanian missile fire failed to break the unit, the Romans would almost certainly have rallied and swapped lines, but the exposed position of the legionaries gave me the chance to finish them off.
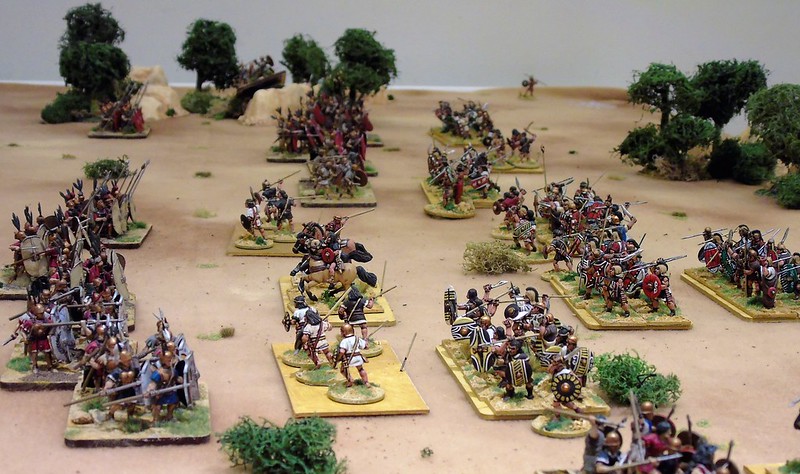
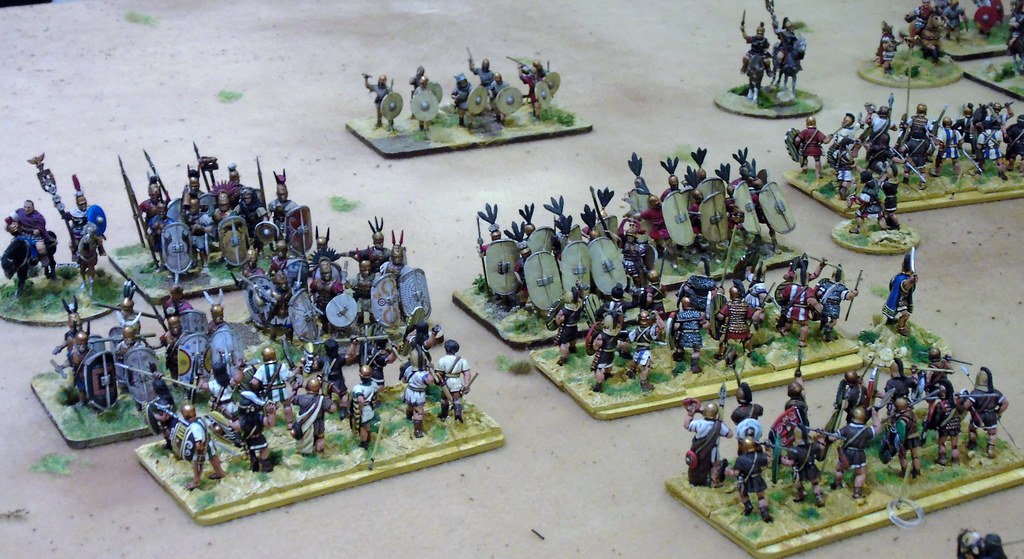
Battle is joined all across the table.
Now the Romans started to advance on my right flank and pushed my rather weak command there all the way back to the edge of the table. I had lost several units there and was hanging on with just a couple of Scutarii warbands. I decided to spring the unit that was hiding in the wood - huge anticlimax! - as I failed to activate it (ambushing units need a 4+ card to appear), then failed to turn it around. Martin sent a unit of Velites to sort it out and my hapless Lusitanians spent the rest of the game fending off flank attacks in the wood!
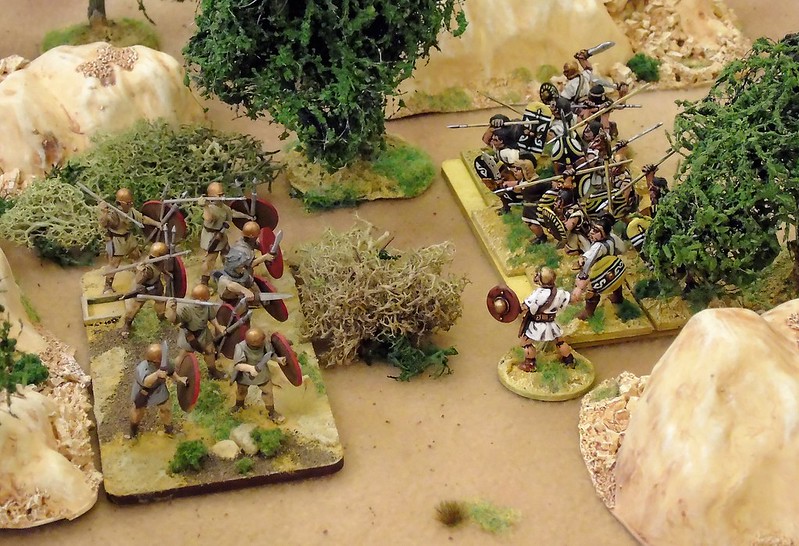
Nothing to see here...poorly planned ambush gets done over by a bunch of Roman teenagers...
Romans on the right flank giving my Lusitanians some trouble, with slingers fleeing to the right. Miraculously, the warband at the bottom managed to hold on all game!
I'm seeing red! Agema plastic Romans advance, from Martin's collection.
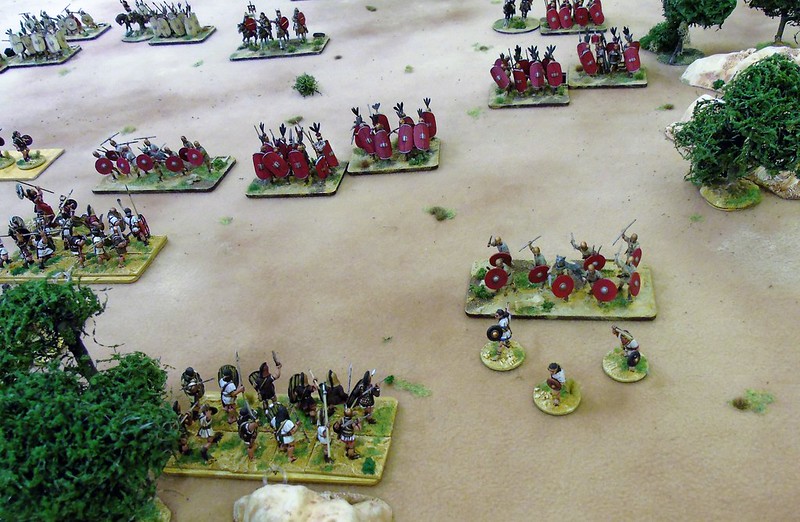
Fortunately the big hole created by the loss of the Hastati/ Principes unit gave me an opportunity in the centre of the battlefield and I sent as many warbands forward as possible to try to exploit it.
Supermassive black hole in the Roman lines (well quite small actually), but with a Lusitanian warband busting through (top right)
The Triarii went next after a dreadful armour save card, then Martin sent Praetor Vetilius and his cavalry up to support. I managed to wheel the Lusitanians round and catch him in the flank, and a long combat ensued with neither side gaining much ground - being disordered but then managing to rally and hold on. However, whenever units with attached generals take hits in TtS, the general has to make a save - usually a 2+. In the final round, the Roman cavalry took a hit and saved it, but Vetilius managed an impressive Ace (Aces are always low in TtS!) and was cut down! By now the Victory Medals were running out, and although the Lusitanians were taking casualties, the Romans were worse off.
Anything but an ace, Praetor Vetilius...oh...
On the left flank, my heavy cavalry flank attack had done nothing, but Viriathus had led his bodyguard up to the attack - as a heavy cavalry, veteran unit with a couple of attached heroes, it was hopefully going to do some damage, and it did. The Romans became disordered, but failed to rally - again - and were finally destroyed and fled from the table. Two Victory Medals lost from the Romans' cup meant that they were broken, and the game was over. Victory to Viriathus!

Viriathus' chosen men take the fight to the Romans.
It was a really enjoyable game, and took about two and a half hours with plenty of banter inbetween. Although the 'no rulers, no dice' approach of TtS requires a bit of a mind-shift to start with (for me, anyway), the game itself is elegantly simple. We didn't have any situations that we felt were unrealistic and really enjoyed the clarity of playing with a grid, thus avoiding those very dodgy 'my unit in front of you and slightly to the side is charging you in the flank' situations that I encountered so many times playing WAB. We discussed how to run an ambush scenario and have started laying plans for Peterborough. Looking forward to Hereward!
Game over! A blow struck for Lusitanian freedom. Just wait til the Senate hears about this!


 Welcome, Guest. Please
  April 19, 2024, 12:44:19 PM

