Hello LAFfers,
It's time for me to pay back some inspiration to the Workbench.
As my gaming group moves into 28mm Peninsular War, I wanted a basic windmill for Spanish themed terrain tables. I settled for a fairly generic, simplified design, which is vaguely reminiscent of La Mancha, but isn't too region specific, and might not look entirely out of place in other parts of Europe. This is a quick step by step.
1) Settle in with some popcorn to watch the action...

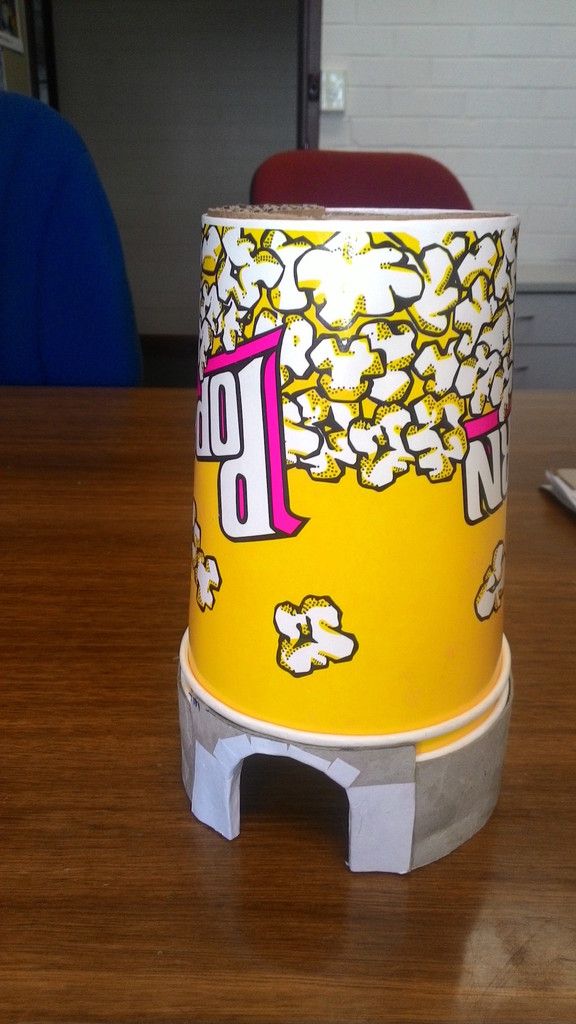
2) Glue all the popcorn cups together. Simply cover the outside of each popcorn cup (except the outer one) with PVA, one at a time, and stack. A little twist ensures the glue is smeared across the whole surface. Leave to dry. The result is a thick walled truncated cone made of slightly waxy cardboard.
3) Flip the cup stack over, and we have our basic tower. Around the base, I glued a thin layer of cereal packet cardboard. I left one of the cup edges exposed for a little decorative feature ridge. A door hole is cut into the thick base wall.
4) To leave open the option of using this piece as a Martello tower, we can use the base of one of the cups (now on the top) as a firing platform. The parapet needs to offer some protection, so I cut through several of the bases to get to one of the cup bottoms which is suitably below the rim for a 28mm figure. The exposed internal edge isa bit messy, and the parapet wall too thin for the scale. A piece of thick corrugated core card is bent into a curve and glued to the inside of the wall to provide some thickness.
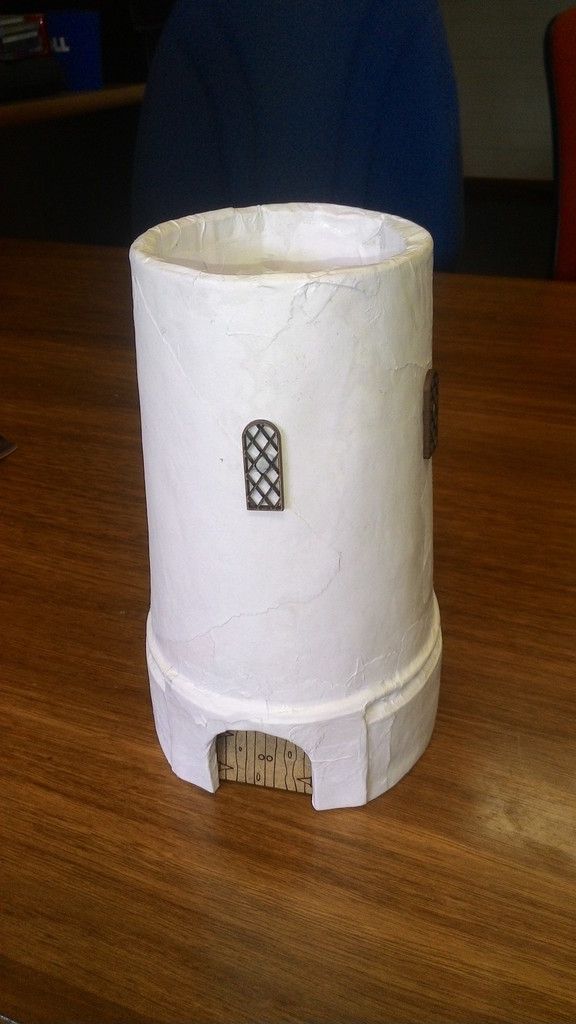
5) The entire exterior of the cup/tower is covered with several layers of white photocopy paper, glued on papier-maché style with PVA. The pieces are torn to a rough shape - ensuring no straight edges - before being glued. This not only covers the hideous lurid printing on the outside of the popcorn cups, it also adds strength and texture, the visible ripped edges suggesting layers of stucco or whitewash applied over the years. In this picture, the window frames (from warbases) are temporarily stuck on to check for placement:
6) This will be a tower windmill, in which the top wooden structure (a conical roof) holds the main sail shaft mechanism, and can be pivoted around. This makes construction simple, and allows the entire top to be removed to allow the tower to be used as a simple....tower. Looking around for a cone, I remember a nice solid plastic cone salvaged from the top of a used-up Sweet Lu toilet cistern deodoriser

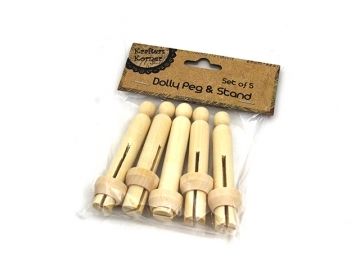
The cone is glued to a disc of thick card cut to the diameter of the tower rim. Flat pieces of craft coffee stirrer are glued on to extend the cone. A space is left for the drive shaft, a craft "Dolly Peg from the $2 shop, which slides into the plastic cone and held in place with friction. The peg hold in place but can be removed for transport, and the sails can turn.
Dolly pegs:
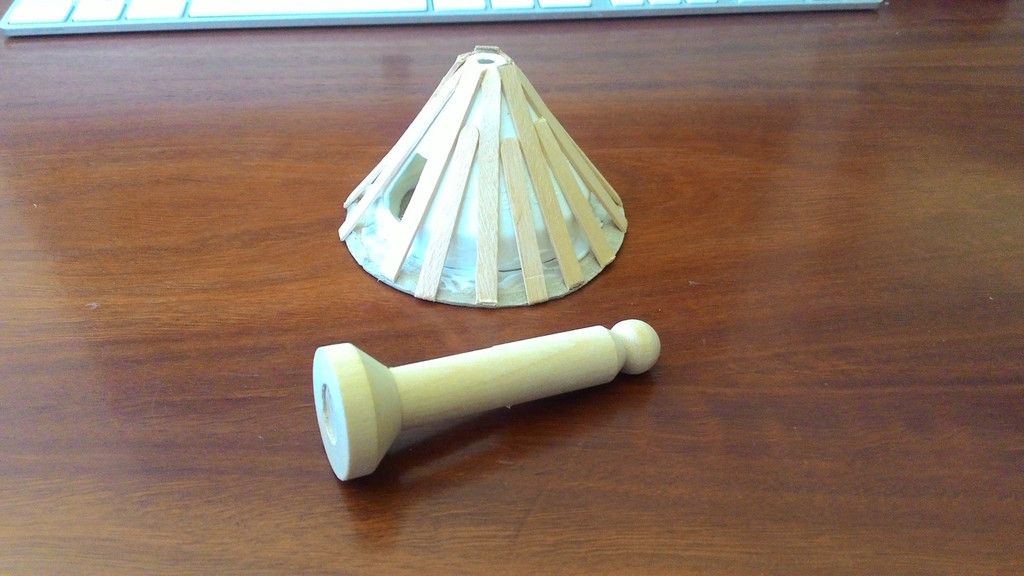
7) The completed cone structure.
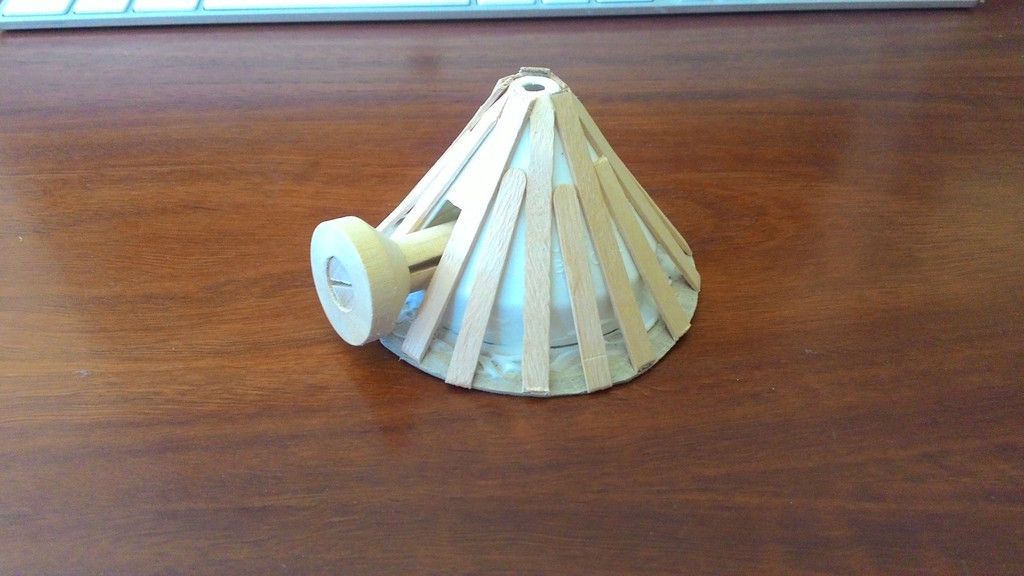
8 ) The cone is clad in card shingles cut from a cereal packet, and embellished with the sawn-off top of another dolly peg. The whole roof is sprayed black, and drybrushed. The sails are made from tongue-depressors with the rounded ends sliced off, and glued cruciform onto the base of the dolly peg, A few minutes with MS Word graphics, and we have some 2D sails to glue on to the tongue depressors (both sides) they are solid - as opposed to a open framework of timber, as a nod to transportability and ruggedness. I may revisit this at some point. On the bottom of the roof cone, I glued a plastic lid to insert into the tower rim.
9) The tower is then painted with patches of stony coloured paint, and doors and windows from the helpful folk at Warbases add detail. Theres no tail pole (the angled beam used to steer the turbine into the wind) on this one, but its close enough for me. Were finished with about 30mins to spare before I pack the car and head off to the club
Here is the windmill disassembled for transportation:
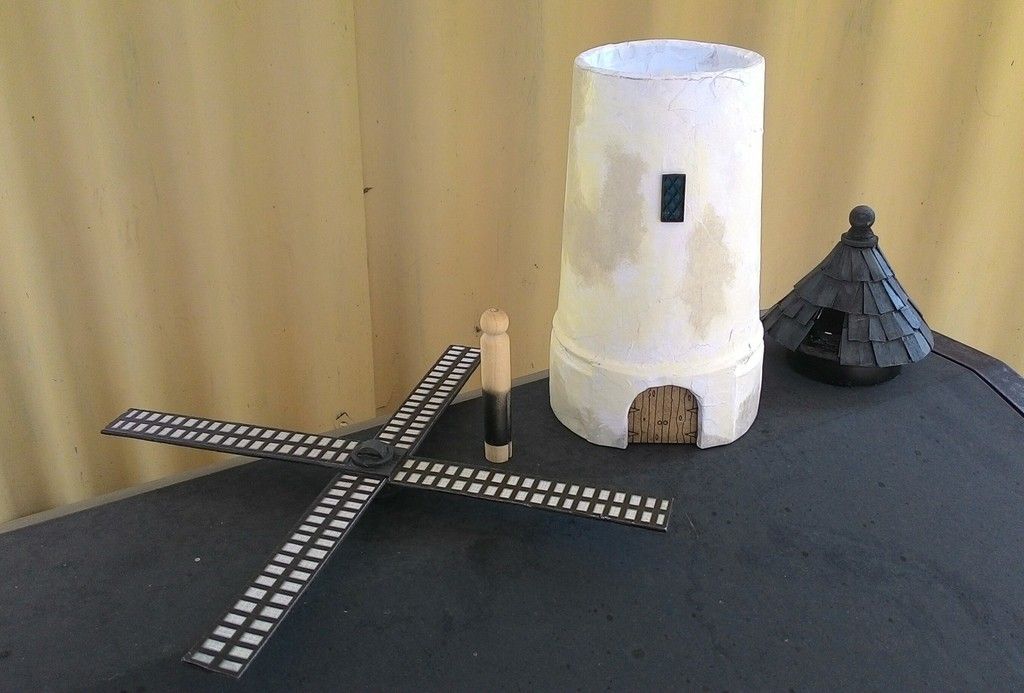
10)
and assembled ready to face an onslaught of Don Quixotes:
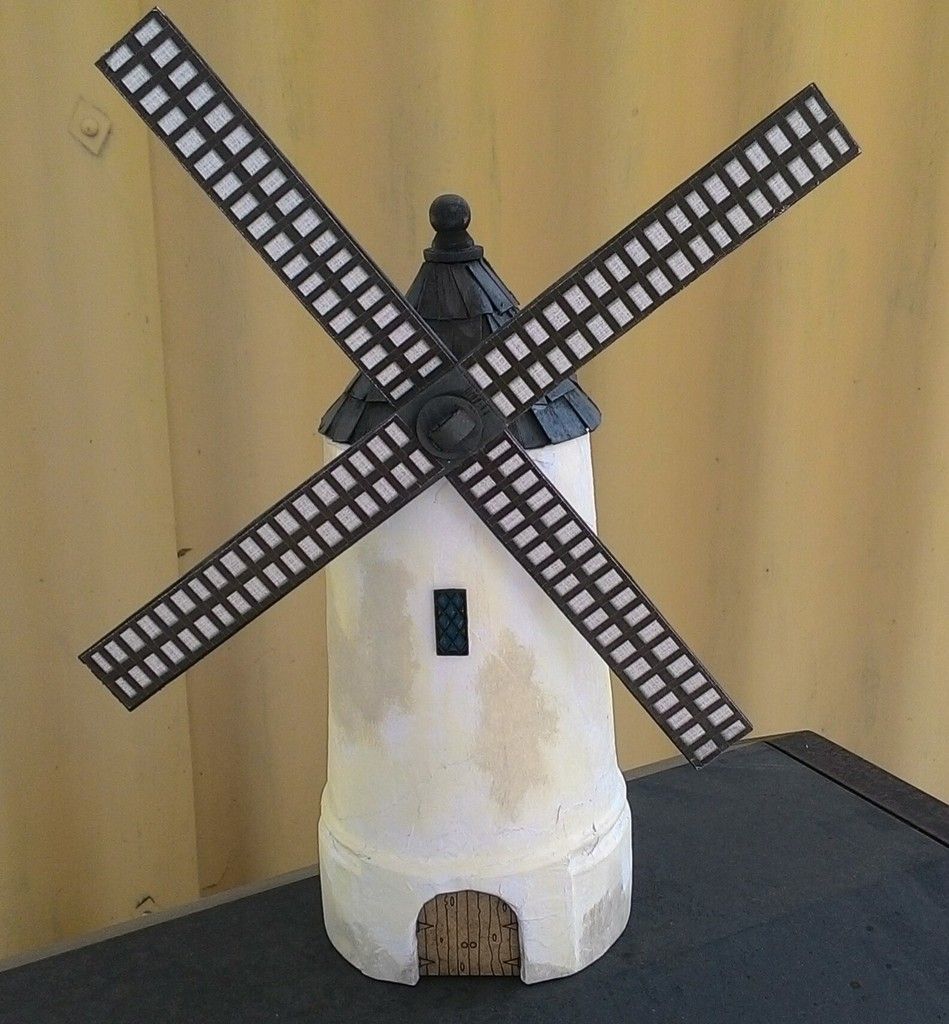
11)
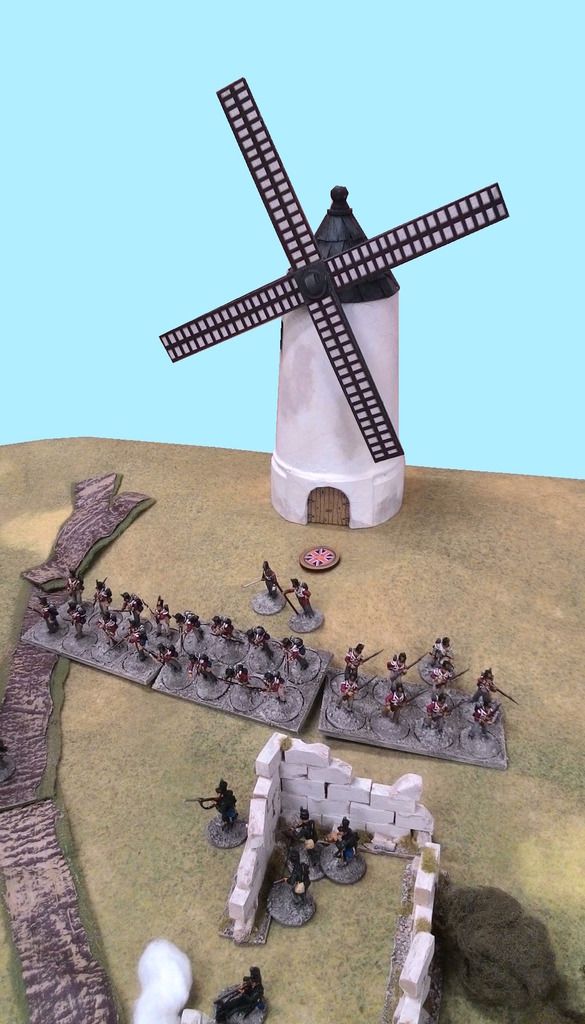
and finally here being defended by some British Light Infantry. (note that the windows werent affixed in this image):
I'll probably go back and add some more detail, add a base and perhaps cut some crenallations around the tower rim so that it can be used for other
non-windmill purposes (a lighthouse? a Martello fort? a Napoleonic signal tower to be stormed by Red Coated Royal Marines?)
Hope this inspires or adds some ideas.
Graham


 Welcome, Guest. Please
  April 29, 2024, 02:47:07 PM


