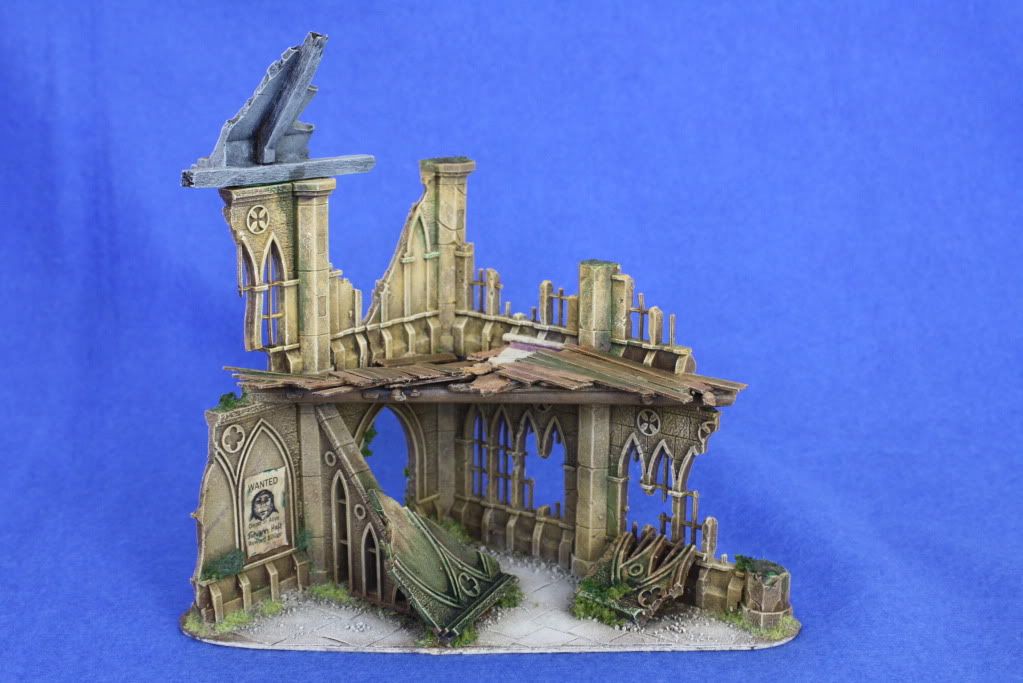
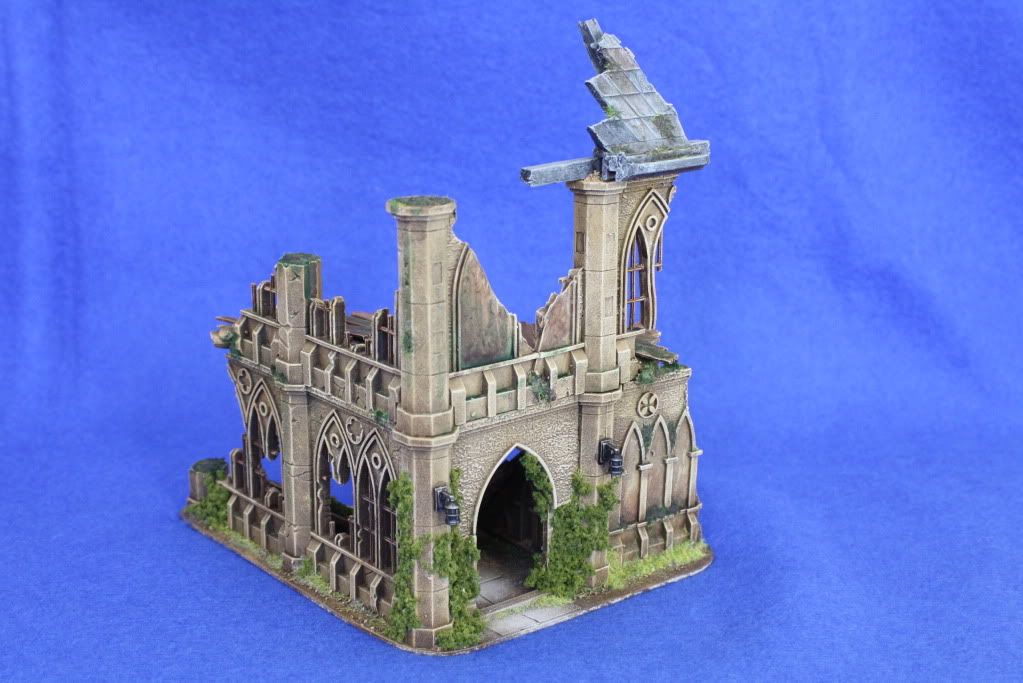
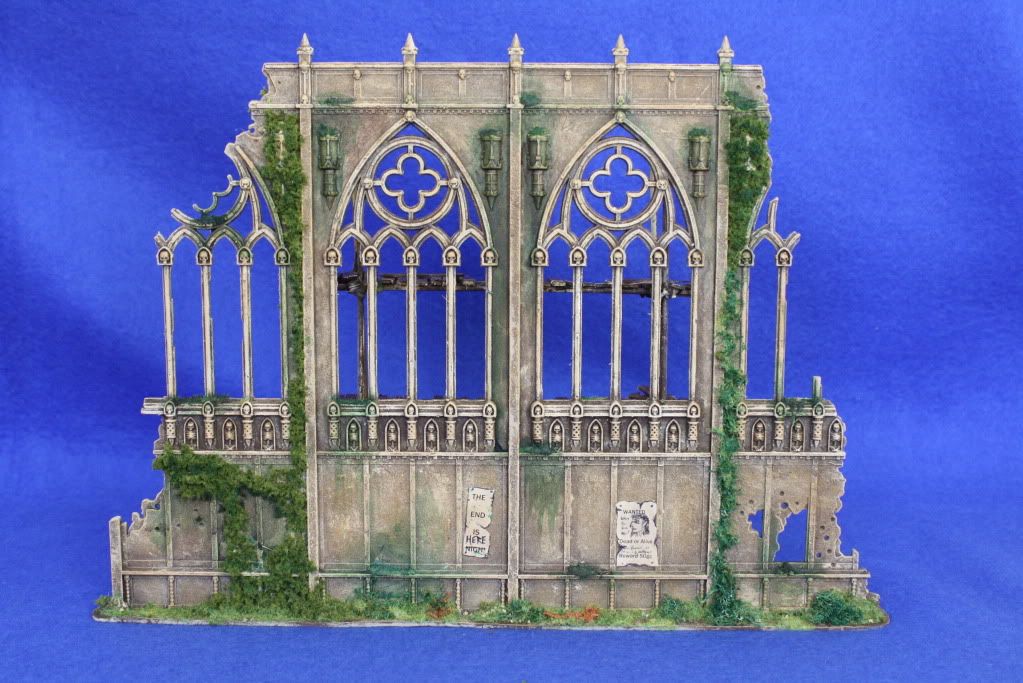
Dont know if this will help, but I used these colours to colour my church pieces;
For buildings of this size I use a huge cheap stiff-bristled brush.
I guess a standard large brush would do, but as this brush cost next to nothing and it is pretty tough I have persisted with it
First, everything is painted in Burnt Umber acrylic craft paint. Again, this is because it is cheap. It would cost a fortune to coat something of this size in Vallejo or GW paints.
The stone areas have been progressively drybrushed with the following stages;
1.Burnt Umber craft paint and GW Tau Sept Ochre 1:1
2.Tau Sept Ochre.
3.Tau Sept Ochre and GW Iyanden Darksun 1:1
4. Iyanden Darksun.
5, Iyanden Darksun and Vallejo Foundation White 1:1
6. Final drybrush of Foundation White.
The main thing is to make the layers as gradual as possible. The first layer of drybrushing is done quite heavily to brighten up the model to achieve a lighter effect, but after this initial drybrush try to keep it gradual and be patient. It may seem tedious but I find it is worth it.
This takes a long time, but I usually do these stages while watching TV to avoid going stir-crazy!
(The other, smaller sections of the church that I have were done with less layers and it shows! They appear much lighter, and not as good IMO).
Once the drybrushing is complete I then added various GW washes for weathering.


I work in a sandsone building and used that for inspiration.
You could always replace the GW paints for cheaper acrylics of a similar colour for large pieces. I have done since finishing the church!
Hope this helps!