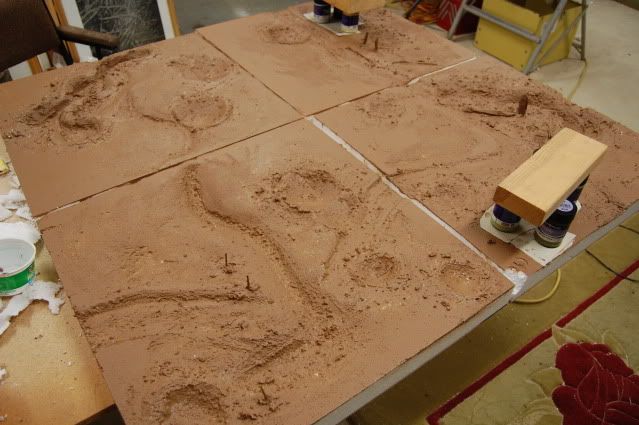
So, the next stage. I cut some of the height from the craters and roughened them a little as they were too perfect in shape. That looked a little better. The tops of most of the craters were about between waist and shoulder height on a miniature.
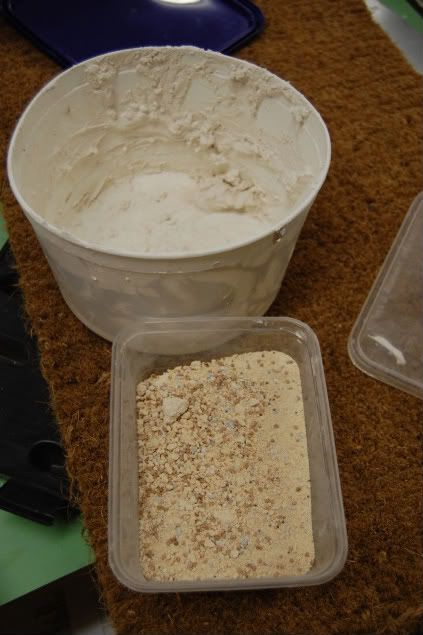
For the next step i wanted to fill the gaps left around the bases of the craters where they were bonded to the boards, and also add some texture. For this I mixed up a load of filler with a couple of handfulls of crushed limestone from my garden (plenty of that in Western Australia)
,
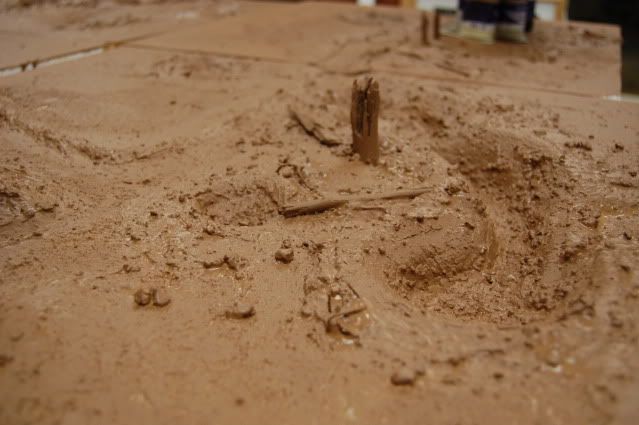
The advantage of that also was that as bits broke off the boards (as they invariably do as people drop tape measures) they would still show as white underneath. I applied the mix by hand and with a 1" brush, brushing outwards and up from the centre of the craters. This would I hoped give the effect of the great big slabs of rock being thrown out while the smaller pieces remained. I added some pva to the mix as well to give it some plasticity.
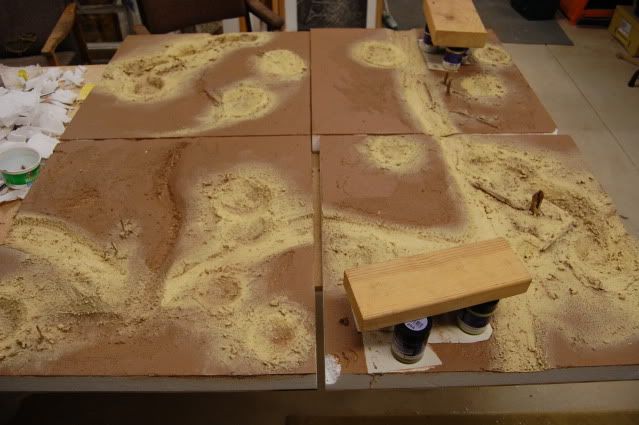
When that had dried I gave the whole thing two coats of paint. The colour I chose was a medium brown again mixed with pva. Basically the Somme sits on chalk covered by topsoil. As the shells hit they will burrow down through the topsoil and gouge out the chalk, leaving a mixture of the two at surface level, so even the mud would have a lighter shade.
When this had dried I decided as an afterthought to put some cobbled sections down as possible farmyard entrances or barn annexes where heavy machinery might be left without bogging. I used plastic sheet cobbles that I had picked up for half price some years ago and still have stacks of in the shed. I will do the edging on them later so that they blend in better.
Then time for the next coat. This was a caramel colour..the mid tone for the chalk areas which include the shellholes and the laneways. The drain will be kept as a darker soil colour, assuming that this would mostly be comprised of clay. As the mid brown coat had not yet dried in some areas it began to blend in and create mid-tones that I quite liked. I hair dryed it and gave a second, more drybrush coat.
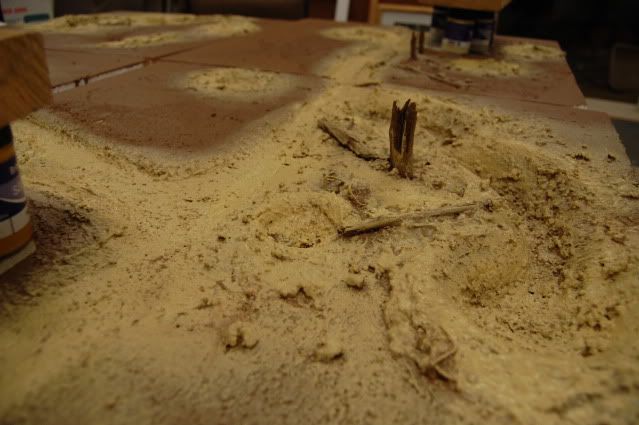
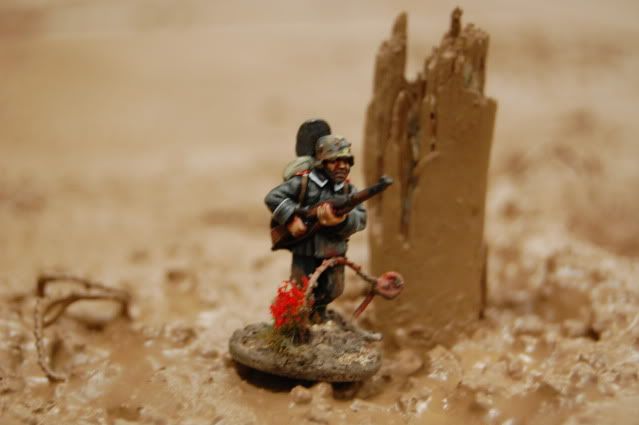
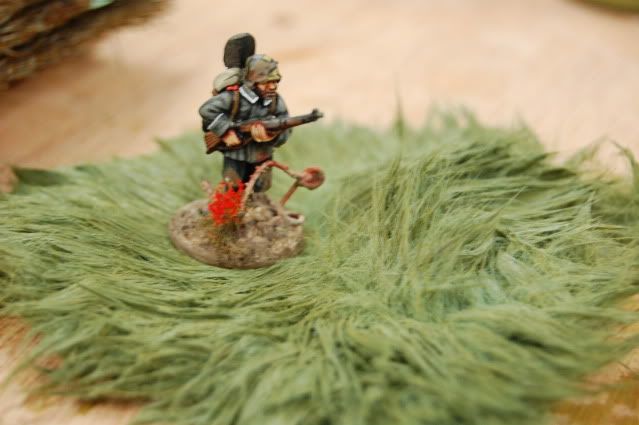
I keep checking scale as I go along. Here's a Stormtrooper to gauge scale. It looks about right to me.

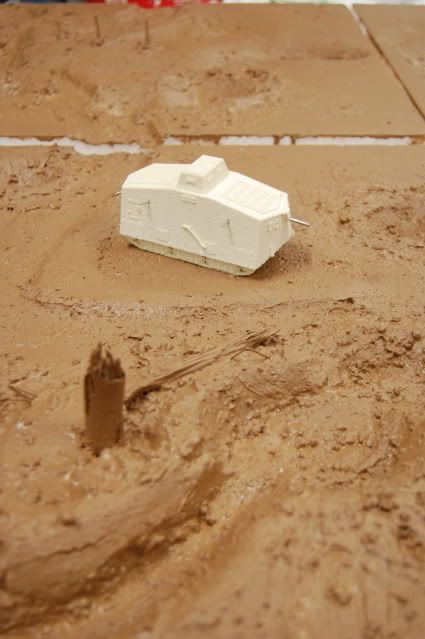
And here's the A7Z:
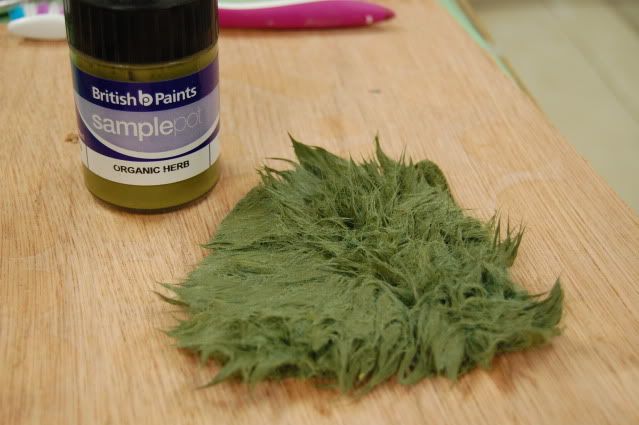
With the caramel down I had to let the whole thing dry, so I decided to experiment on an idea for the grass. I liked the effect of the long grasses done on the boards featured in the Great War rules and wanted to get something like this, but possibly also some wheat fields as well. I had shot down to the local fabric shop yesterday and rummaged around their fake fur section until I found something that I thought reminded me of tall grass. Only problem...it was BLUE. Oh well. I bought half a meter to test it.

So I dipped a small piece in a pot of paint thinned down with water..probably about half and half. I squeezed it several times so that the colour really did saturate it. Then I laid it flat on a piece of plywood and used a wire brush and a toothbrush to play with texture...brushing the grass flat or almost flat in differing directions to give the effect of being knocked over by the wind, shell concussion or trampled underfoot by soldiers perhaps. Here are the test pieces anyway, again with our friend the stormtrooper to add scale.
I won't know if this has truly worked until the morning when it is dry. I really want grass that holds it's shape (partly for drybrushing in the next step) but is still supple enough to 'settle' slightly under the weight of a figure, or else it will have practical problems for gameplay! If anyone out there has tried this method and has tips please advise!
So with everything drying I called it quits for the night..


