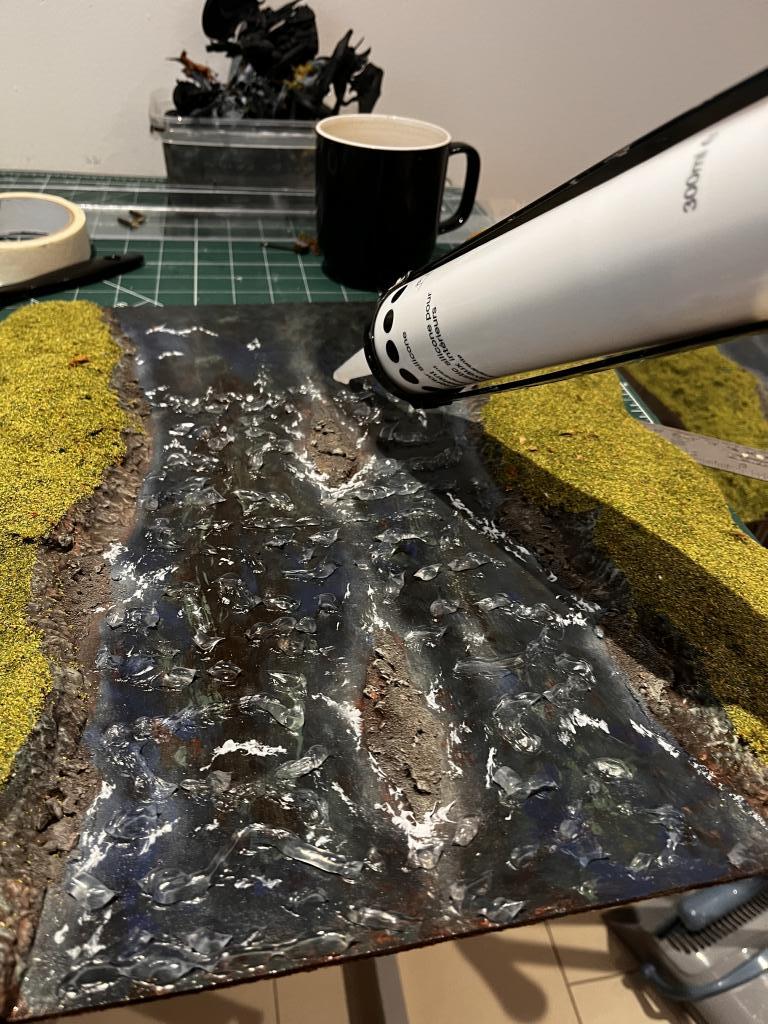
So, with the liberal amount varnish dry, we are ready to add water effects. The river section should look something like this before we start. Ignore the flocked embankments. You can do the ground work at anytime. Just don’t do it while some of the stages of doing the water are still waiting to dry.

To do the water I use white and clear silicon sealer, and then more of the varnish.

Start by using a toothpick or other point tool(here I use a sculpting tool) and use small amount of white sealer to make little waves and ripples. You could make ‘v’ shapes past any obstacles in the water or maybe beside some of the rocks or outcroppings on the embankments.

Next, use the clear sealer in a silicon gun. Run lines from left to right all the way up and down the full length of the river. Anywhere we apply this if going to produce rough looking water. If you want a smoother, less turbulent area, just leave some of the surface free of sealer.


Next, use a toothpick/lollipop stick/sculpting tool to push the clear silicon around. Flatten it down in places, sculpt waves and generally try to cover the whole area.

Wait for all of this to dry and apply another coat of varnish.
Part 3 will cover the ground work.