Finally sorted and edited my pics from the game. Just like to add my thanks to everyone - it was a great day out and a very good game - nice toys and terrain, good humor and no biteing or scratching; what more could a chap ask for!
Here's a Khosindan take on the battle:
Claims of a British victory in the first major land action of the Atlantean campaign are now coming under scrutiny following the release of new photographic evidence to the contrary. 
Post battle dispatch from Willie Gofharr, ADC to Rudi von Bismark;
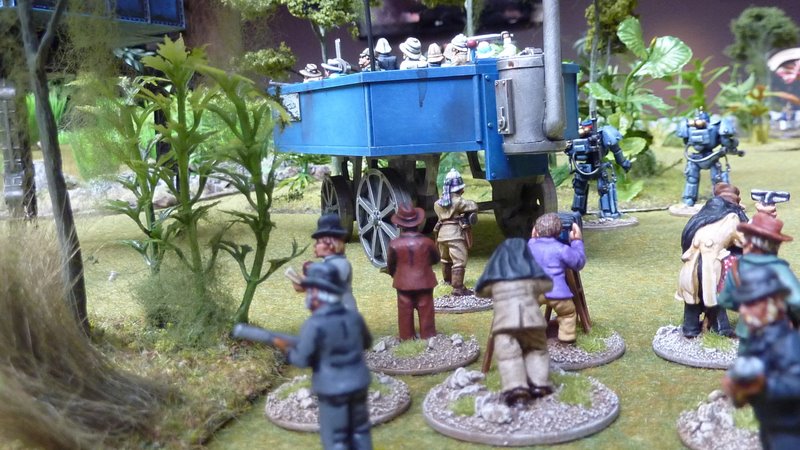
The Khosindan agent Iyam-Ah-Zpy successfully infiltrated the British press corp (seen here under the cover of his camera)
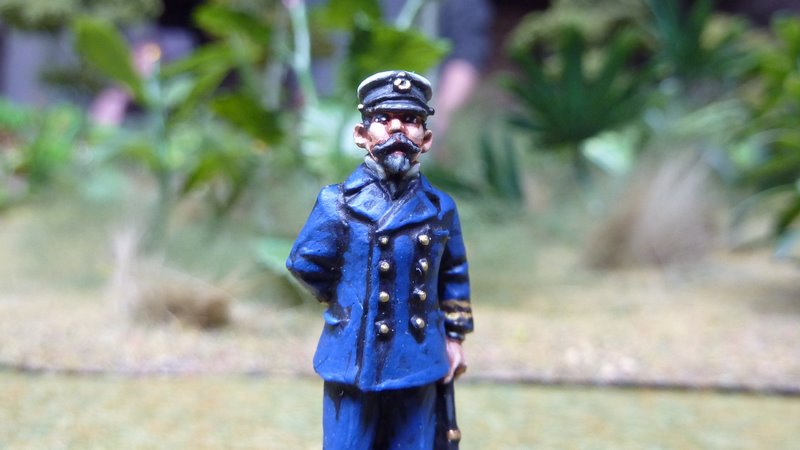
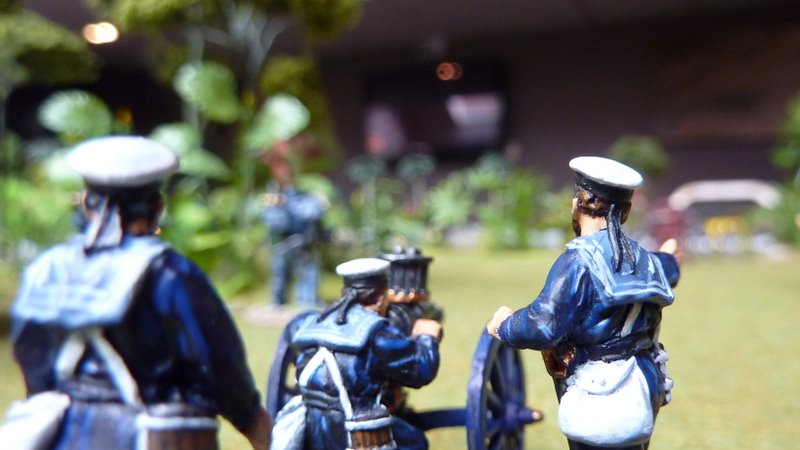
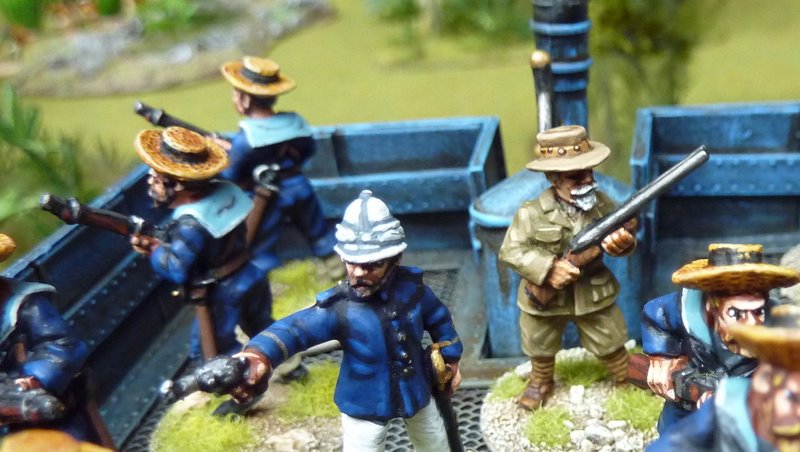
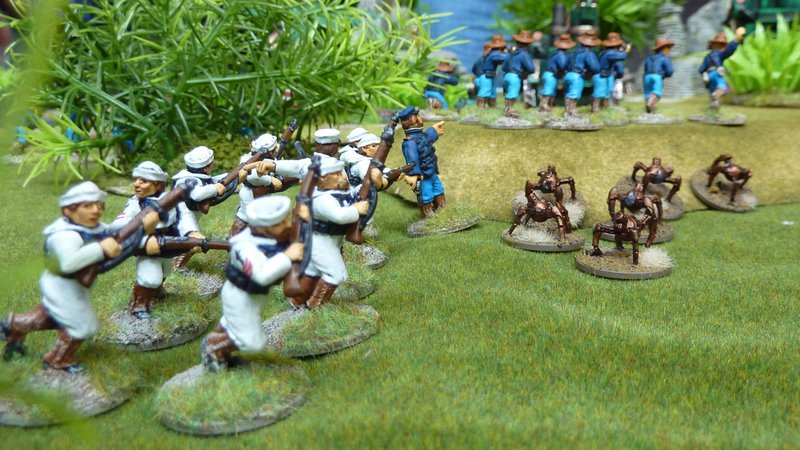
British Officer poses for Iyam's camera before the fighting begins
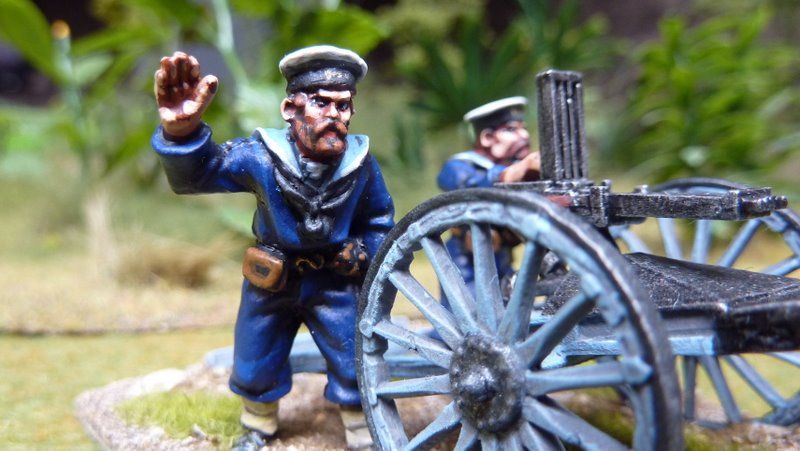
British seaman waves to the camera - this unfortunate individual was later killed by the Atlanteans
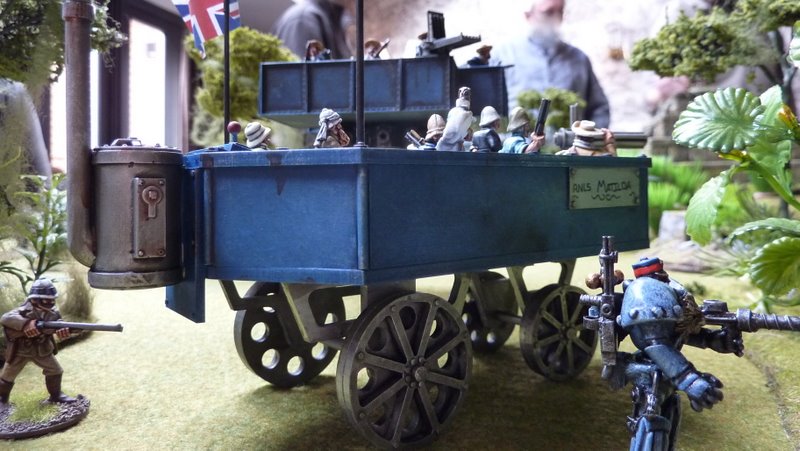
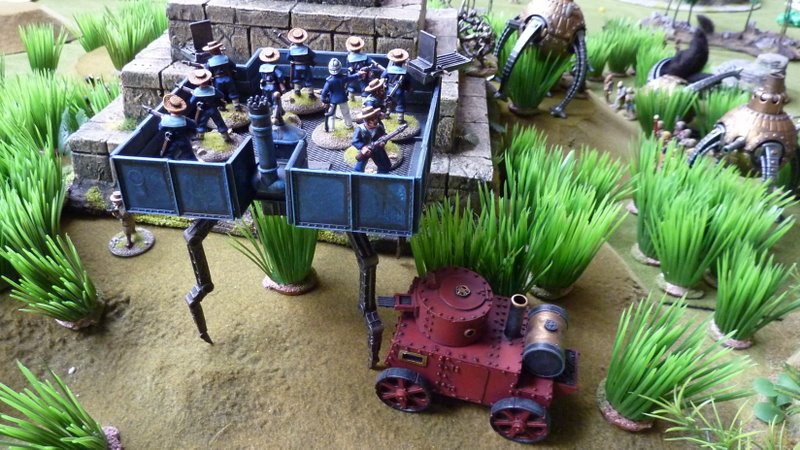
Steam Carriage used by the British expedition - sketches and addtional photographs of this vehicle have been sent to the Dirka Dirka Industries R&D department.
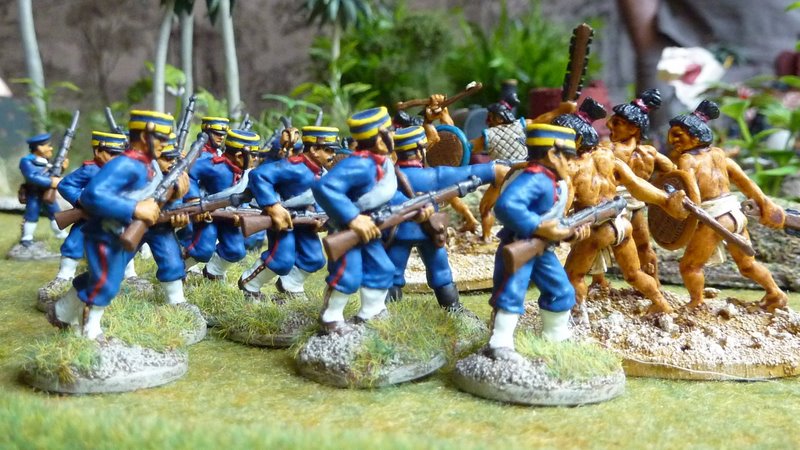
Machine gun crew set up in the ill fated British lines
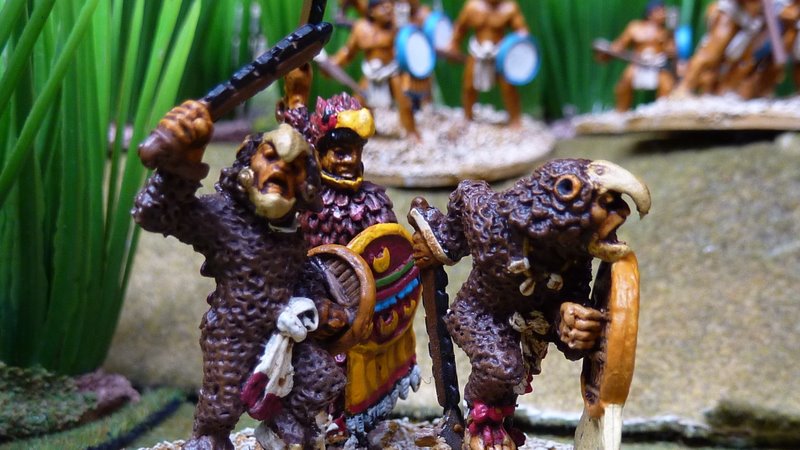
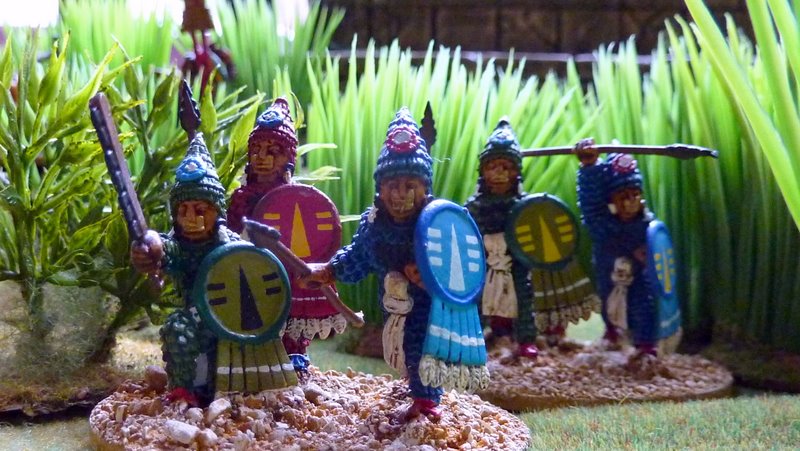
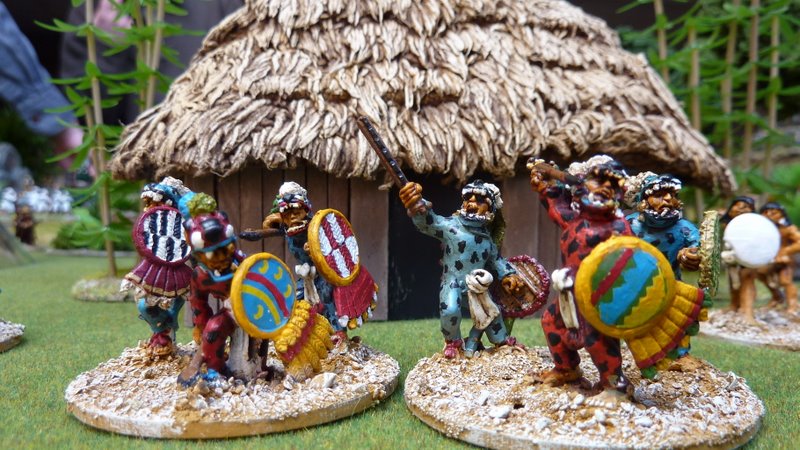
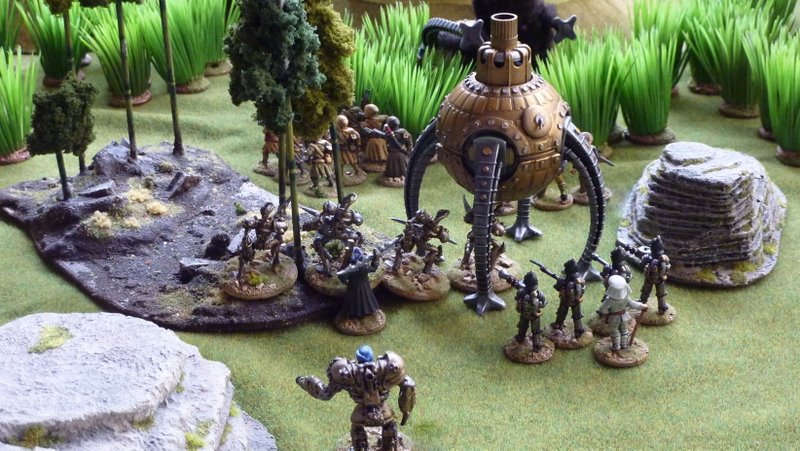
Various photographs of the local Atlantean forces showing primative weaponry and outragous costumes.

British confidence was so high that they relaxed security, allowing Iyam-Ah-Zpy to board the walker carrying Quartermain - unfortunately Iyam was all out of curare tipped fountain pens so was unable to dispatch the infidel at this point.
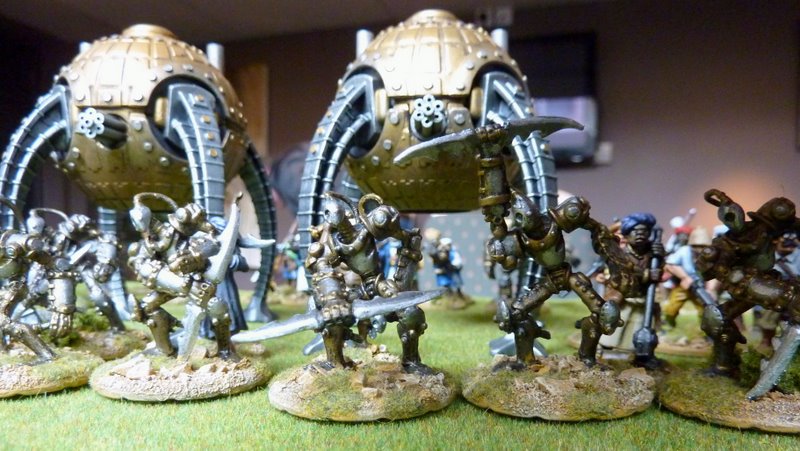
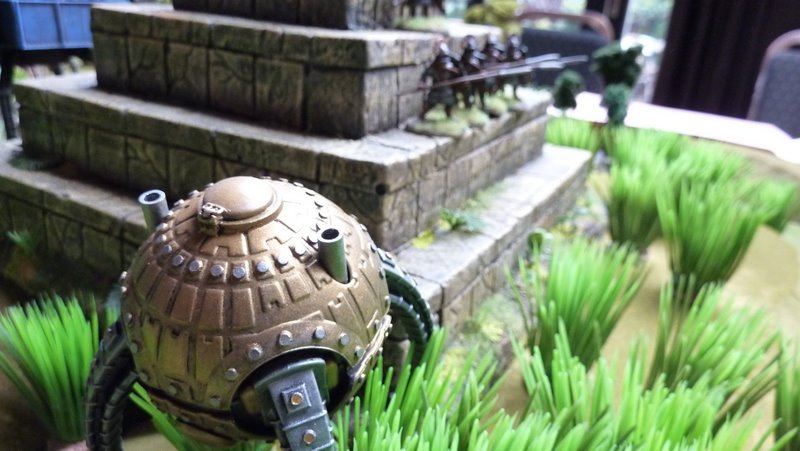
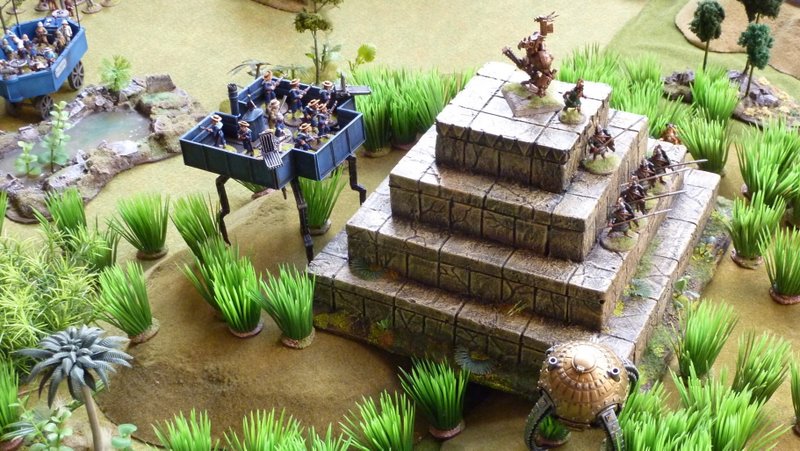
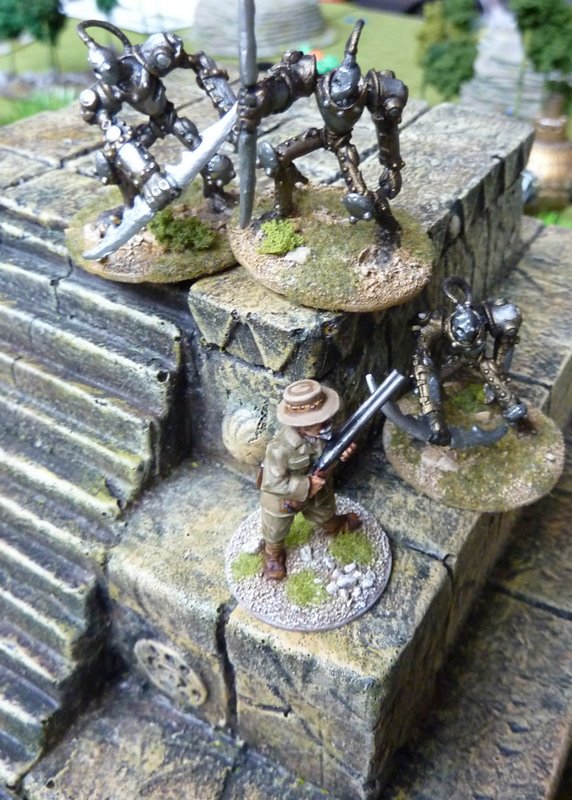
Our glorious Dirka Dirka 'Dervish' automatons supported by MkII 'Namer' walkers advance towards the temple
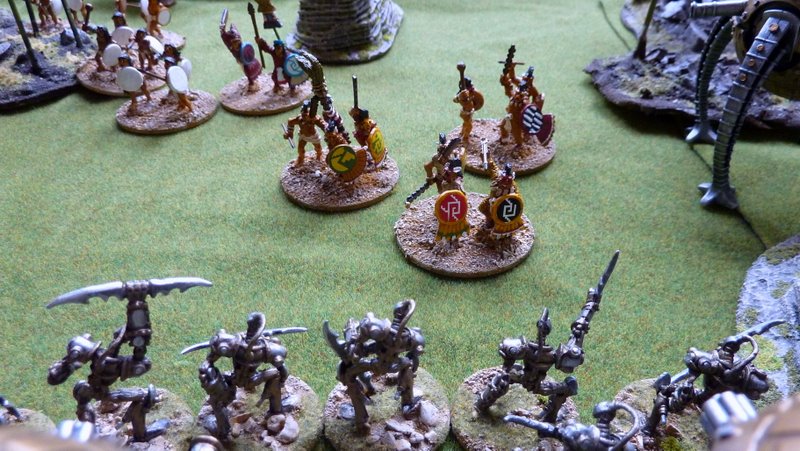
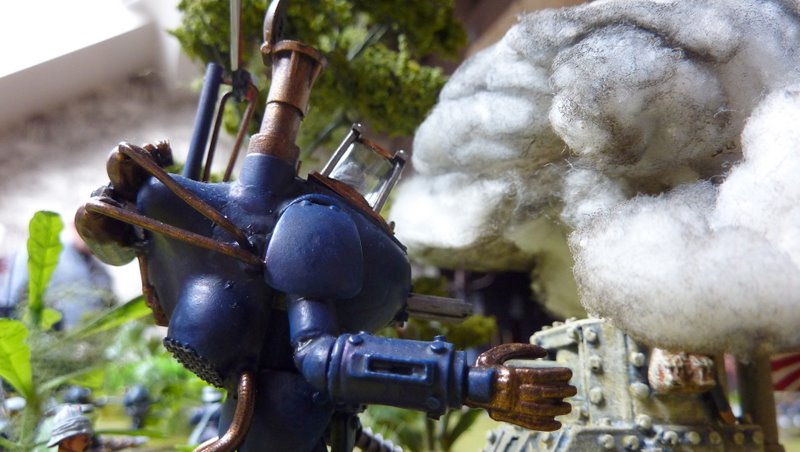
The intial Atlantean assault is repulsed by withering fire from the walker's machine guns
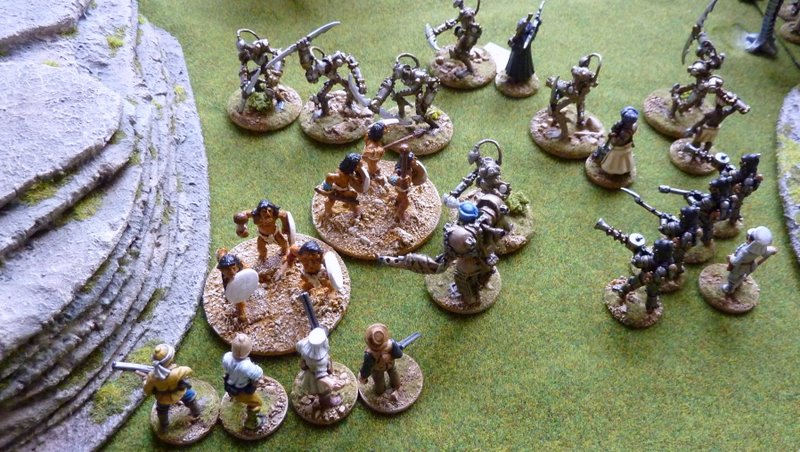
The remaining Atlanteans are mopped up by the Automatons and German Officers (on leave).
Having replused all the Atlantean attacks, the Khosindan forces and Sanwar allies press home the attack on the temple.
Elswhere on the left flank the Japanese forces are making short work of some of the locals
The British tangle with the Japanese forces and an airborne lancer manages to blow himself up during an attack on a tank
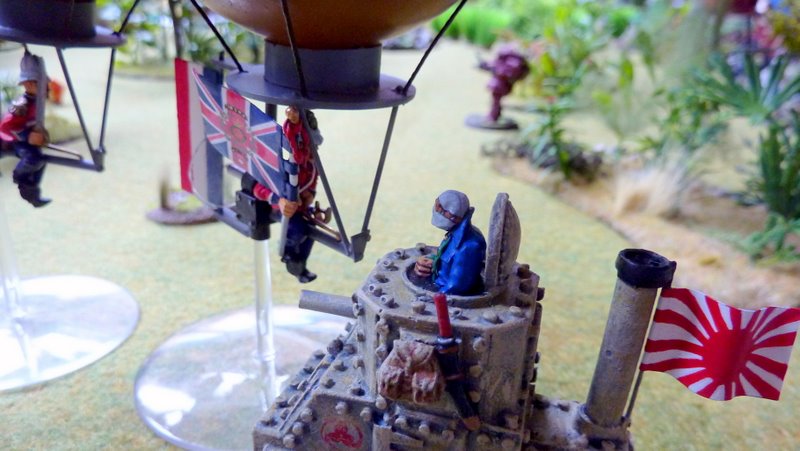
A British heavy walker also engages the Japanese armour, but with more success
Elswhere on the battlefield, American marines and sailors are preparing bombots that would later disable one of the Khosindan walkers.
Mk II 'Namer' walker approaches the temple pyramid and opens fire on the temple guard.
Having spotted that the temple guard are occupied fighing the Khosindan walker, the British sneak up to the back of the temple.
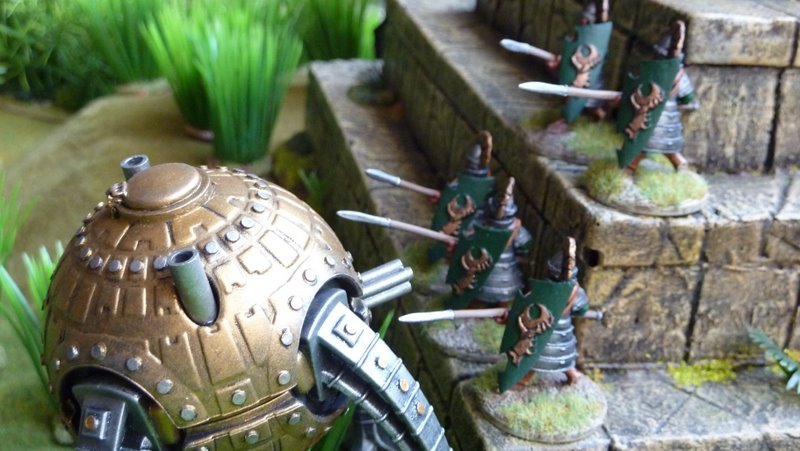
The fighting at the temple intensifies as the guards try to close assault the walker - an action that results in the death of more guards
Meanwhile at the back of the temple, the commander of the Japanese armoured car is so insensed by the sneaky and dishonourable activity of the British that he rams their walker! The impact causes Quartemain to be thrown from the vehicle to the foot of the temple.
The remaining 'Dervish' automatons, now separated from the controller Mustapha Ham-Ah and his assistants So-Khet and Ra-Chet, are running on their basic program. This 'advance and engage' instruction results in them clearing the last two temple guards en'route to the top of the pyramid. As they reach the top they meet Quatermain climbing up (sneakily) from the other side. The encounter does not go well for the infidel Quatermain, who is quickly cut down by the automaton's whirling blades.
At this point the sun is setting and the battle is all but done; a priest and a foot soldier are the only remaining Atlanteans on the temple. The Khosindan forces climbing up to the top are almost wiped out by a final British shell that lands on the temple, leaving only one Badmash remaining alive. Out of photograpic plates, Iyma retreats to the Khosindan camp under cover of darkness.


 Welcome, Guest. Please
  April 27, 2024, 05:42:35 PM


