Just finished the roof ( cutting out the shingles was a real pain!!!!!) and dormer windows.
I will post some pics when I can handle the roof ( still wet).
Thanks for the comment about the interiors. Hmmm... a tutorial... Really hard to do without quite a few pages.
Most of the stuff I know is purely self taught and not the "Proper Way" of doing things.
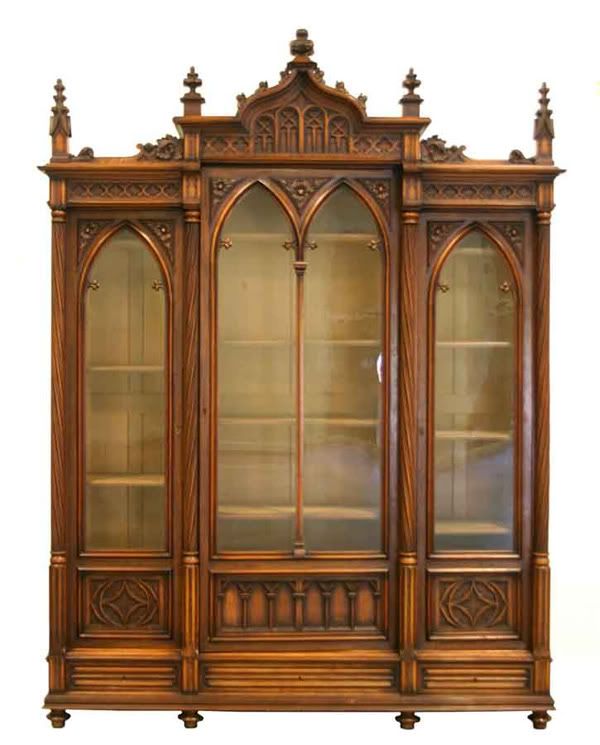
I basic terms If I want a particular item, say a bookcase for instance, I trawl the net looking for a suitable image ( making sure their are no copyright issues!). I cut away any background features using photoshop and use the colour settings to get the desired tone.
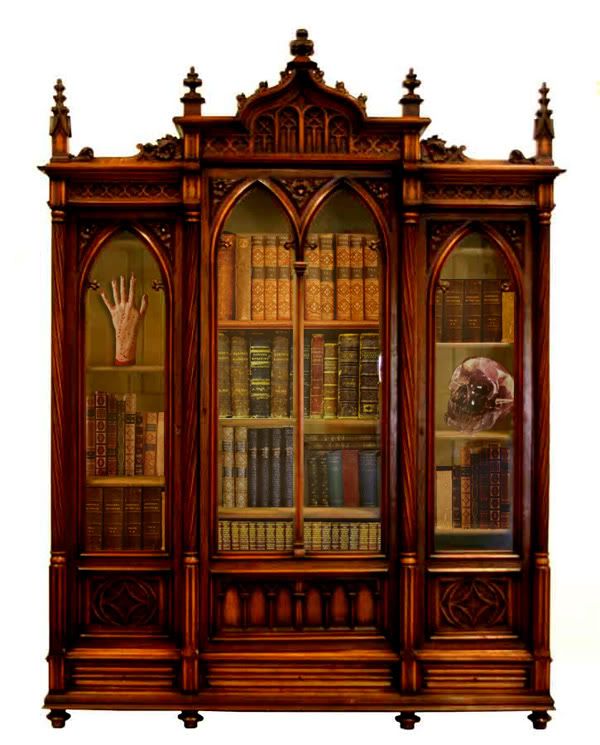
The difficult part is if I want to have items inside others. This means I have to create several "layers" using the same image, cutting out portions of the front layers so items behind remain visible ( keeping bookcase doors solid but cutting out windows). To maintain the effect of the items being behind glass I had another layer but increased the image's transparency.
One the item is all together it's then down to lighting. Photoshop allows you to create "Global lighting" so the items conform to a set light source wihin one image. You can also create spotlights to highlight certain areas ( like the glow of a lamp.) Finally you can create shadows if a layer is placed on top of another to create a 3d quality.
Not much help I know, I findit easier to show someone rather than explain it.
Here's an example of the bookcase in the Magick Shoppe.
The first image is raw straight off the net:

The next image consists of about 20 layers, including books a crystal skull and a "hand of glory":

A real boon to me was a simple tutorial book and some pointers from my brother ( his skills are astonishing and well beyond me).
Regards
PM