Well, almost...
A very good friend of mine is almost getting back into the hobby, after a long hiatus playing card games and such.
He used to be a big Confrontation fan (aren't we all? Best game ever...), so when they folded he got a bit sad and left the hobby.
However, now there's a great new game, with a lot of influences from Confrontation and it's called Bushido. I'm fortunate that another firend (Henrix) is a reatainer for this game, since it was after his great demonstration at Gothcon during the easter, that I got bitten (together with about 30 other folks who emptied Bushido stocks...) and decided to get my other friend playing...
I was a bit lucky that I had a 2x2 board at home already. And I planned to have double use with this board (Pulp and Bushido).
So step 1; Groundwork:
In the past I've been sanding, doing fillers and just painting. What I've learned from this is that it looks rather horrible when play on the surface afterwards. And to be honest, I've could have done with a normal green mat and just be satisfied with that. I've been doing some other board constructions, and on those I've been doing plaster, which I've stippled about half an hour into the process to create some texture (I will explain this techique later on).
Now I wished to try yet another idea I had, so I set to the task and mixed some umbra paint, filler, sand, some small rocks, pva and water. It looks like bad porridge when your done (or other things that might leave your body during the flu). I just smashed it on the board and set to the task of leveling it with a spatula and a large paintbrush. (Got no pics from this, sorry guys)
When the mix had been evenly spread over the board, I waited for about 20 minutes, before I stippled the whole area. I do this first of all to create some irregularity. But also to make sure that there aren't clumps of filler, since that would really mess up the gaming board in the future due to it being rather porous.
I wait another 10 minutes before I take a wet paper towel and gently push back most of the stippled stuff (otherways it would look like a cave floor made out of stalagmite).
After that I start sprinkling some sand over the board. Both coarse and fine sands.
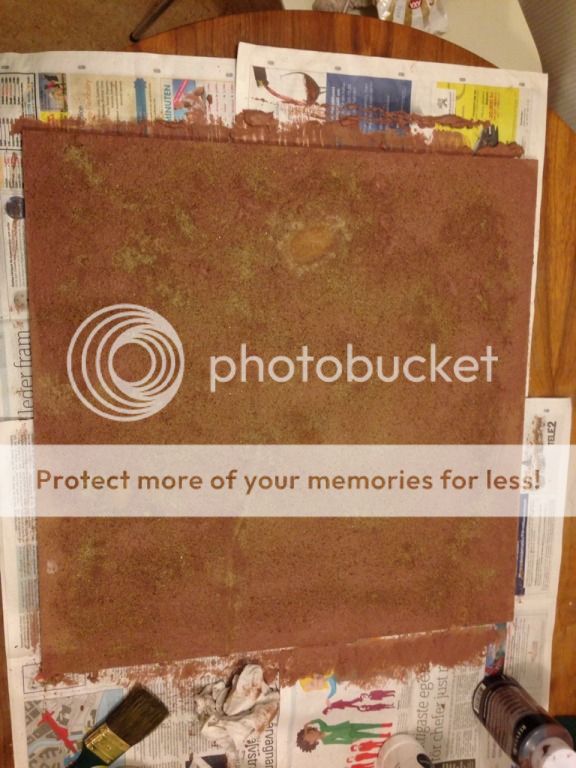
I wait another 30 minutes and then take a dry paper towel and press the sand into place. I also decided to have some puddles. Mostly since I found some big pieces of unmixed filler and had to remove them rather later on. I solved my "Oh fuck!" with a wet paper towel that I used to form the puddles.
Then I wait for about 24 hours.
It should look like this afterwards:
Now it's time for the "less then a day" part

Step 2: PVA+Water in a floral spray can and just put it on the board to ensure that the sand doesn't come of. This usually takes ten minutes before it's fully dried.
Step 3: With the board fully dried, and it really needs to be fully dried, otherwise the plaster will play havoc with your board and it will warp beyound Federation Space if you don't wait the full 24 hours, I just threw on some umbra and other browns. While they were still drying, I took some very watered out green colours and put here and there on the board. This gives the board a more diverse colour, and it looks a bit more natural than just one version of brown with drybrush on it...

Step 4: The paint dries in less than an hour. This give you time to prepare the following:
A floral Spray with PVA and water.
2-3 versions of flock and 1-2 versions of static grass.
A cup of tea.
Some painkillers when the headache kicks in.
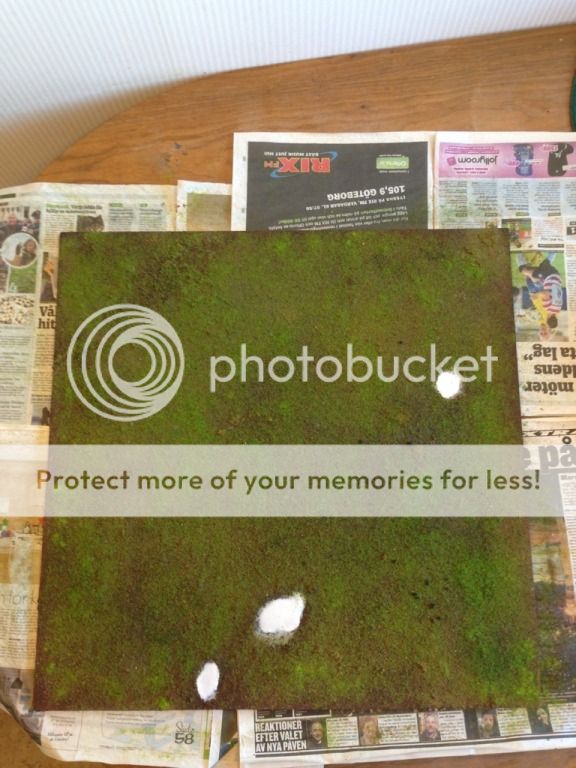
Step 5:
I can't really explain this step since the amounts of painkillers I took for the headache took me somewhere where Hendrix was playing "Watchtower" on and on. But, I sprayed, sprinkled on one version of the flock, sealed it with some more spray, sprinkled some other flock and just continued this way. I just did this for about 30 minutes and the sealed the whole board with yet another coat of PVA and Water. It looked like this then:

Step 6:
Wait an hour. Then take the floral spray can again and fill it with watered out browns and greens. Gently spray the whole board for some more depth and variation. Should look like this afterwards, or even better if you don't have to run around chasing pesky children during this process... I also threw in some PVA into the puddles to make them even.
Step 7:
I gently drybrushed some parts of the grass with some bleached bone. Also painted the puddles with some browns. I took the picture below to demonstrate how nice and uneven the board looks with this method. I also threw on some flowers and such. I stopped after four when I realised that this board will be used when we drink and game. Not the best combination when you want to do extra detailing..
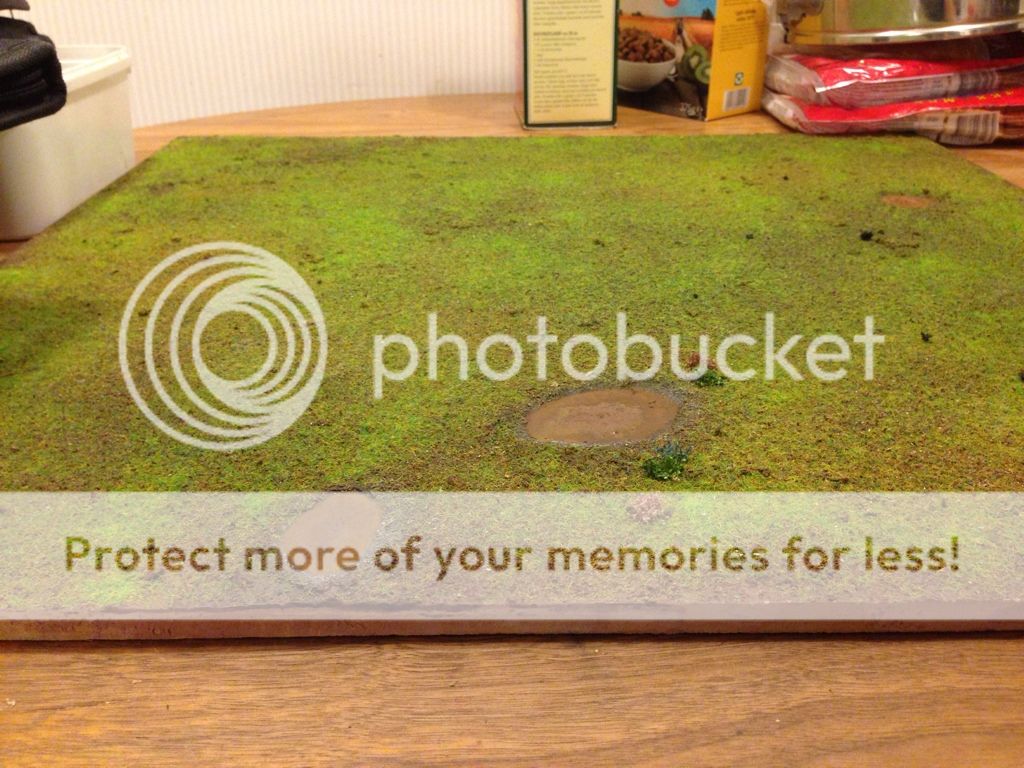
And from above (with no focus):