Hi all
I finished a few Italeri houses off for KGN and CoC a couple of years ago and I had some spare bits and pieces, so I decided to scratch build a farm in 20mm.
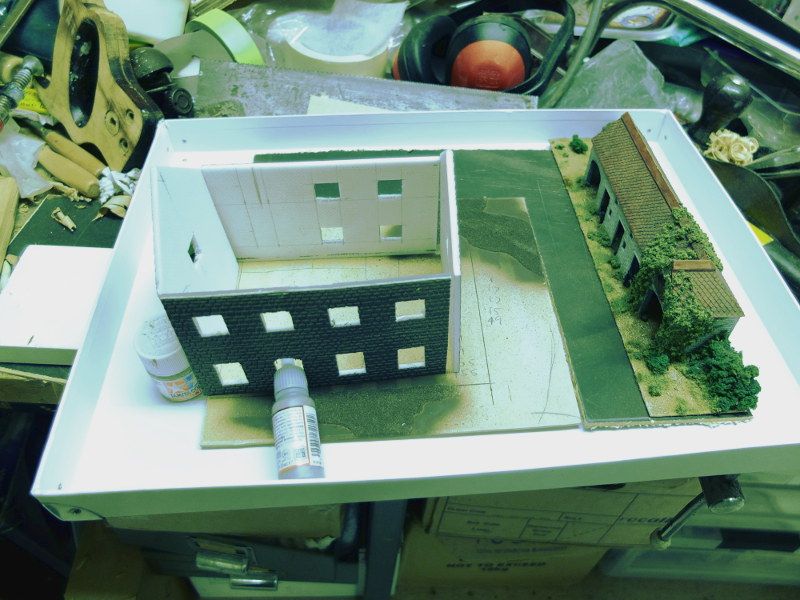
The plan was to have a large farm which would be a centre piece of a table and a good excuse to fight over. I used the Italeri Stone buildings as a size reference so it would match my other buildings, and I already had a Gamecraft resin roof. the base is actually 2 pieces so i can use the farm as a standalone piece or the larger farm but I kind of stuffed up with the main gate placement! :roll:
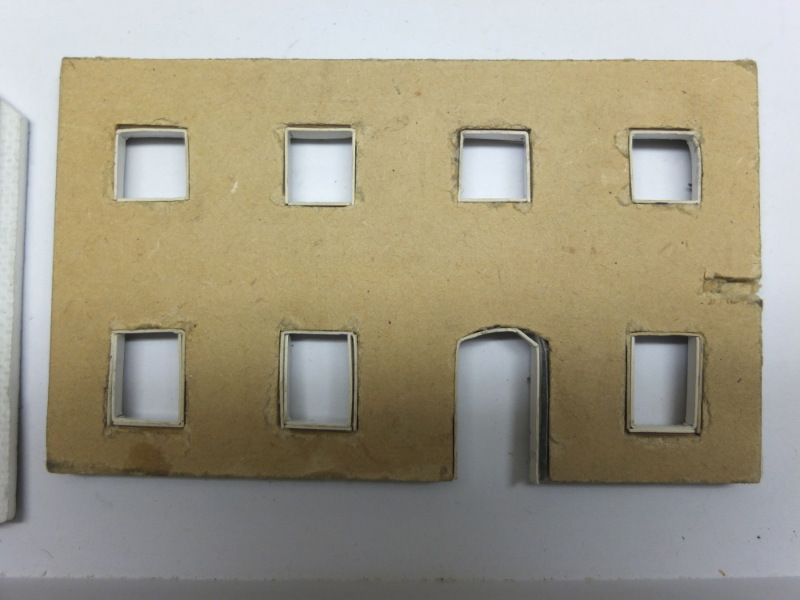
First cut up some 3mm mdf and some foam brick work i got from a Model railway shop. The plan was to laminate the pieces together but it makes building it complicated especially cutting out the windows accurately.

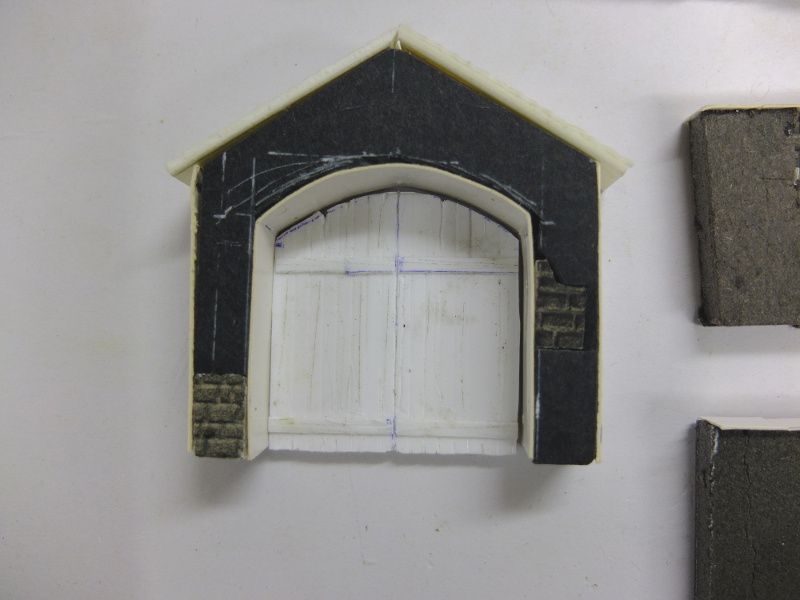
And a quick mockup to make sure it will look ok and if the size is good. The stables is an Airfix building I picked up for a few dollars at a bring and buy and it save me a lot of working making something similar.
Here's one of the walls. I glued a couple layers of thin card in the windows for the window frame and so my Gamecraft windows will fit. You can also see a notch I cut into the mdf which is used to help support the building. Then I glued in the Gamecraft windows with 6 pane pieces for the front ground floor and 4 pane windows for the back, sides and top.
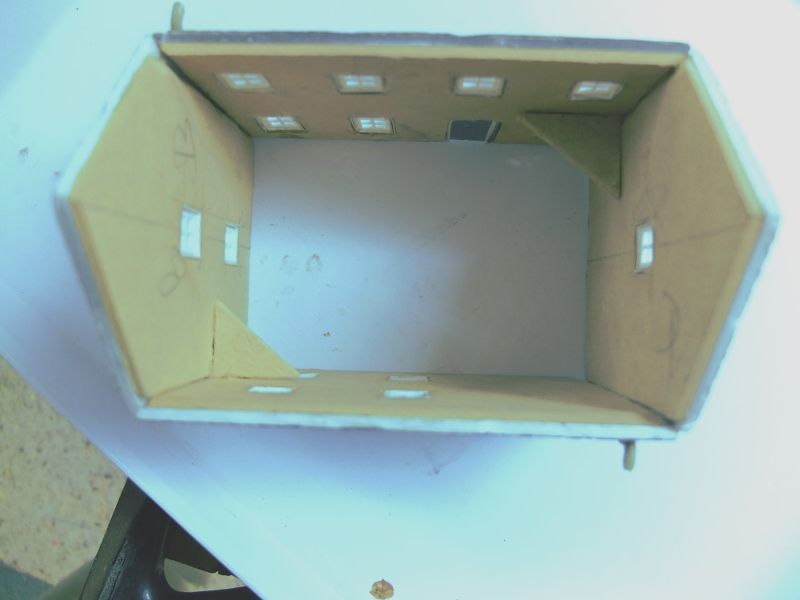
And here is the building assembled with the triangle shaped piece of mdf in it, so i can add another floor to the building. I bevelled the corners with a plane so they are mitered at 45 degrees.
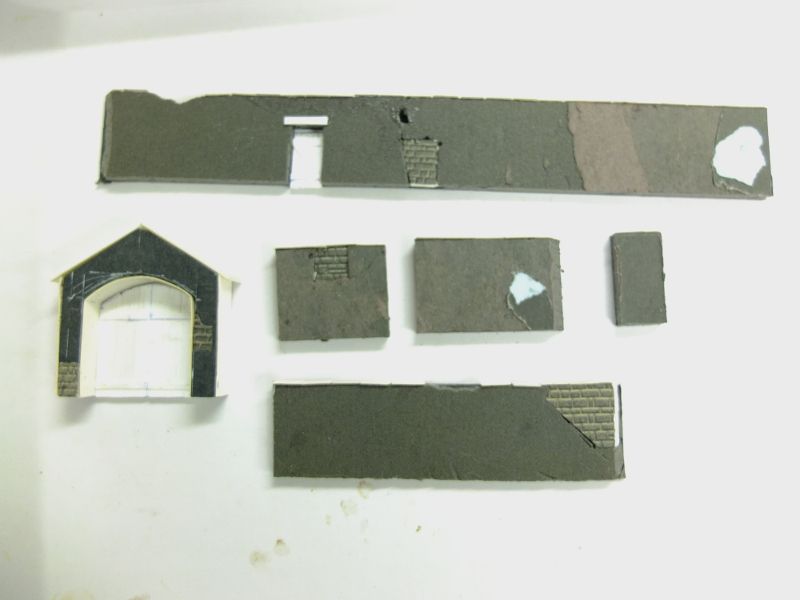
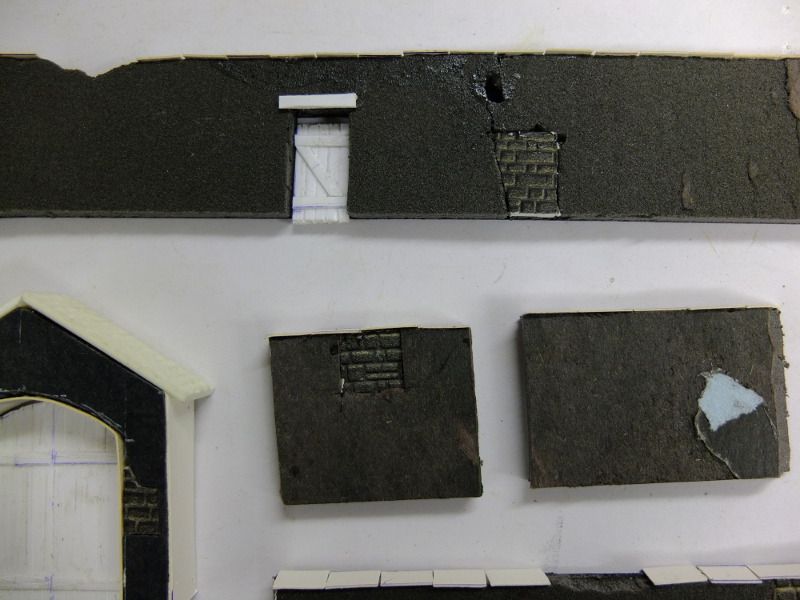
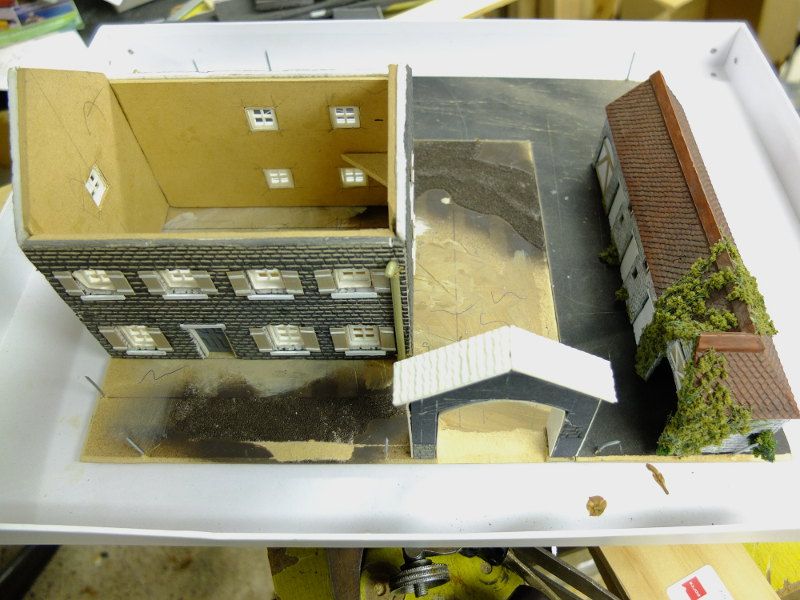
And next I started on the walls. These are made from foam board with some pieces cut out and stone work added, using pieces leftover from the house. The gates are all scratch built from plasticard and the roof on the main gate is spare from the house main roof.
And a couple of closeups. Note I added the handles which were made from brass wire later on but forgot to photograph them!
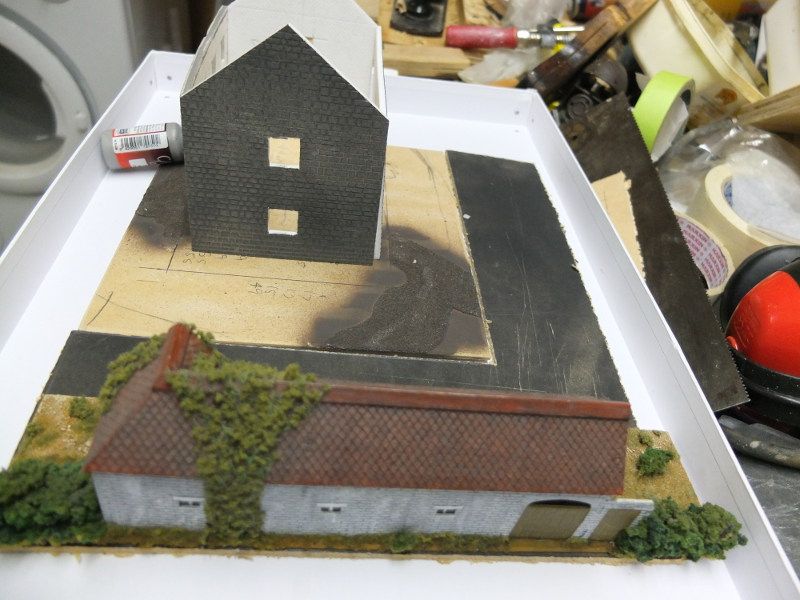
Then I added some shutter made from textured plasticard to all the windows. The front door is a Italeri spare and I also added a drain pipe made from a spare piece of sprue and some spare frame from some brass etching.
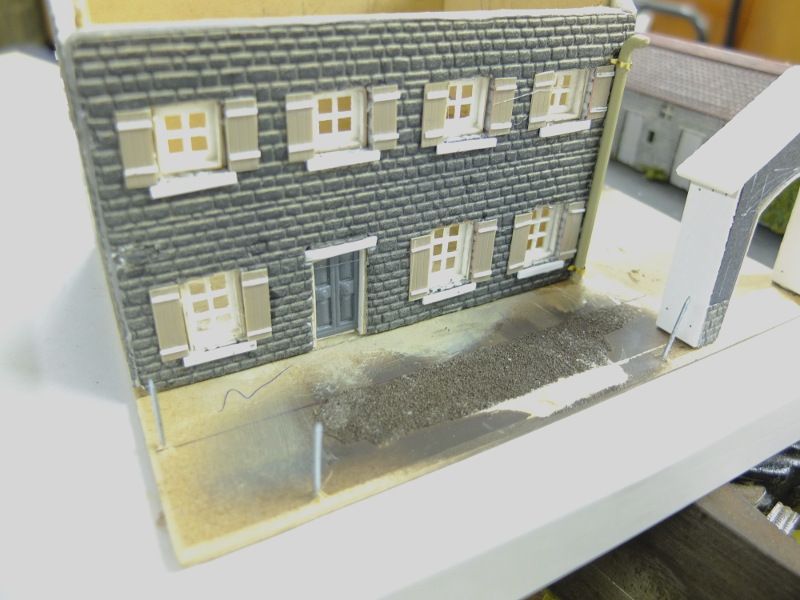
Next I glued the walls to the base. You can see in the photos I nailed some small nails through from the bottom so I can spike the wall onto them, and that should make them pretty durable.
I'll add the rest of the steps of this build in a couple of days once I edit some more photos.
I hope you like and if have any questions let me know.
Cheers
Kieran


