When you use metallic paints, their very nature gives you a lot of the light reflection you need (even though they rarely photograph well!). Therefore, any shading or colour work you add is to enhance the shape of the object, and to "force" that reflection a bit more. Whether you're painting metals or "non-metallic-metals", the placement of shading and highlights is actually the same - but with metal paints, you can often get away with just applying some of the shading and a sharp highlight over a suitable basecoat.
Looking at your photos, I'd actually suggest a few coats of thinned gloss varnish on the weapons before basecoating in metal. This will smooth out the roughness I can see, and will let the flakes in the metal paint sit flat (and therefore look more even and reflective).
After a few thin passes of the metal paint, I would do as dampfpanzerwagon suggests.
For going over metals, I prefer more translucent washes that let some of that reflectiveness still come through a bit, so I use inks. When I've mixed a couple of inks to get a nice colour, I add a few drops of water and a little acrylic medium (usually matte medium) for consistency. I build up a few very thin layers of shading, brushing towards the darkest point I want to achieve with each stroke.
Finally, you can brighten any edges with a little plain metallic paint again - applied thinly and carefully with the side of the end of the brush to get crisp lines.
Another technique to be aware of is to add normal coloured paints or inks to metal paints when you're laying down those first base coats. Adding a little crimson to a gold or a little blue to a silver for example. I recently did some dark elves, and wanted a brass look for the details on their weapons: I mixed a little green ink into the gold basecoat, and then just added a little sliver to this mix for each successive layer. Next I glazed a little shading back into the metals with green and sepia inks, and then applied a final edge highlight of 50/50 gold and silver. It's quite subtle, but gives a nice golden finish without looking gaudy.
A couple of (not brilliantly-photographed) examples for you:
Some Space Marines in progress:
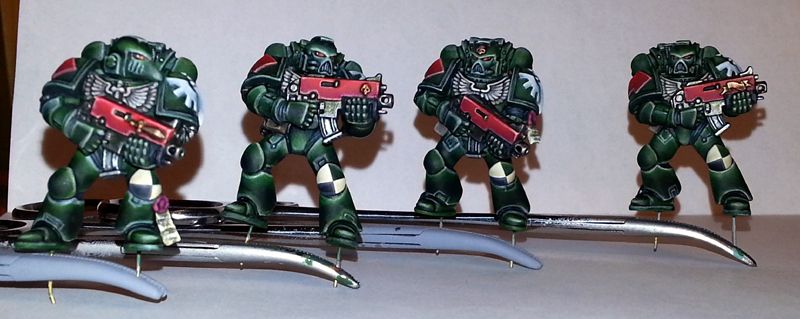
The gold was mixed with crimson, highlighted with plain gold, highlighted silver with a touch of gold added, and then glazed with sepia. I then added pinpoints of reflection with pure silver paint for the final "sparkle" reflections. I wanted these to look rich and ornate, so the gold had to look deep and colourful (especially against the red gun casings!).
This sword is not painted in metals, but the technique is the same:

You could start with a bright silver mixed with a touch of turquoise. Add more silver (until you have pure bright silver) where I've highlighted in white, and add glazes using blue and then black inks where I've shaded into black.
In fact, apart from using silver rather than grey and white, the sword would be painted in exactly the same way.


