Hi good folks,
Some people asked me how I did my bases in my
Zombie project.Hopefully you all understand how easy it is.
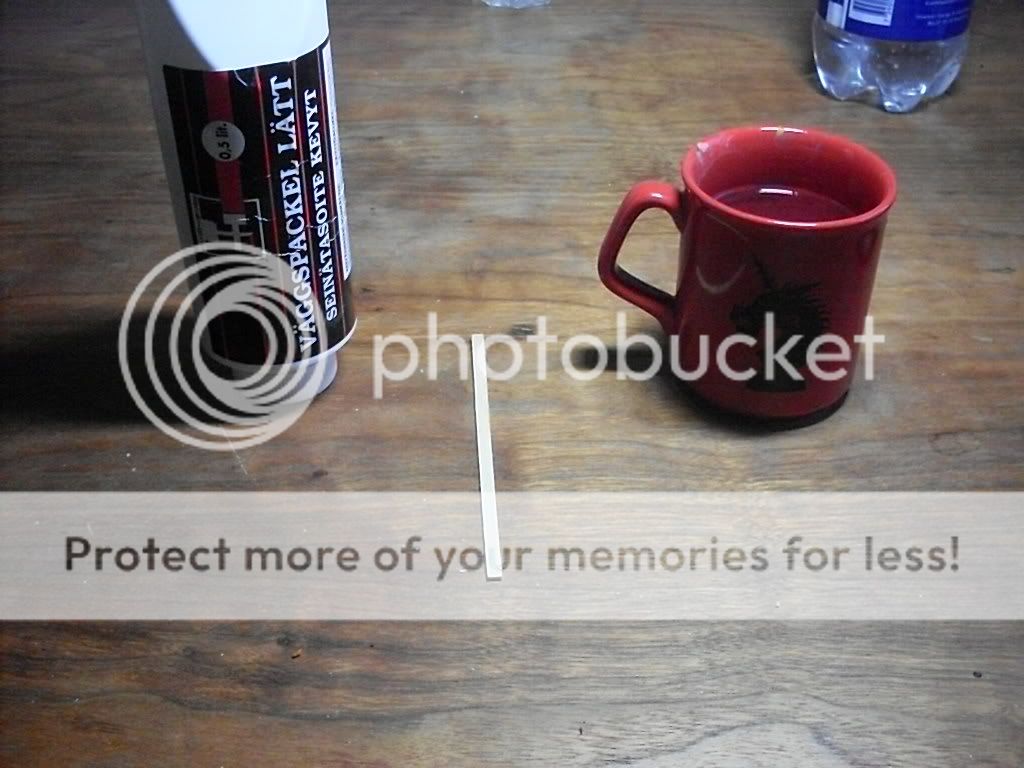
First of all, the tools of trade. First I wanted to do a classic "Look how many expensive and useless things I've bought and now added to the tutorial just to justify their purchase", but, being a pragmatic geezer, I tried to keep it simple.
So what you need is:
Fillers (Mine says Light fillers, whatever that is. This is just ordinary fillers used for drywalls etc)
WaterA flat wooden stick (you need one that can go between the legs of the minis. On the base that is).
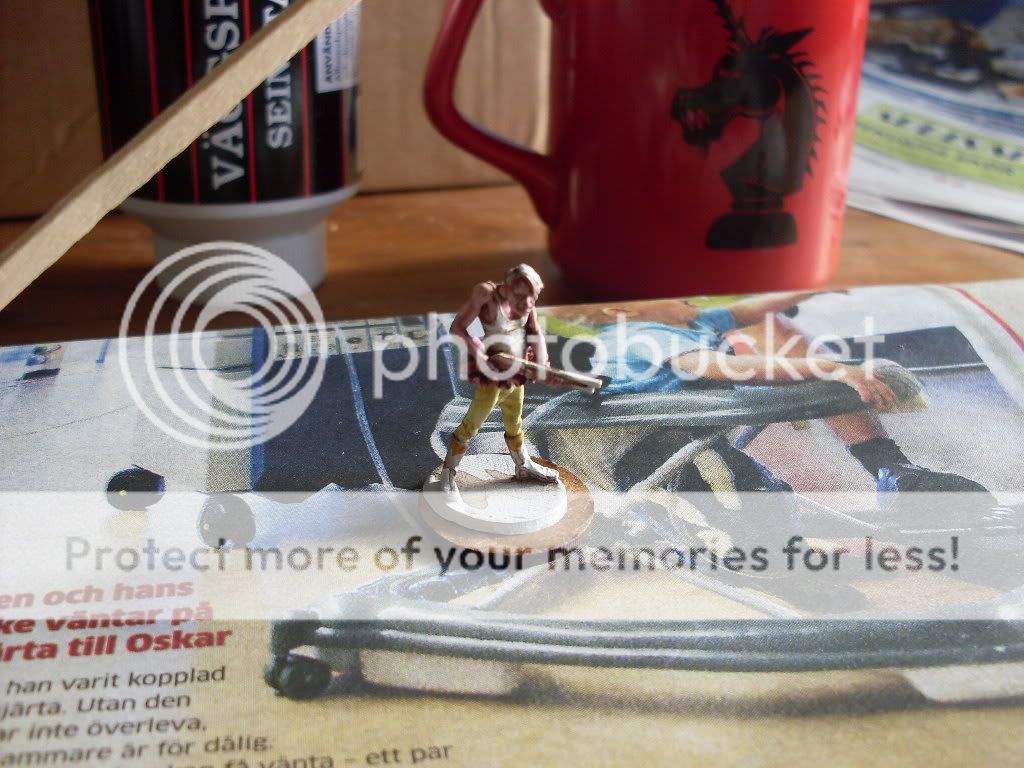
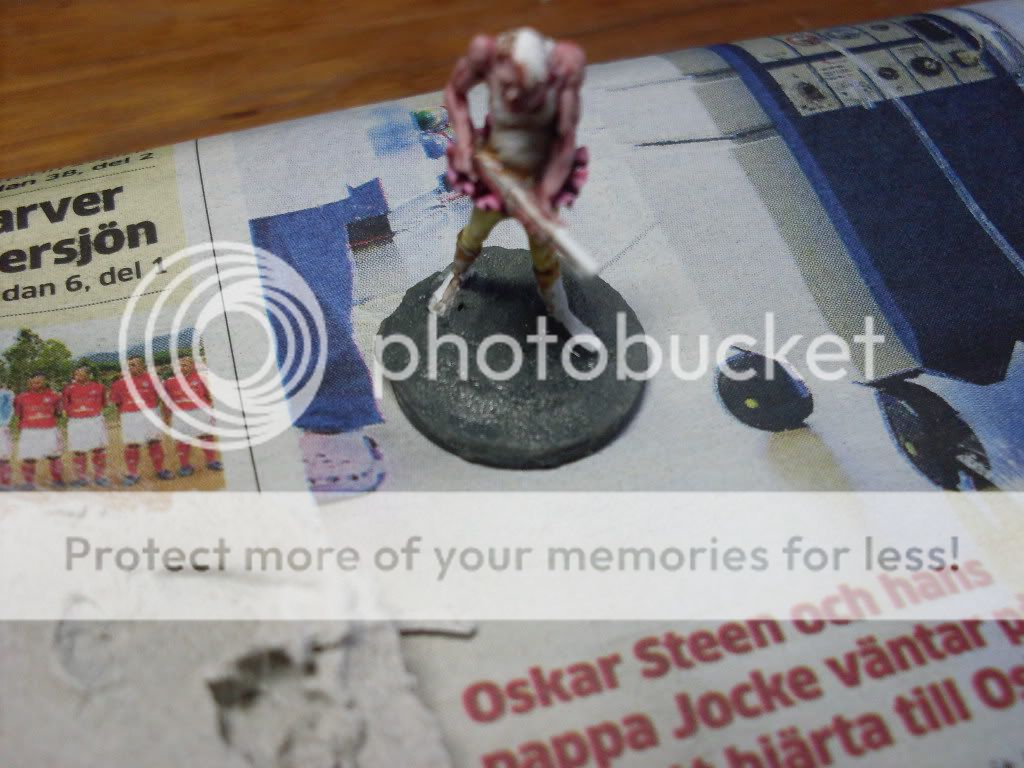
Then you obviously need the miniature. I didn't have a mini with integral base at hand during the session, so I pulled out Ramirez, which whom I had a grudge about colours...
It should be added that I "invented" this method when I couldn't be bothered with cutting of the base, or putting putty and sand all over the place. Basically, I was to lazy to mix up some putty and had the fillers right next to me...
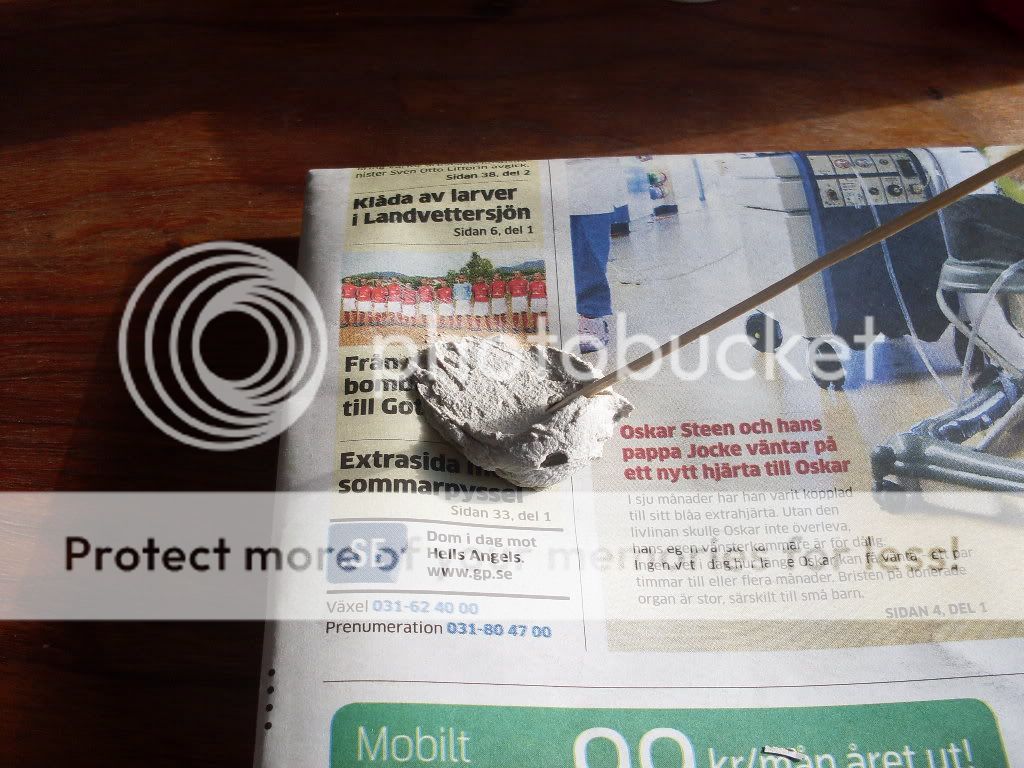
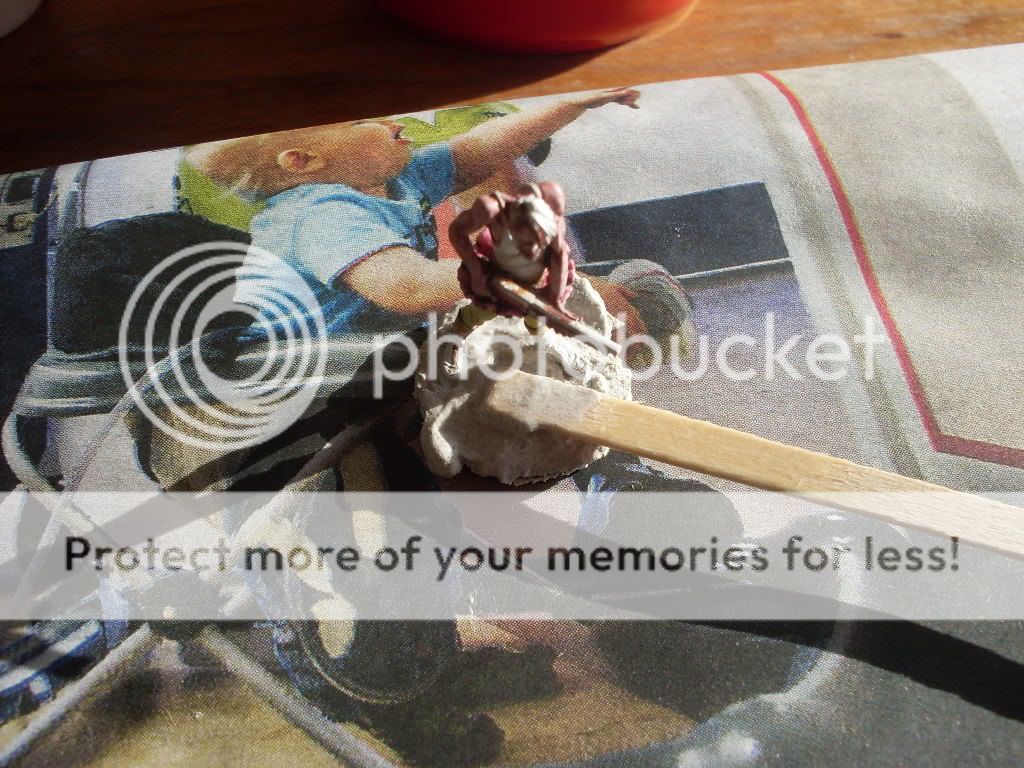
Step 1:Put a nice blob of filler on something (I used an old newspaper).
Now, let it sit put for about 10 minutes so it starts to dry up a bit on the top. This is the texture which will make the bases a bit more detailed.
 Step 2:
Just put some fillers onto the base. It is of great importance that you try to make a pile which goes from the integral base and out. The reason for this is that you need to work the fillers out from the integral base and try to make it as flat as possible.
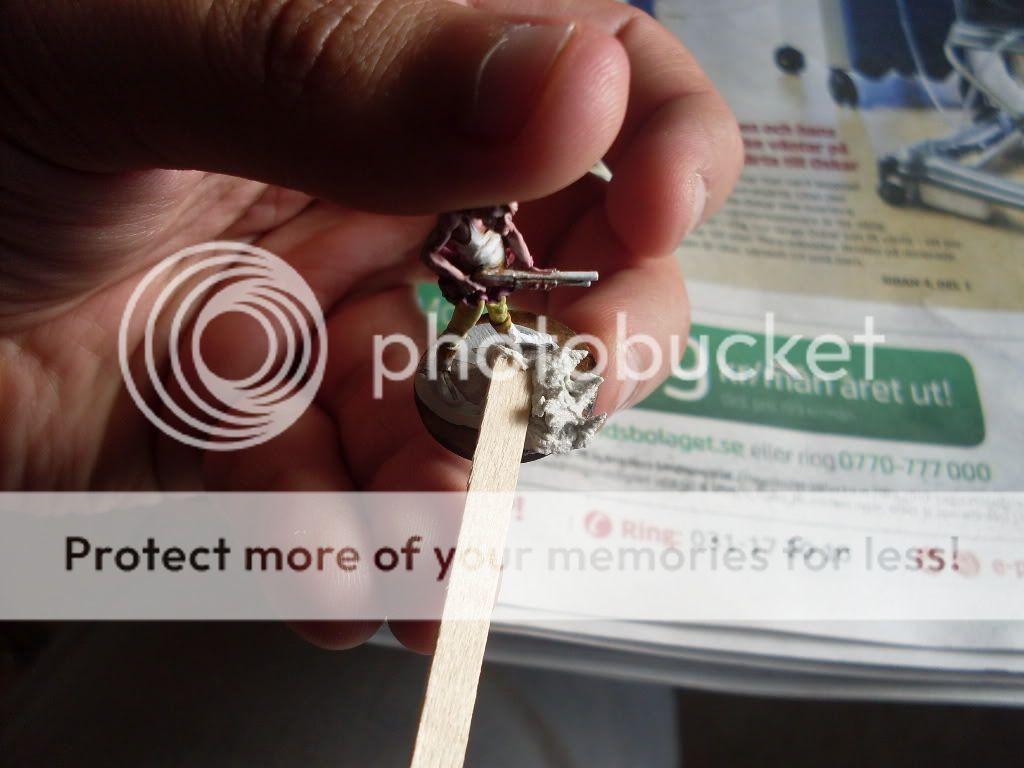
Step 3:This is the step where all the nice magic happens. You remember the water? Well, take your stick and put it in the water. Now, try to work the fillers out to make it as flat as possible. You will need to alternate between water and base a lot, otherwise the fillers will get sticky and try to ruin your hard 1 minute worth of work. Here comes the reason for letting the filler stand for a bit, if its to fresh out of the container it will have a tendency to stick, hence us waiting a couple of minutes.
A great tip (which I will add to this tutorial later on) is that your first work on the base should be "sloping" the fillers down to the edges of the base. Then, you just go back over and gently press some extra fillers (as usual, work from the integral base and outwards) across the slope. This gives you a great rought edge between dirt/earth and asphalt. Look at the Bolo mini further down this post for reference (I'll probably make a video about that step as its really hard to explain it).
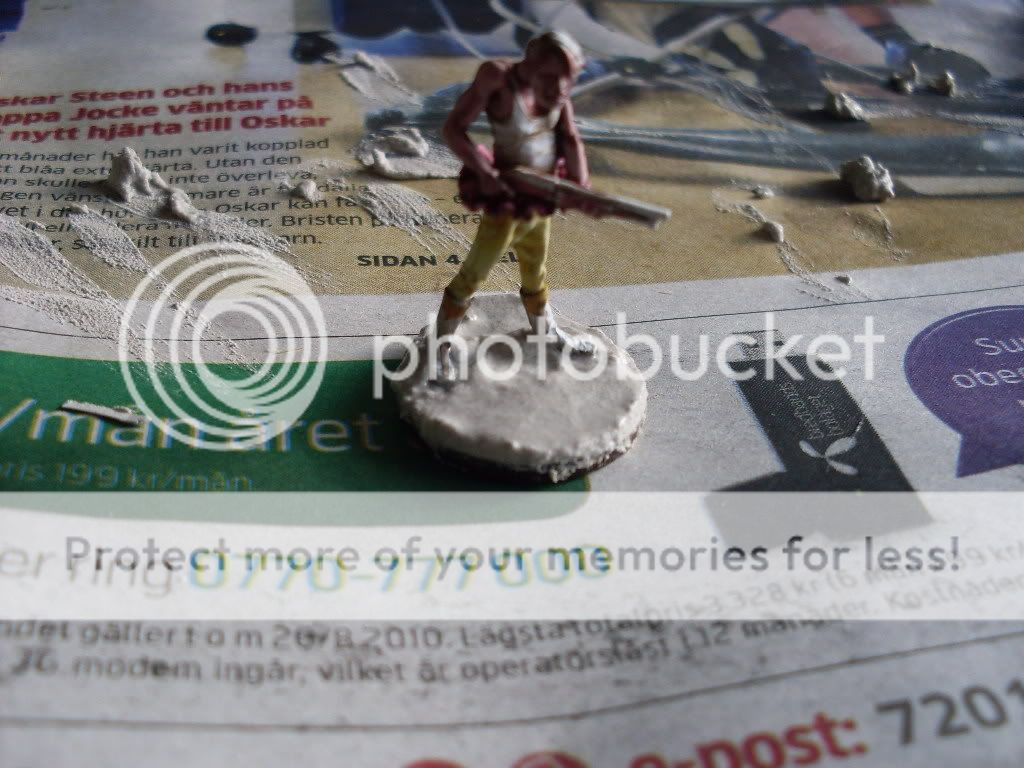
 Step 4:
This is how your base should look after step 3. Now, we can't really do that much than waiting for it to cure, which rougly takes 4-5 hours. But, since you might have overdone the water-part, or accidently pressed down a lot of water between the layers, you should wait at least 12 hours before it cures.
You can also experiment a bit in these steps. I've mixed 1 part PVA glue with 4 parts filler just to force it to crack (The PVA glue shrinks, thus bringing the fillers with it). You can also mix fine sand with it to get a rougher surface. However, for normal city asphalt, just filler makes the job look great.
 Step 5:
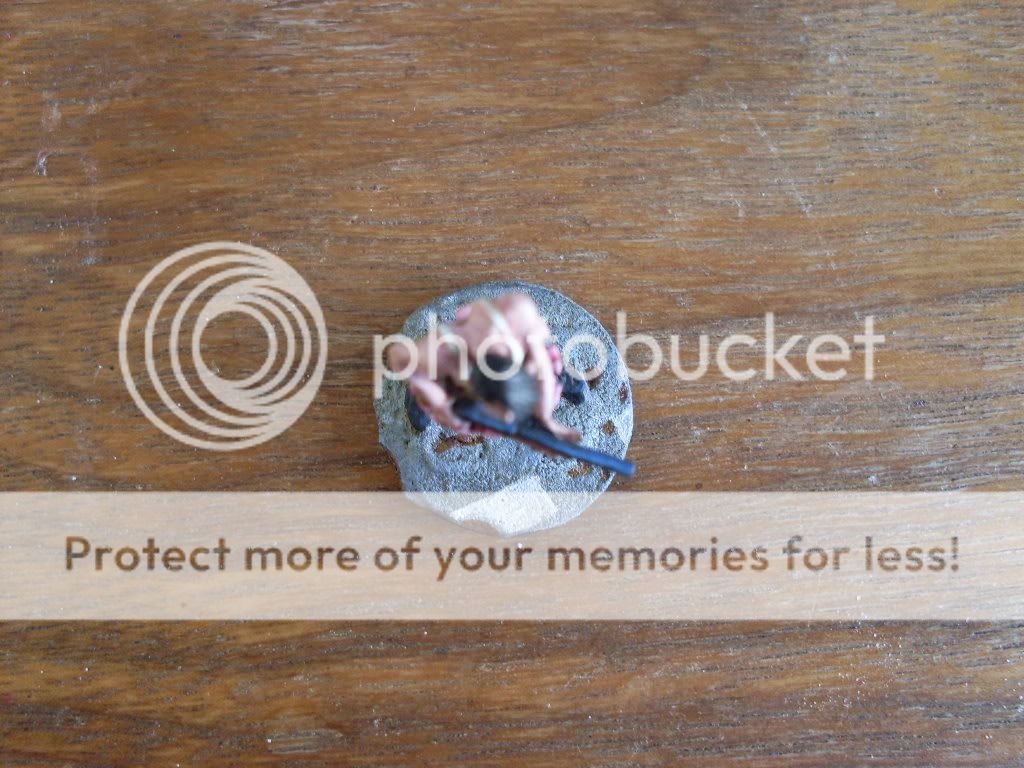
Now the base is dry, so I add my first layer of paint. Since the texture is really fine, you need to be carefull with the amount of paint you put on. I mix all my colours with about a third to half with water, just to make sure that I dont screw up the texture.
The colour I used here is 60 percent black-grey (VMC) and 40 percent skull white (GW). I did this in two layers.
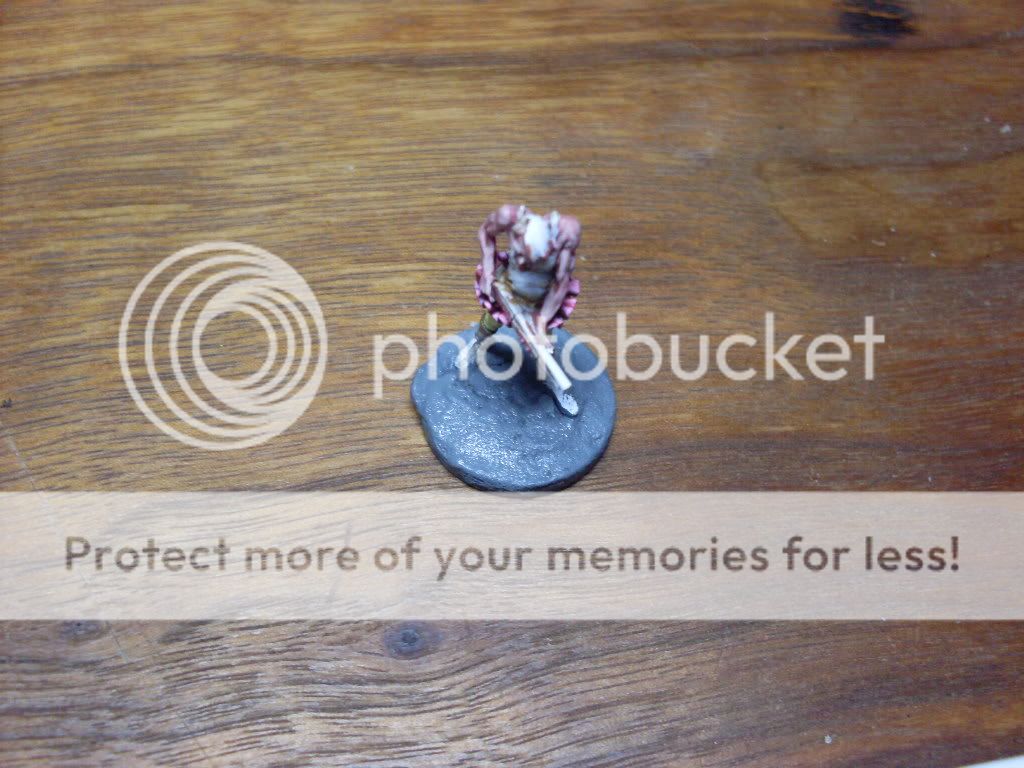
Step 5 should look something like this when you added two layers. Note that the edges still have some white on them. That doesn't really matter at all since we going to drybrush later on
 Step 6:
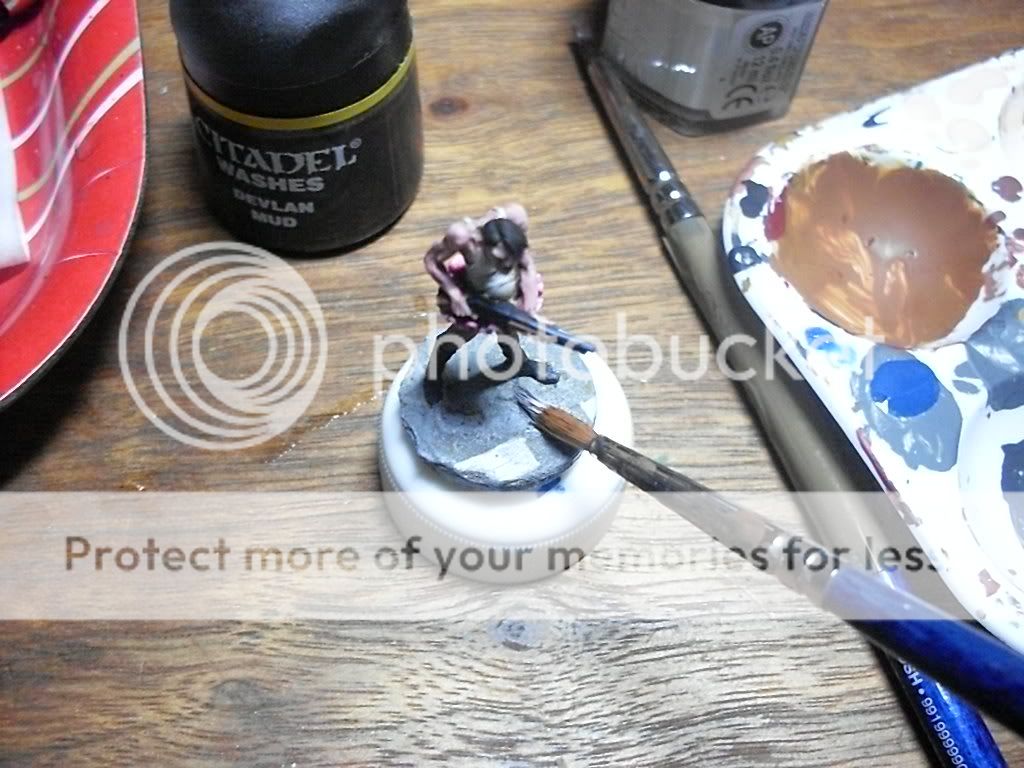
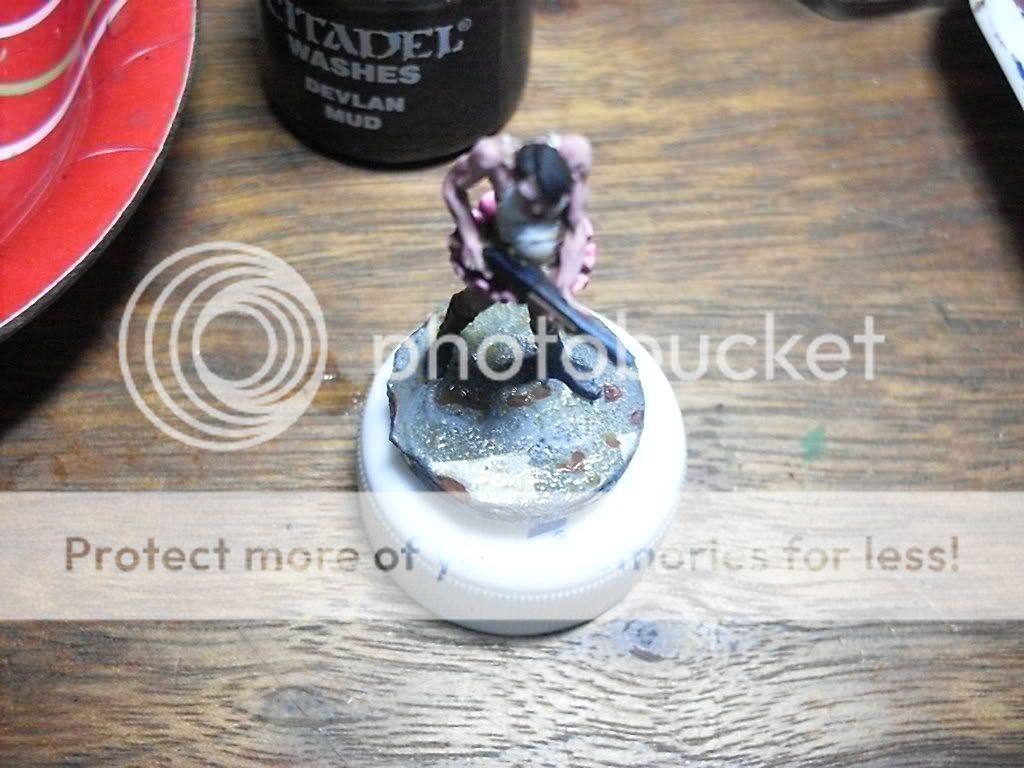
I now try to give the asphalt a more dirty and worn look by adding some GW wash and watered down paint.
The colours I've used are Leprous Brown (VGC), Sand Mahogny (VMC), Black Red (VMC) and some Badab black (GW) to settle everything. As you may notice on the following pics, I didn't wait for the colours to dry up, and just smashed them on at an irregular basis.
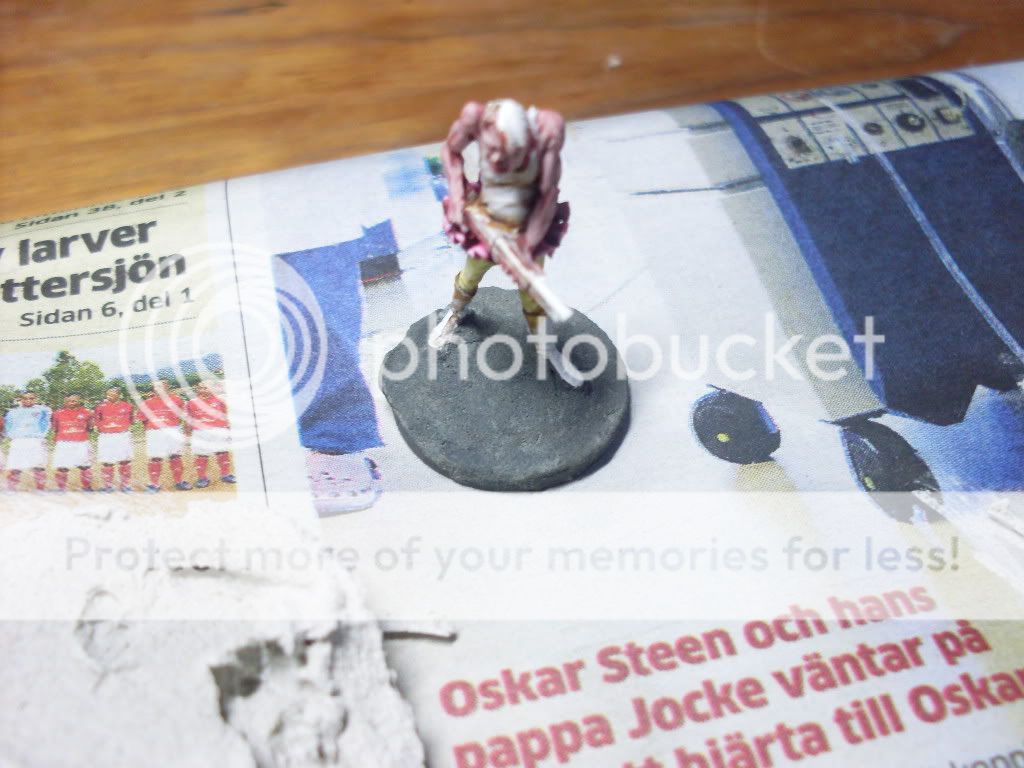
 Step 7:
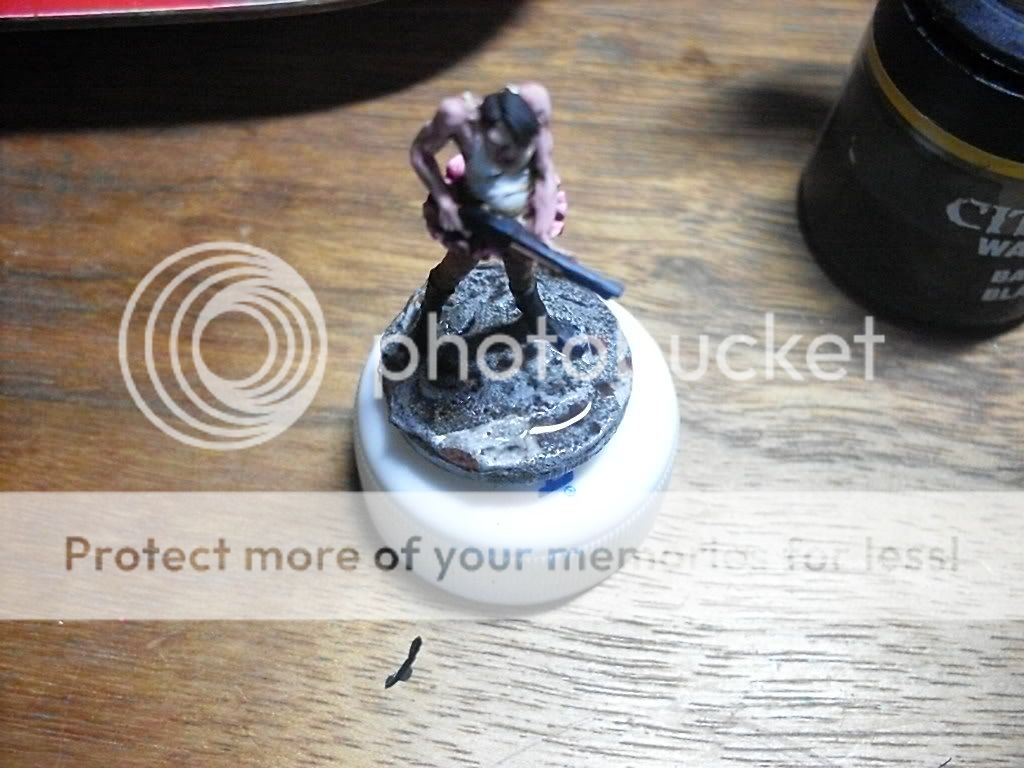
Something magical happened! I did paint up some more on Ramirez before I took these photos. You might also note the road lines. I did photograph this step, but my camera is a really poor one so it didn't want me to use them...
Basically, I now just took some skullwhite with a tiny spot of black grey and started to drybrush the base. I also added some more black grey sometimes and drybrushed at random spots. This to ensure that you get a bit more "realistic" feeling of the base.
Step 8:It should be noted that I was a bit stressed when I did steps 1-3, so the base turned out a bit more worn than I intended. I've just basically filled out all the wholes with some Mahogny Sand (VMC).
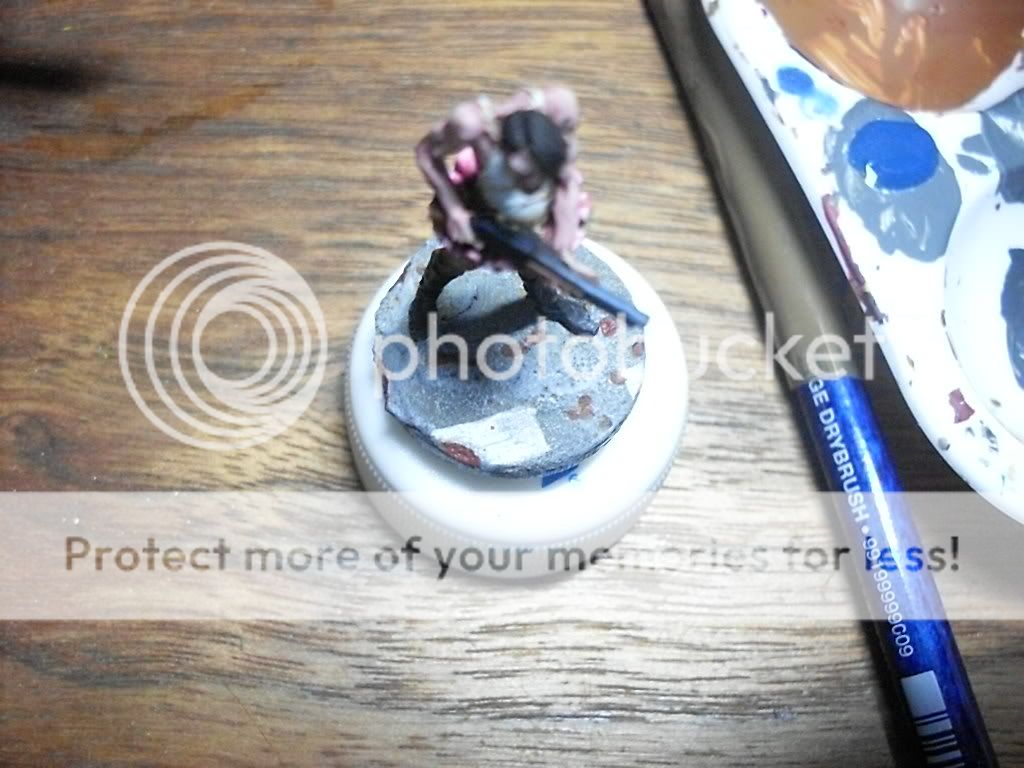
As you can see, the base is a bit on the bright side, so I need to do it a bit darker.
Step 9:I just put on some Badab Black (GW), with some water added and cover up the whole base. I take extra time to fill out the road strips, as these have a tendency to look to bright otherwise. Then I take some paper tissue and wipe any excesse paint of.
 Step 10:
In this step I just make sure that the base looks alright. In this instance I did wash it once more with watered out ochre (can't remember the colour actually) and some more Black Red (VMC) just to add some more depth to the base, and filth.
 Step 11:
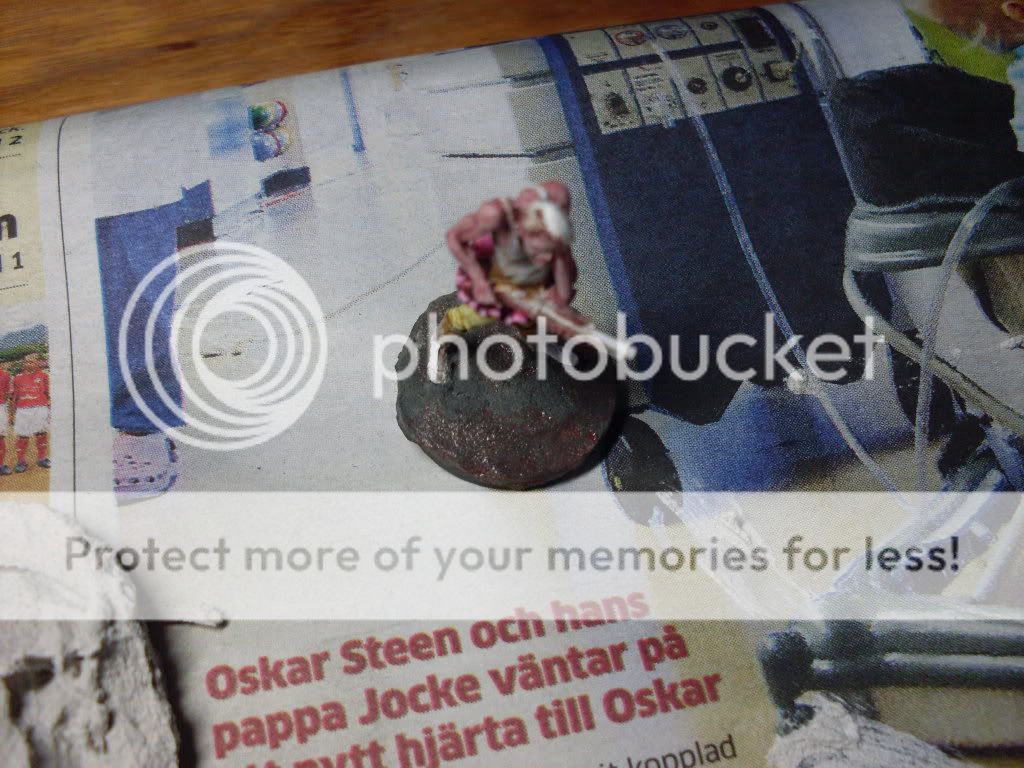
And it's done!
Although this tutorial is 11 steps long, it doesn't really take this much time doing it. Not counting the curing time of 12-24 hours and the waiting between washes, I'd say it takes about 2 minutes to paint these bases up. Obviously, you can put a lot of extra effort into it

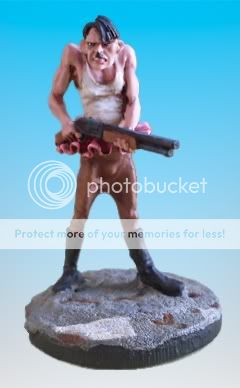
Bolo, for the reference earlier on about putting two layers of fillers above each other.


