Greetings and well met.
I thought id throw together this little guide for any of you aspiring asteroid makers. I hope it’s of some interest and I hope its in some bit accurate.
I am not going to focus on how to make the actual asteroid here (Mines just a big plaster ball really) but instead on the critical (Iron powder paint).
So without further delay, this is how I made a asteroid.
Step 1: Getting the object to paint. 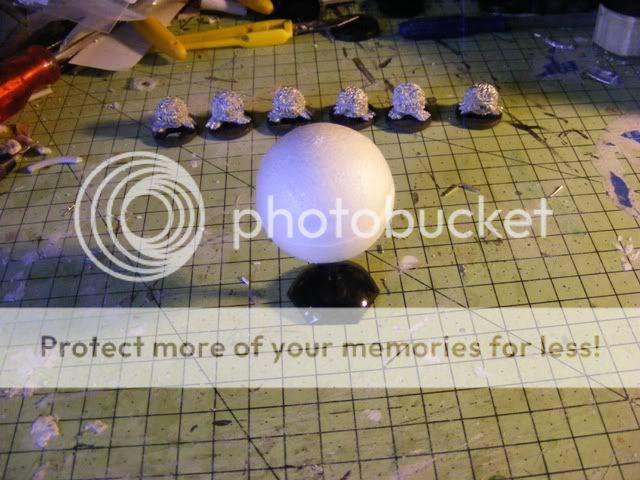
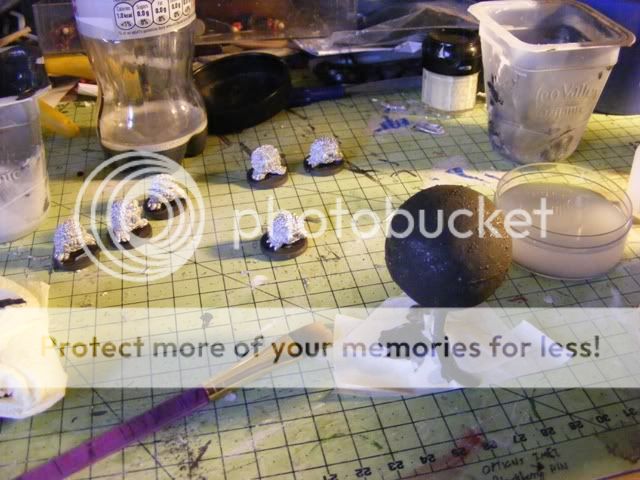
For this demo I have used a smaller “asteroid” made from a polystyrene ball. Modelling a asteroid is similar to making any other rock effect. I believe there was a good article on creating ork roks that could be of interest. I would offer the following advice though.
1) The finished thing will be heavy! I used close to 5kg of iron power on my big asteroid. So if it’s big its gonna weight a lot.
2) Avoid sharp features. By this I mean jagged peaks or deep and narrow gauges. The practicality of your asteroid depends on the magnets ability to make contact with the surface. Sharp features can make a strong contact difficult, and you don’t want your mini falling off.
So actually a small test piece like my polystyrene ball is rubbish as its sharp rounded surface provides a poor contact point.
Step 2: acquiring the iron powder paint 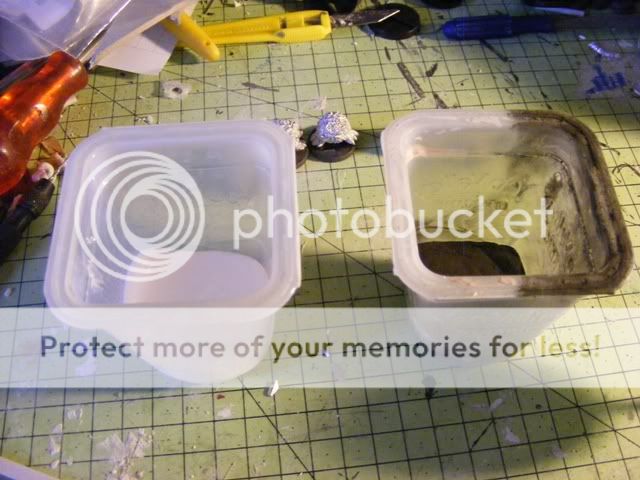
The “paint” is actually a mixture of:
Sintered Iron powder
PVA glue
Water
Sintered iron powder is a 50/50 mix of powdered iron and resin, used in cold casting to add colour and weight to the cast. I found mine by googling it, but its also available on eBay and probably from some craft shops. If you can find a source of powdered iron without the resin then go for it. My big asteroid has used 4-5 kg of the powder – heavy metal.
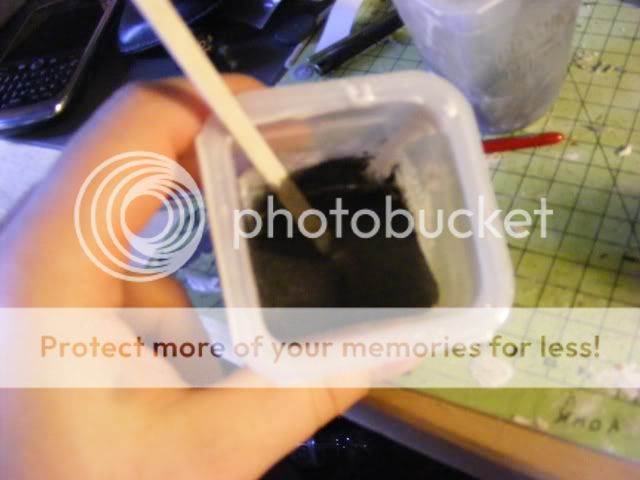
The PVA seams to work better when slightly watered down. Mix the three together till you get a dark grey colour. You want it like a thick paint rather than a paste. It may bubble a bit but I think that’s just the heavy iron.
I is probably not a good idea to breathe this stuff in, so a mask is a good idea. It seams fairly harmless though.
Step 3: Paint your asteroid 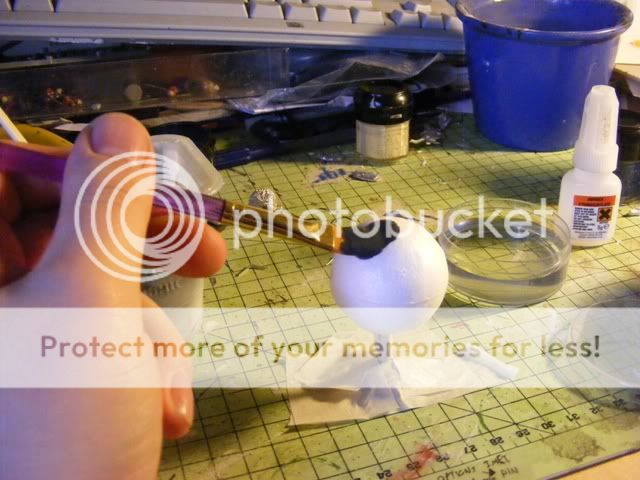
Just paint the powder on like any paint. Use a old brush as I expect it will ruin it. Also keep the mixture sired up, or the iron will settle at the bottom.
Your probably need at least 3 layers of it before it’s useful. I have used 5-6 on the big asteroid. It dries fairly quickly depending on how fluid it is.
Once you have many layers you can do some cool things with it.
 Step 4: Finish him!
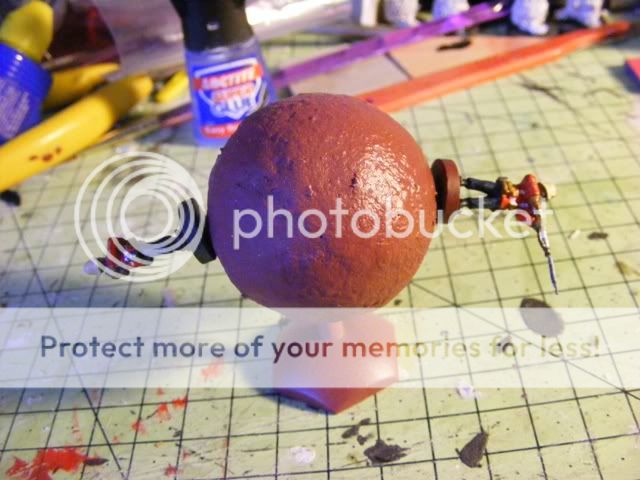
I used rock effect spray and a red coat on the mini asteroid. My experience from this is keep the paint layers thin to keep the iron near the models A base coat followed by a highlight should be fine. A thin layer of vanish is a good move too, just to try and protect the surface.
Step 5: Buy Magnets The last step is to get some magnets
I would recommend fridge magnets for 15/ 18 mm normal models and high powered neodymium for bigger models. You may get away with fridge magnets for plastic 28mm, but not tried.
Just a warning though, magnets can be dangerous, so be careful with them.
And that’s it, I hope you enjoyed this brief guide and it may have been useful. Feel free to PM me or post here if you want any more info, hope to see a few more asteroids popping up here soon.


