OOOH! PRETTY PHOTOS! I guess that gives some insight as to the level of my consciousness at the moment. That aside, I'll look forward to The Battle Report...AND more pretty photos.
Thanks, DeafNala!
Not too sure how 'pretty' the pictures will be.
He of the shaky hands (Me!) took them, so they may not be so good.
Or the storyline for that matter, it was a while ago now, so please forgive me if I get things a little messed up!
Ok then, the battle report:
Bert and I set up a board that took into account that we would both be using warbands without any missile weapons, so height was not going to make too much difference to the outcome of this one.
We knew it would probably come down to an almight scrap somewhere in the middle of the table, so we were not too bothered about making things too even terrain-wise.
Bert had brought his Undead warband, with the experimental Skeletons.
(Same stats and cost as Zombies, but with the option to arm them. This does make them pretty much harder than an average Zombie, but you pay the money for equipping troops that gain no experience, so we feel it pans out pretty fairly so far.
(This game would show their effectiveness, though! Read on and you will see....)
I rolled out the Beastmen again.
The same Beastmen that had been shot full of holes by the cowardly Elves in their two previous outings!
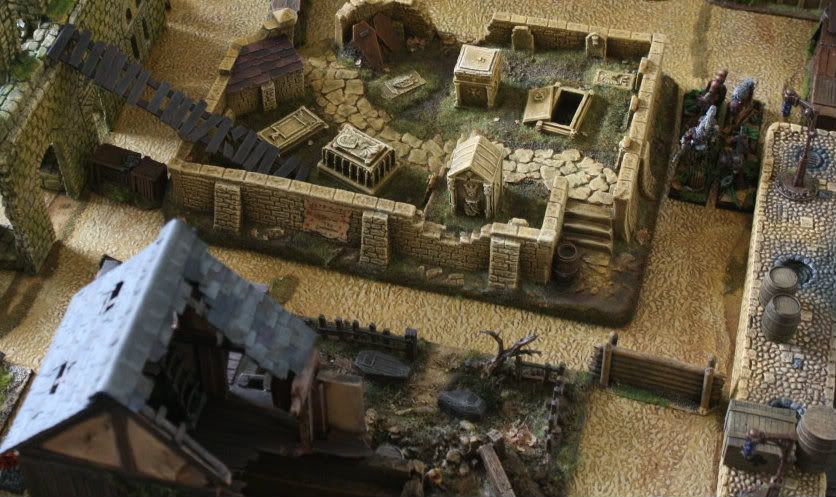
The mission rolled was Wyrdstone Hunt, where two counters representing said Wyrdstone were placed fairly centrally, one on the ground level and one higher up.
Bert won the roll for table edge, and used what has become known as the famous 'Bert's Cunning Plan', (a tactic ever since I have known him).
He opted for the board edge which he was nearest to at the time!
Very cunning, eh?!?
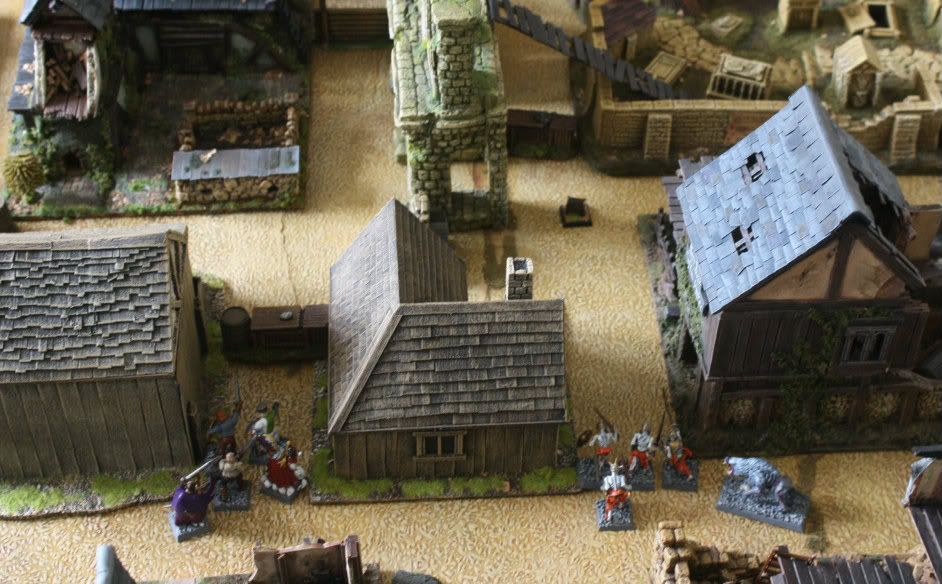
After deploying the warbands, it was immediately apparent there was obviously going to be a huge ruck in the centre of the board for ownership of the shard of Wyrdstone that was situated there!
The other piece, located at the top of the ruin, was probably going to be fairly easy for me to get a Beastman to before the Undead shufflers could stop me, but how much of the Warband should I commit to retrieving it was the question?
Too many savages and I could find myself overpowered in the other combats.
Hmmm.....
I had a plan, but more of that later.
The Undead began their advance!
Not as dramatic or swift as the surge of the Beastmen would be, but I would not be fooled by their lack of speed, they would be hard to stop when they got there. Eventually.
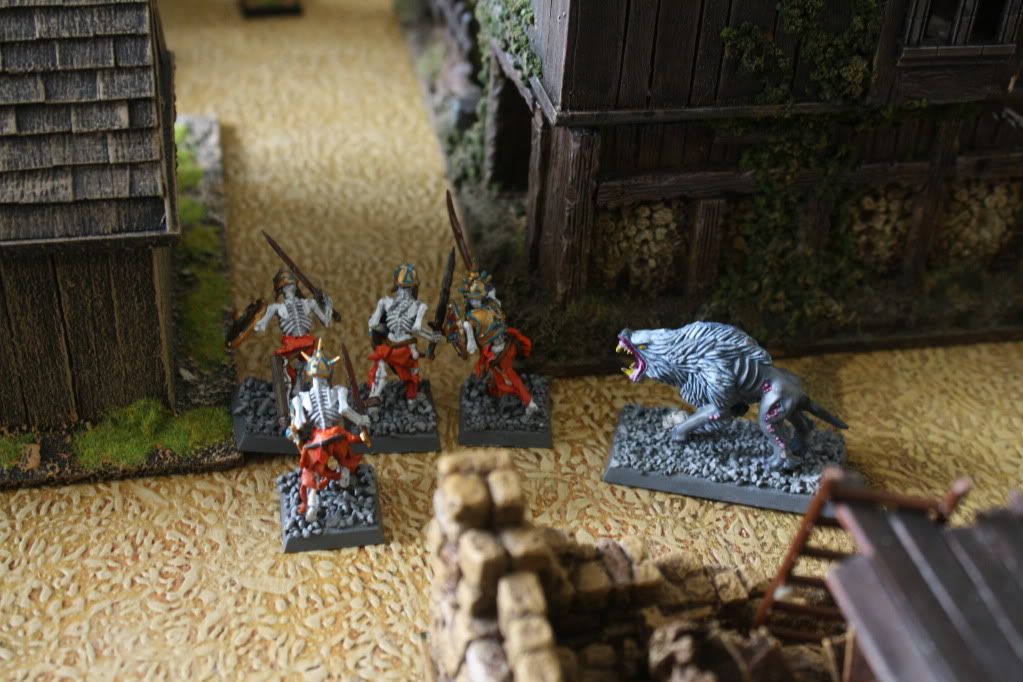
Bert had opted to split his force into two elements.
The first, in the centre, consisted of the Skellies and a Dire wolf.
They were heading straight for the shard in the centre.
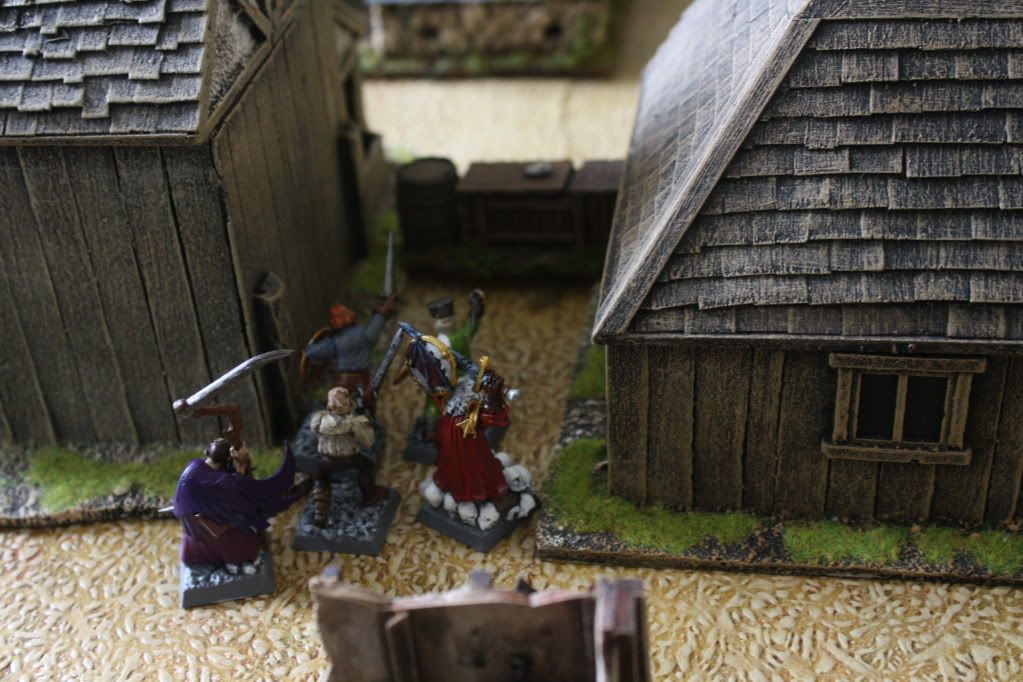
The other group contained the heroes of the band, led by the Vampire.
Alongside him were the three Dregs and the Necromancer.
They would be a little faster than the Skeletons and were moving forward on Bert's left.
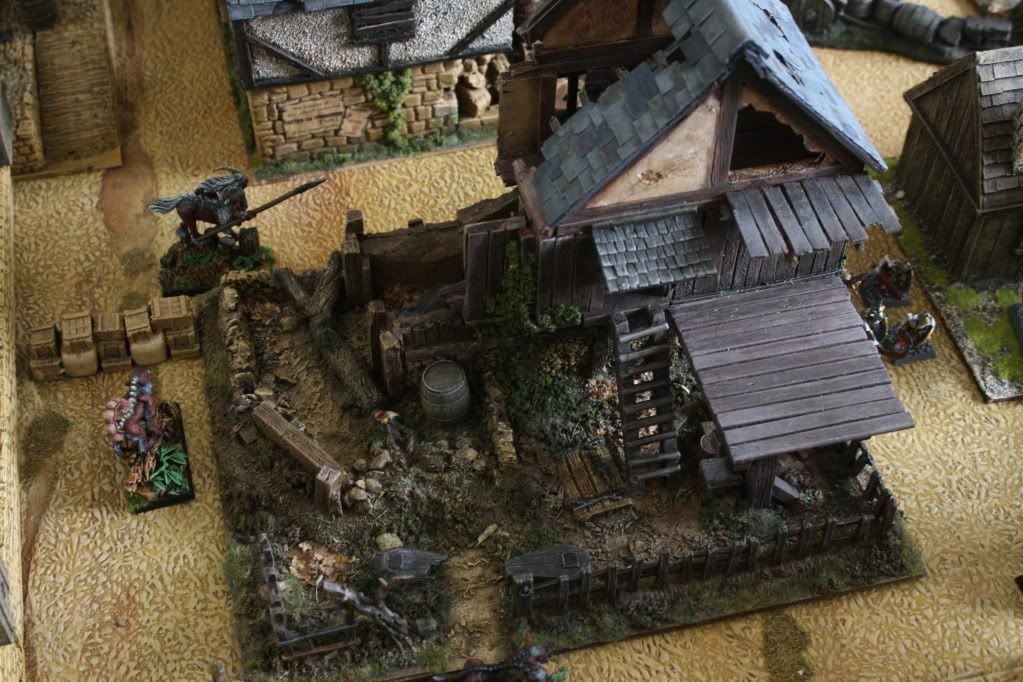
On the other side of the table the Beastmen loped out of the ruined Temple.
Here is a shot of the Beastman warband leaving the Temple where they had deployed at the start of the game, splitting into three groups as part of the initial plan.
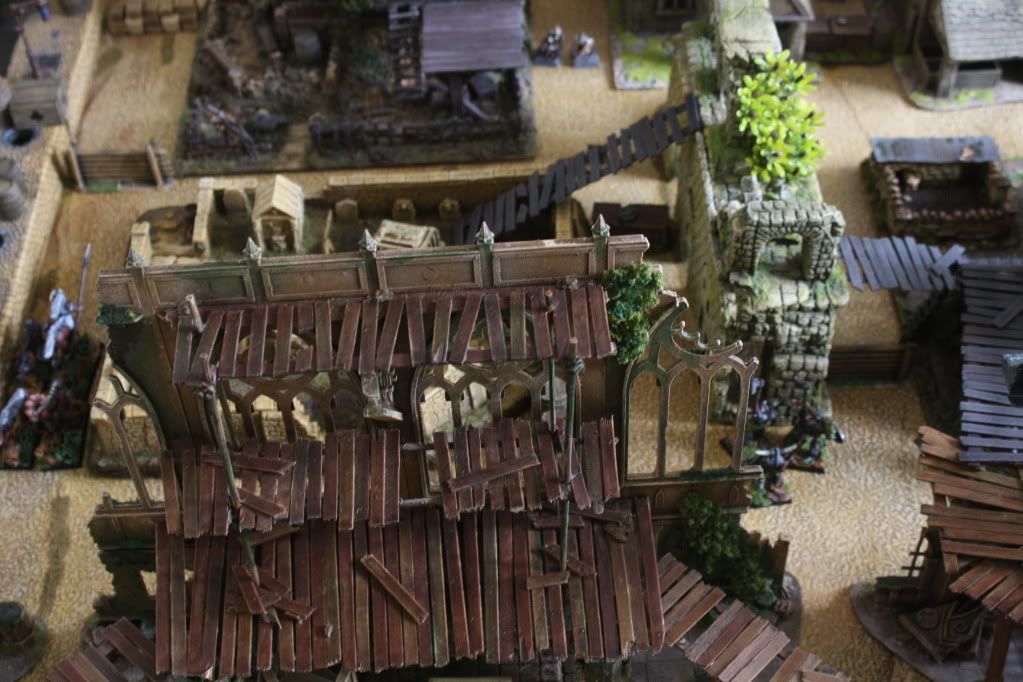
On the right, the largest group of Beasts had begun to advance towards the ladders that led up to the highest level, where they hoped to retrieve the first shard uncontested. Undead could never hope to threaten the sheer pace of a Beastman in full steam ahead mode! Or so I hoped!
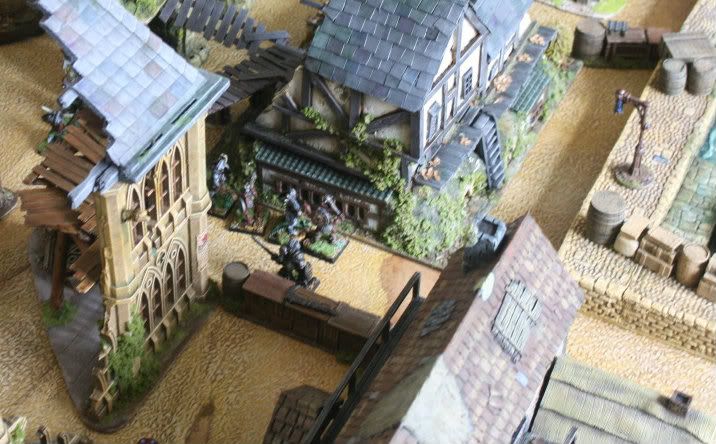
The big guy at the rear is the Beastman Chieftain Baska Bloodhorn, who is a little slower than the rest of his tribe, due to carrying a leg injury picked up in the aforementioned clashes with the cowardly Elven scum.
(They taste nice, though. At least that is what he professes.....)
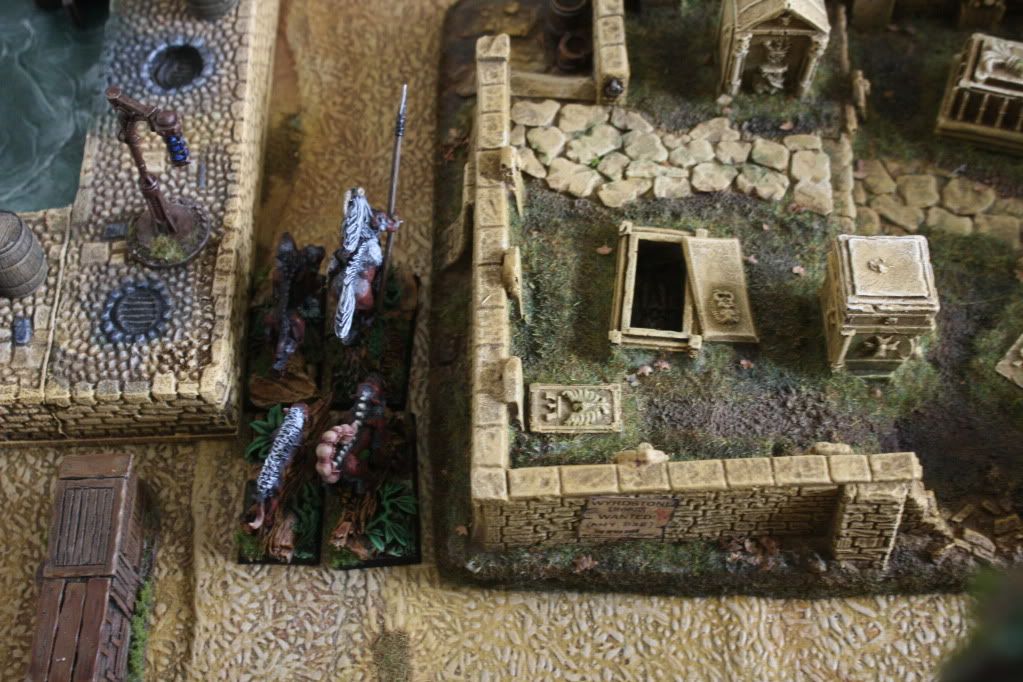
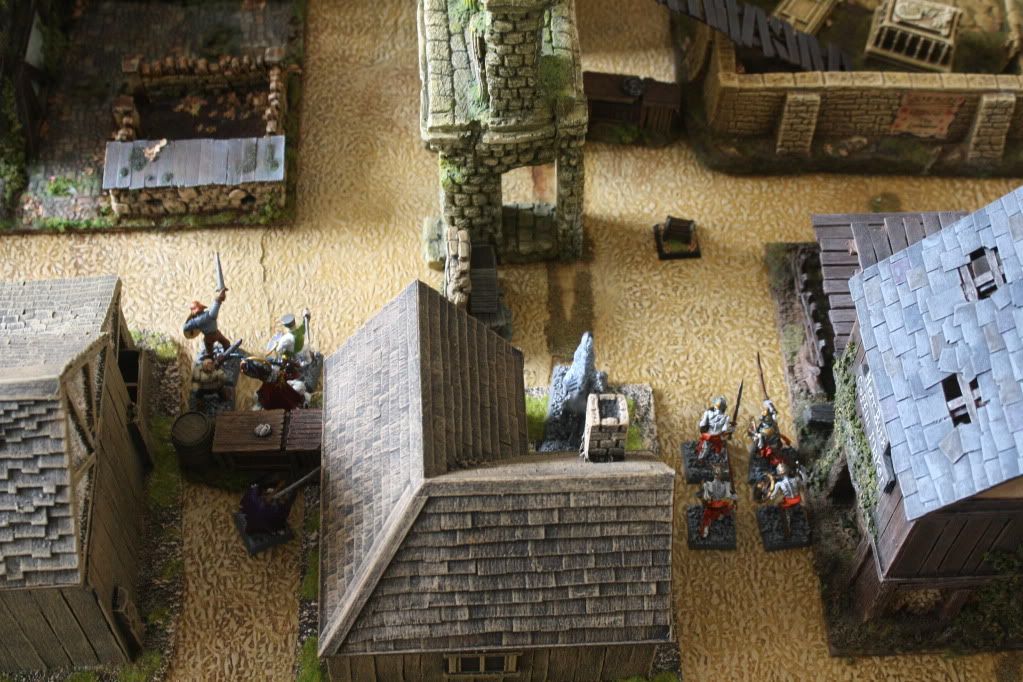
A second group, containing the two Bestigors and the Shaman, advanced straight towards the other shard.
These two rock hard specimens ought to be able to hold up the Undead advance long enough for the Shaman to cast some evil incantations in the path of the walking dead. (I hoped! Again...)
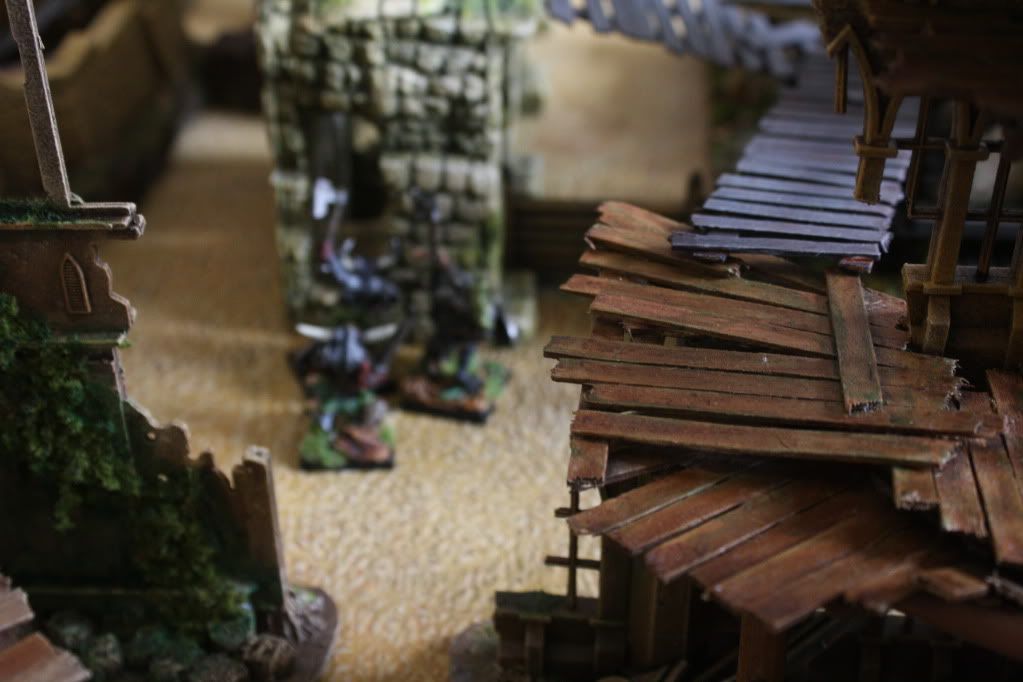
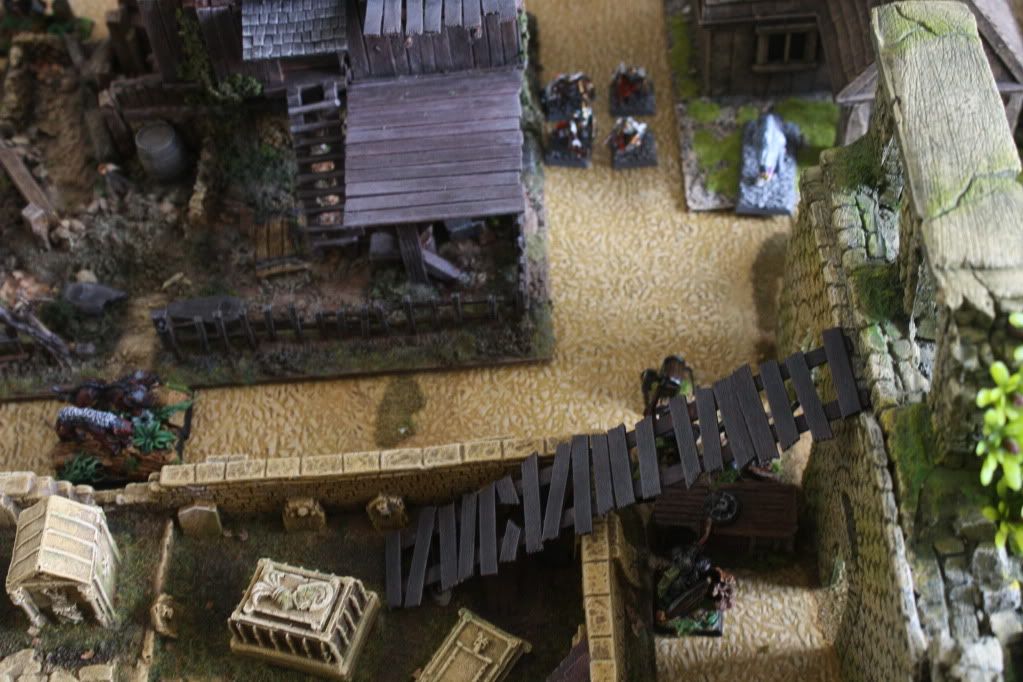
The final group, on the left, consisted of the Centigor and three swift-moving Chaos Hounds. They would make their way around the graveyard and hope to charge in from the flank and rear once battle had commenced.
Well, that was the idea, anyway...
The 'flanking manouver' as seen by Bert
The Undead continued to shuffle forwards, the Vampire holding his group back to match the slow but steady pace set by the Walking Dead elements of the band.
In response to the this, the Beastmen made their move.
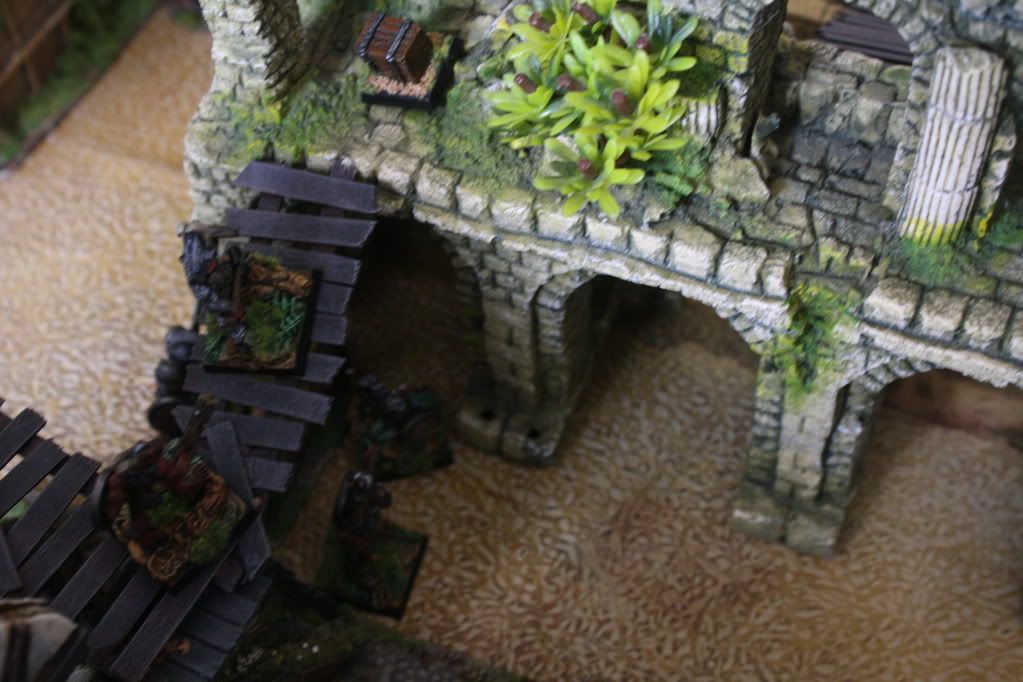
The group on the right split up again, with two of their number heading up the ladders towards the shard at the top of the ruin, while the rest advanced towards the Undead Heroes.
At the same time, the group in the centre headed towards the other shard.
They would not make it this turn, but would be in a position to fight for it next turn.
They were supported by two of the Chaos Hounds, who were ready to charge the flank of any Undead heading that way.
Meanwhile, the Centigor and remaining Hound continued around the Undertaker's to threaten the Undead rear.
The warbands were both in position, with the Beastmen almost in possesion of both of the shards, their superior pace beating the Undead to them. Fortunately for the Undead this left them in position to get in the first charge, and hoped to make it count......
Back later with Part 2.......


 Welcome, Guest. Please
  May 23, 2024, 03:32:16 AM


